I wanted a workbench on wheels for doing metal working in my
big garage workshop.
The idea was to have a workbench I could wheel outside for some of the smokier work
like welding or plasma cutting.
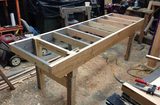
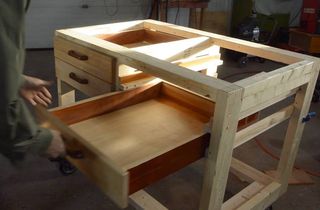
The plan was for this workbench to be structured much like most of the cabinets I've built
lately, with a frame made out of 2x4 lumber. The wood is box joined at the corners for
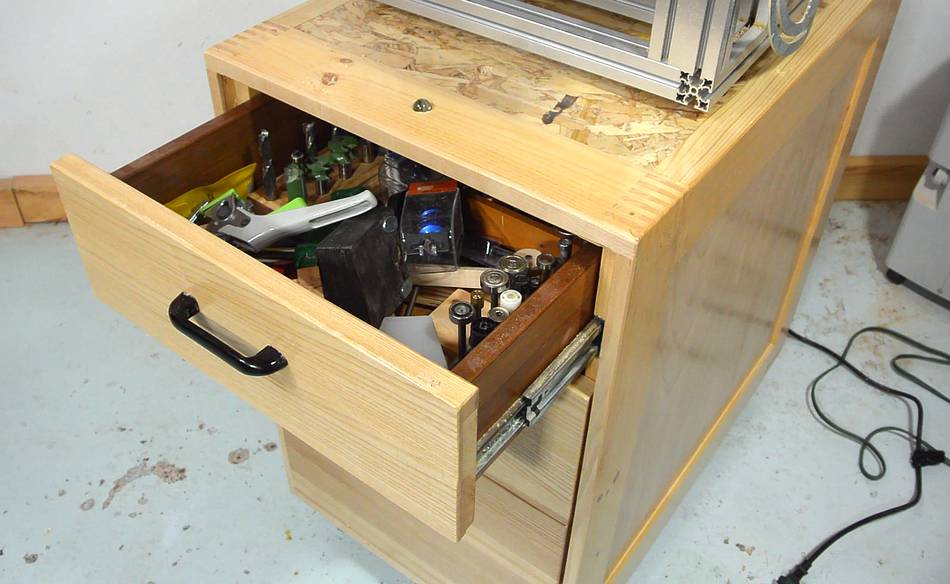
lateral stiffness. There's no face frame to leave maximum opening at the front for drawers
or access to storage.
I used this approach for this tool stand,
bandsaw base, this
and this dresser.
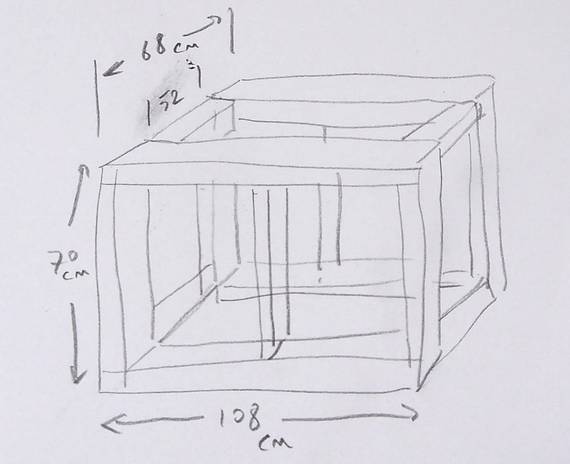
I bought seven 2x4s for the wood. At right, a sketch for how the frame
goes together, the only "plan" I made.
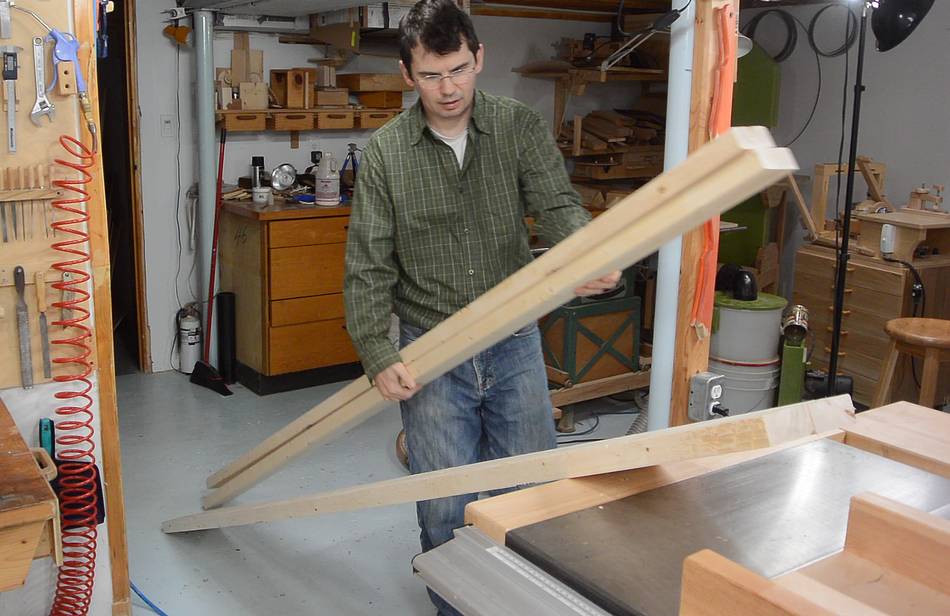
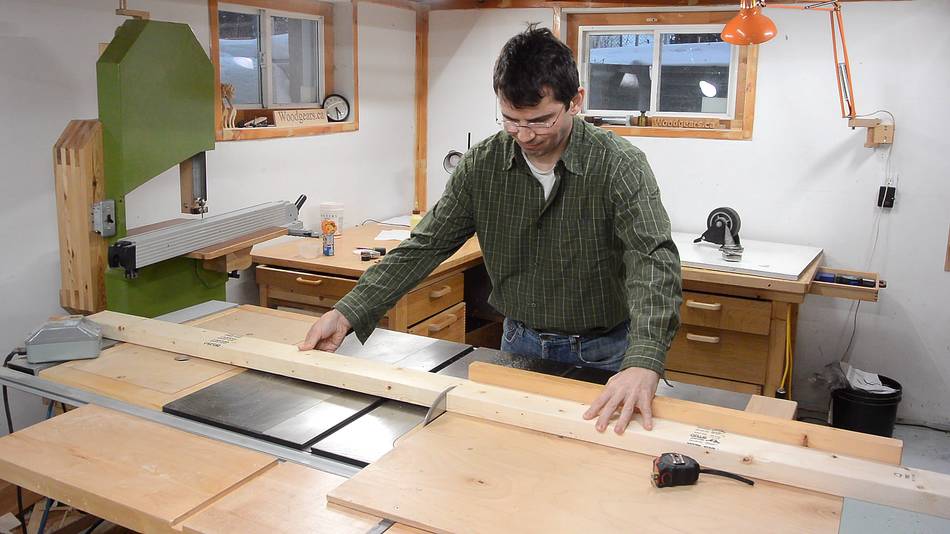
I always do all the cross cutting with my table saw sled. I have a miter saw,
but I don't have a good location for it. Besides, I prefer the accuracy
of table saw cuts.
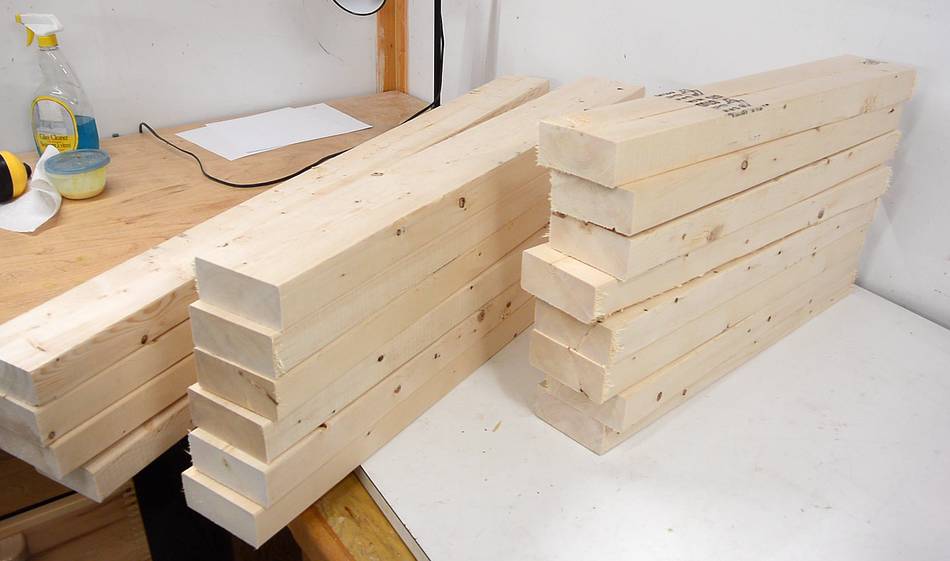
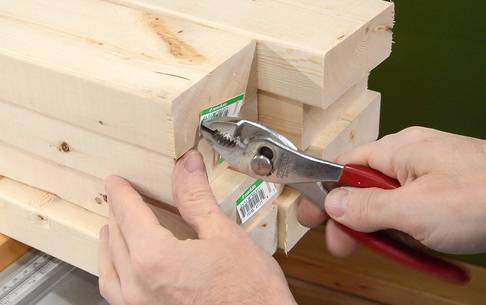
Pieces all cut. Also removing the staples from the end. I have cut into some of
these staples before!
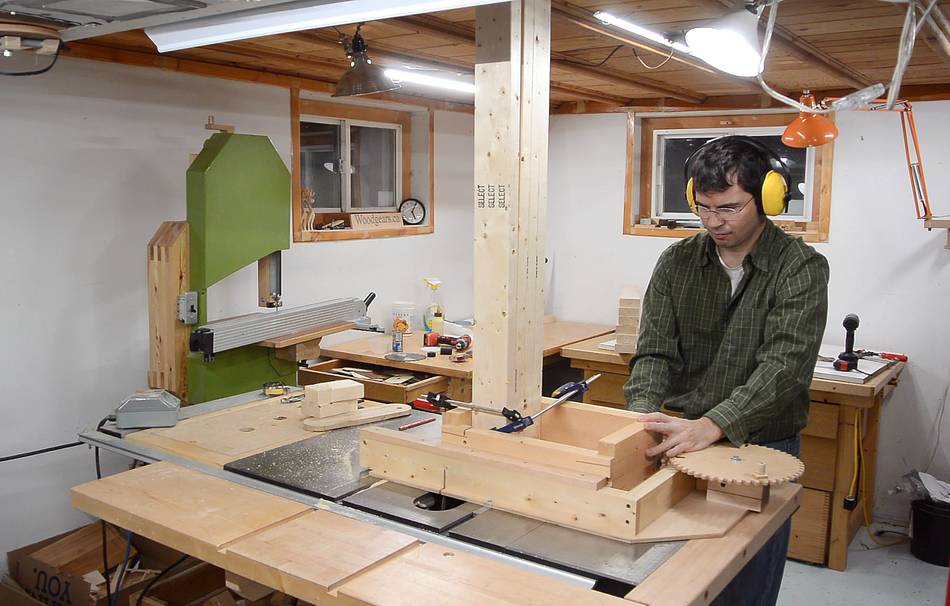
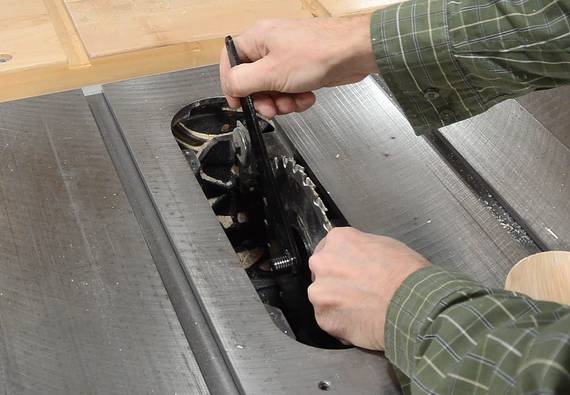
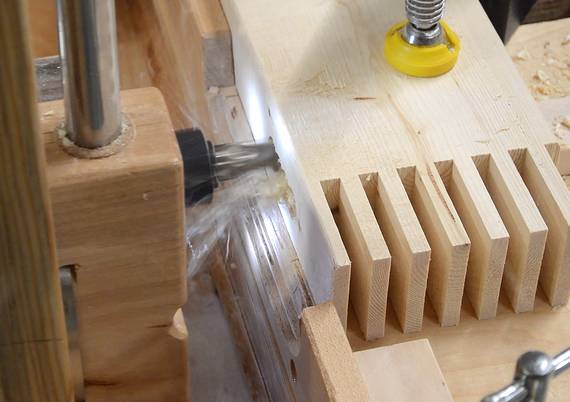
I stacked two 7 1/4" saw blades in my table saw, then used my screw advance
box joint jig to cut 1/4" box joints in the ends. Rather than fiddle with getting
a dado stack to cut exactly 1/4", I just make two cuts spaced such that the slot
is 1/4". I'm cutting the joints in four pieces of 2x4 at once. I sized the cabinet
so the pieces just barely clear the low ceiling in my shop.
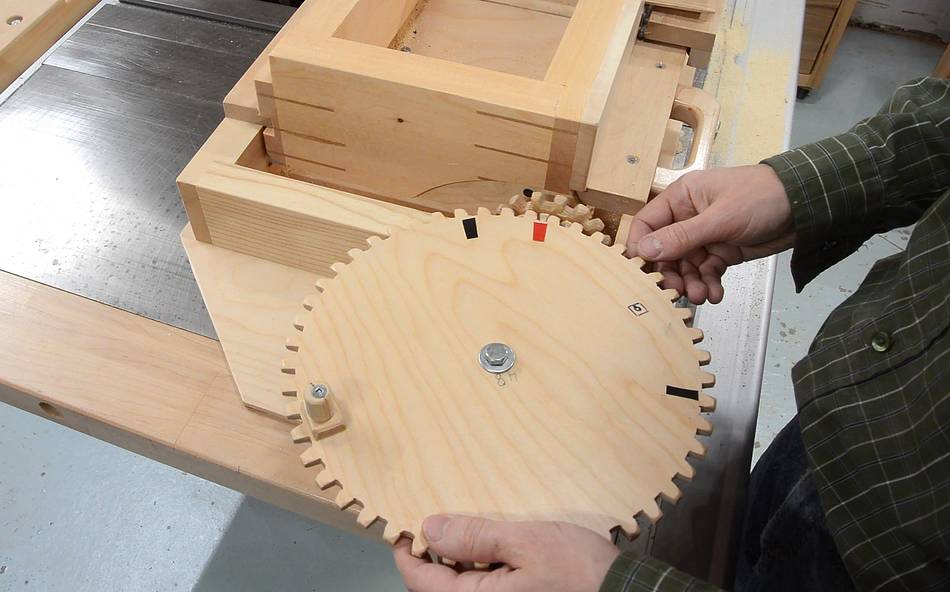
Using a 48:12 (4:1) gear ratio, each turn of the crank gear moves the carriage by
1/4". I make one cut with the crank handle to the right (next to the other gear),
then I turn the crank by about one third of a
turn so the red tape is to the right and make the second cut. To save time,
I make the second cut while pulling the jig back over the blade (cutting with the
back side of the blade).
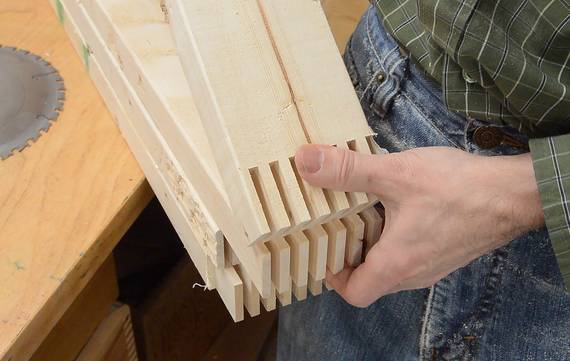
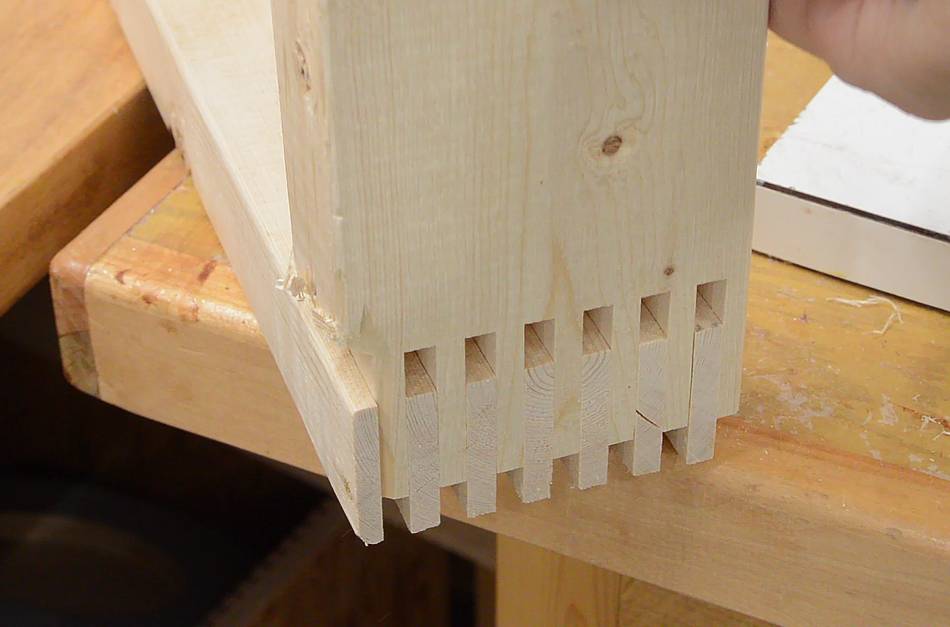
But the joints came out too tight. I think that cutting four 2x4s at once
may have pushed the blades
together a bit, making a narrower slot. So I moved the red tape marking by two teeth
further along, which makes for 0.010" (0.25 mm) wider gaps, then cut the mating pieces.
This resulted in a perfect fit with the pieces cut earlier.
A good fit! But I screwed up a little bit. I meant to make all the parts so that
both ends were the same, but when I cut the first batch of short pieces, I accidentally
oriented the joints differently on both ends. I can work with that by making the rest
of the vertical parts the same way. But it means more to keep track of when assembling.
These little mistakes can really complicate a project.
Assembling one of two frames.
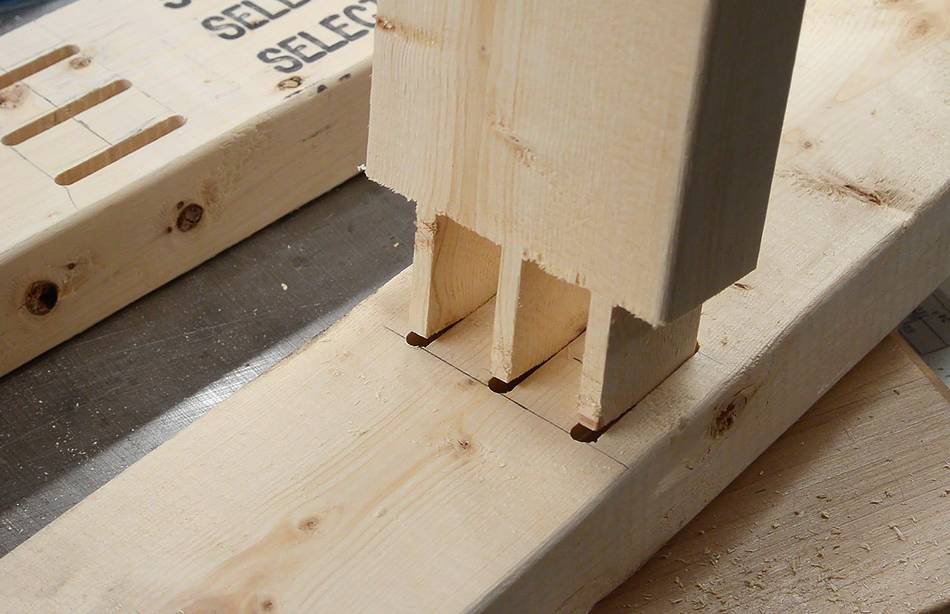
A vertical member goes in the middle. I could accommodate the box joint ends by
cutting a series of slot mortises in the horizontals, but this would mean cutting
away half the 2x4.
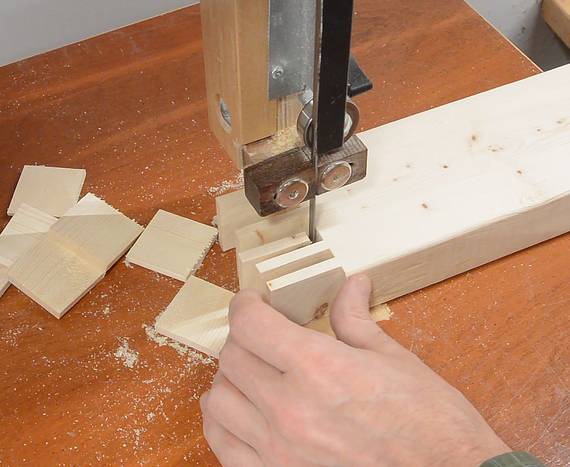
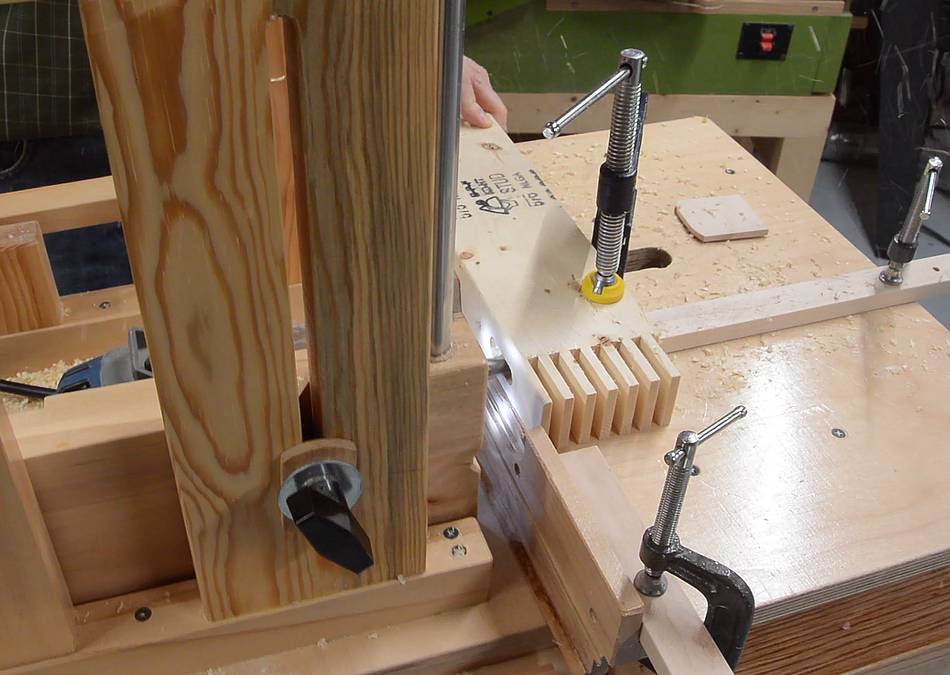
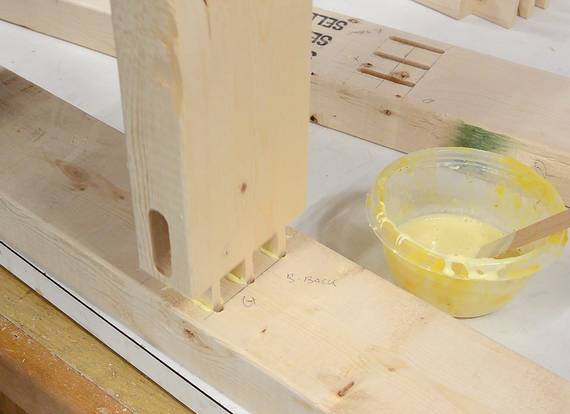
To avoid having to cut away so much of the frame, I cut away half the fingers of
the middle vertical part.
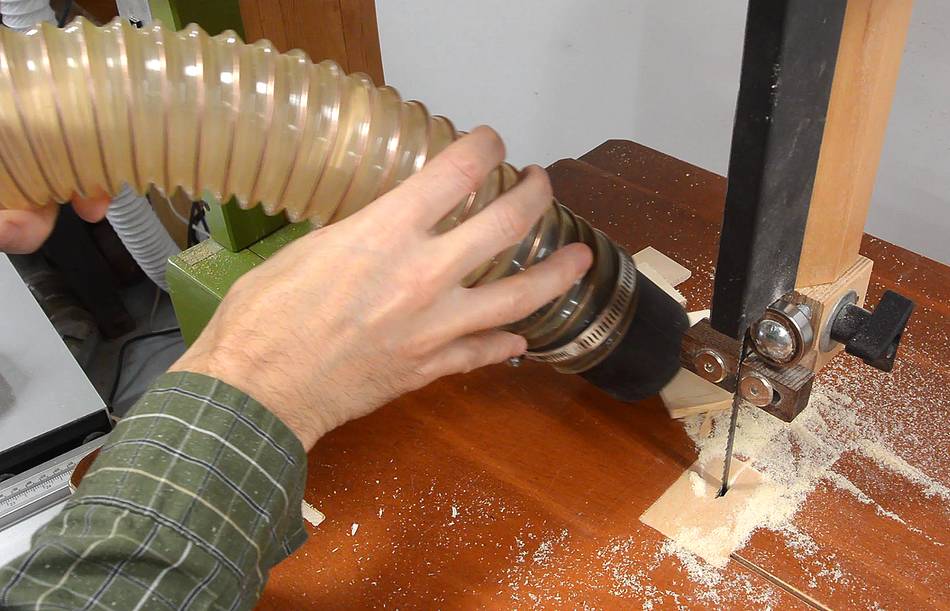
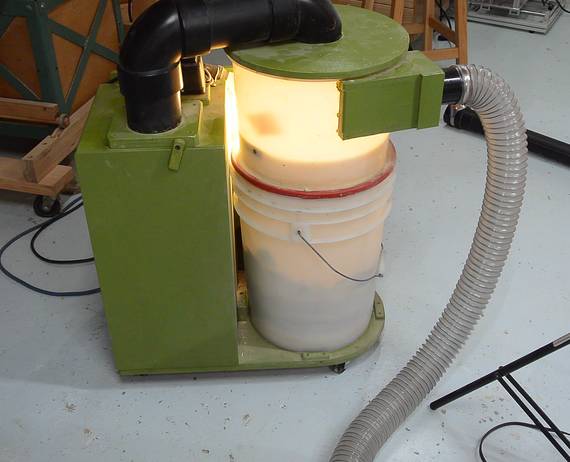
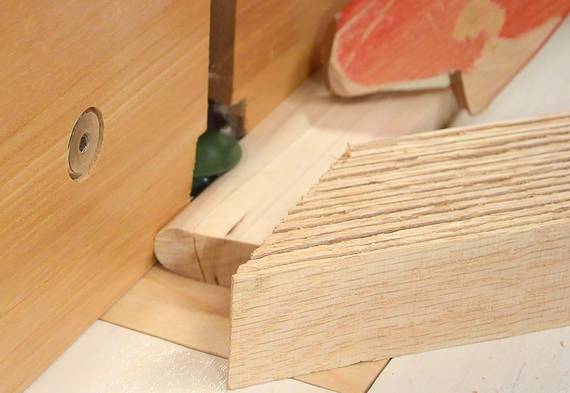
Just an aside - I like to clean up little bits of wood on the bandsaw using my
dust collector.
These pieces just barely went through the hose, and some got stuck.
With the cyclone and filter ahead of the blower, I don't have to worry about
them damaging the impeller (not like a typical small dust collector).
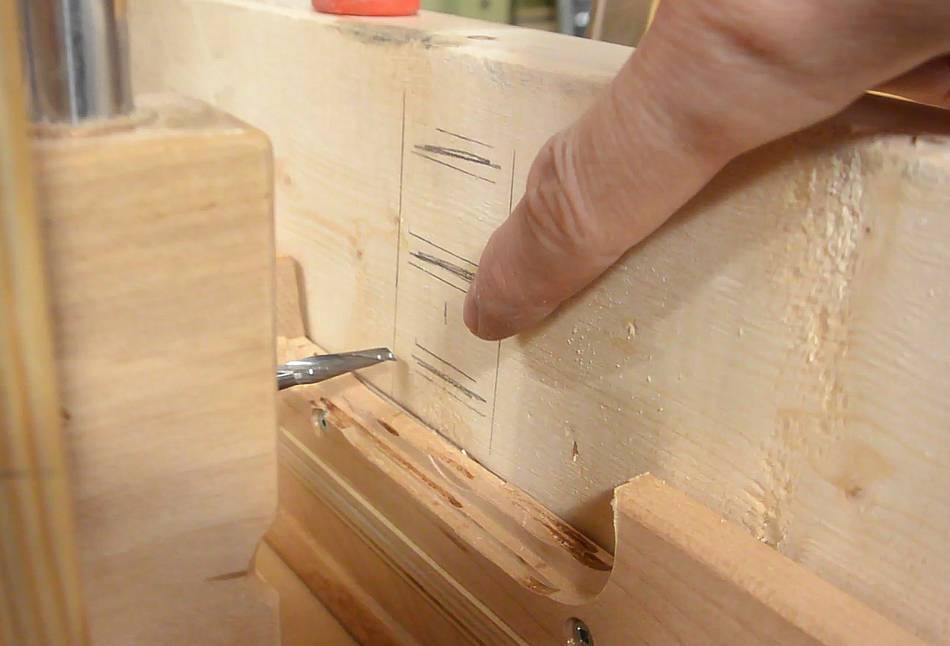
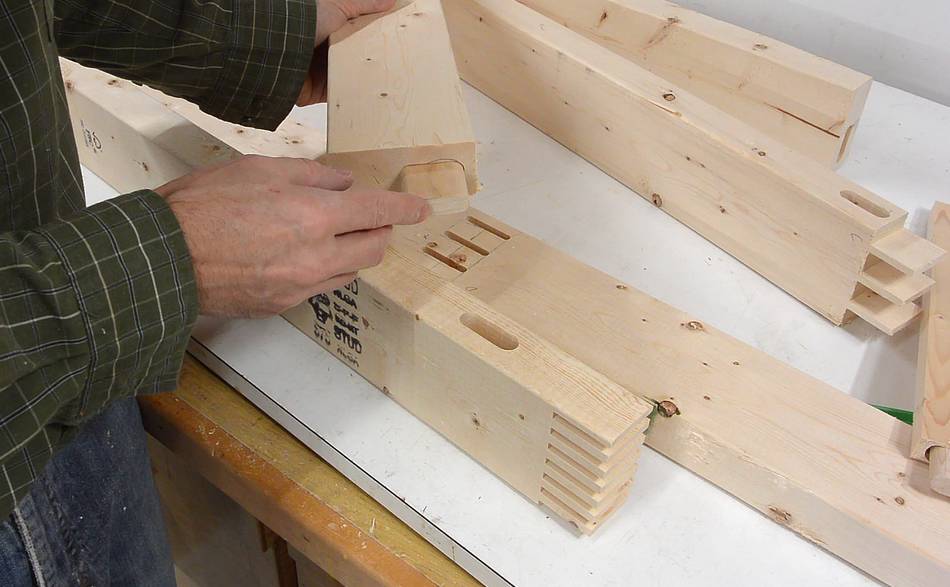
This left just three mortises to cut, using my
slot mortiser. I marked approximately where the mortises need to go to avoid
making gross mistakes.
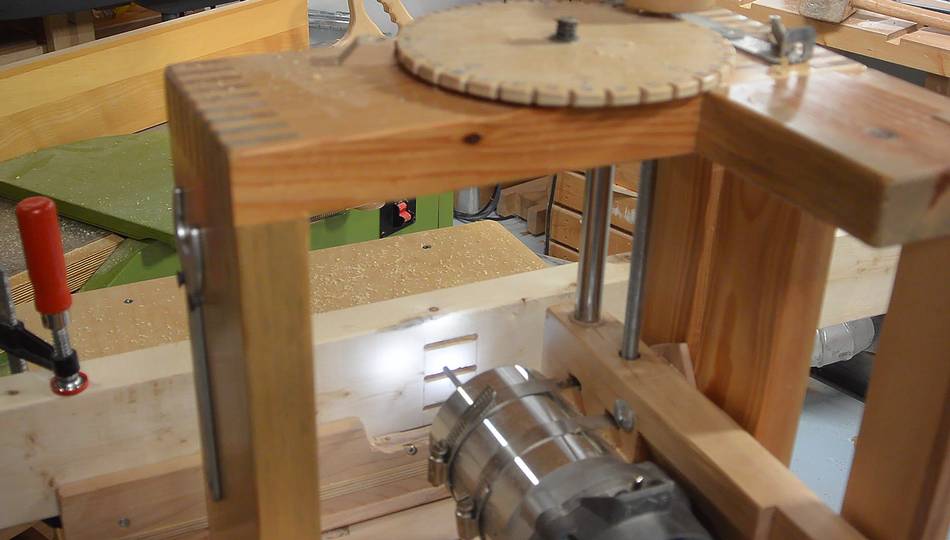
The 16 turns per inch threaded rod for the vertical adjustment makes it easy to get the
spacing just right in 16ths of an inch increments.
A "counter wheel" on top of the machine counts how many turns
of the crank I have made. That way I can use the threaded rod for precise vertical
indexing without worrying about mis-counting crank turns.
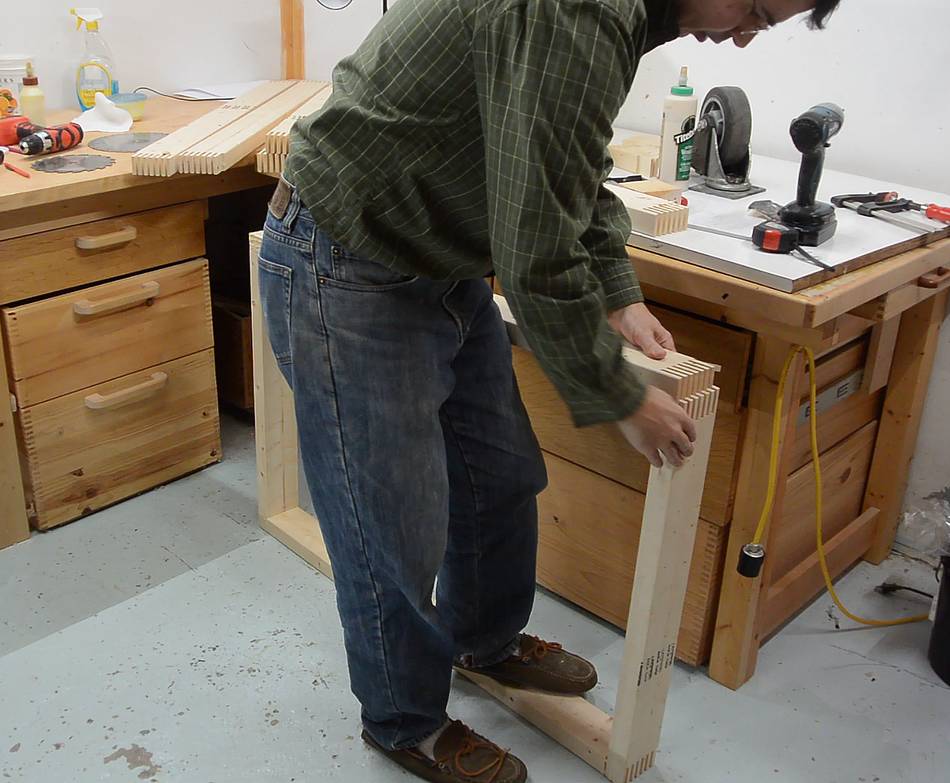
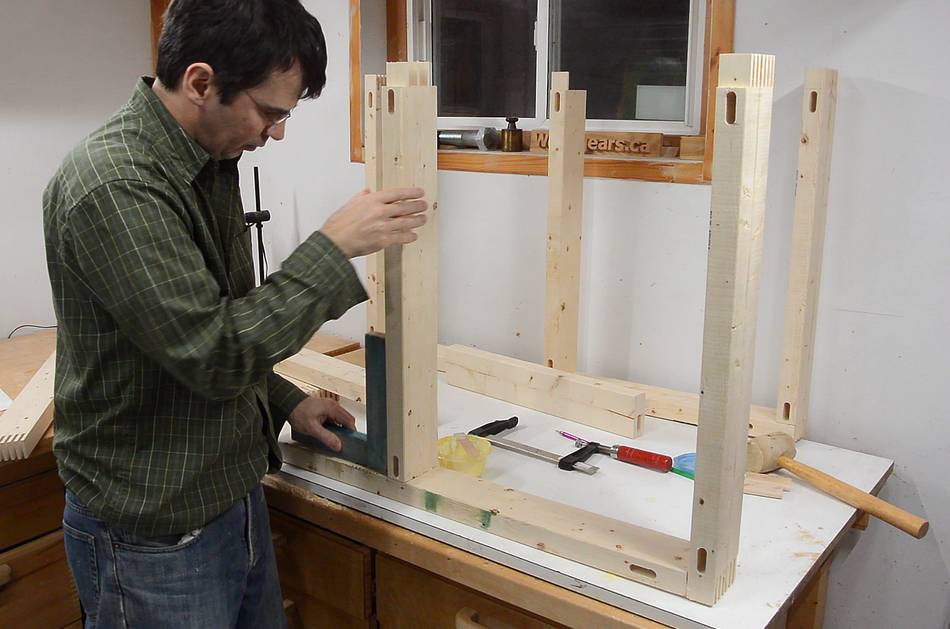
Test fit!
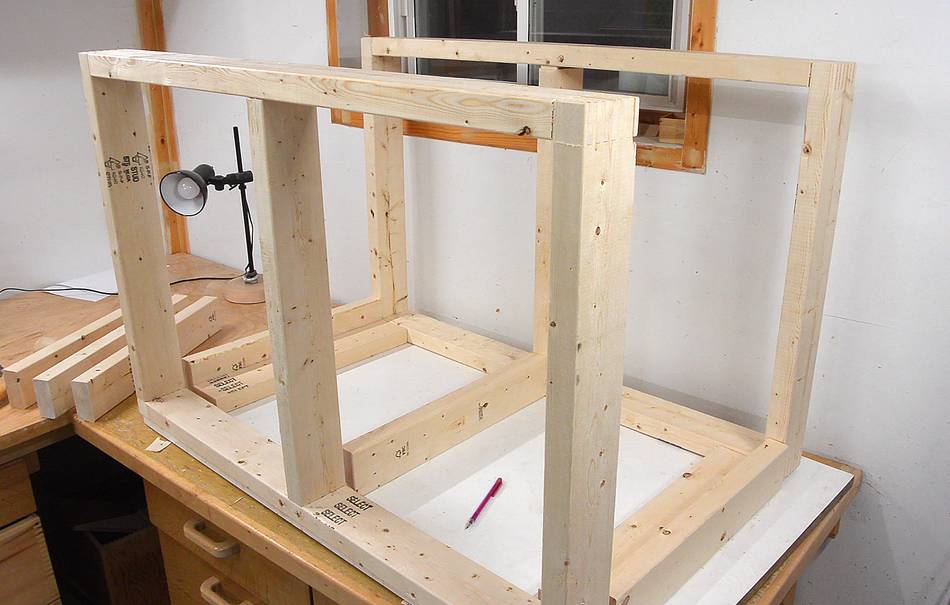
Now dry fitting the frames together. There will be pieces of 2x4 that connect
the front and back frames.
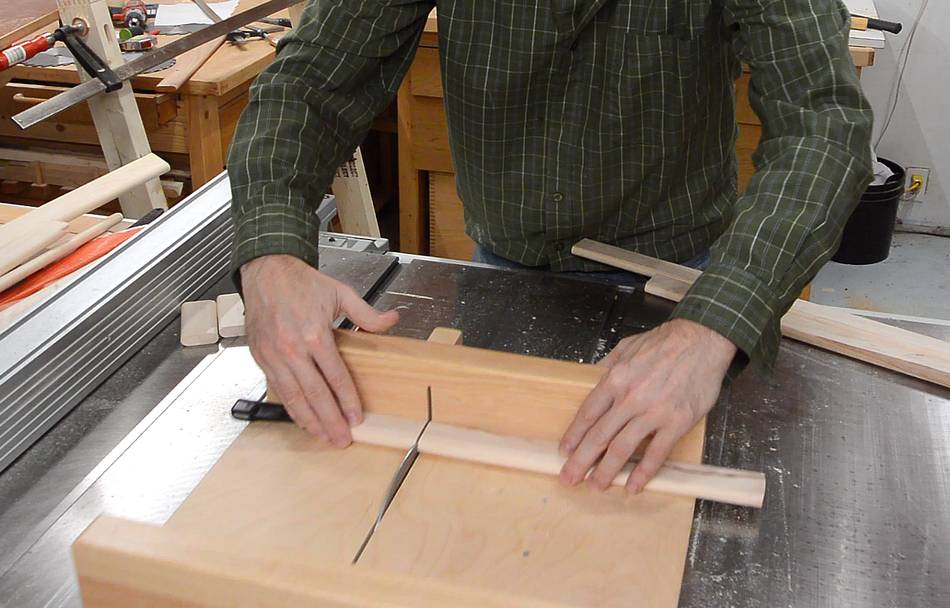
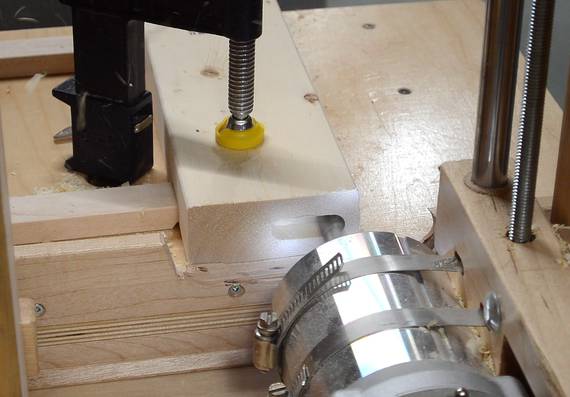
I want to join the front and back frame with floating tenons. I started with
some 1/2" thick maple and routed half-rounds on either side using my
router lift.
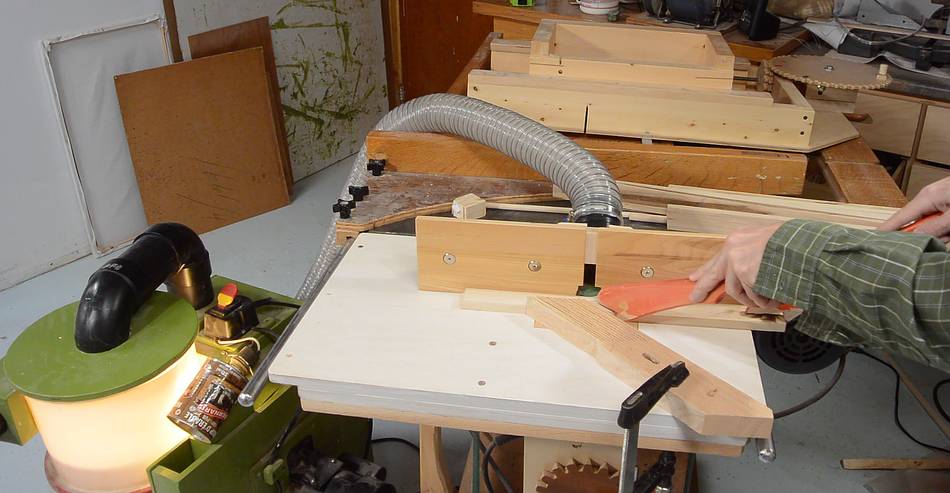
Then cutting these into short lengths on the table saw...
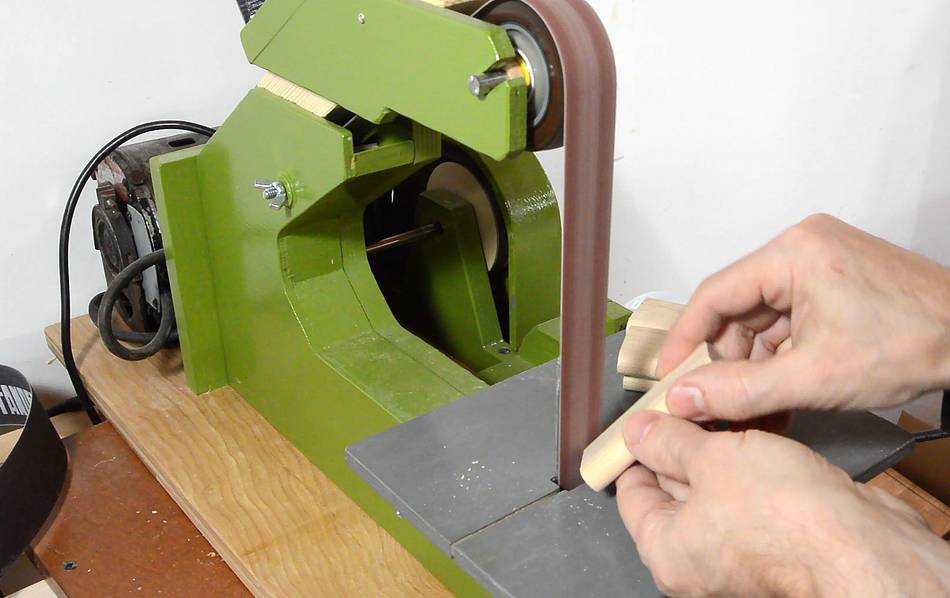
... and chamfering the ends on my strip sander.
I used to use my 6"x48" belt sander for this, but my strip sander is quieter,
and sanding them right near the table
gets the dust sucked into the machine effectively.
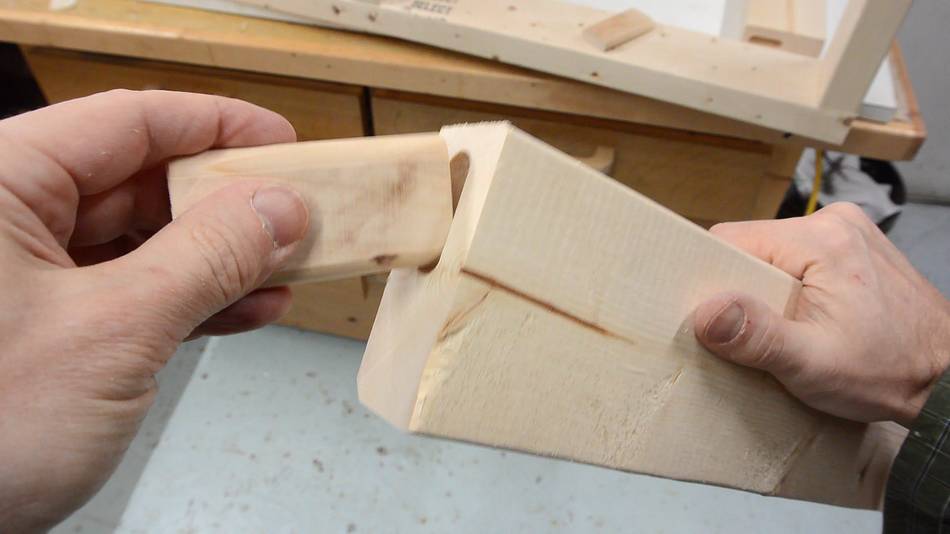
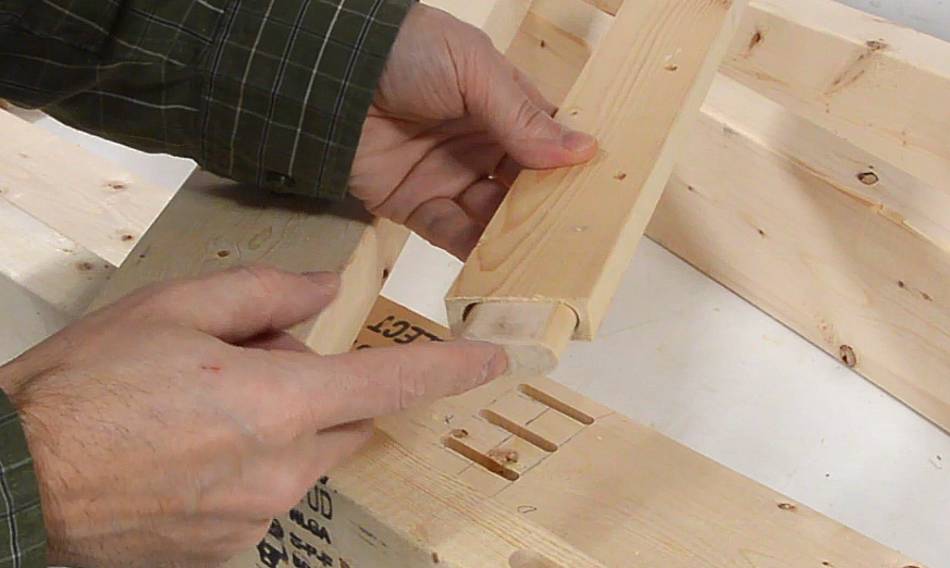
This shows where the floating tenon is going to be.
It's like a Festool Domino, but bigger.
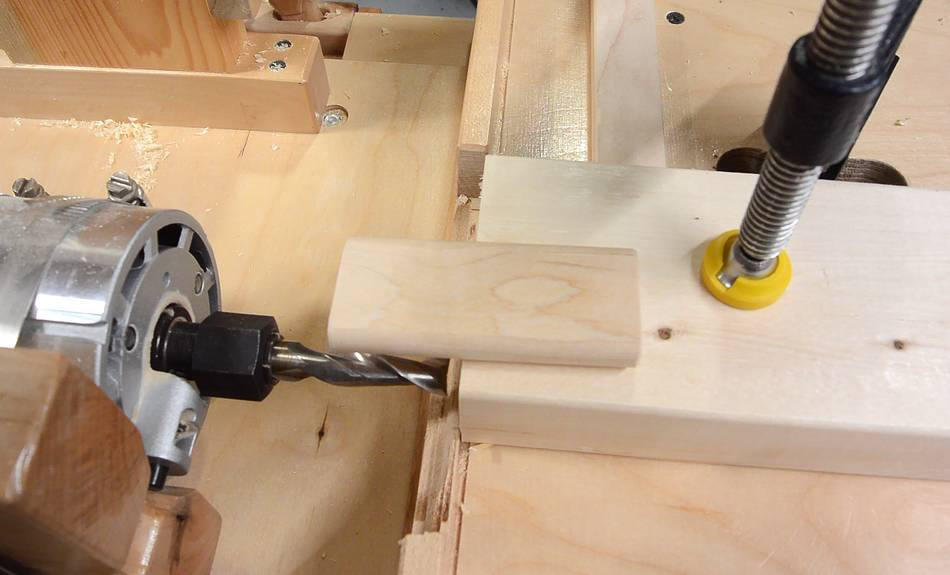
Cutting the mortise in the end of the 2x4. The motion I'm using is mostly side-to-side
while plunging slowly. This allows the cutter's sides to mill away mostly side grain,
which is much easier to mill than plunging into the end grain.
Dry fitting the floating tenon in the end of the 2x4.
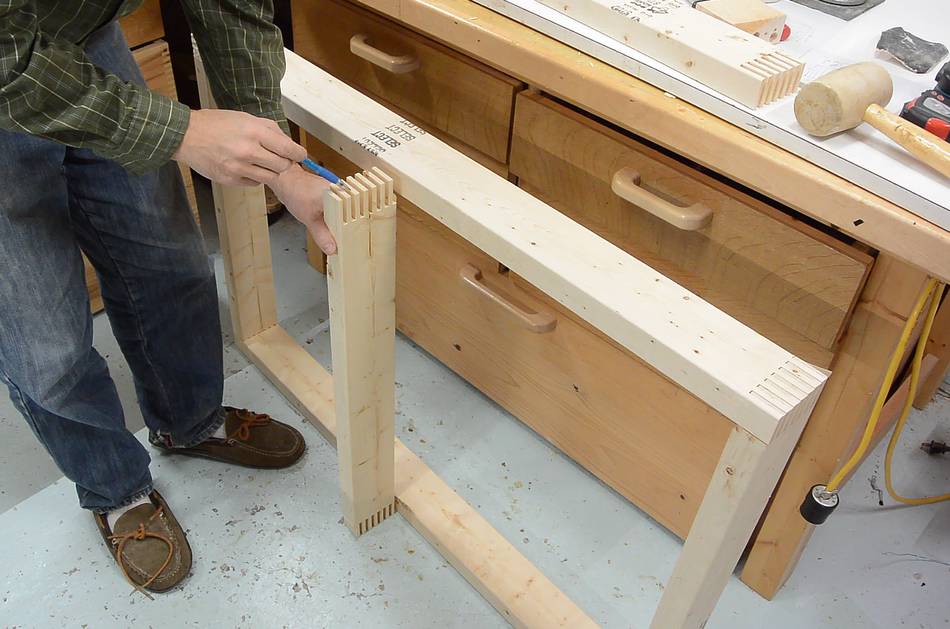
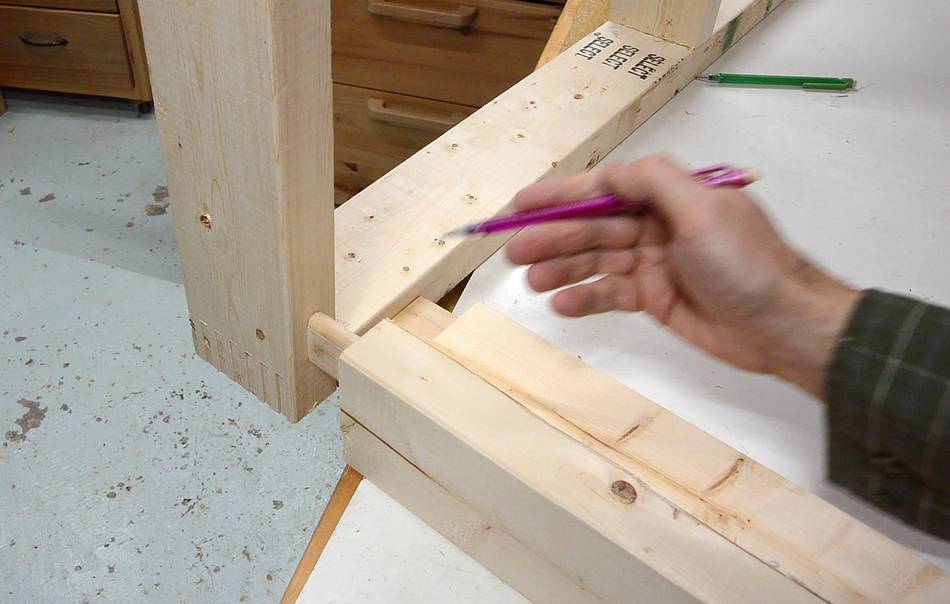
I then mark approximately where the mortises need to go with a pencil.
The actual precise position will come from stops I set up
on my slot mortiser.
I also label all the joints on the dry fit frames before taking them
apart so I can put them together again the same way.
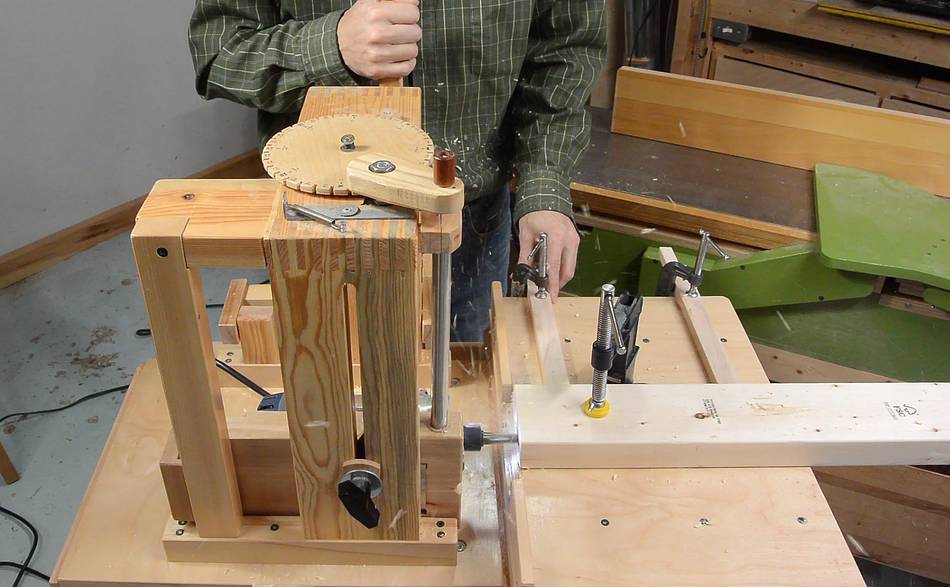
Now milling mortises into the sides of the parts for the front and back frames.
This time, I mill mostly by making a series of plunge cuts. Plunging into
the side grain is easier than sweeping side-to-side, because the side sweeps would
cause the cutter to have to mill end-grain in the wood, whereas plunging cuts
into the side grain in this case.
Checking the fit.
From time to time, I'm asked about the relative merits of floating tenons vs integral
tenons (By integral I mean a tenon that is part of the end of the piece, not
glued into a slot in the end like a "floating tenon").
Both have their advantages. For this workbench, I'm using maple tenons, which will be
stronger than the spruce. So the floating tenon will probably be stronger.
But if I made a floating tenon almost the size of the workpiece (as shown here),
that would not be very strong because there wouldn't be enough wood around it
to hold it. For an integral tenon, this wouldn't be a problem.
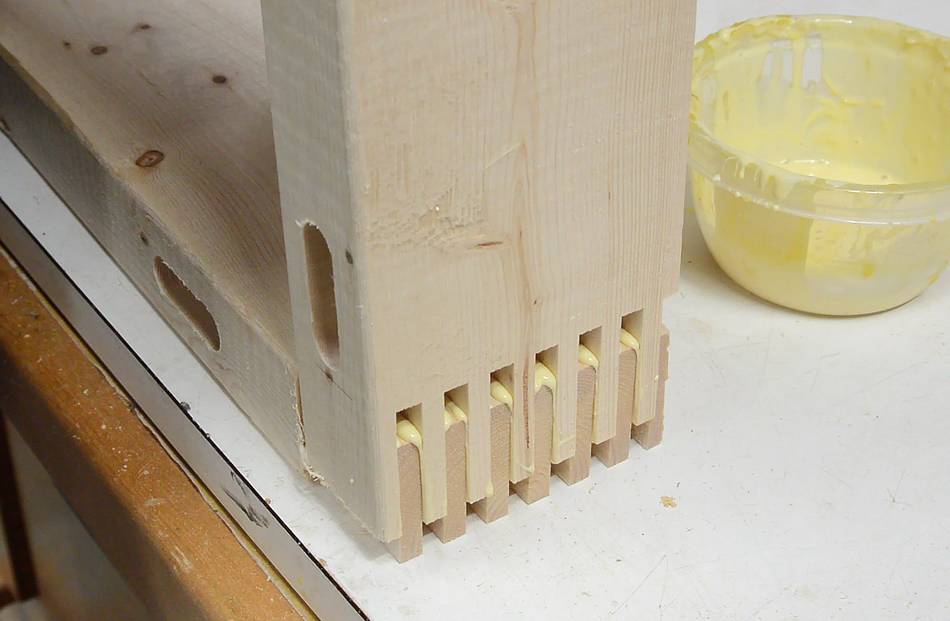
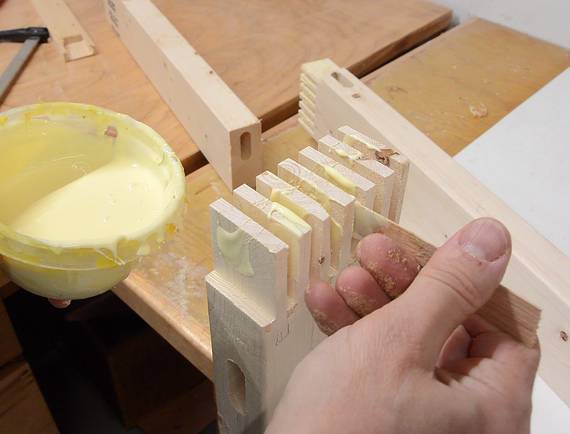
With the joinery cut, I can glue the front and back frames together.
Checking for square as I assemble. The glue sets quickly in the joints, so I make sure
individual parts are square. When the glue sets, I know they'll stay square so I won't
have to worry about it when I add the last piece.
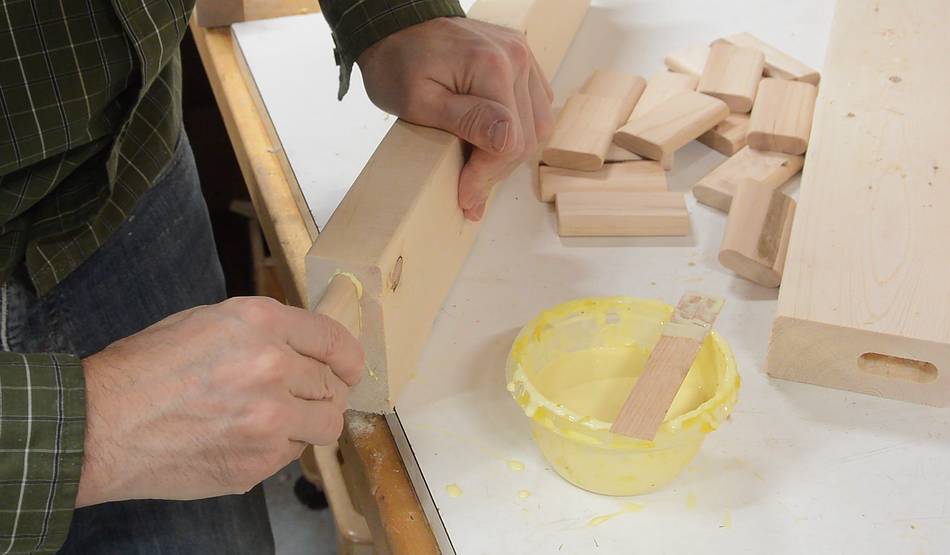
I applied the glue with a thin wooden split, with a glue container to dip it in. I didn't bother
making a comb for applying glue in all the slots at once. But the splint fully loaded
with glue is enough to apply glue to two or three slots before dipping it again.
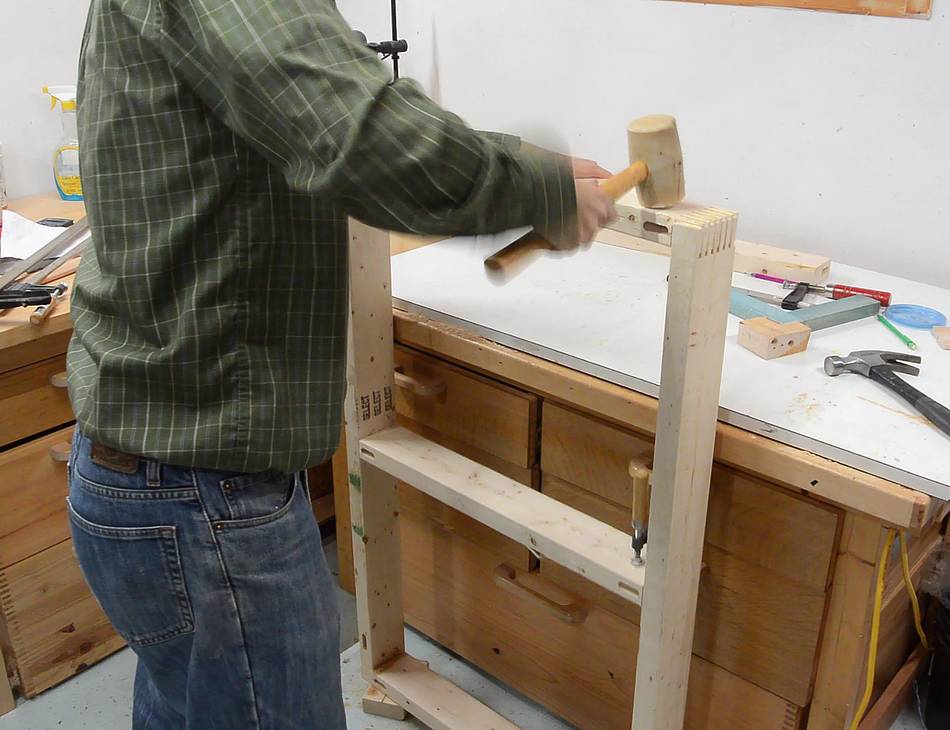
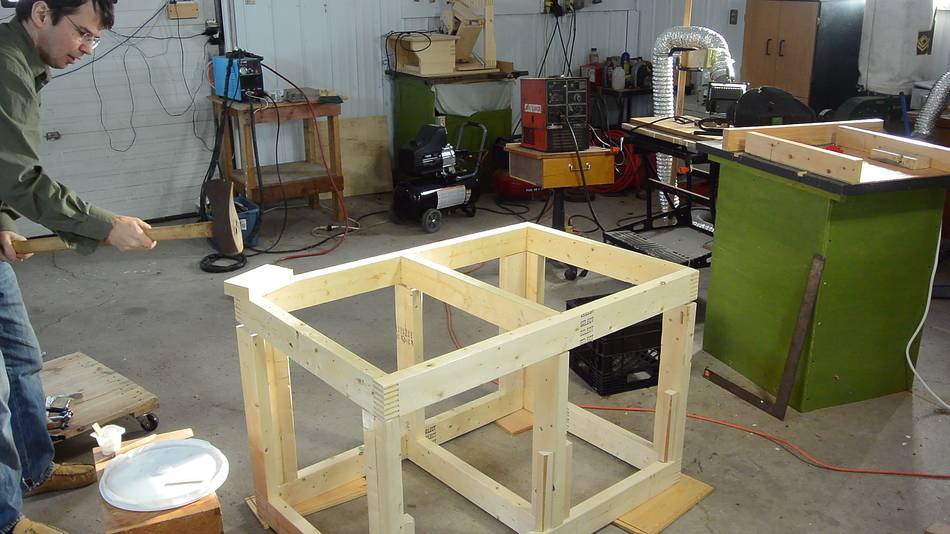
A bit of banging to get three joints to close at once.
After that, I glue the floating tenons in the ends of the rails. I'm careful not to get
glue on the other end of the tenon.
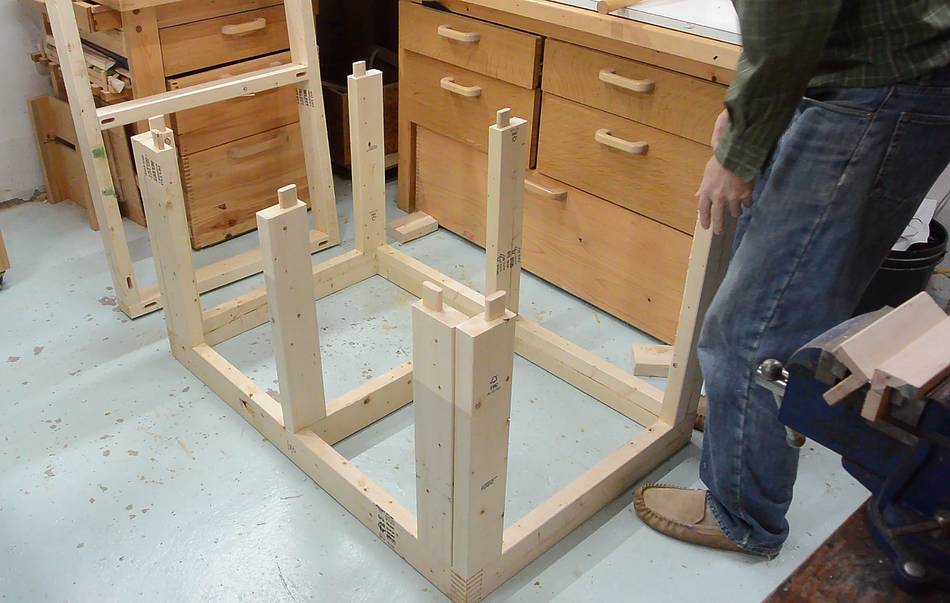
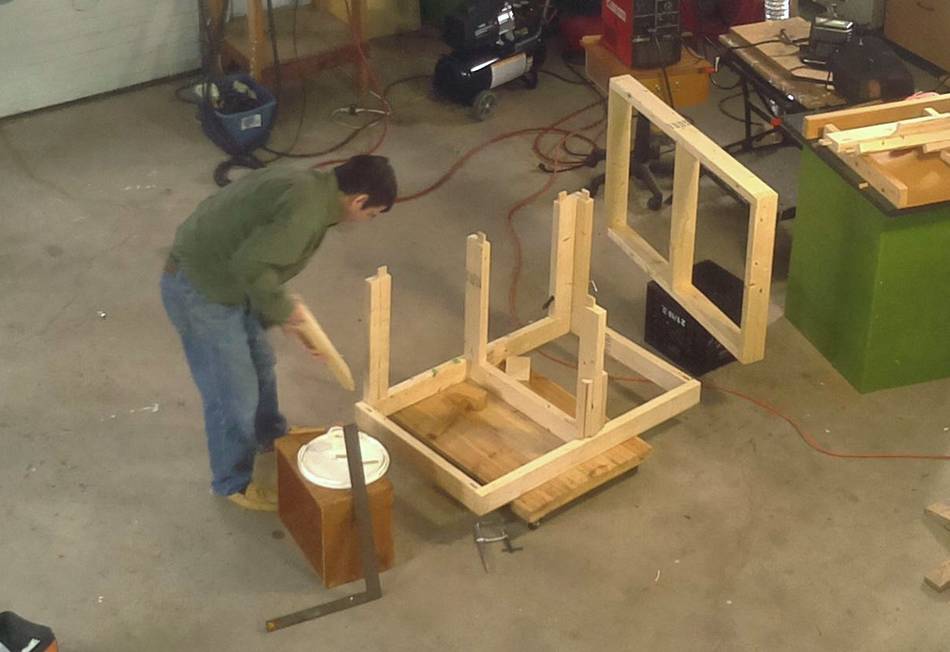
Dry fitting the rails that connect the front and back frames.
Then mating the front frame. I need 8 mortise and tenon joints to mate at once.
This is only a dry fit. I need to take this workbench apart again to move
it to my other shop.
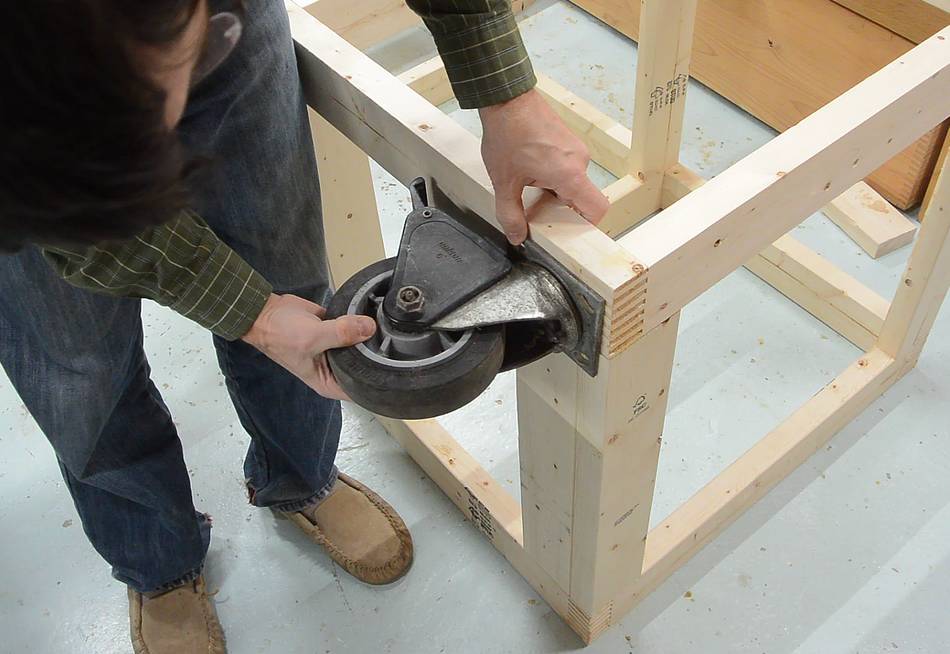
The font and back frames are connected by two 2x4's next to each other
on the bottom corners. This will provide a bigger mounting surface for the casters.
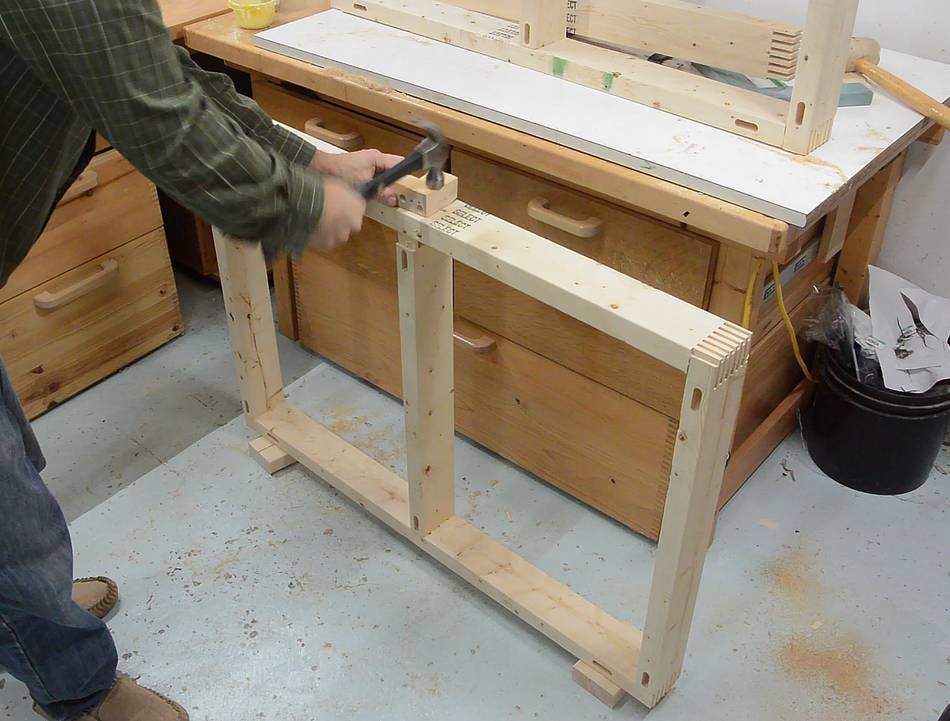
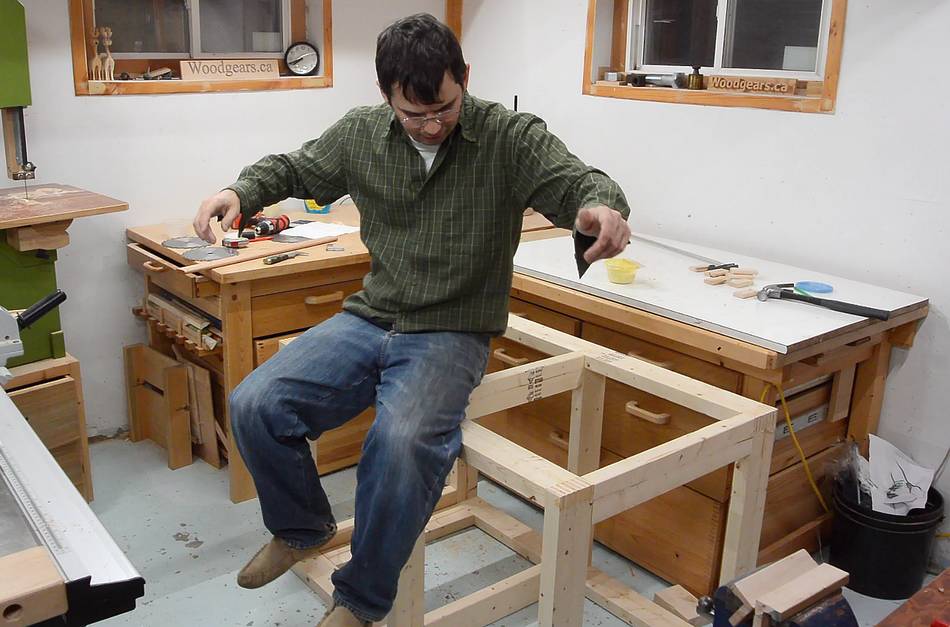
Even dry fit, the workbench frame is quite sturdy. It survives the jump test just fine.
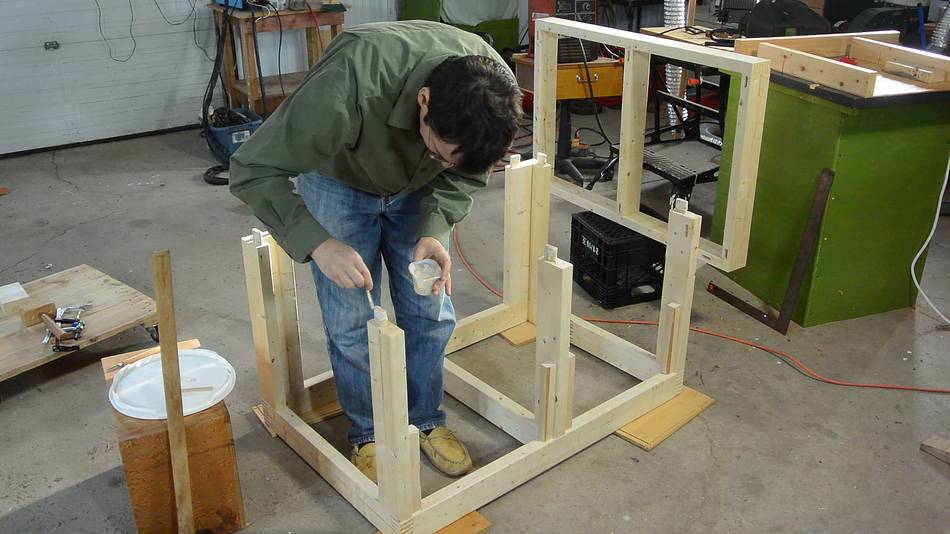
I took the frame apart and reassembled it in my
big garage workshop, where I glued it together. First I glued the eight
rails into the front frame (front down on the floor) and dry fitted the back to make
sure alignment was good while the glue dried.
Then I took the back frame off again, applied glue to all the mortise and tenons
and put it back on.
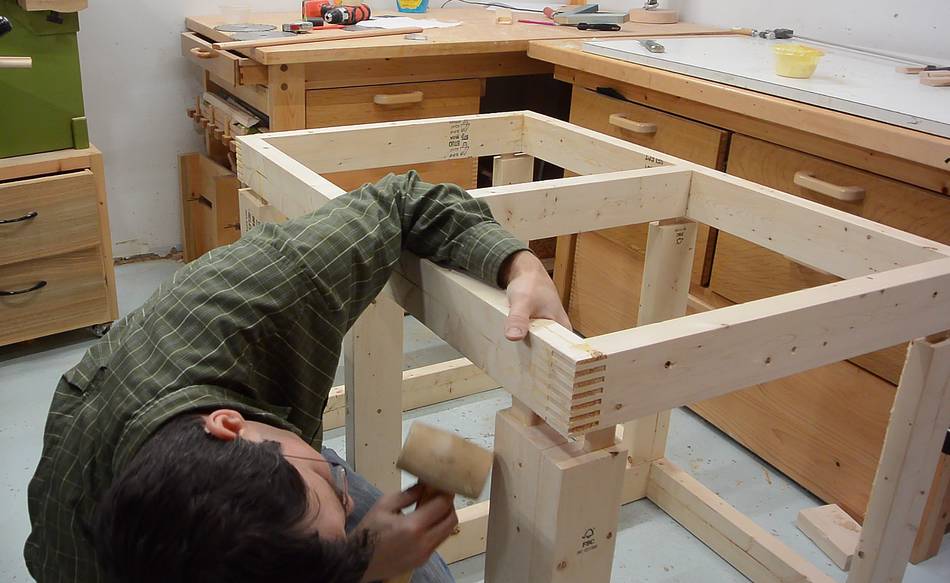
With eight mortise and tenon joints that have to come together at once, it can take a
lot of force to close the joints if the glue starts to set. I didn't have any
clamps long enough there, but pounding it with a heavy splitting maul made
quick work of it!
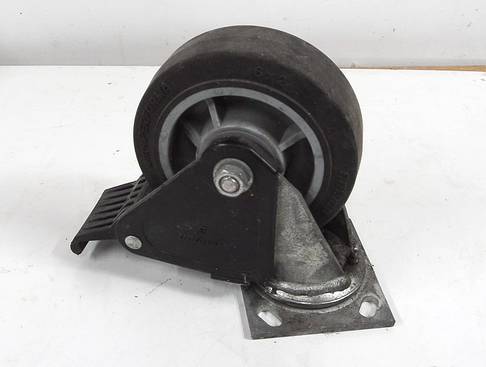
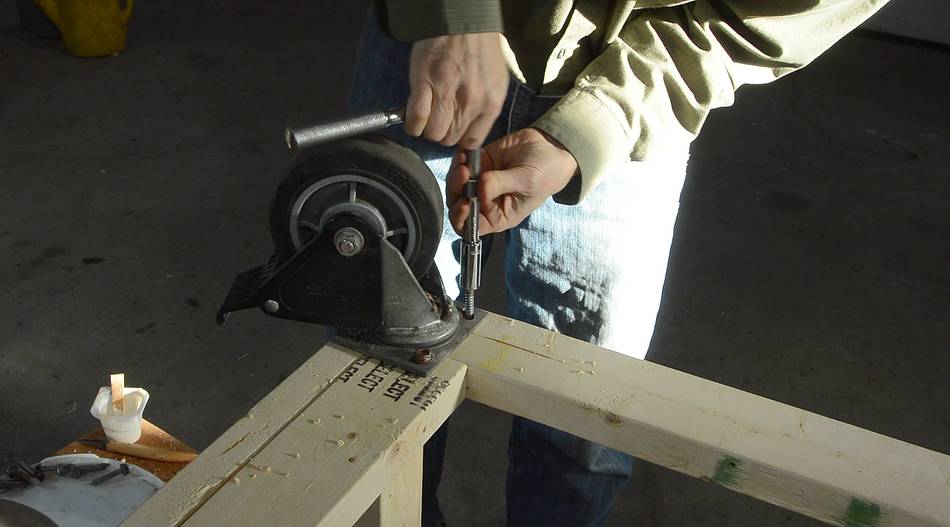
Then attaching the large 6" (15 cm) caster wheels.
Some of the casters came from a dumpster. Some with bad wheels, some
with bad swivel bearings. So I had to combine two into one. I couldn't get the
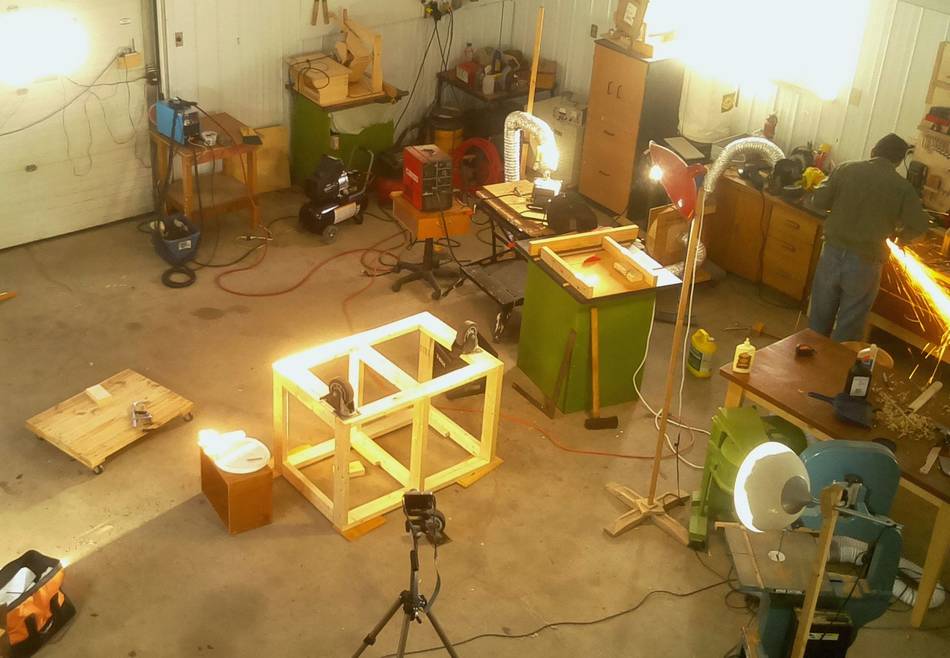
axle bolt loose, so I had to grind it off with an angle grinder.
You can see the sparks flying on the right edge of the photo. You can also
see the subjects of more than ten earlier videos in this photo.
This photo was taken with a Raspberry Pi running my
imgcomp program
to capture a motion triggered time-lapse.
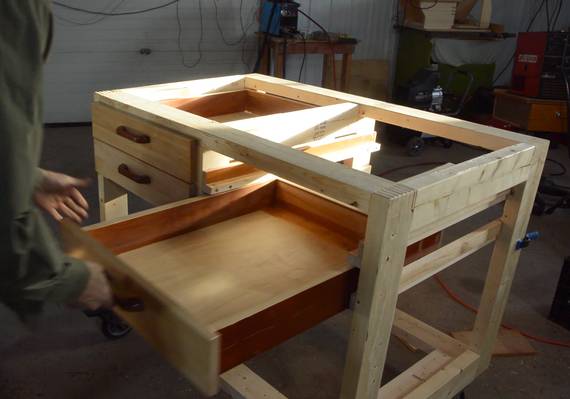
An old table top mounted, and welder and plasma cutter loaded on the bottom.
I'm wheeling it outside to see how well that works.
I don't anticipate doing this much in the winter. My
welding smoke extractor
does well enough if positioned close to the weld, Though it's not effective with
the plasma cutter.
A big problem with this workbench is that it came out much nicer looking than
I had intended, which will make it mentally difficult to get it covered
with welding splatter.
Update 2018:
A bigger problem with this workbench turned out to be that it just wasn't
big enough. So two years later I made another movable workbench,
but this one is designed to lift itself onto dollies.
 The plan was for this workbench to be structured much like most of the cabinets I've built
lately, with a frame made out of 2x4 lumber. The wood is box joined at the corners for
lateral stiffness. There's no face frame to leave maximum opening at the front for drawers
or access to storage.
I used this approach for this tool stand,
bandsaw base, this
and this dresser.
The plan was for this workbench to be structured much like most of the cabinets I've built
lately, with a frame made out of 2x4 lumber. The wood is box joined at the corners for
lateral stiffness. There's no face frame to leave maximum opening at the front for drawers
or access to storage.
I used this approach for this tool stand,
bandsaw base, this
and this dresser.

 Drawers for the work-
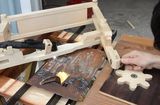 Plasma cutter pantograph
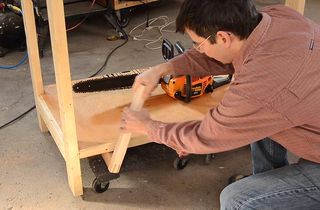 Dolly movable workbench
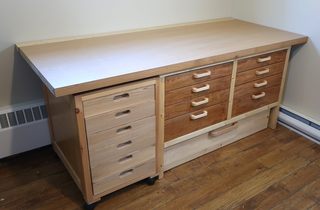 Building a workbench with lots of drawers
 Making a small palm plane
 Building a lawn tractor trailer
 Building a simple workbench
 Making sawhorses
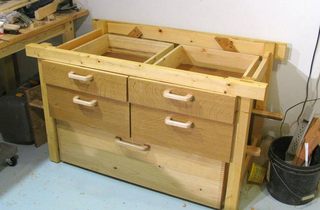 Another workbench
 Router table cabinet build
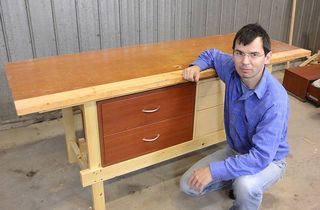 Quickie workbench