Making molding with small router bits
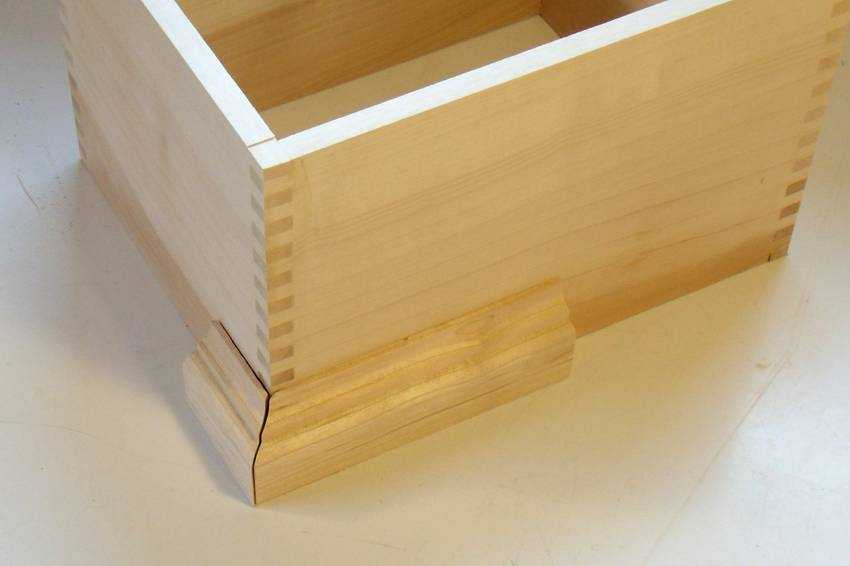 I made a small piece of test molding to see how it would look around the bottom edge of the
box. I was pretty happy with how it ended up looking, so the next step was to make enough
molding to go all the way around.
I made a small piece of test molding to see how it would look around the bottom edge of the
box. I was pretty happy with how it ended up looking, so the next step was to make enough
molding to go all the way around.
 I made all the molding using router bits that came with a set of 20 or so bits.
Larger router bits are available for making the whole molding potentially in one pass,
but it wasn't worth shopping for a bit that would be close to what I wanted.
So I made the molding in several passes with the router bits I already had.
I made all the molding using router bits that came with a set of 20 or so bits.
Larger router bits are available for making the whole molding potentially in one pass,
but it wasn't worth shopping for a bit that would be close to what I wanted.
So I made the molding in several passes with the router bits I already had.
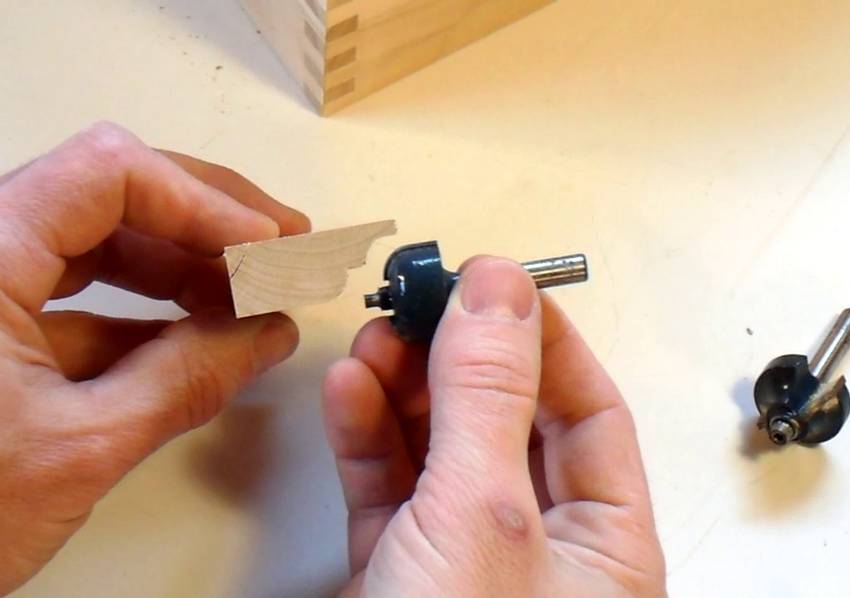
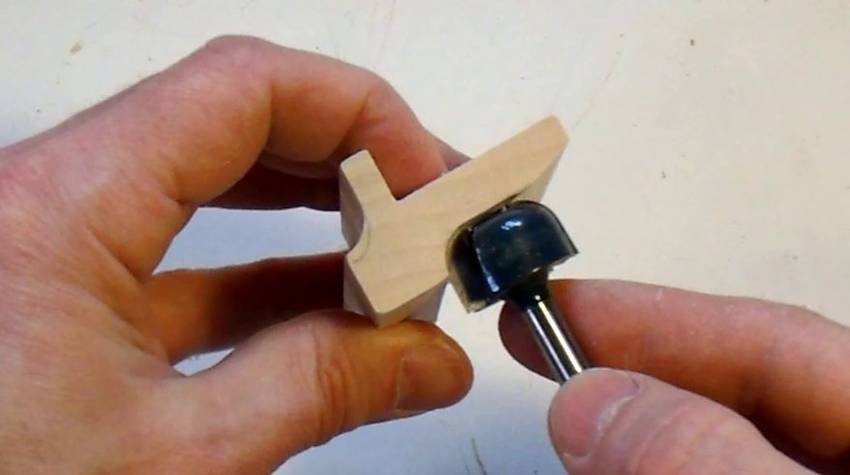
 My piece of prototype molding was very handy for setting up the router bits.
Here, I'm setting
up a straight bit to take away some of the material so that I won't have to cut as deep
with the other router bits.
My piece of prototype molding was very handy for setting up the router bits.
Here, I'm setting
up a straight bit to take away some of the material so that I won't have to cut as deep
with the other router bits.
 Next, I used a 1/4" round over bit to cut the outside round.
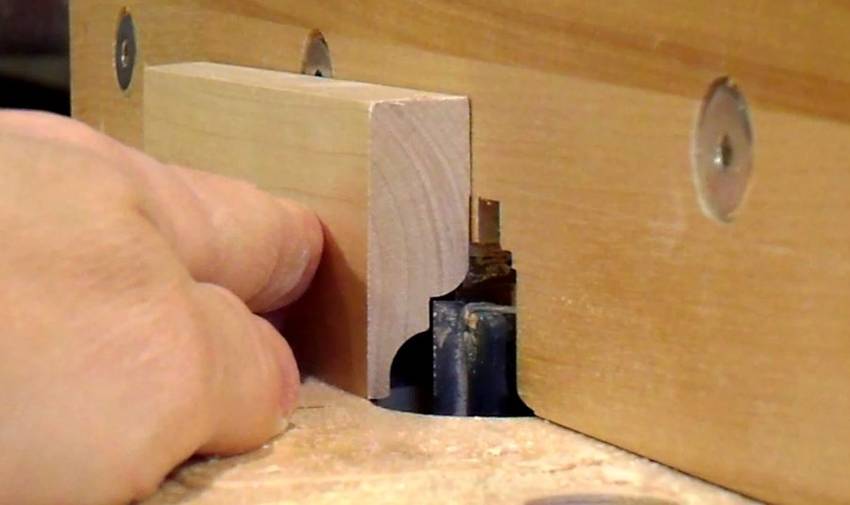
 Last, I used a 3/8" radius cove bit to cut the concave curve at the top of the molding
(upside down in this photo). I removed the guide bearing from the bit because it
(and its mounting screw )
would have interfered with the wood that I wanted to leave in place.
Last, I used a 3/8" radius cove bit to cut the concave curve at the top of the molding
(upside down in this photo). I removed the guide bearing from the bit because it
(and its mounting screw )
would have interfered with the wood that I wanted to leave in place.
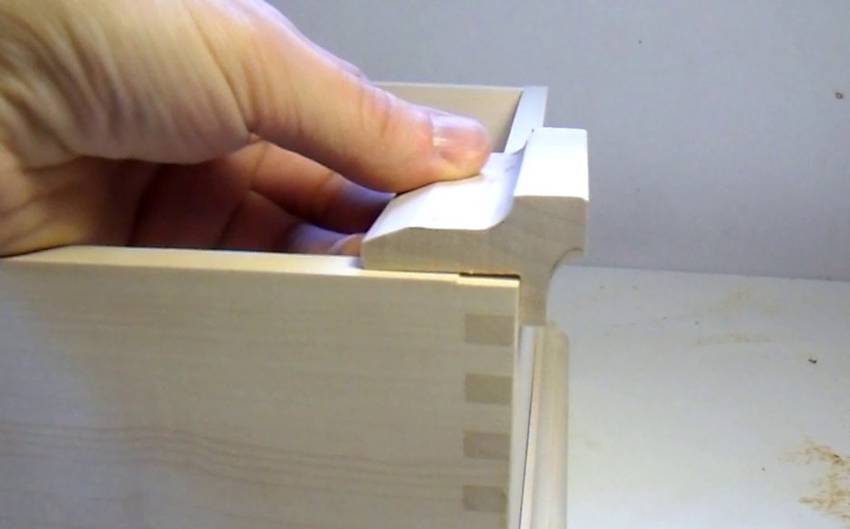 I made another style of molding to go around the top of the box, which I again cut
out with small router bits.
I made another style of molding to go around the top of the box, which I again cut
out with small router bits.
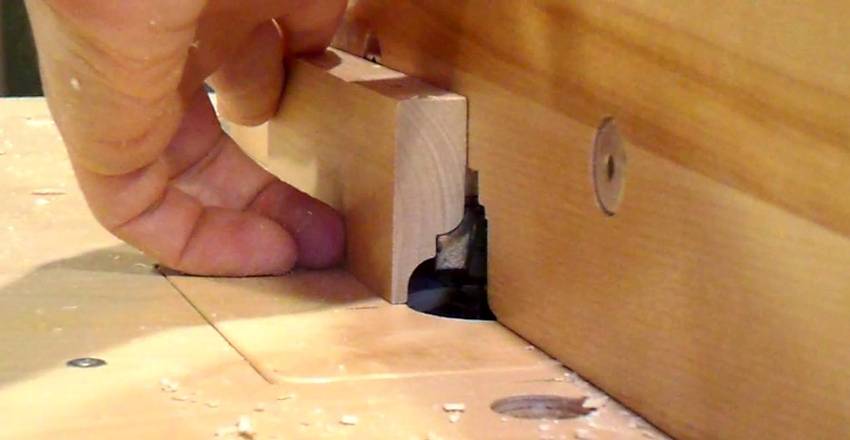
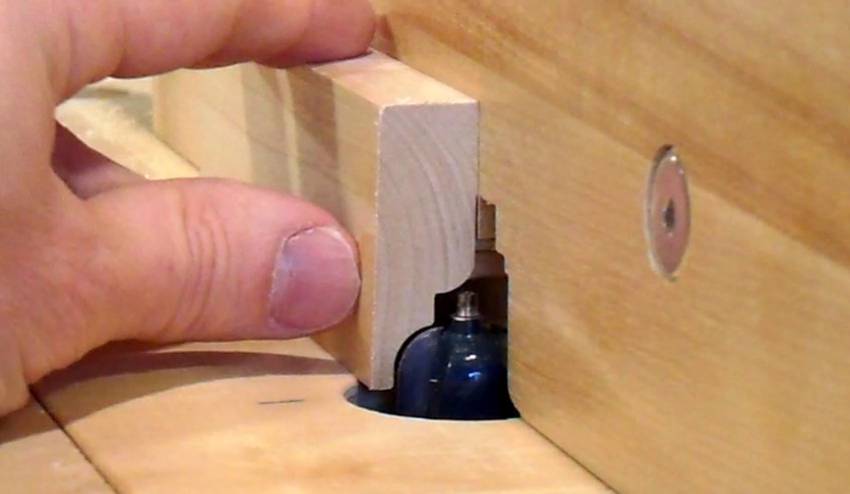
 I would have had to extend the shank of my router bit quite a ways to cut this inside
round from the other direction. So I removed the guide bearing from the bit and
ground off its mounting post. That way, I could approach the cut from a
different direction.
I would have had to extend the shank of my router bit quite a ways to cut this inside
round from the other direction. So I removed the guide bearing from the bit and
ground off its mounting post. That way, I could approach the cut from a
different direction.
 I cut out a rabbet to remove most of the material before routing, so that my router bit
only had to cut away the rounded portion of the cutout.
I cut out a rabbet to remove most of the material before routing, so that my router bit
only had to cut away the rounded portion of the cutout.
There was also another cutout, similar to the first cutout, that I made to go on the outside edge of the molding. I used the same procedure for that one.
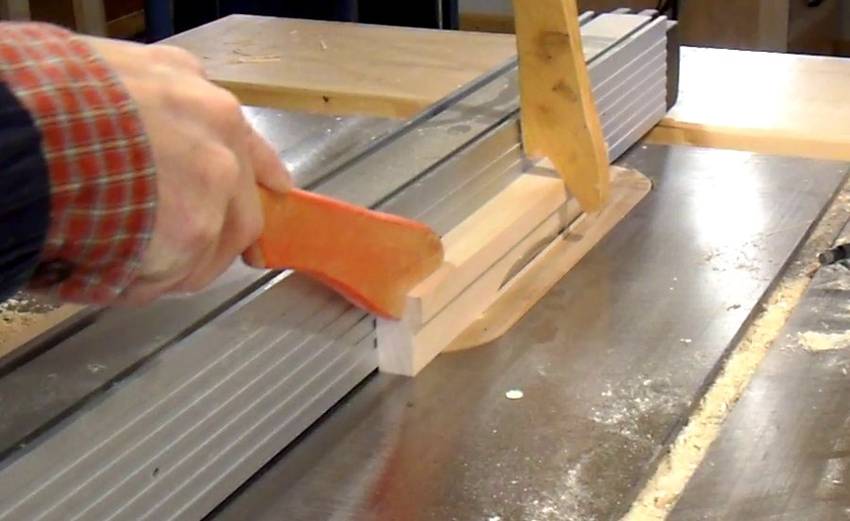 Next, I added a 15-degree bevel to the cutout I had just made. Easiest to just cut that
out on the table saw. It isn't obvious in this photo that the blade is tilted.
Next, I added a 15-degree bevel to the cutout I had just made. Easiest to just cut that
out on the table saw. It isn't obvious in this photo that the blade is tilted.
My table saw has a right tilting arbor, so it was best to make this cut on the right side of the fence.
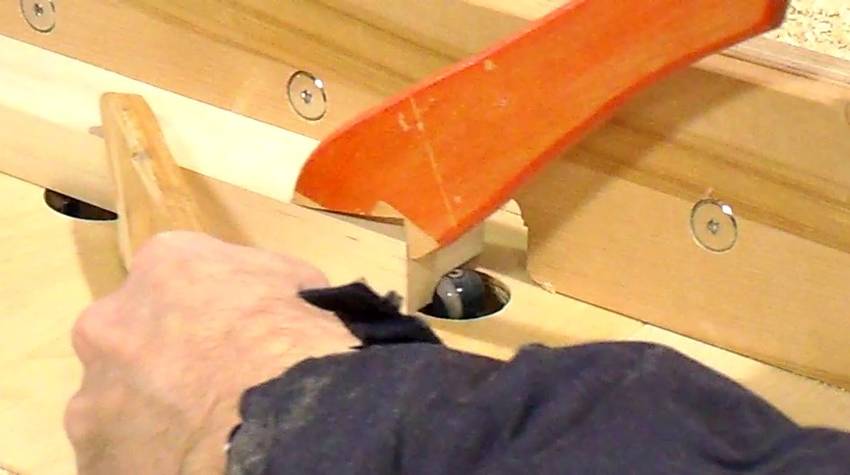
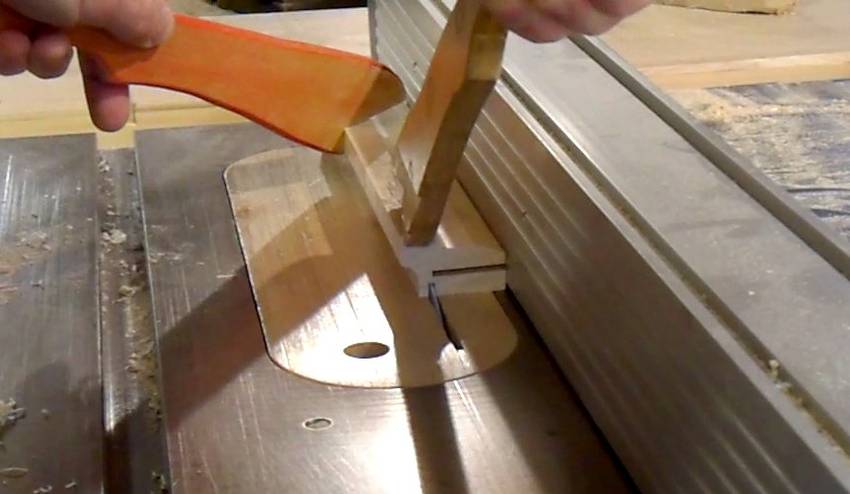 Lastly, I cut a large rabbet out of the molding to finish the shape.
I had to put a bit of thought into the order of operation for making this molding. If I had cut this rabbet out first, it would have been difficult to support the piece for the other operations. In fact, this piece is supported by the partially cut off waste for most of this cut, and it's rather poorly supported at the very end of the cut, so I had to be careful how I fed it out past the blade once the cut was all the way through.
Next: Installing the molding
See also: Making molding with a tilting router lift