The ideal finish for a guitar would be ultra thin, flexible, perfectly
clear, resistant to all chemicals, including body sweat, and able to
stop bullets. In my quest to find such a finish I have tried
nitrocellulose lacquer, various water based lacquers, varnish, shellac
and, ultimately, UV cured polyester. I have found the finish
that comes closest to ideal is the UV cured polyester and that's what I
have been using for a couple of years, along with shellac for those that
want a French polished finish. There's been quite a learning curve with
the polyester finish and I have to say it's still a love/hate
relationship I have with the stuff.
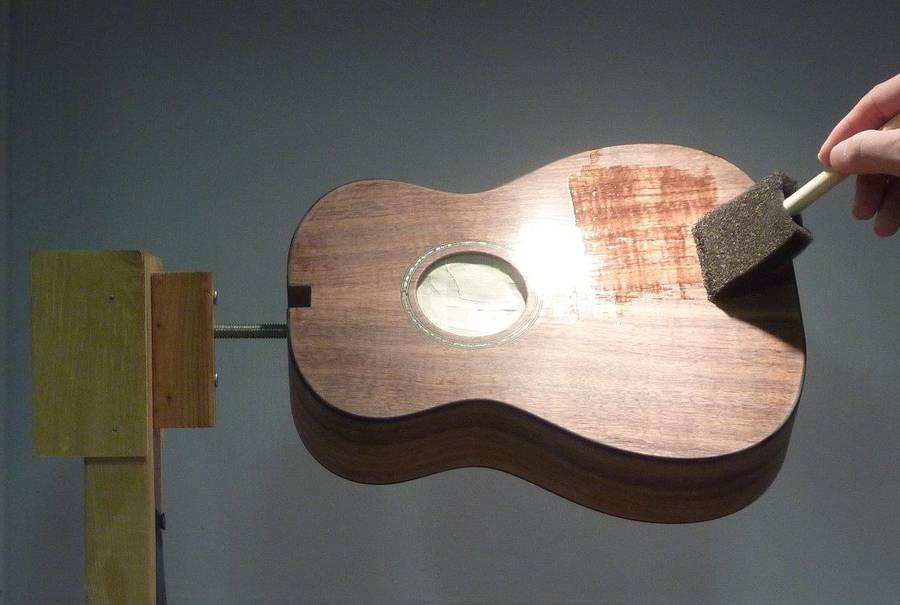
There are three steps to finishing with polyester: application of a
"sealer" which insulates the top coats from the wood oils and helps it
adhere, filling the pores and, finally the top coats. Although the odour
from the finish I use isn't too bad (I use a finish that has zero VOCs)
I apply them in a fume box that ventilates to the outside of my house.
I apply three coats of the sealer, which dries quite quickly in air. I
allow about 30 minutes between coats.
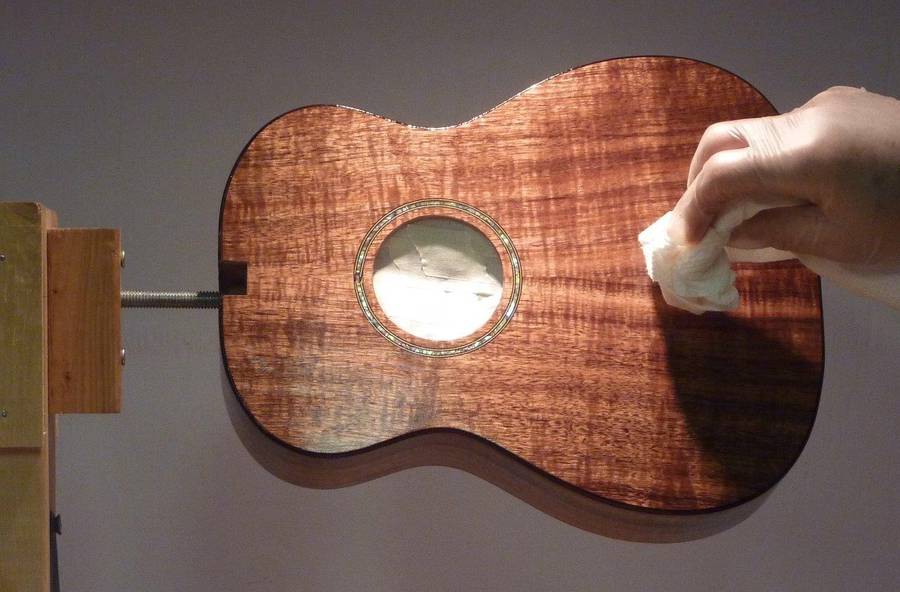
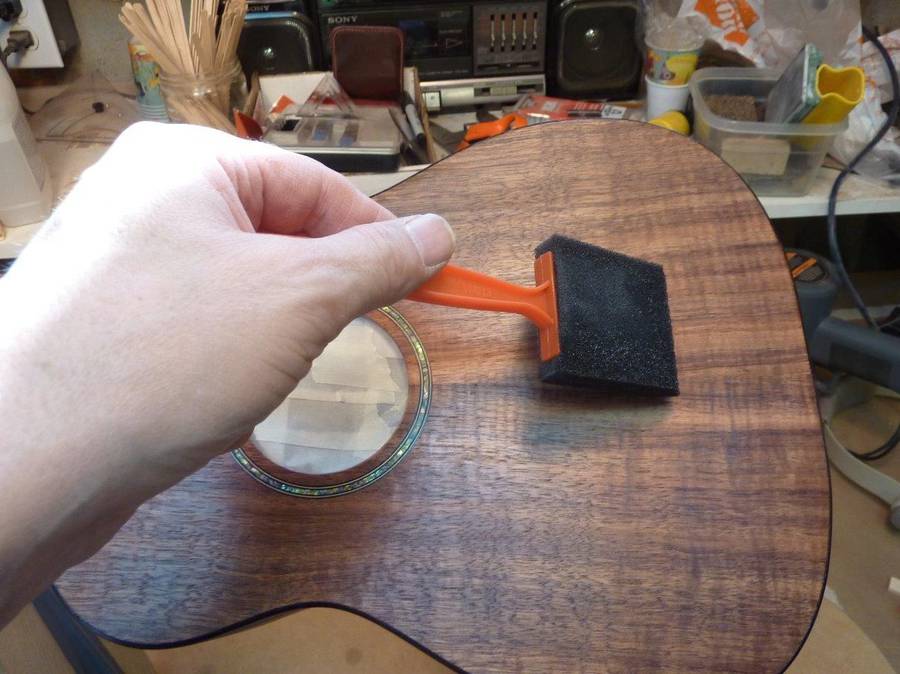
The pore filler comes as a gel which I wipe on with a paper towel.
It is cured with the UV light. I put on two or three coats of the
pore filler, scuffing in between with one of those green scouring pads.
With the finish I am using, it is very
important not to expose unsealed wood pores to either the pore filler or
the top coat so it is only after I am confident that I can sand things
level without going through to the wood that I sand back prior to
starting the top coats. I apply six to eight thin top coats, curing each
one with the UV light. Again to avoid going through to the wood, I scuff
between coats but do not sand back level until the end when I am
confident that I will not sand through.
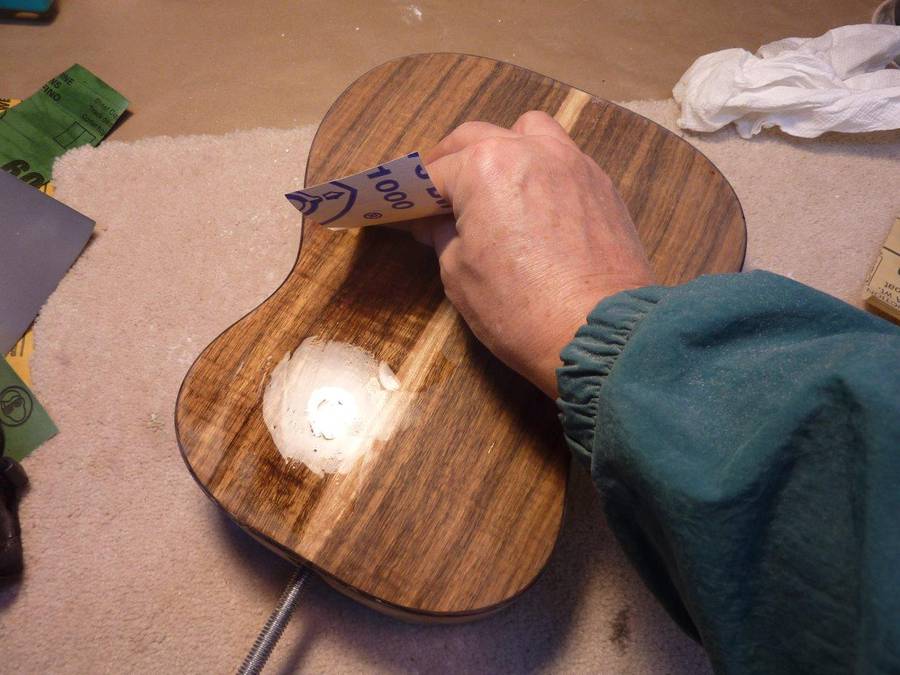
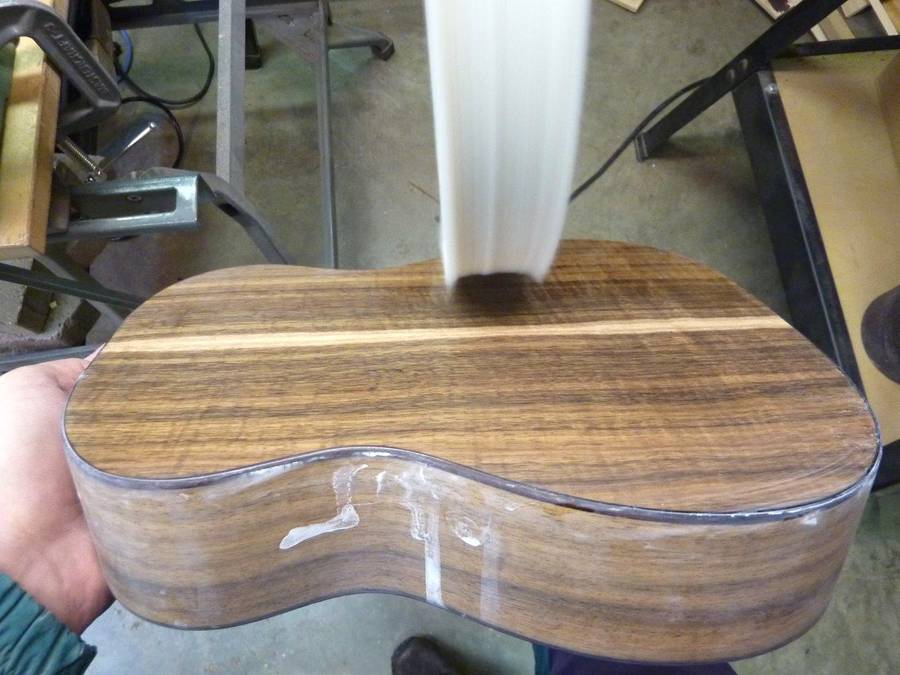
After the last top coat has been applied I level it with 320 grit paper,
sanding dry. From there I work my way up to 1500 grit paper, sanding wet.
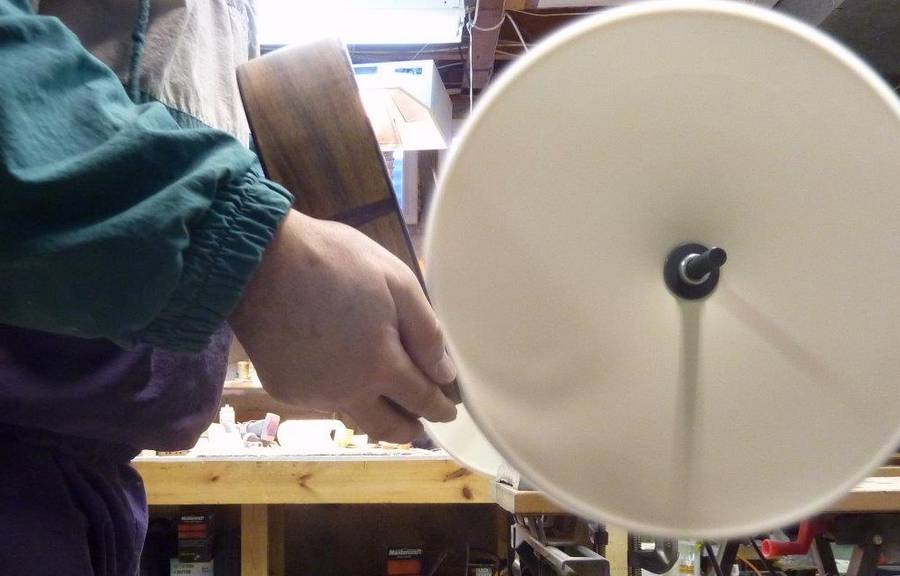
After that I buff it out on my buffing machine first with a medium then
a fine grit compound on the wheels.
I would not recommend finishing in polyester to people who do not
intend to build many instruments. It's expensive to start up and, as I
said, comes with a steep learning curve. What I would recommend is to
try French polishing. Although a lot of arm work, there is something
meditative about building up a shellac finish with a small pad. The
results can be wonderful. The only downside is that the finish is
somewhat fragile. However it is also very easy to repair and touch up
from time to time.
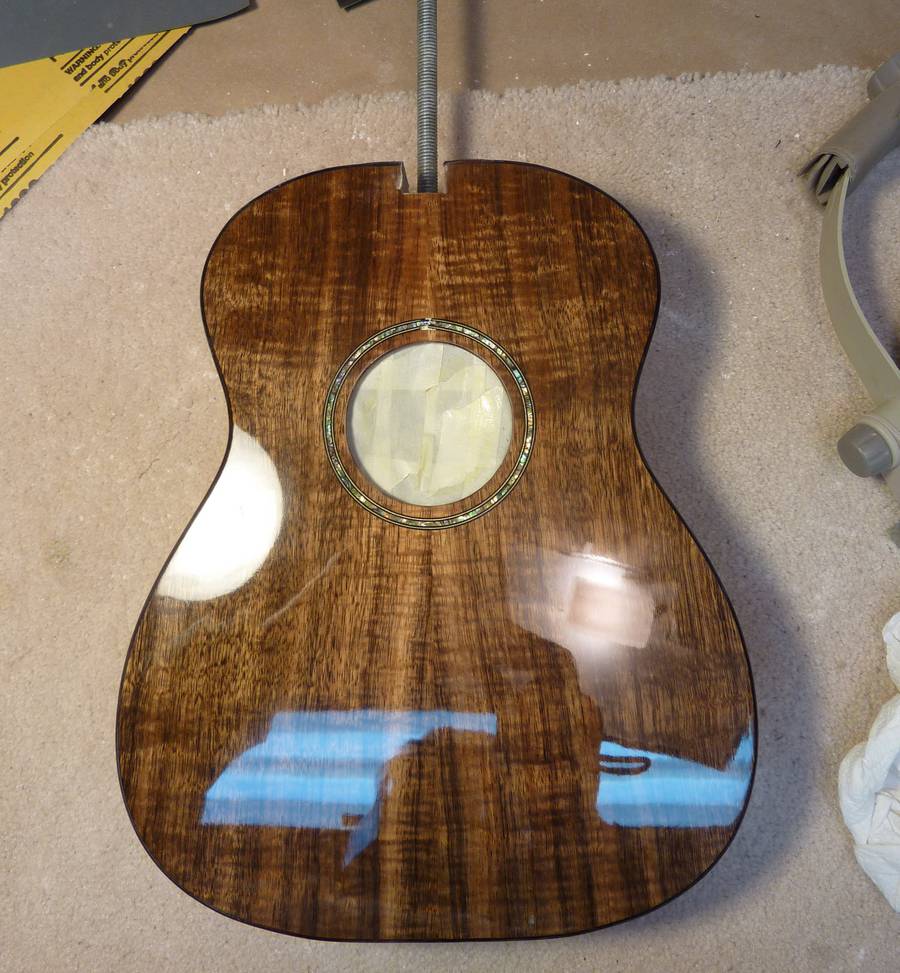
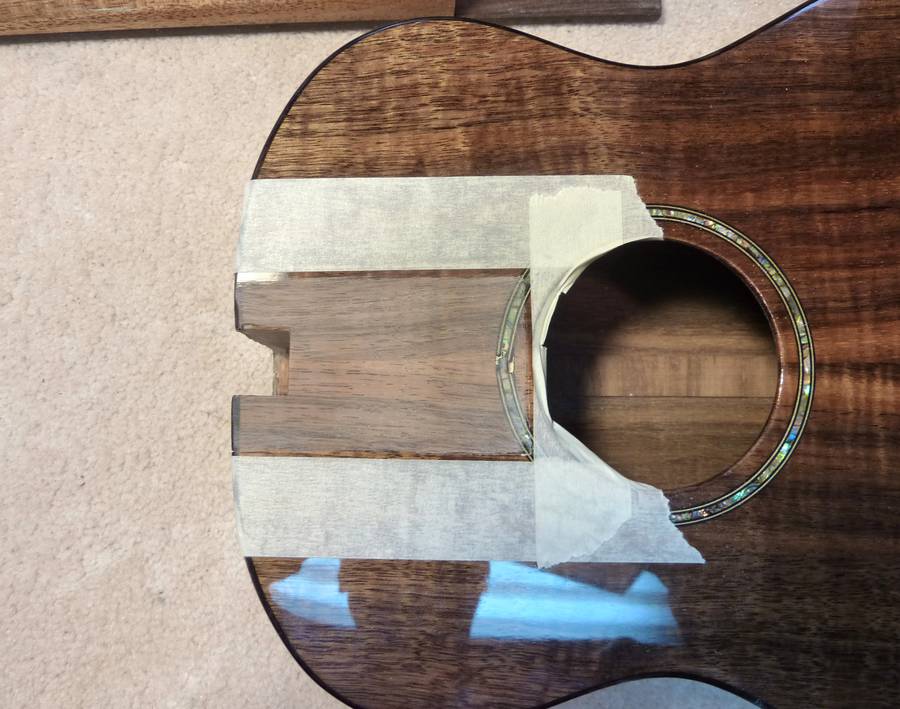
Once the finish has been completed I am ready to attach the neck to the
body. First I sand off the finish that will be under the fret board
extension, i.e. the part of the fret board that goes over the body of the
ukulele.
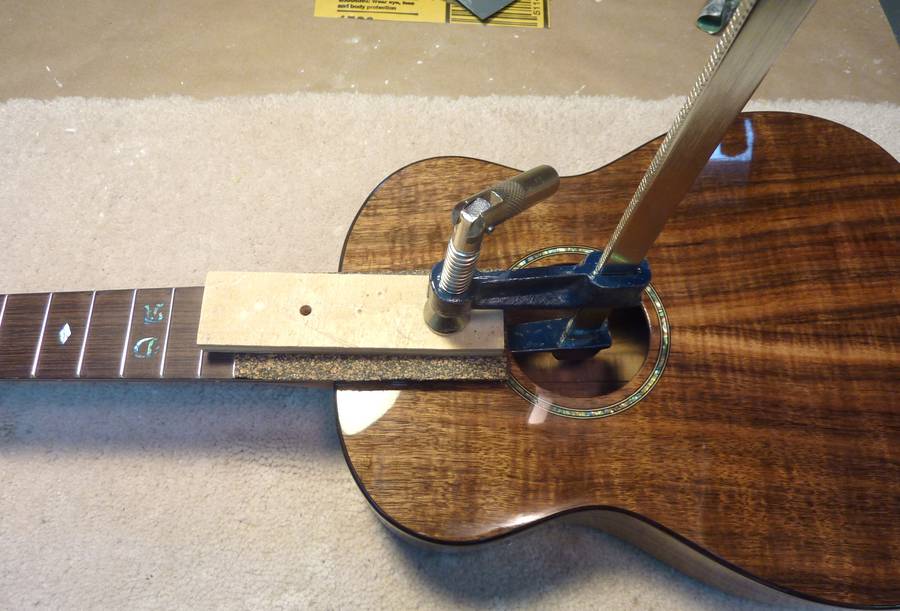
I apply glue in this area and clamp the fret board in place. It is
also bolted in place with the hanger bolt that goes from the heel of the
neck through the neck block inside the ukulele.
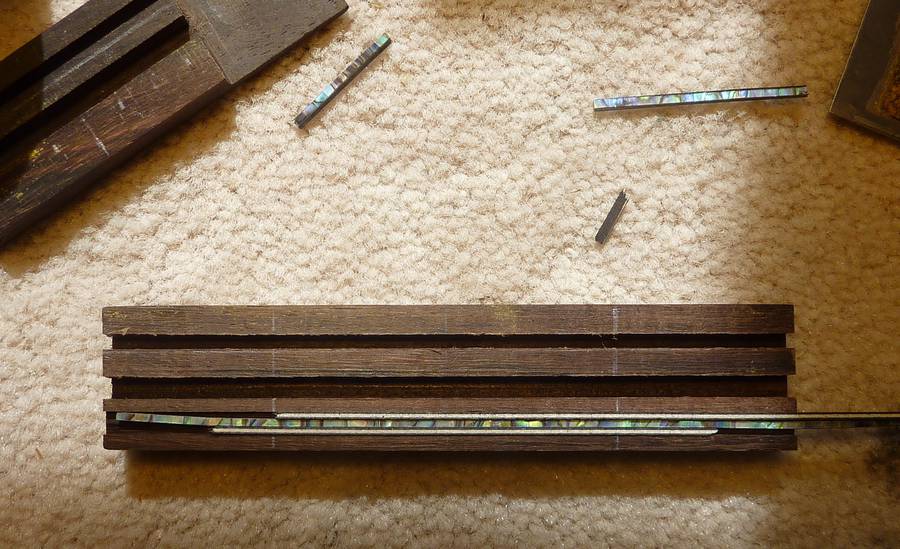
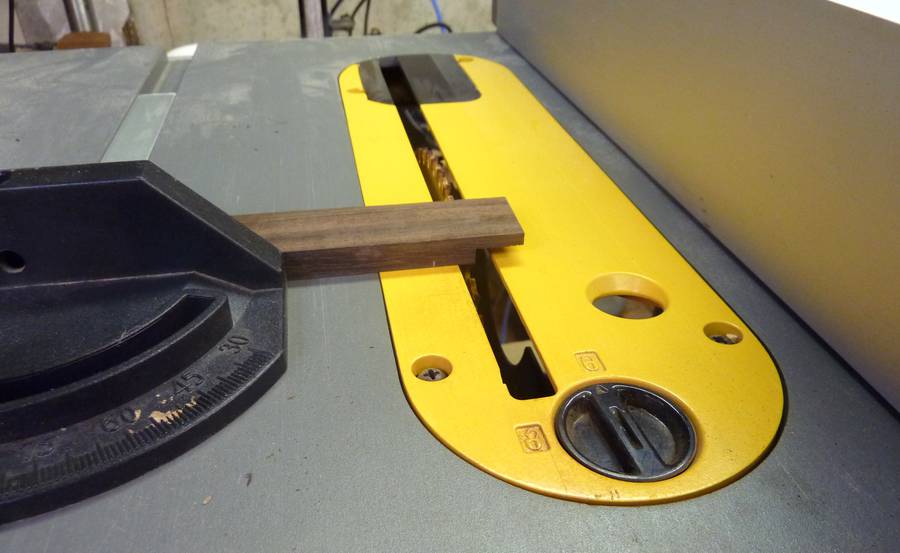
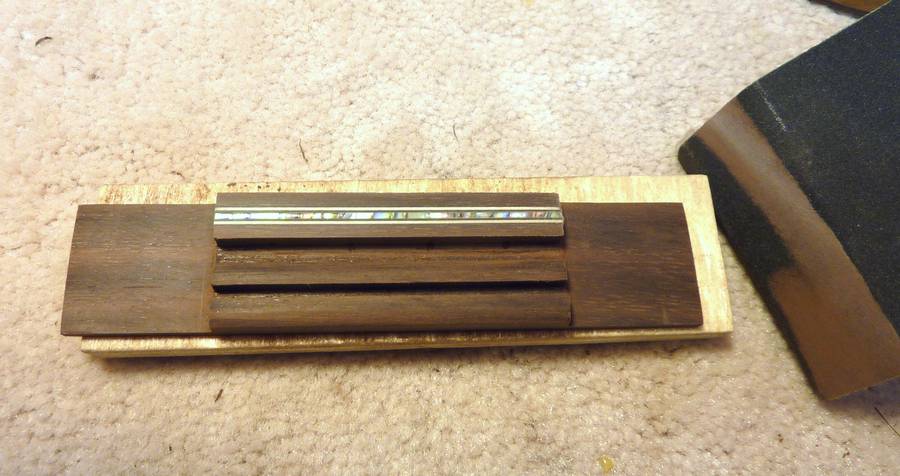
With the neck attached I now turn to making the bridge. I start with a piece
of rosewood on which I mark out the main slots to be cut. I need a slot to
hold a saddle and create the string tie block. I also want to put some
decorative shell in the tie block so I need a slot for that as well.
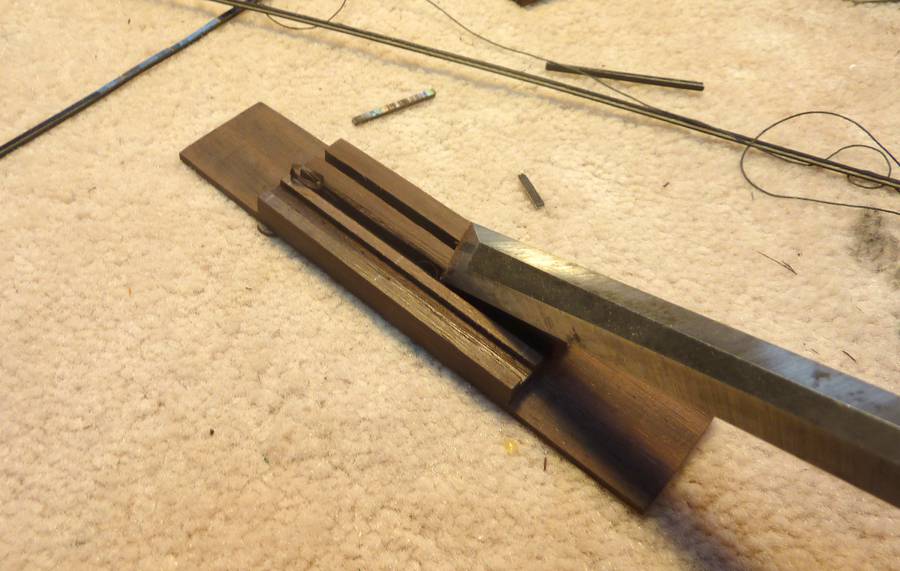
The bridge at the point with the slots cut, test fitting
the decoration over the tie block. The bridge is further shaped by hogging
out the ends to make the "wings" and rounding off the back of the saddle
slot wood to open up the area where the strings will be going through to the
tie block.
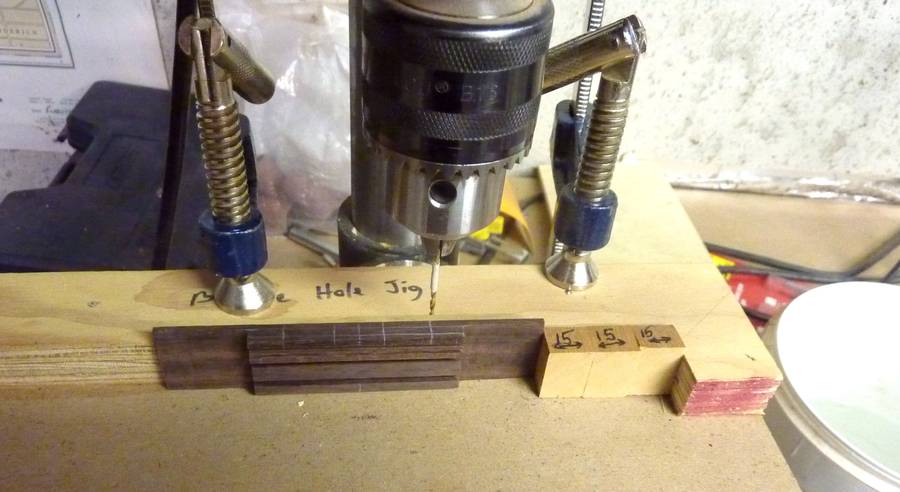
I drill the holes for the strings in the tie blocks on a simple
jig I clamp to my drill press. The strings are spaced 15 mm apart at the
bridge so, as can be seen in the picture, I made up 15 mm wide spacer blocks
for the jig. I simply drill the first hole then remove one spacer block for
each of the remaining three holes.
The almost completed bridge. Left to do is some final sanding and
buffing to get it to a polished look.
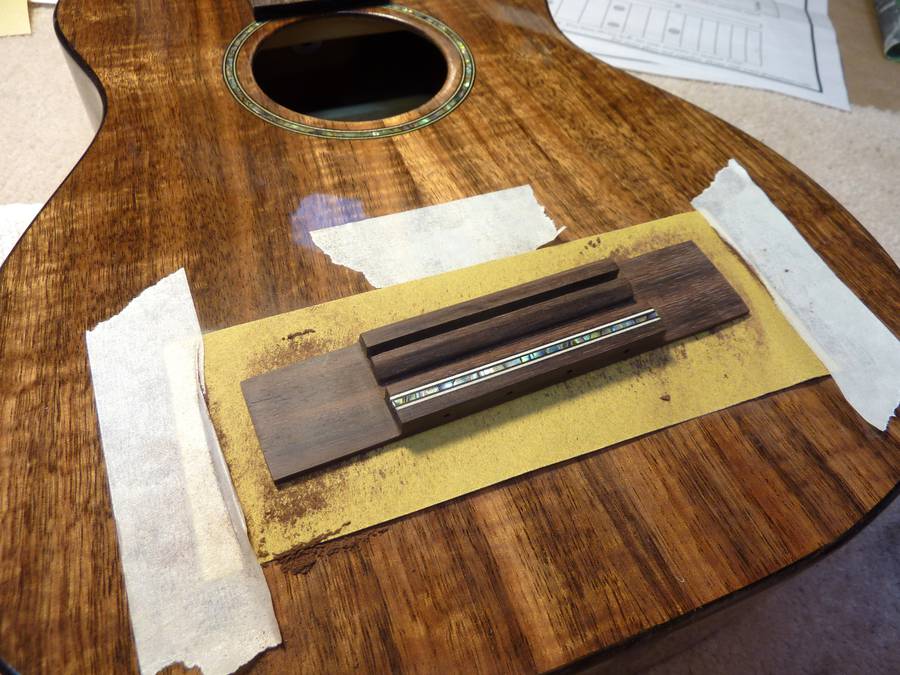
Prior to gluing the bridge to the top I must ensure that its bottom sits
perfectly on the surface. To do this I tape some sand paper to the top and
sand the bridge against it.
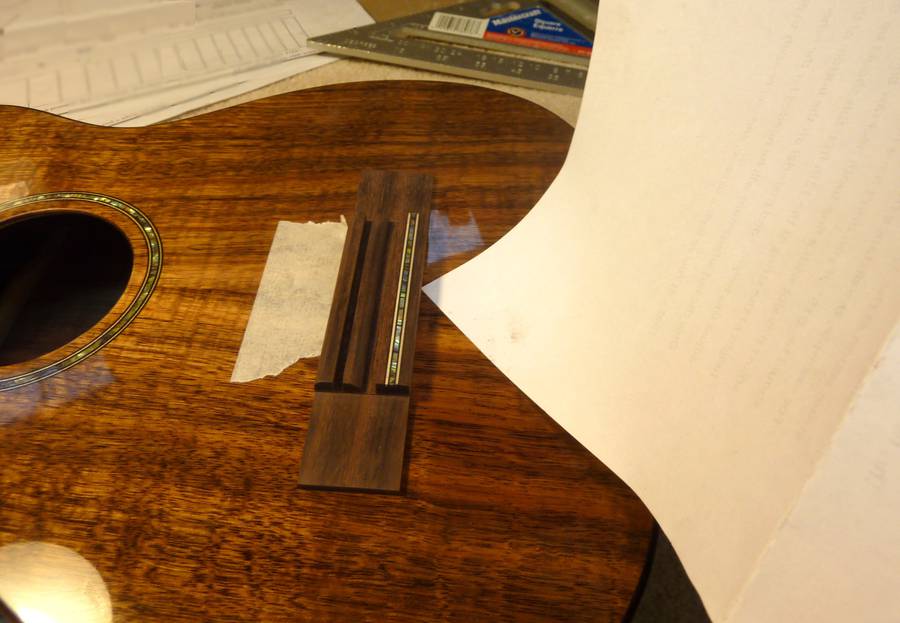
I check for fit of the bridge against the ukulele surface with the corner of
a piece of paper. If I can't slide the paper under, that's close enough.
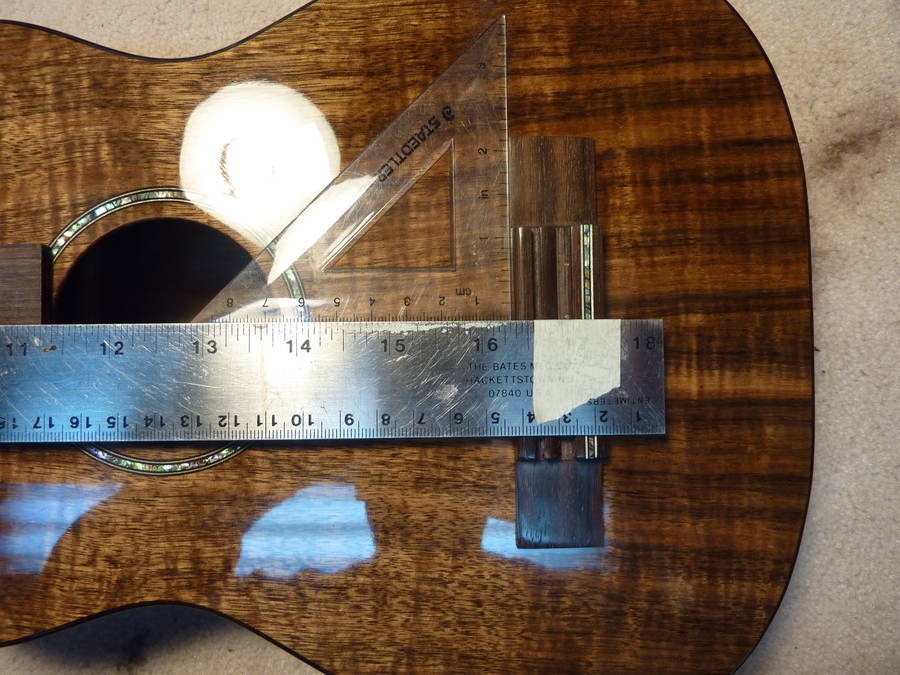
I position the bridge by measuring the scale distance from the nut. To allow
for increased tension in the strings when they are pulled down to the frets,
one must include some "compensation" to the scale length. Therefore the
actual alignment of the bridge I use is to have the front edge (the edge
closest to the sound hole) of the saddle slot at the scale length plus
1/16".
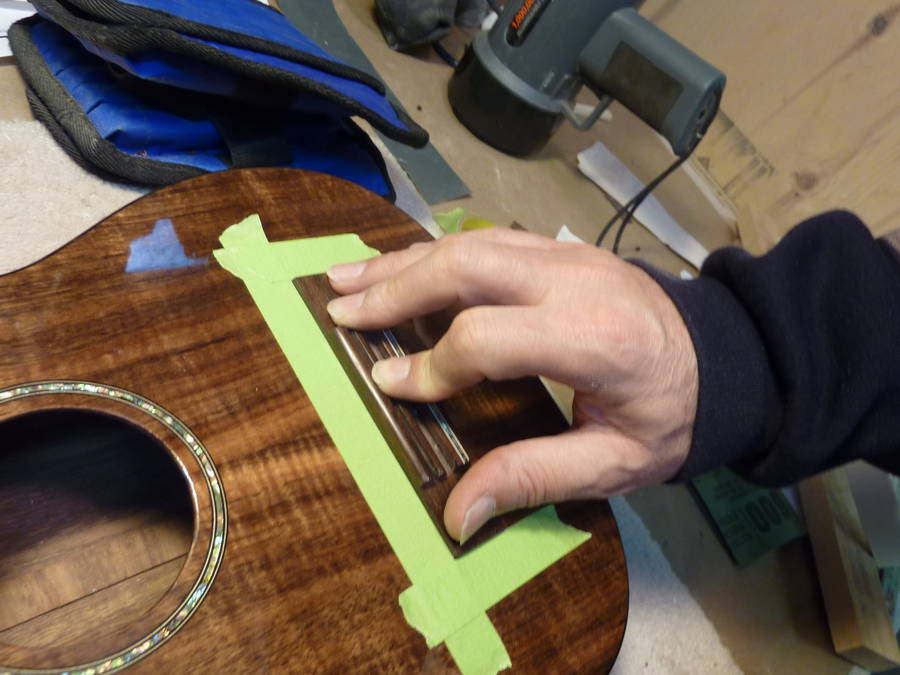
When I have the bridge at the right distance and square, I put down a piece
of masking tape along its front edge. Then I align the bridge from side to
side and put down masking tape at each end of the bridge. After this is
done, I double up on the masking tape so that it makes a little barrier that
I can use to bump up against to re-position the bridge as needed.
Readers may be surprised to learn that I glue the bridge right to the finish using
medium CA glue. This was a tip I learned on a guitar forum from Rick Turner,
a well respected builder in California. I must admit to a little trepidation
the first time I tried this, but I have since done this on several guitars
with no issues. I don't know if it would work with other finishes, but CA
certainly sticks wood very well to polyester!
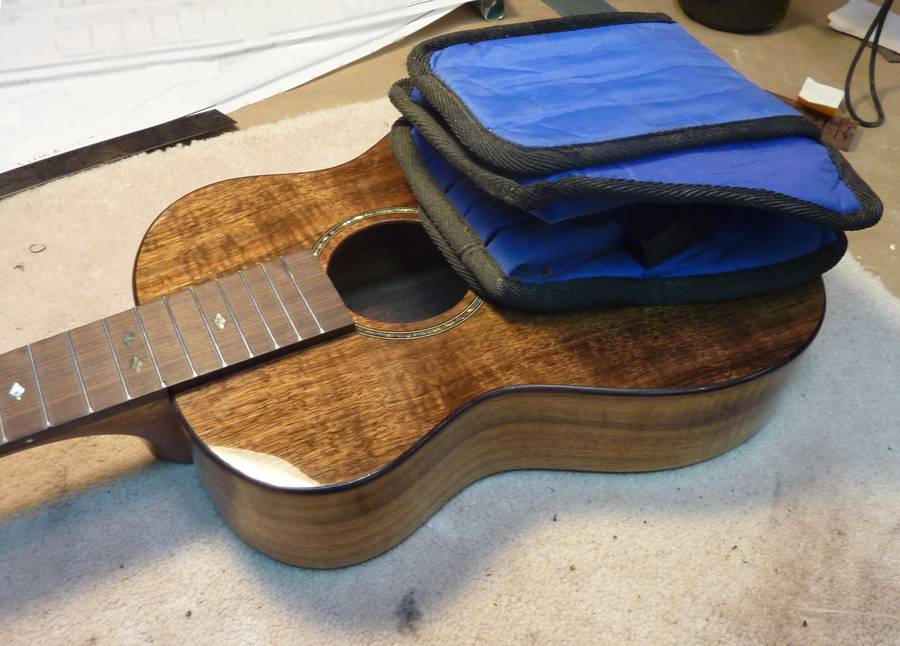
CA glue works fast so I use a
"hand clamp" for about five minutes followed up by a "gravity clamp" for
another 30 minutes.
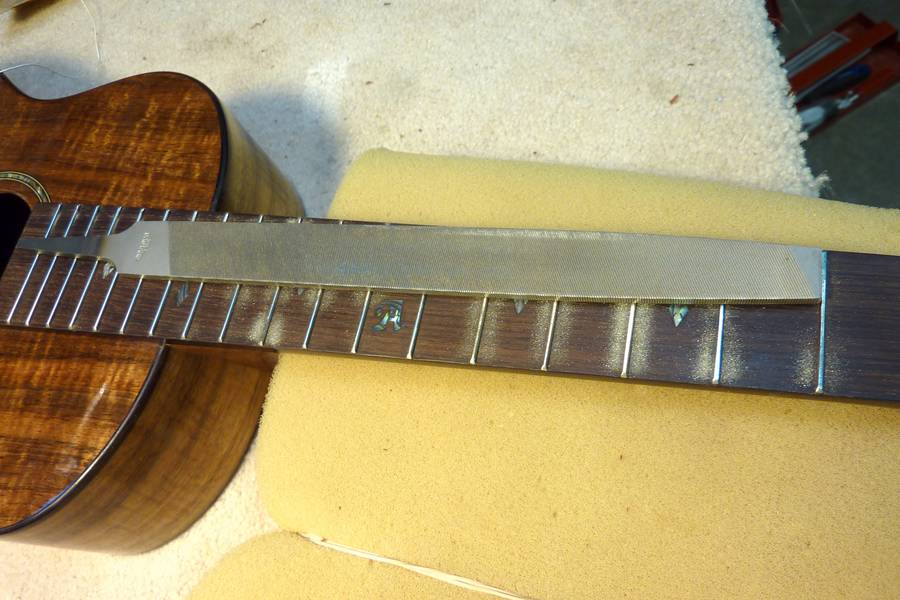
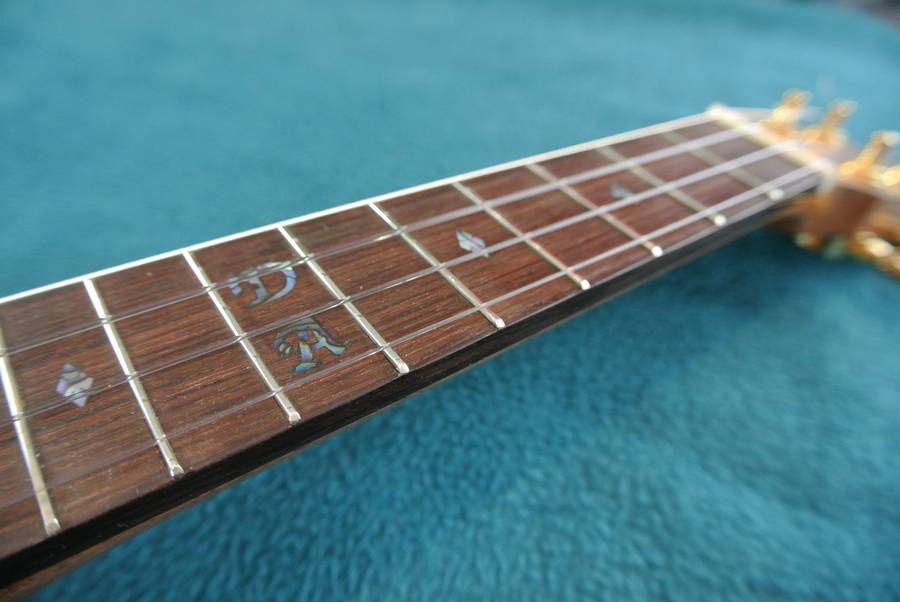
Levelling the frets with a flat file.
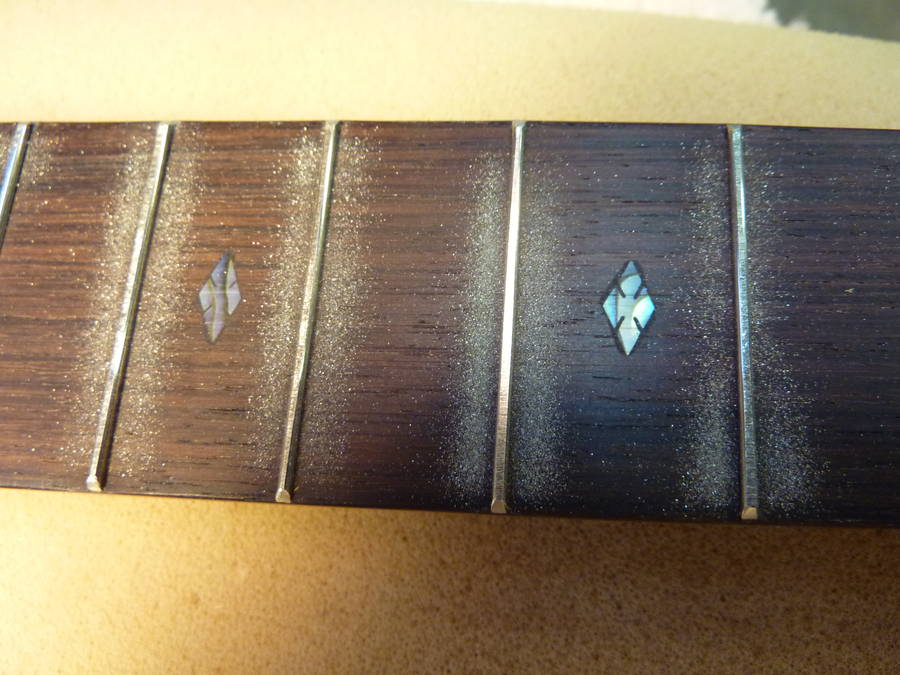
I've learned not to be shy about this step and file enough
to get a clearly visible flat on every fret as shown here.
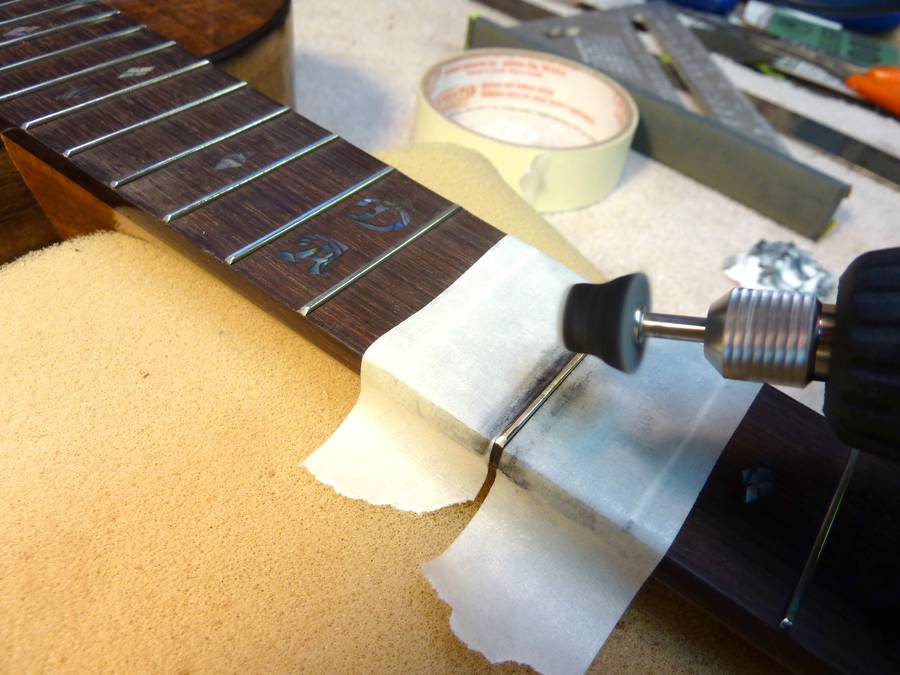
I remove the scratches from the file
and re-crown the frets with a special diamond grit file made for that
purpose. After that I work my way up to 1000 grit paper to the point that no
visible scratches are left. Finally, I polish the frets with a small buffing
wheel on my rotary tool, as shown in the last picture. By the time I am
done, the frets are very shiny and smooth.
I was displaying a couple of guitars and a ukulele at Guitar Now 2013 in
Ottawa when one of Canada's finest classical guitarists, Andrew Mah
walked up and asked to try out the ukulele. While noodling around he
played a little of the Bach Cello Suite and, later, when I noticed
someone videoing with their phone, I asked Andrew if he would play a
little more of it and could I upload it on YouTube. Despite that fact
that this was completely unrehearsed, he said sure so this is the
result.
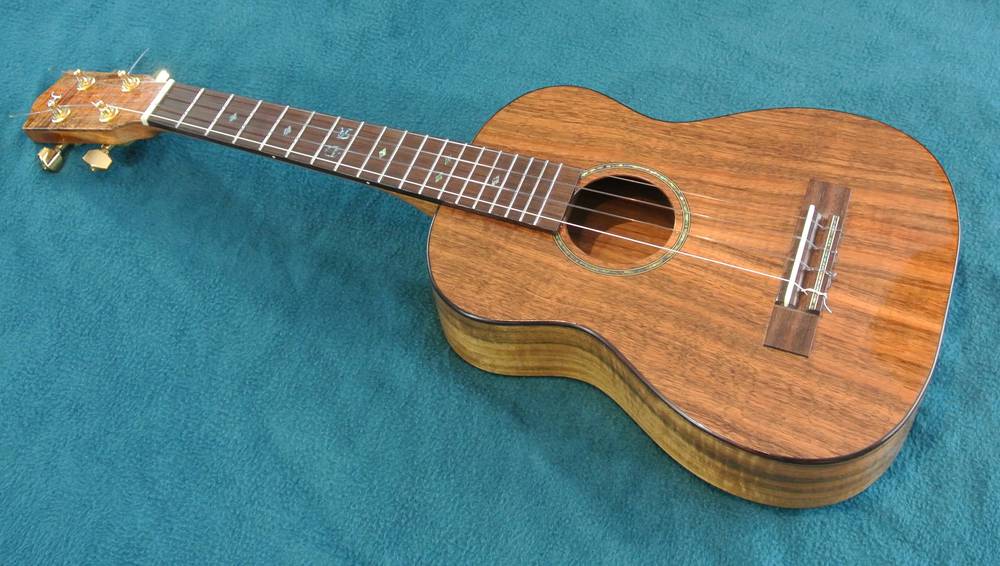
I made the ukulele out of koa wood for Danielle Allard of the Ottawa
group "Go Long(!)".
 There are three steps to finishing with polyester: application of a
"sealer" which insulates the top coats from the wood oils and helps it
adhere, filling the pores and, finally the top coats. Although the odour
from the finish I use isn't too bad (I use a finish that has zero VOCs)
I apply them in a fume box that ventilates to the outside of my house.
I apply three coats of the sealer, which dries quite quickly in air. I
allow about 30 minutes between coats.
There are three steps to finishing with polyester: application of a
"sealer" which insulates the top coats from the wood oils and helps it
adhere, filling the pores and, finally the top coats. Although the odour
from the finish I use isn't too bad (I use a finish that has zero VOCs)
I apply them in a fume box that ventilates to the outside of my house.
I apply three coats of the sealer, which dries quite quickly in air. I
allow about 30 minutes between coats.