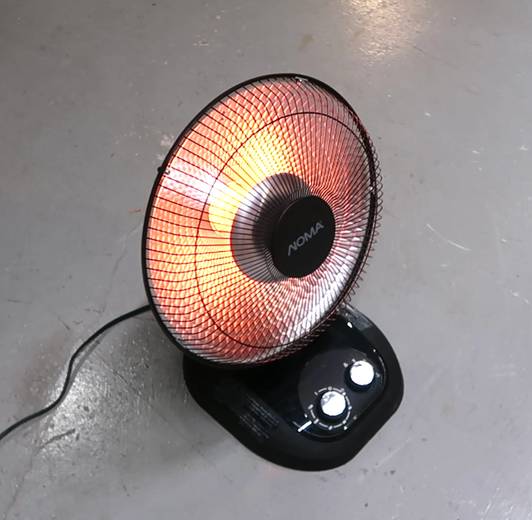
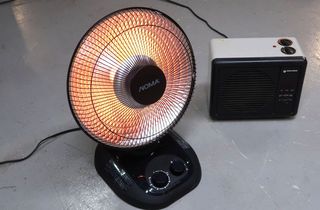
I recently bought an
infrared heater which makes a space feel much warmer if it's aimed at me.
But it has a relatively narrow beam. So I figured it would be cool to come up
with some contraption that automatically swivels the heater to always aim it at me.
I often thought about building such a device before, though more in the
summer, and to use it with a fan instead of a heater.
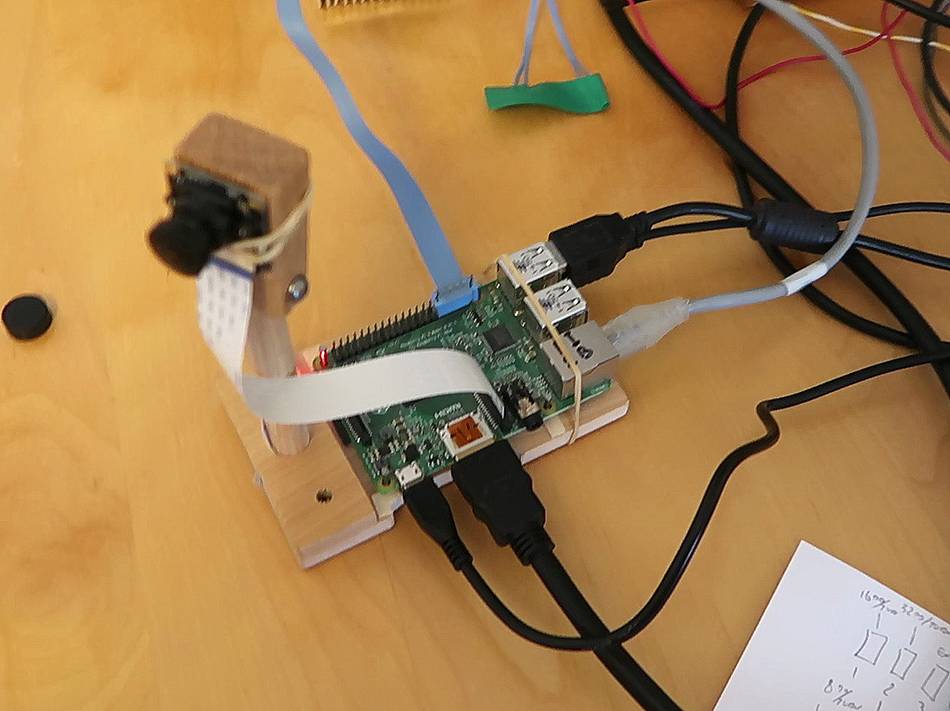
My original idea was to have some sort of transmitter on my belt and a
directional antenna to sense where I am. But having bought a wide angle
(120°) camera module for my Raspberry Pi computer, I realized I could
use that and image analysis to figure out where I am instead.
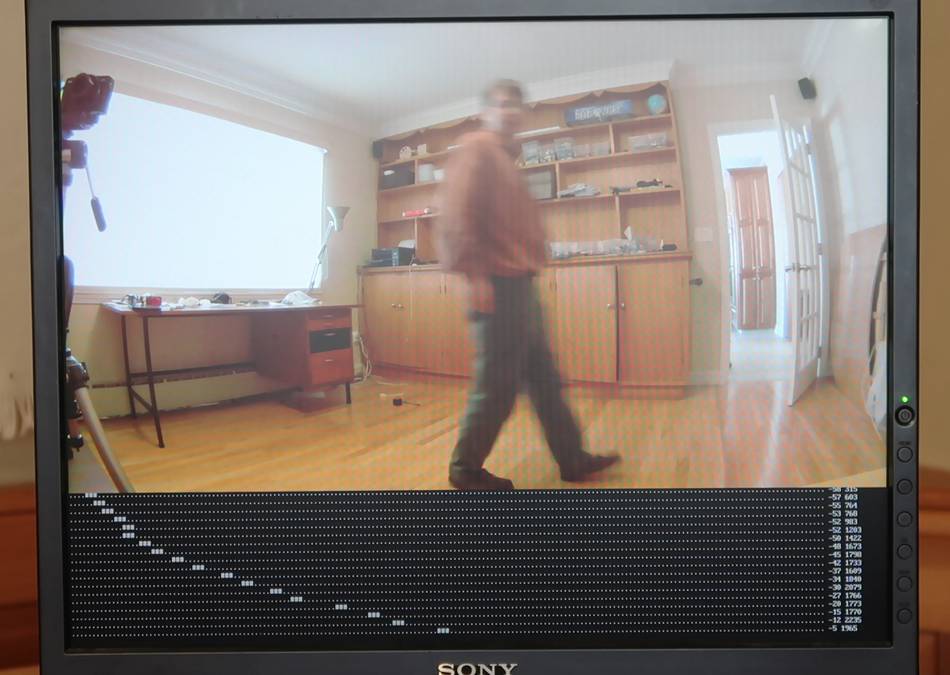
So I tweaked my imgcomp program to output
where it last saw motion, and I made it output the position using
character graphics for debugging. Here
I'm walking across the camera's field of view, with the output below what
the camera sees, printing the horizontal position every time it captures a new frame
with motion.
What kept me from just using a camera for this until now was t hat I only recently bought
a camera module with a really wide angle lens. Without a wide angle lens,
the camera would have to swivel with the heater, and then the whole image moves,
which would make detecting other motion much more complicated. And of course
there is the problem of walking out of view, and should the camera hunt for the person
after that? At any rate, moving the camera would add a LOT of complexity.
The next challenge was to make the raspberry pi turn a motor to swivel the heater.
My first thought was to use a relay board like I did for my
mouse experiments, but I needed some way to
go back and forth and be able to set the position repeatably. I would have needed
a whole bunch of switches to detect the current angle, so that would have
been complicated. Also, the clicking
of the mechanical relays would be annoying. I thought about using
solid state relays, but the whole thing would still be complicated.
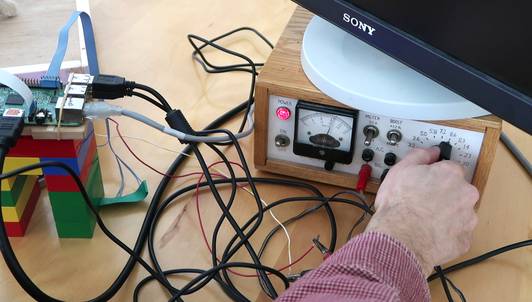
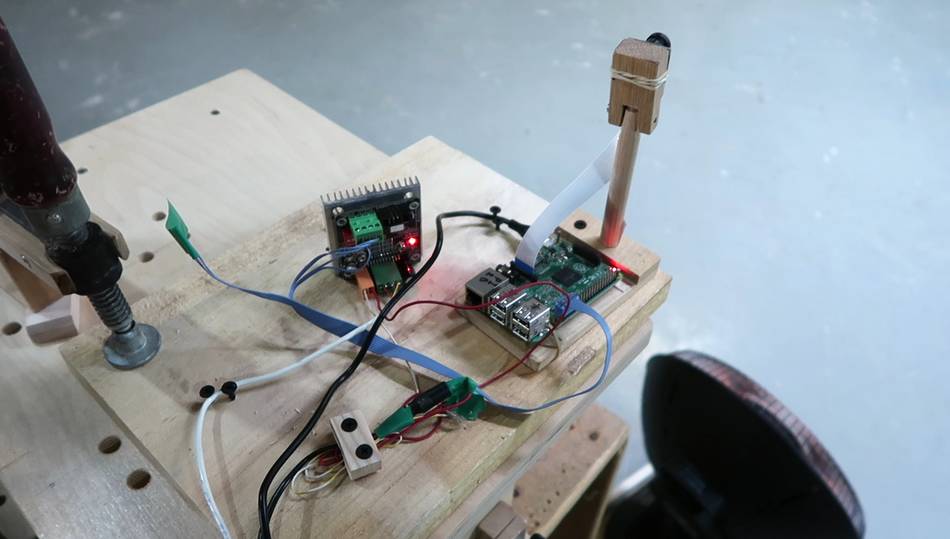
Then I realized about five years ago I bought this stepper driver, which I hadn't even
taken out or the bag all this time. It turned out, that one was now
discontinued and I couldn't even get documentation for it on line/
So i had to figure it out by trial and error. But it worked fine using the
3 volts from the raspberry Pi's I/O pins.
I used it with a small stepper motor, probably from an old dot matrix printer.
Using this stepper driver was so much more elegant than what I came up with
to drive the stepper for my computer
controlled box joint jig in 2003, but back then, there was no Raspberry pi
or Arduino or ordering parts like this on line cheaply.
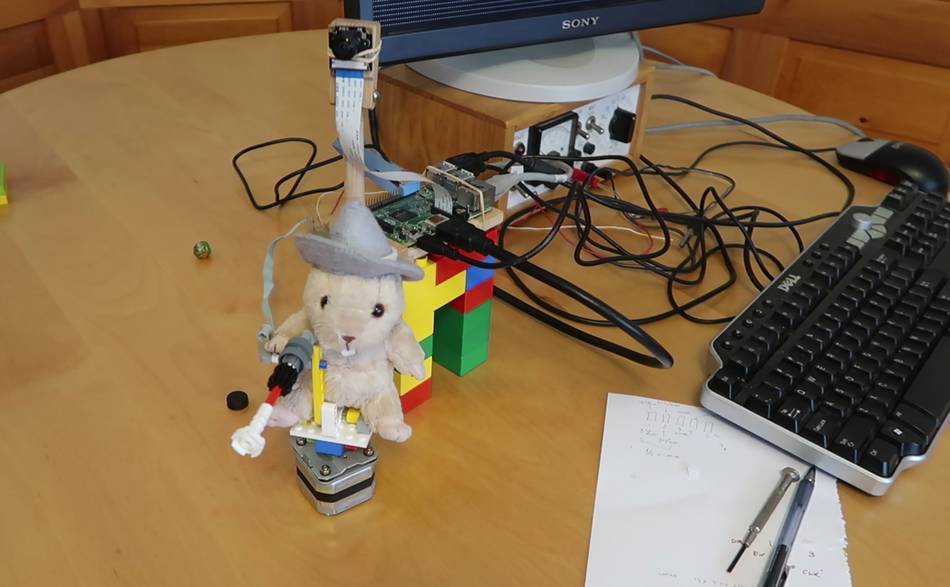
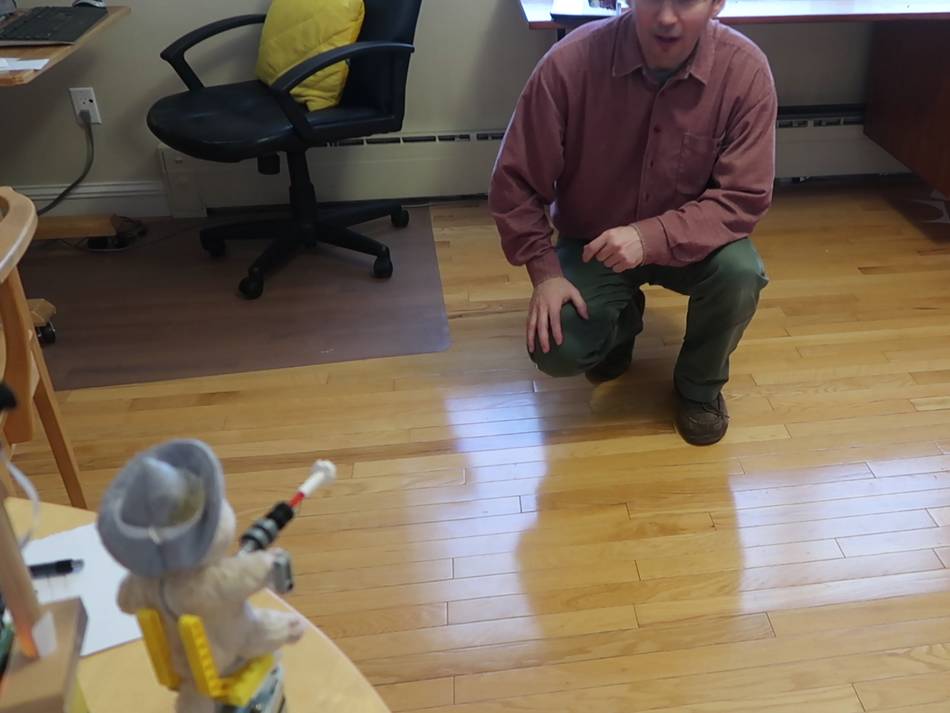
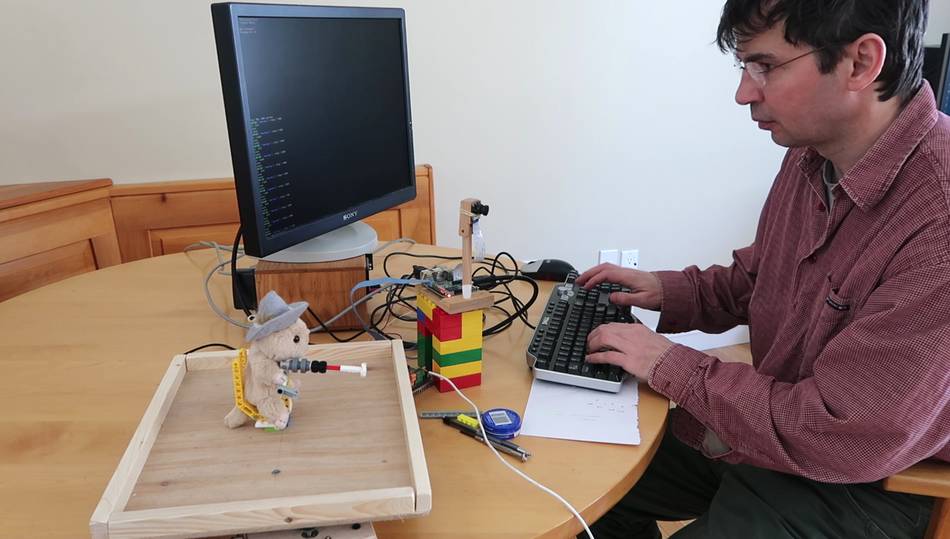
I added a little pointer to the motor, making a little "gun" for a little
chipmunk toy to aim to debug and test my software.
I raised the camera up a bit behind the chipmunk doll so it wouldn't trigger
off the motion of the chipmunk itself.
Lots of fun testing it. Using the smallest micro stepping the controller
had available (I think it divides each physical step into 16 micro steps), I was
able to get it to move very smoothly and quietly. Here I'm moving side
to side to make sure the aim follows me.
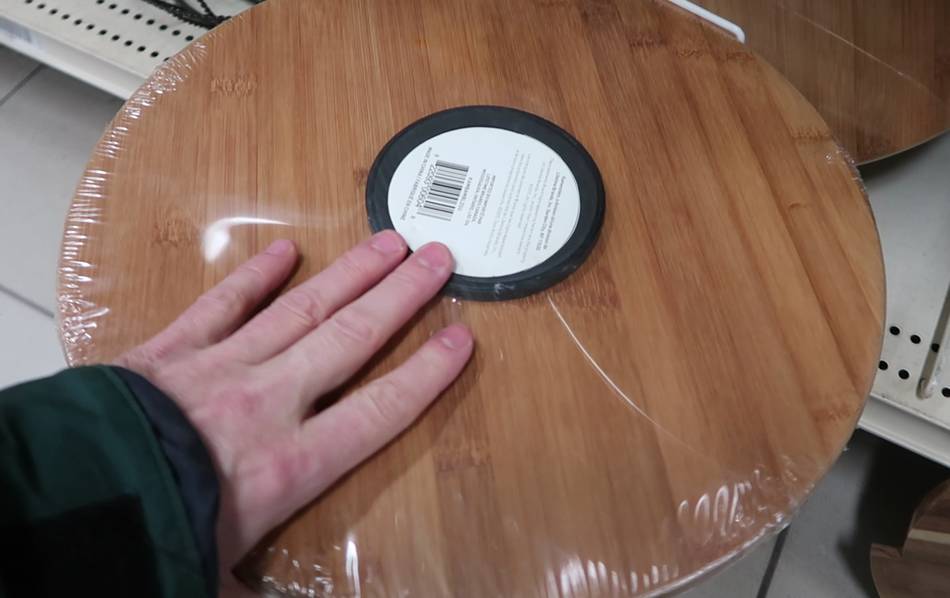
I wanted a lazy susan bearing for a platform to swivel the heater with, but
there were none available in the stores locally. But searching for a bearing,
I saw I could get a whole lazy susan platter from Canadian Tire for $12.
But when I had a look at it, the "bearing" it sits on is far too small.
They had another one with a bigger bearing, but it cost twice as much,
and the bearing on it didn't really work. So I gave up on that.
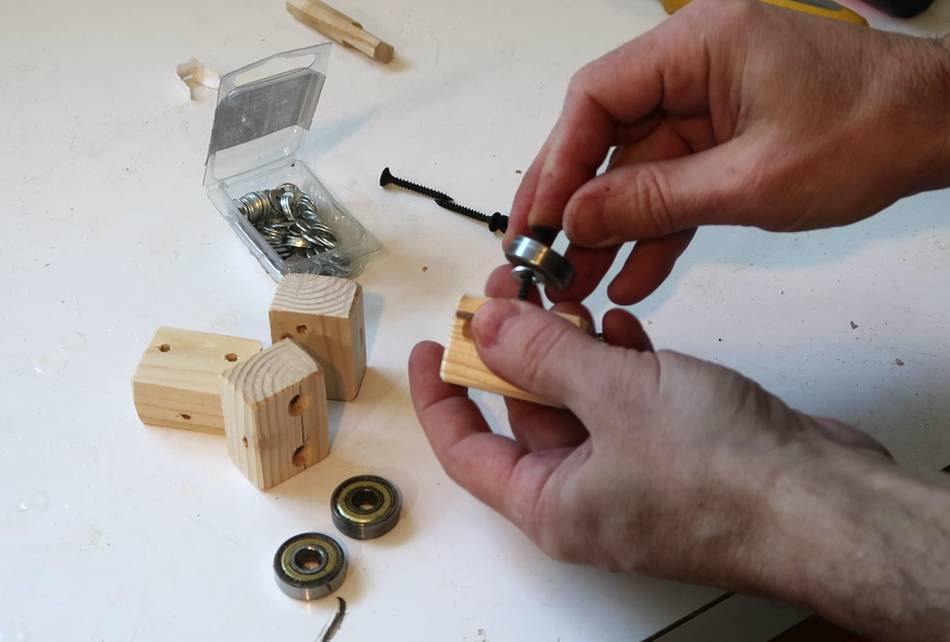
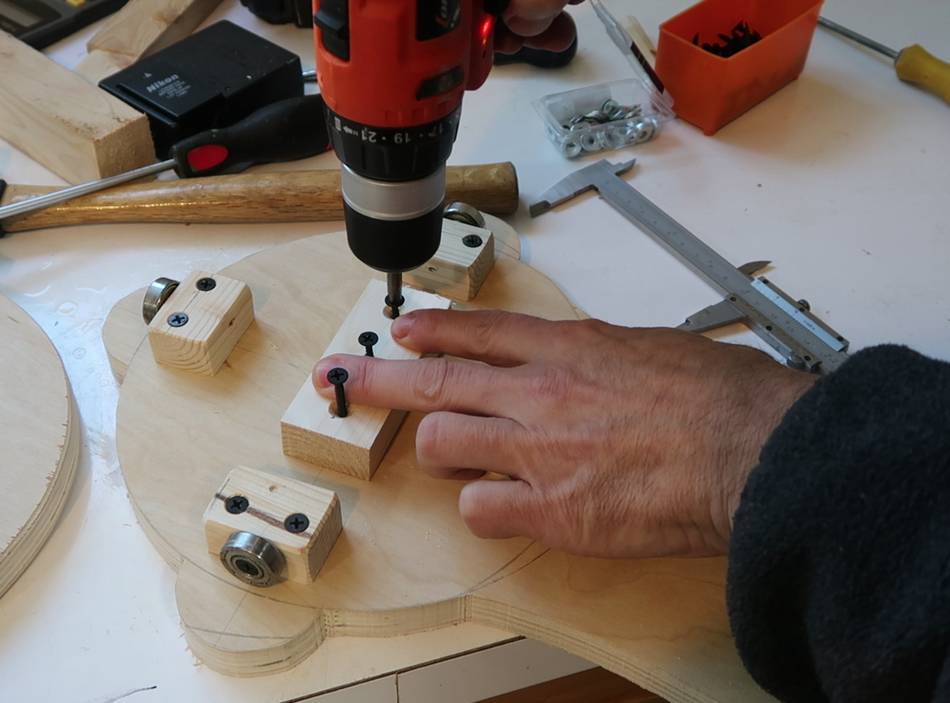
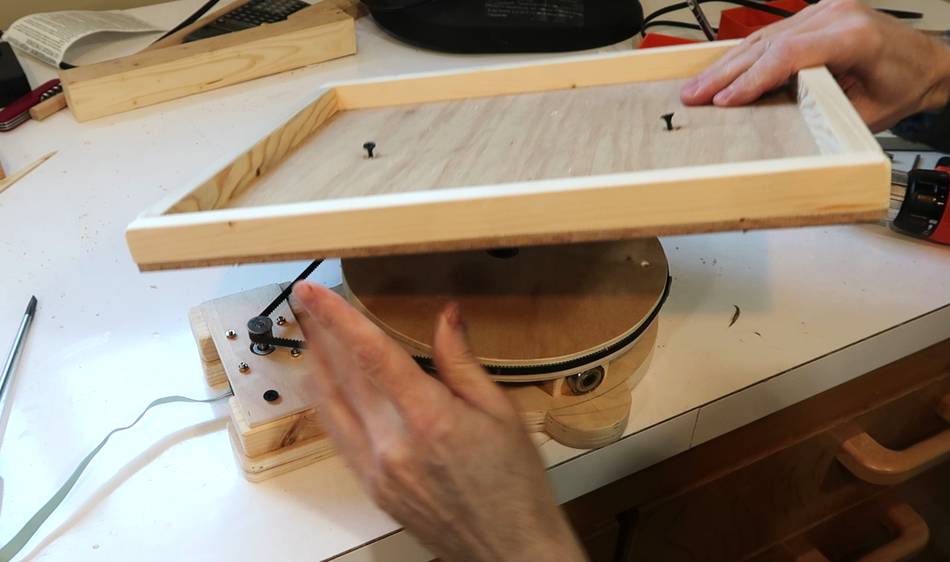
Instead I rigged up four roller skate bearings to make a rotating platform.
The bearings are screwed to the sides of small wooden blocks. The head of a drywall
screw is just barely big enough to hold the bearing, and with a washer behind
the bearing, it can spin freely without rubbing against the block.
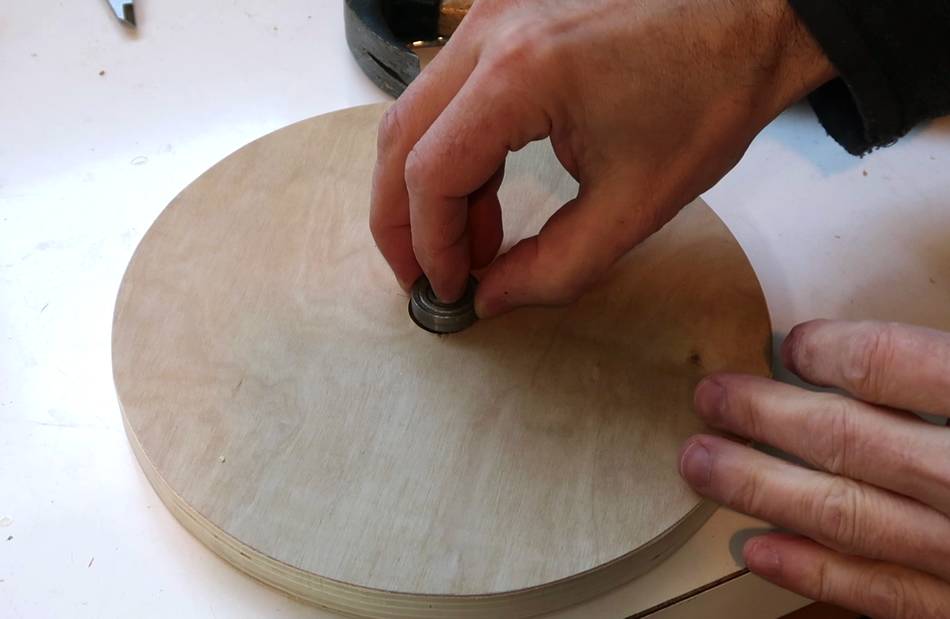
A fifth bearing fits tightly in a hole in a disk to act as the central pivot.
I used a forstner bit that I modified
to make the hole of just the right size.
Bearing blocks in place, and screwing on another block in the middle to hold the
screw that holds the central pivot bearing.
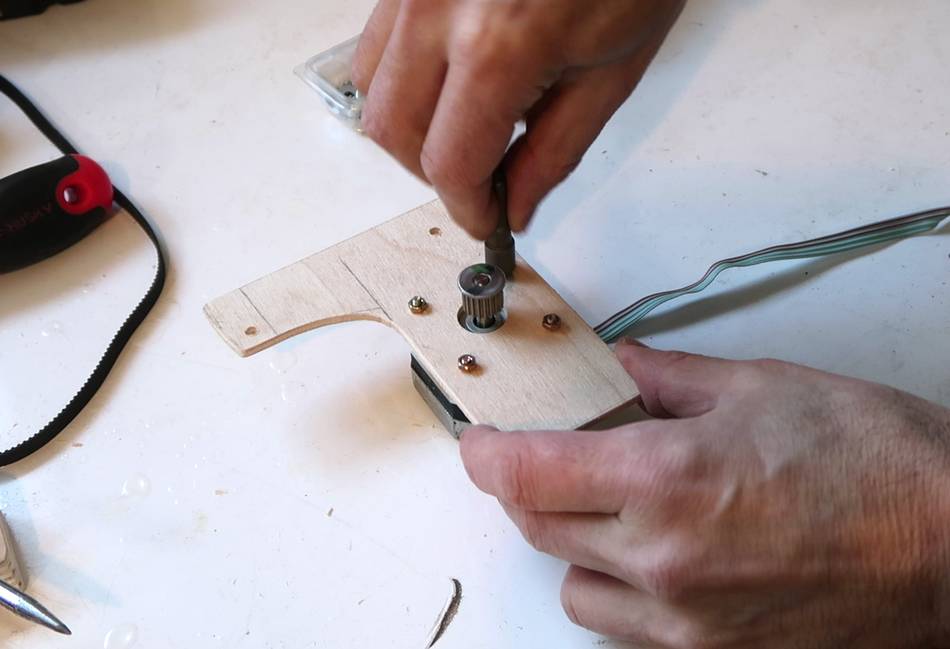
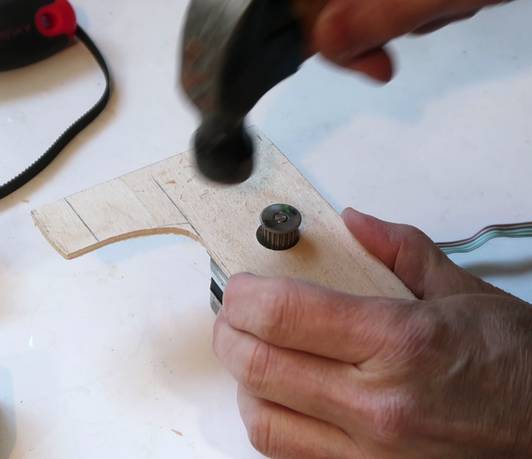
I made a mount for the motor out of 3 mm baltic birch plywood. I marked
the hole positions by tapping a piece of plywood onto the screw studs sticking
out of the motor. The motor is about a NEMA-17 size, but with studs sticking
out instead of screw holes.
The motor already has a timing belt pulley on it (press fit on, so not easily
removable), but it was just what I needed. I used a long timing belt
that probably came from the same dot matrix printer that the motor came out of
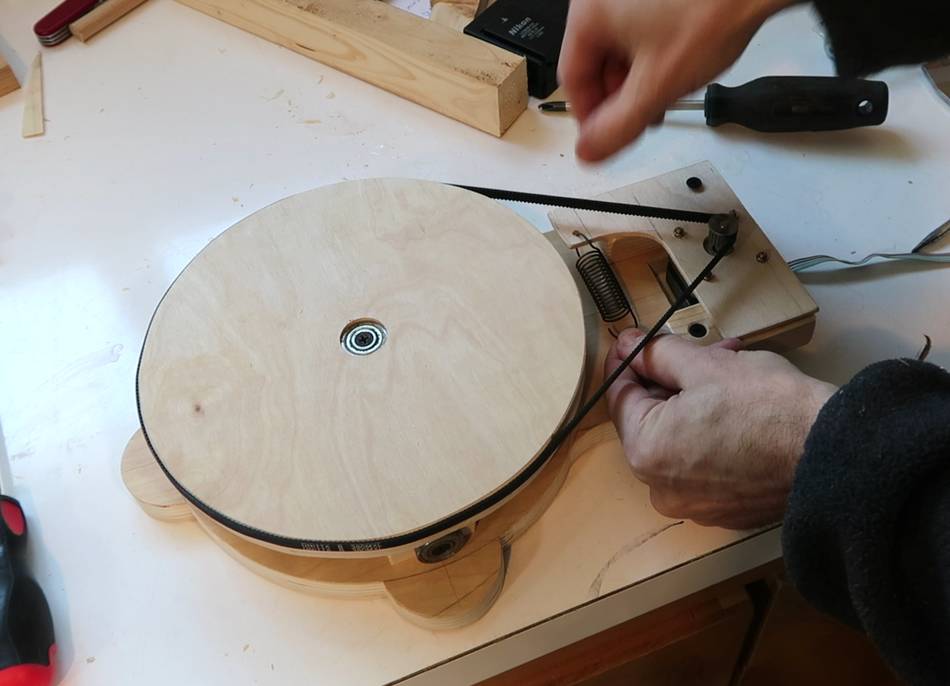
to go around the wooden disk.
A spring rotates the bracket to apply constant tension against the belt.
That way I didn't have to worry about making the disk accurate to a fraction
of a millimeter.
A screw and washer fix the belt to the disk. This limits the rotation to just
under three quarters of a turn or about 240 degrees. But my camera module
only has a 120 degree field of view, so I didn't need that much range
of rotation.
A tray for the infrared heater base screws to the top of the disk.
Then lots of tweaking. With the belt making for about a 14:1 reduction,
I needed to run the motor faster, and that meant paying more attention to
how I ramped the speed up and down.
Fortunately, I was able to get sufficiently accurate timing on the raspberry pi
with regular Raspian Linux, just with a regular program and using the "usleep()"
function, so long as there wasn't any new processes launched while stepping.
I made the stepper driver a separate program, because that program had to run
with root privileges to get access to the I/O lines. I modified my image
analysis program to send updated positions via UDP packets to the stepper
driver program running on the same computer.
The whole thing turned out to be tricky, because while ramping the speed up and down,
the actual target position could change, and the code had to be able to take that
all into account. For example, it could be in the process of ramping up to swivel
left when the target suddenly switches to the right, but in that case, it can't
just reverse, it has to keep going but ram down gently, then reverse and ramp
up towards the new target. It also needs to know when to start ramping down
to exactly hit zero speed on target. And my code currently does that for just
one motor. It would be cool to come up with something that can do that for
several motors at the same time.
I ended up still using the finest micro stepping, because I realized swivelling
faster would lead to unnecessary twitchiness. Plus, micro stepping makes
it quieter.
I also added some hysteresis so it wouldn't swivel unnecessarily. The infrared
heater's beam is about 20 degrees wide, so it doesn't need to aim spot on all the
time.
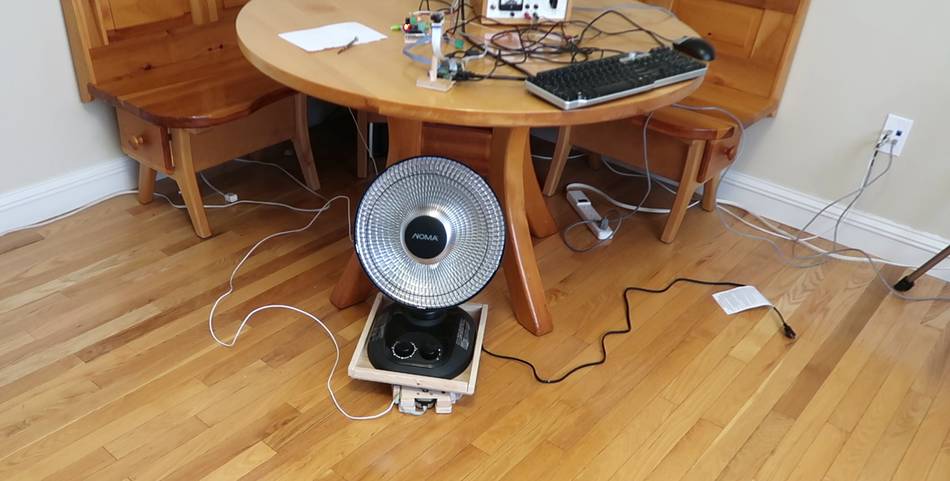
I then screwed all the pieces down to a piece of wood, which I then clamped
to the table on my pantorouter, and set up with the infrared heater on the floor.
I have gotten lots of suggestions on
my Instagram
that I should mount the heater
to the ceiling, but there's actually quite a bit of heat that rises up from it too,
and I didn't want that to heat up the heater itself. For now, to be safe, it
goes on the floor.
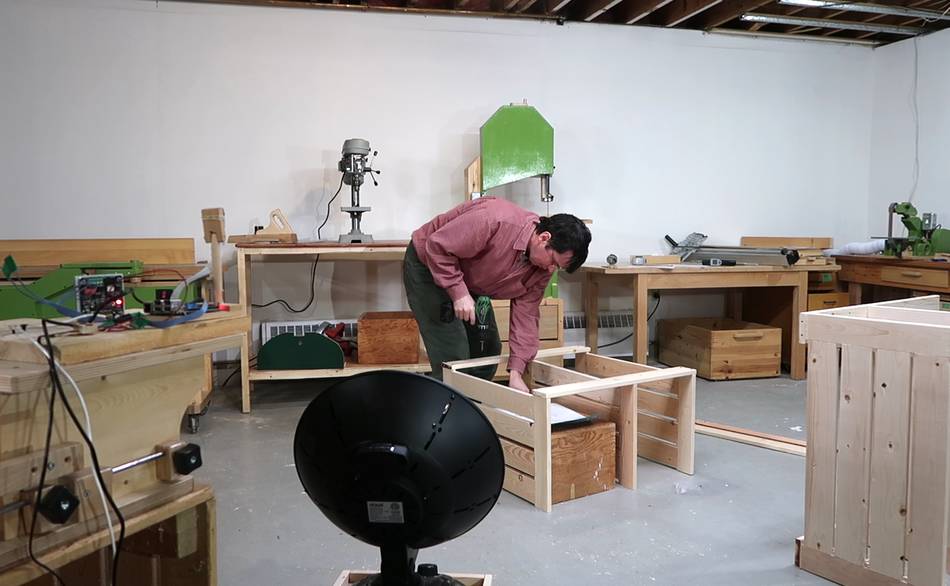
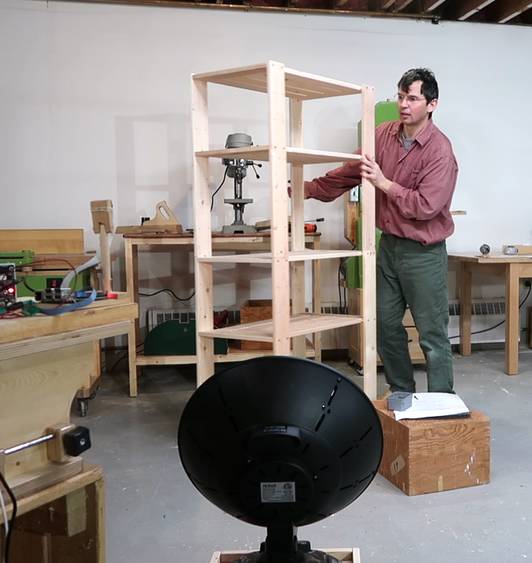
I needed a simple "project" to try it out with. I had bought a cheap shelf from
Walmart, for about as much as the wood would have cost, so I assembled
that while in front of the heater. I thought that the heater swivelling and the
sound of the stepper motor would be really distracting, but it wasn't. And it
was nice to always have the heater aimed at me. Otherwise, I would have worn
a fleece while doing this. The basement temperature was 14°C (57°F)
I'm not sure how useful this thing is. It would be more practical to just
buy another infrared heater or two, because the cost of running this heater
here is just ten cents per hour. But in my previous big garage workshop, maybe
with a really directional heater, and a contraption that could also aim
up and down, and to have several of these high up in the corners of
the shop would have made a big difference in terms of not needing to
heat the shop as much.
 I recently bought an
infrared heater which makes a space feel much warmer if it's aimed at me.
But it has a relatively narrow beam. So I figured it would be cool to come up
with some contraption that automatically swivels the heater to always aim it at me.
I recently bought an
infrared heater which makes a space feel much warmer if it's aimed at me.
But it has a relatively narrow beam. So I figured it would be cool to come up
with some contraption that automatically swivels the heater to always aim it at me.


 Infrared heater: How warm does it feel
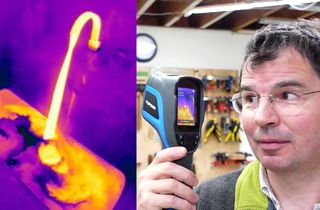 Exploring the world in infrared with a thermal camera
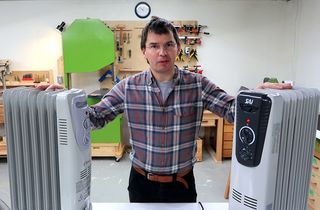 600 watt heaters pretending to be 1500 watts
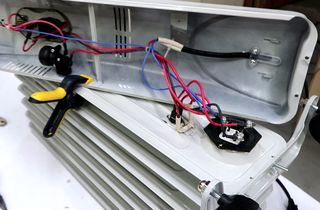 Oil filled heater fix
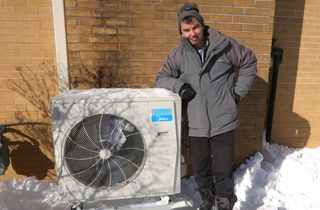 How efficient are our heat pumps in the winter?
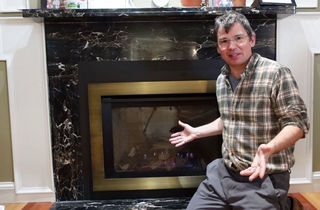 Gas fireplace efficiency -- worse than I thought
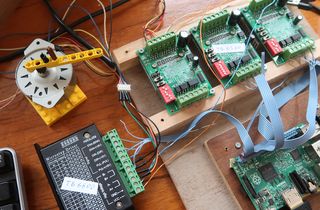 Stepper mictostepping and controlling from Raspberry Pi
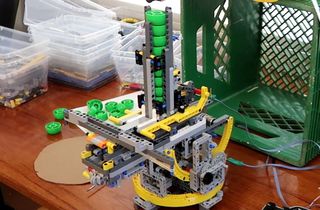 Computer controlled cap shooter aimer
 My imgcomp program
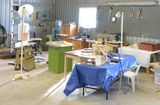 Big garage workshop
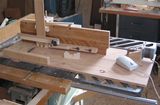 Computer controlled
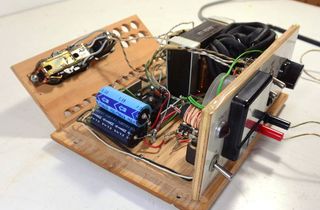 Homemade benchtop
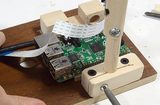 Raspberry pi computer holder
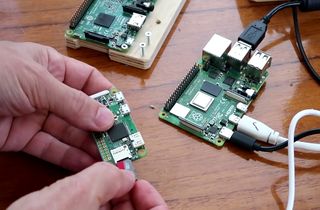 Making headless Raspberry Pi blink assigned IP address
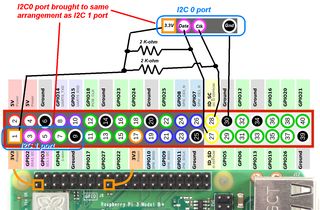 Using the second (I2C 0) port on a Raspberry Pi
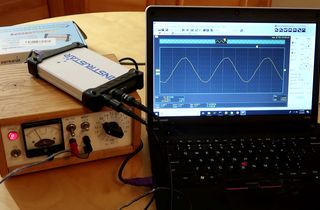 Reviewing the cheapest USB scope I could find online