Table saw table extension
I don't know why typical table saws have such short tables on the outfeed end. It seems like the idea is to always have somebody to catch the stuff coming off the end of the saw. But working mostly alone in my shop, I needed the table to extend a bit further for longer pieces.

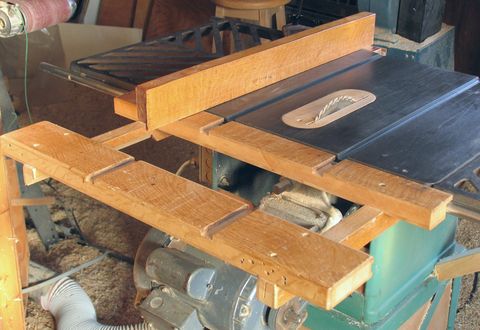
Because my saw is a contractor style table saw, the motor comes up quite a ways when making 45 degree cuts. In fact, for deep 45 degree cut, it even slightly protrudes above the plane of the table. The photo below illustrates how the table extension is shaped to allow the motor room. I also moved where one of the capacitors is mounted on the motor to reduce this problem a little bit, but to some extent, with this motor on the saw, its unavoidable. Fortunately, that has never presented itself as a real problem.
To mount the table extension, I screwed two pieces of wood, front to back, to the sides of the cast iron table.
Because my saw is a cheap contractors saw, the body is just made of sheet metal, so that was not suitable for attaching the rails that run front to back. Because I didn't pay that much the saw, I was willing to drill some holes through the cast iron table to accomplish this. I used countersink screws and holes, so that the screws do not potrude above the surface of the table.
The rails as well as the table extension on the back are laminated sandwiches of white oak and pine. These came from the same old door as the material I used for the fence and sliding table gadget.

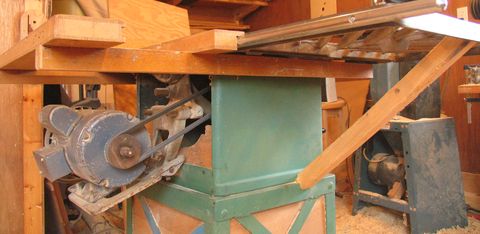
The above picture shows how the support rails support the table extension. You can also see the brace I added to support the left side table extension. When cutting the end off an 8' long piece of lumber using my sliding table gadget, having good support under the table extension is really important.
For my new delta hybrid table saw, I also ended up extending the outfeed table. I used a different method for that saw though, because the way its laid out, I didn't have room to screw some pieces of wood to the underside of the table.