Moving copper plumbing pipes
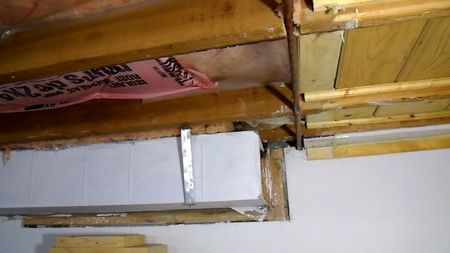 After tearing down a wall to
make a bit more room in my
basement workshop, I found a copper pipe that ran in the ceiling inside one of
those walls. It was the hot water pipe, and it didn't make much sense that it
should run there, so I decided to move it somewhere else.
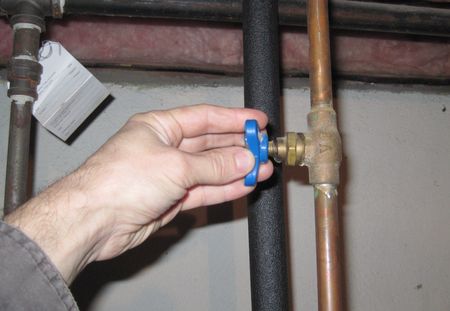 Before starting the work, I closed the shutoff valve going into my hot water tank.
It's actually on the cold water side, but taking away the cold water pressure
into the tank stops any hot water from coming out.
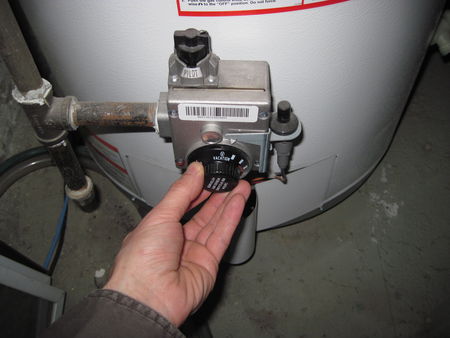 But to be on the safe side, I also turned the temperature on the tank way down.
Heaven forbid, if that tank were to boil, then it WOULD emit hot water or steam
even without cold water feeding it. These tanks don't normally boil, and this one
is less than a year old, so this is mostly precautionary.
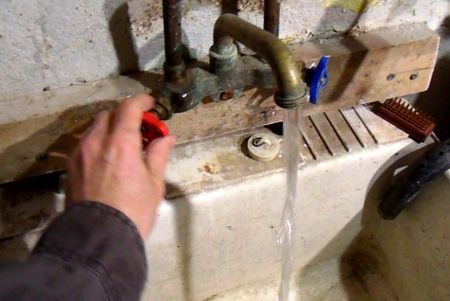 Next I opened all my hot water taps in the house to let the hot water pipes
drain as much as possible.
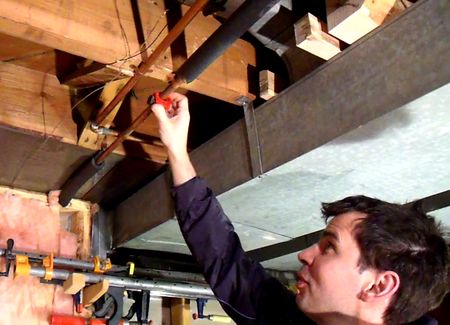 Cutting open the pipe. I'm using a little copper pipe cutter.
It scores a groove all the way around the pipe. As you twist
it around the pipe, you tighten it, until the score goes all the way
through.
I still had water in the pipe where I cut it open seeing that there wasn't
any hot water taps nearby. But I had put a bucket underneath even before
I started cutting.
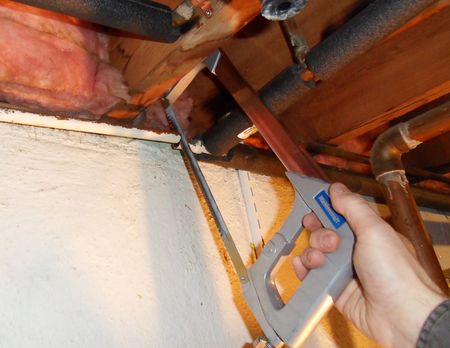 I couldn't use the pipe cutter on the other end of the run.
The pipe was too close to the wall for me to be able to turn it around the pipe.
So I resorted to using a hacksaw to open up the pipe there.
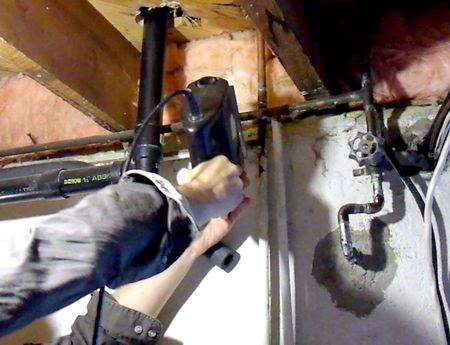 And yet another spot where I had to open the pipes. This spot was too tight for the pipe
cutter and the hacksaw. So I put a metal cutting blade on my jigsaw.
I made sure the pipe was drained of water. I and also oriented
the saw so that any spillage would not hit the motor of the saw.
It wasn't particularly elegant, but it got the job done fast.
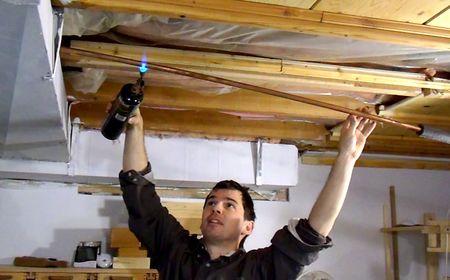 I wanted to reuse the piping that I was pulling out for the new run, but to get this
one long run out, I had to bend the pipe a little.
The catch with copper is that it hardens over time, so that the pipes might crack instead of bending. But this hardening can be reversed by heating the copper up briefly. Even after cooling down, the copper will be much more workable than it was before.
I heated up part of the pipe run where I had to bend it a little to get it out.
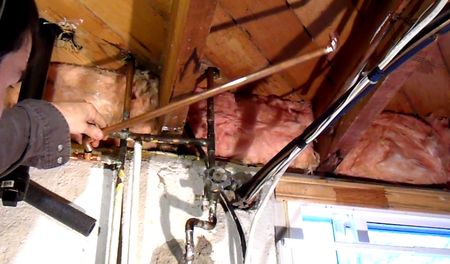 Fitting the new pipe where I want it to go. I cut and fit all my pipes before
I soldered any of it together.
After fitting, I then soldered together as much as I could on my workbench.
Much easier to work there, and no risk of scorching any wood in the house.
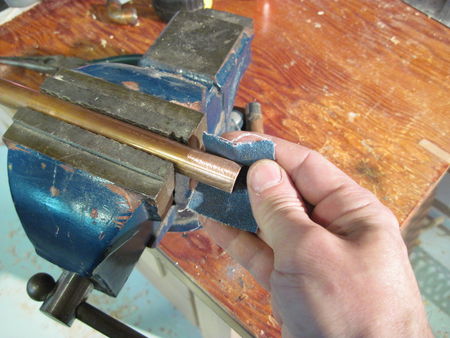 The pipe ends need to be sanded to remove a layer of oxide. Solder won't
stick to oxide. I also sanded the inside of my elbows. They were already
quite shiny, so I'm not sure that this was necessary.
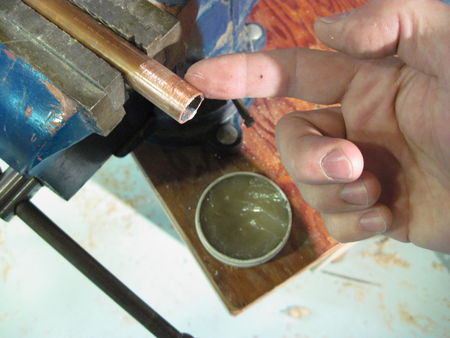 Next it's time to apply some flux. The flux I use is sort of like a grease or
a thick paste. The flux further helps remove oxides and also prevents
further oxidizing as the pipes are heated up. The flux gets very liquid at
soldering temperatures, so it's easily displaced by the solder.
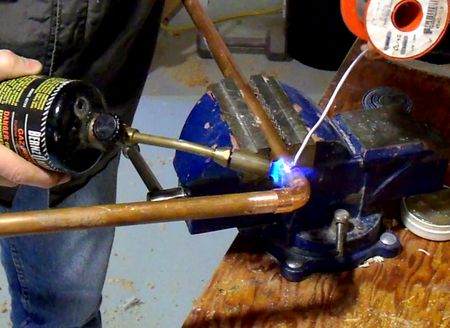 Soldering it together. Once the joint is at the right temperature, the solder
gets sucked into the joint by capillary action. It's always good to make
sure to use enough solder so that there's still some solder
outside the joint, just to be safe.
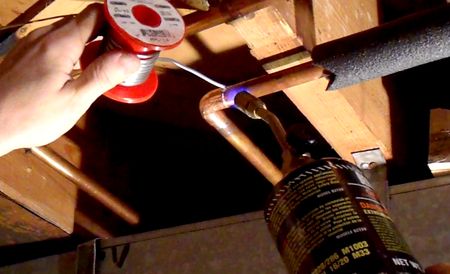 Soldering my run in place in the ceiling. Not quite as convenient to work there.
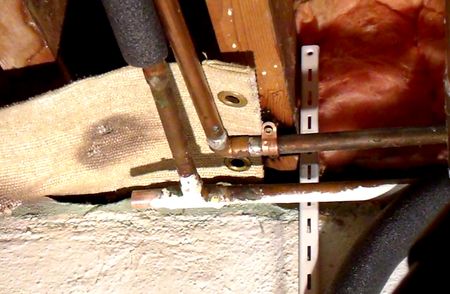 When soldering too close to wood or other stuff that should not get scorched,
it's a good idea to put some heat protection in front of the material. I have a
little mat for this purpose. The mat is not entirely flame-proof either, but
I find if I soak it in water before I use it, it doesn't get scorched.
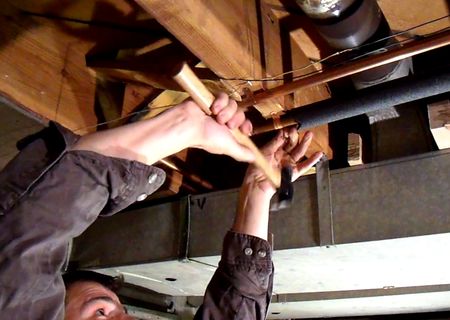 Reattaching the pipes.
The next step was to let the water back into the pipes.
I didn't encounter any leaks. Even though I only reused pipes that I tore
out, I ended up with about 2 m (6 ft) of pipe left over after the changes.
I guess the original route of the pipe wasn't very optimal.
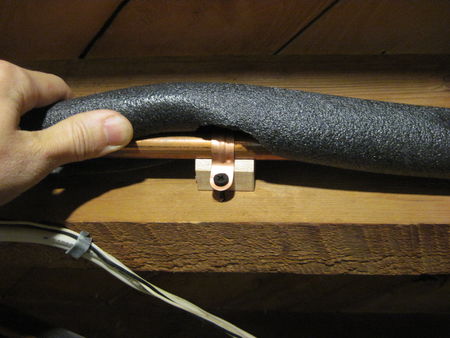 Where the pipe runs along a joist, I attached it with spacers. This allowed me
to wrap the insulating material all the way around the pipe for most of the run.
See also:
Back to my Woodworking website.
More home improvement projects
![]()
 Drain plumbing fast
 Replacing a
 Soldering a faucet
 Installing a new faucet
 Installing a socket in