Shelf with drawers
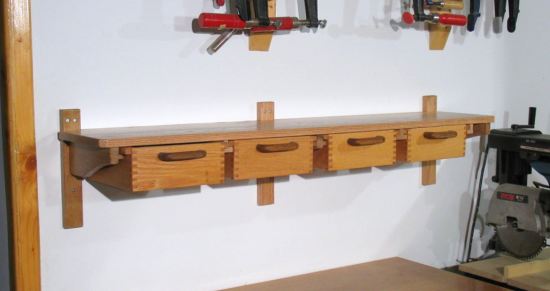
When I built my first box joint jig, I ended up making a whole bunch of little boxes out of oak scraps. Some of these boxes I turned into drawers that I mounted under a shelf in my old workshop and filled them with miscellaneous screws.
But in my new workshop, I didn't have a convenient shelf that I could just mount these drawers under, so I ended up building a shelf out of oak for these drawers.
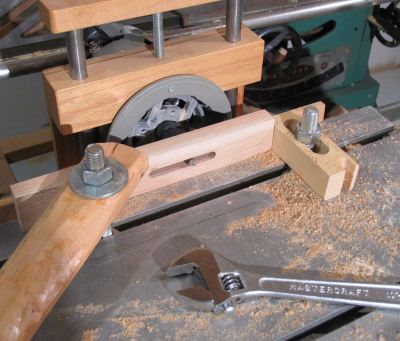 The shelf uses three shelf brackets, which are held together with a
simple mortise and tenon joint. As usual, I made these with my
mortising machine.
 For the tenons, I used my home made
tenon jig.
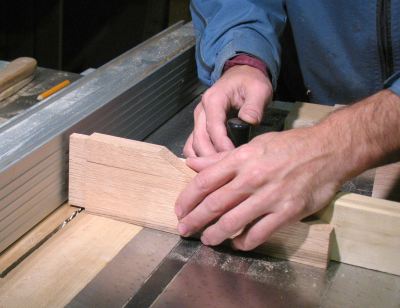
To trim the ends of the tenon, I set the blade to be just a few millimeters
above the table, and pushed the tenons sideways across the blade back
and forth while slowly advancing it to the center of the blade.
The nice thing is, I can use the rip fence as a limit for how far to push it
against the blade. And the rip fence was already set to the right position from
cutting the shoulders of the tenons.
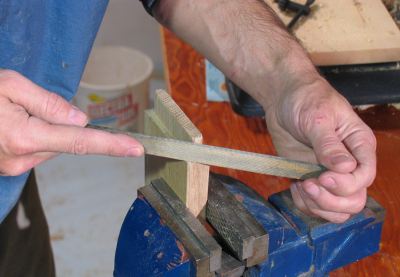 I rounded the ends of tenons with the coarsest file I could find. I used
to do round them with a carving knife, but but a file is quicker.
A fine flat rasp would be even
better, but rasps tend to be very coarse, and curved, so a coarse file
suits my needs better. The file also has an edge with no teeth on it, which is
handy for avoiding accidentally filing into the tenon's shoulders.
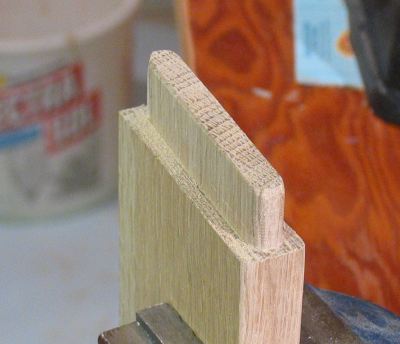 One of the tenons after filing the corners round.
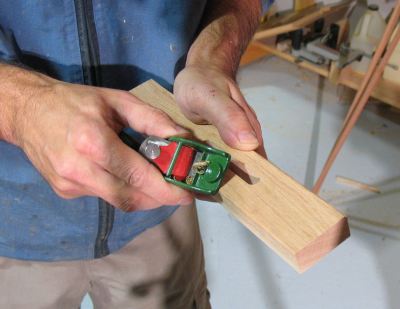 I also like to round all edges and corners that are exposed. I use a small palm plane
for this. Stroking it over the edge at different angles produces approximately
a quarter round edge of 2 to 3 mm in radius.
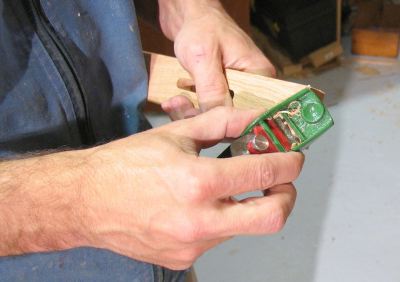 With the plane sharp enough, it can be used to round the edges on the end grain as well.
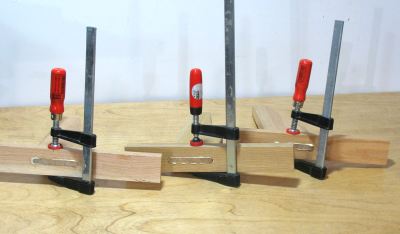 Gluing the shelf brackets together. The clamps across the mortises are probably unnecessary,
but I tend to put then on just for good measure.
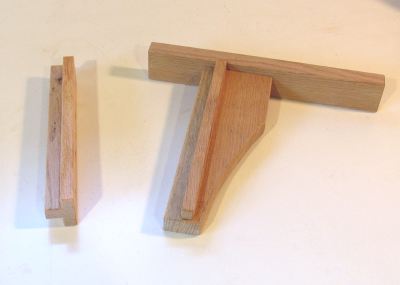 The next step was to glue some 12mm x 12mm square pieces of wood to the sides of the shelf
brackets to support the drawers. As there are two drawers between the brackets, I also
made some T-shaped profiles to screw to the bottom of the shelf to hold the drawers.
|
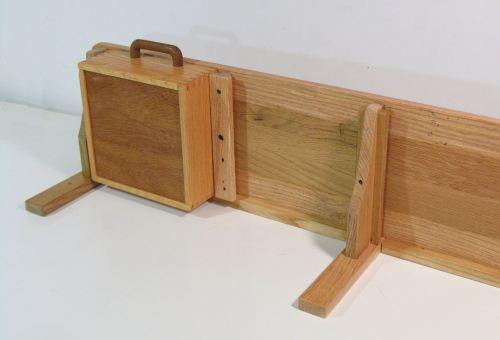
Mounting the shelf brackets and the T-shaped profiles to the underside of the shelf.
With the spacing needing to be precise, and dictated by the drawers, it was easier to
just assemble the whole shelf, brackets and all, before mounting it on the wall.
I did check ahead of time that I'd be able to screw it in so that the shelf brackets would screw into studs instead of just drywall. I was lucky that it worked out that way. Otherwise, I would have had to design this shelf a little bit differently. Note also the few extra holes on the T shaped piece supporting the drawer. The hardwood for this I cut from some used pallets, so it had a few extra holes in it. Useful for applications where one needs hardwood but it doesn't get seen much. |
See also
 Building a Low bookshelf
 More on Wooden drawers
More Woodworking projects on my Woodworking website
 Small corner shelf
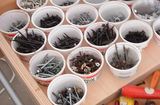 Yoghurt cup sorting trays