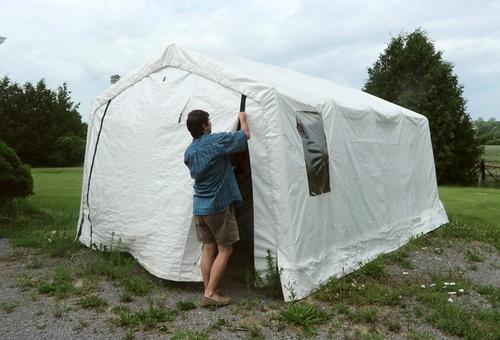
 Initially I parked my tractor
in the workshop, but it just took up too much space.
I then parked it in one of these cheap car garage tents.
(video). It barely fits
as long as I take the bucket off the front end loader and pull out the exhaust pipe.
 Initially I parked my tractor
in the workshop, but it just took up too much space.
I then parked it in one of these cheap car garage tents.
(video). It barely fits
as long as I take the bucket off the front end loader and pull out the exhaust pipe.
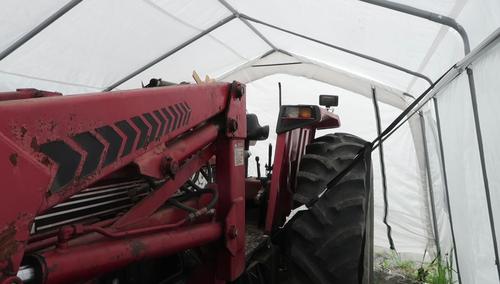
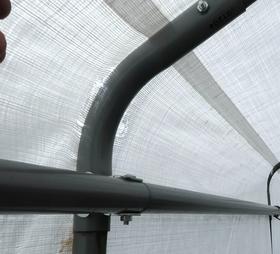 But these tents are flimsy and aren't built to last. It's exposed to wind where
it is, and the fabric is chafing apart where it rubs against the frame. And the frame
too is flimsy. I worry that the wind might knock it down or blow it away,
so I always tie it down to the tractor when it's parked in there.
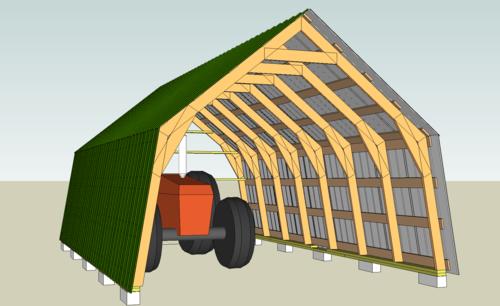 So my plan was to build a shed for the tractor, inspired by these car tents. This would
be fairly minimalist, but tall enough that I wouldn't have to take the exhaust off the
tractor, deep enough that I could keep the front end loader on it, and wide enough
that I could also park the lawn tractor next to the tractor.
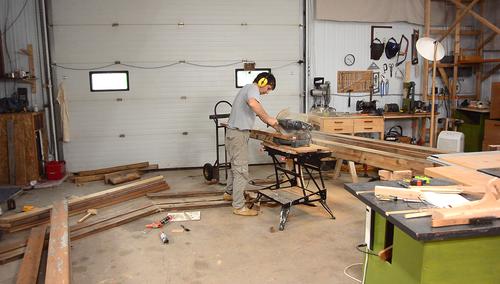 When someone offered me the materials from their old deck last year, I took him up on
it in anticipation of building this shed. I think I have just enough wood to
finish the whole shed with it.
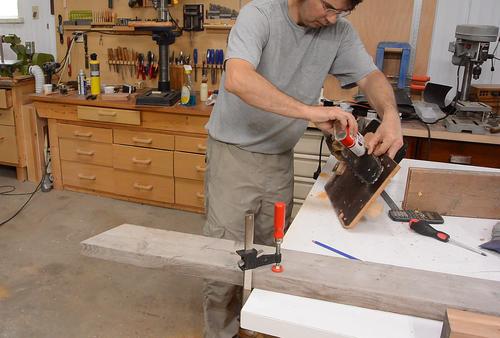 I thought about using a floating tenon to join the pieces end to end, but then had the idea
of doing a spline joint and experimenting using a chainsaw to cut the slot for it.
The oiler on this electric chainsaw stopped working, so I manually oil the chain from time to time.
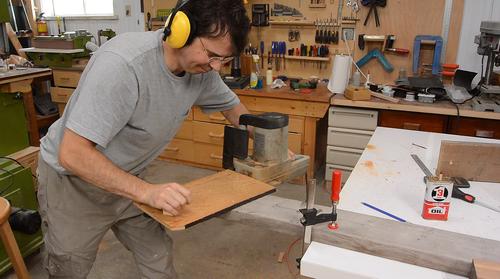
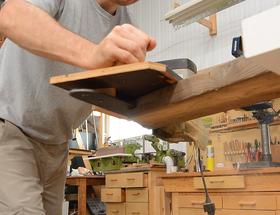 I attached a piece of plywood to the chainsaw bar, with spacers, which sets
the chainsaw at the right height to cut the slot. I also have some stops attached
to the plywood so I consistently cut the slot 6 cm deep.
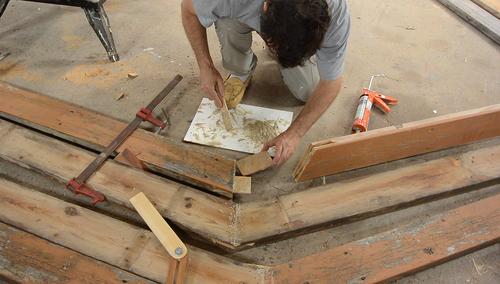 But the chainsaw's kerf varies a lot, so I used a lot of construction adhesive
to fill the gaps when I glued in the oak splines.
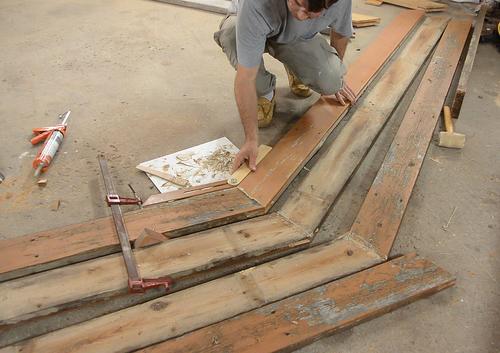
 Checking the angle. After the first few glue-ups I decided one of my glue-ups
should be the reference piece, and I just laid the pieces I glued up next to the
reference piece to get the angle right.
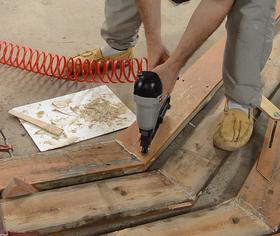
Then lots of brad nails to help secure the spline in place.
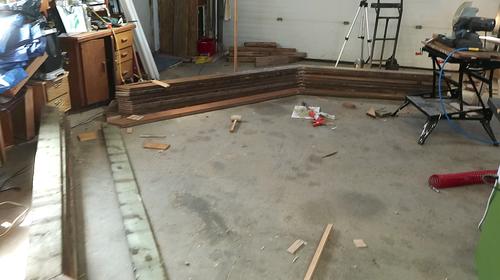 The outer angles for eight of the frames glued up. after that, I could start
joining them in the middle (because of space constraints)
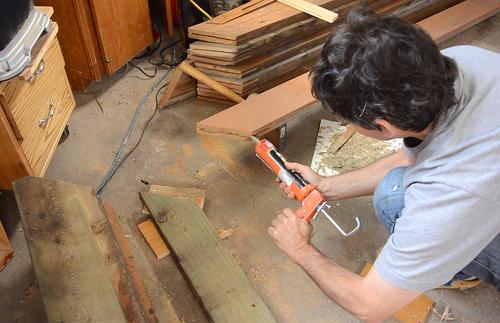 Squeezing construction adhesive into the slot, after that I used a thin piece of
wood to spread it around, then more construction adhesive before mating
the two pieces together.
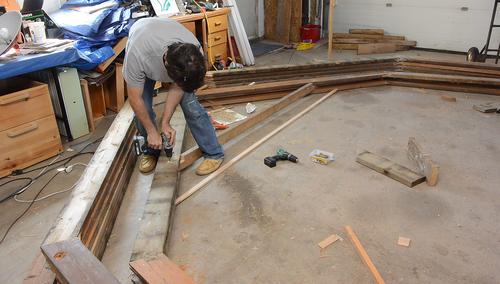 The first frame will be the back wall, and it will have horizontal cross pieces
every 60 cm or so. I'm screwing the top one in now to reinforce the frame
and it and because it's easier while it's on the ground.
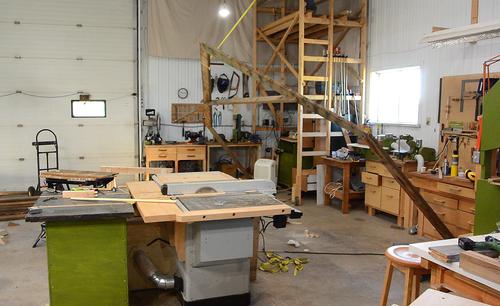 Raising the first frame by pulling it up with a strap while standing on my
scaffold in the corner.
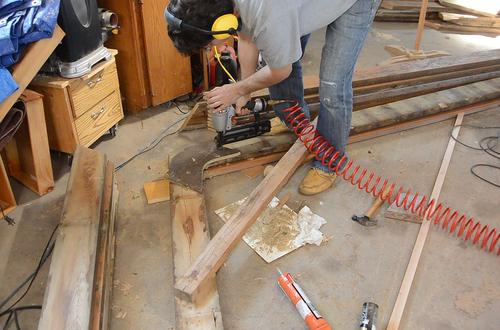 Then assembling the next frame. It has the cross piece much higher up to leave
room for the tractor's exhaust pipe. I also nailed on a gusset plate at the top
to help reinforce that joint
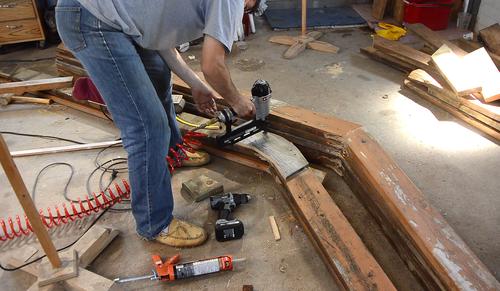
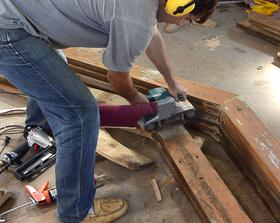 And gusset plates in the other corners too. First I sanded the old wood to get
a fresh surface for better glue adhesion, after that, I attach the plate with a few
screws to squeeze it down, then a whole lot of brad nails.
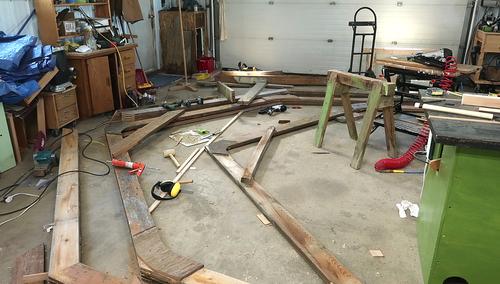 Two more frames ready to raise on the floor.
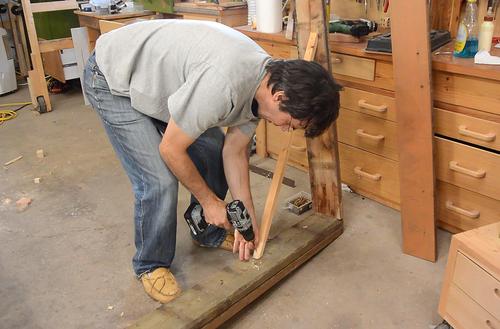
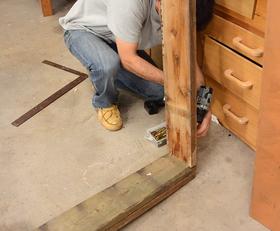 Then attaching the first frame to the base plate. I had the frame leaning against
the scaffold, so I put the base plate at an angle to be able to attach it square
to the frame, then adding a temporary brace to keep the angle.
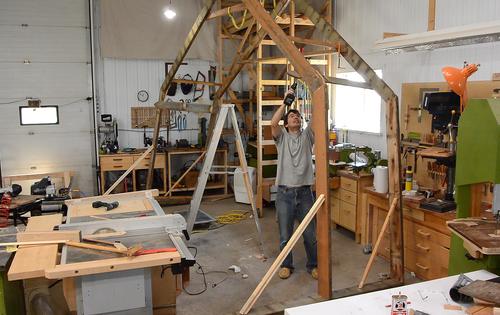 I attached the second frame while everything was still tilted (it was easier that way),
then attaching the frames together with temporary pieces of wood before I tilted
the whole thing vertical.
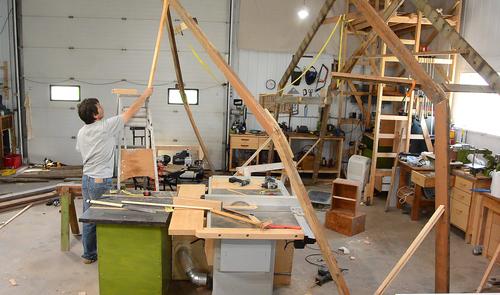 Then raising the next frame. I had a strap wrapped once around the cross brace of the
previous frame, with a weight on it. The idea was that the weight would be enough to
pull the strap as I raised it, but friction would be too much to pull it back.
But the wood was too rough so the strap didn't pull on its own. I
had to precariously prop up this frame and then walk over to pull down the weight.
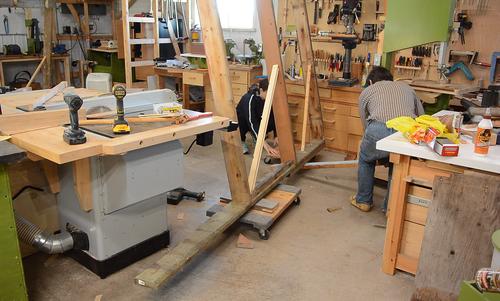 The table saw was in the way for raising the fourth frame, and I realized this wasn't
the best place to keep assembling the shed. Rachel helped me to get it raised up onto
four moving dollies.
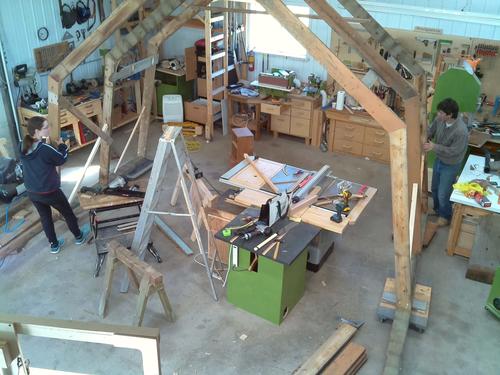 Once up on dollies, we were able to move it easily, though it took some planning and a lot
of moving other tings around to move the shed as it was.
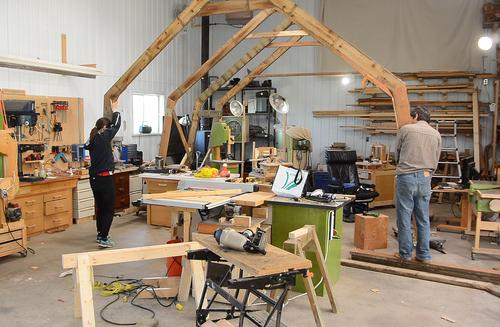 She also helped me raise the next frame. It's so much easier with two people.
And why did I build this inside the shop?
This way, I can take my time with it without worrying about a partly complete building exposed
to the elements. I have tendonitis problems with my right arm bicep, so I really need to take
it slow.
But, doing all the lifting with my left arm, I ran into tendonitis problems with my left arm bicep too, which left me without being able to lift much of anything. And that in turn made me realized I really couldn't do the sort of projects that a tractor would be handy for, sold the tractor instead. I figure the tendonitis should get better perhaps over the course of a year, but not if I'm constantly tempted by outdoor projects. Rachel also wasn't happy in the country, having to drive to do anything, so we decided to move. I gave away what I had built of the shed so far to Matt Carrier, who erected it on his property and filmed the process.