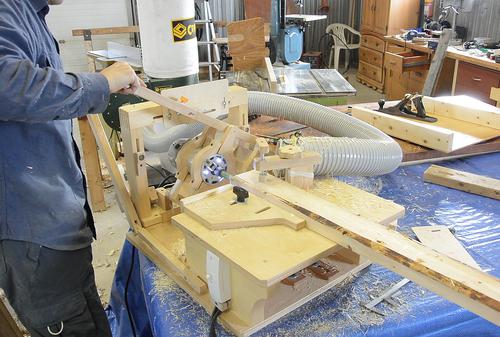
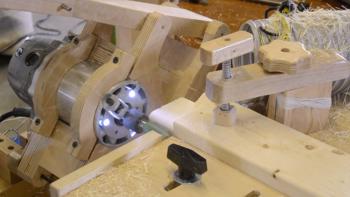
 I used my pantorouter, using the
same template from building
this workbench.
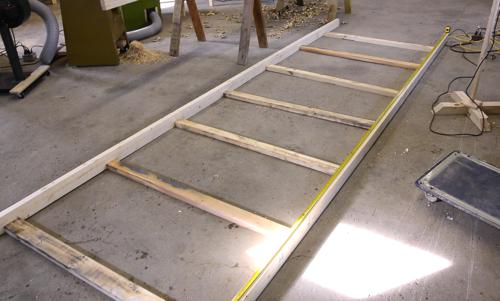
 I needed a scaffold to work on a 16.5' (5m) high ceiling in my
big garage workshop. Buying
would have cost over $1000, and I didn't want to rent because I
didn't want to have to do the work all at once. So I built one out of
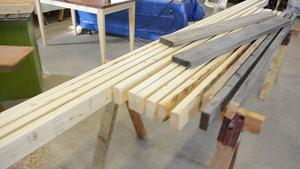
2x4s. I bought four 14' (4.2m) long 2x4s and a lot of shorter 2x4s. I
also had a few used 2x4s to use.
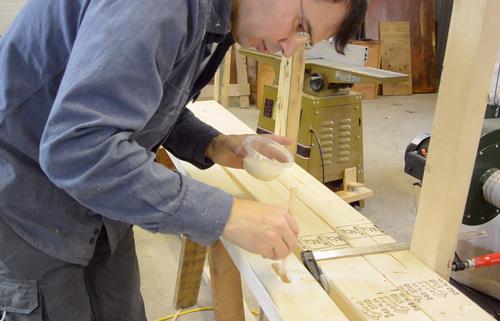
My design was to make two 4' (1.2m) wide "ladders" out of 2x4s for the uprights. At left, I'm laying it out.

 I used my pantorouter, using the
same template from building
this workbench.
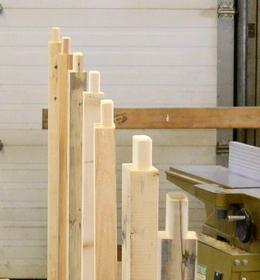
The tenons are 3/4" (19 mm) wide, and I'm using a 3/4" router bit to cut them. There is a lot of material to remove for cutting the tenons, but because the router is cutting side grain, it cuts surprisingly well.
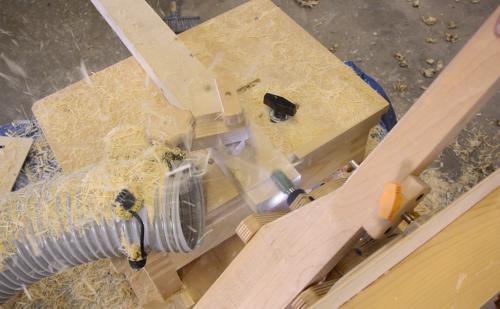 The chips get thrown in all directions, so they are difficult
to collect with a dust collector. I put the hose to my
cheap dust collector
next to the workpiece to at least suck in some of the fine airborne dust.
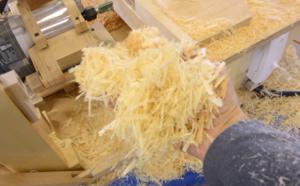 After a while, I had very little suction from the hose. The long
shavings had clogged the grid in front of the blower.
Those chips are like planer shavings, big flakes...
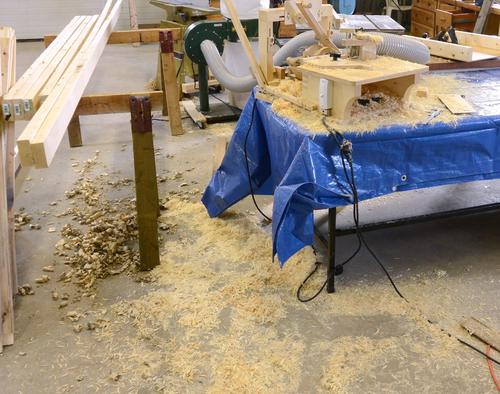
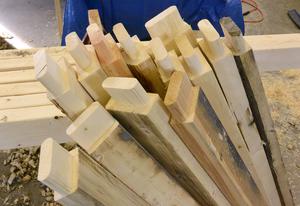 ... and a lot of them, after having routed 14 cross pieces, 28 tenons in all.
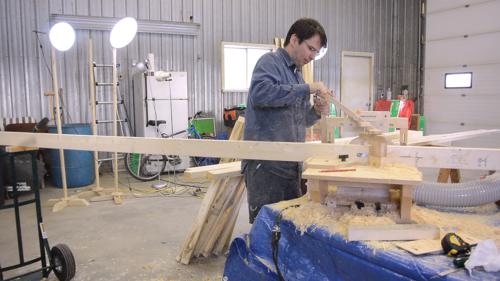 Cutting the mortises in the side rails, again with my pantorouter.
Cutting these went more slowly, even though I had less material to remove.
With the side rails 14' (4.2 m) long, I had to support one end of them, here, on the left of the photo, you can see the rail resting on a hand truck.
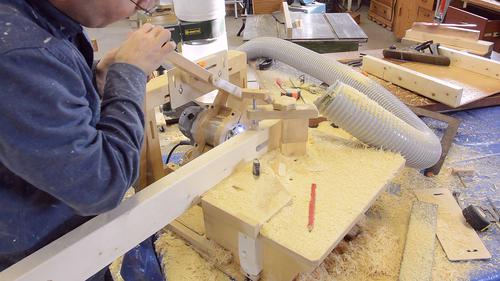
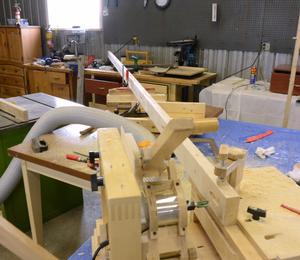 As I moved the rail along, I propped it up on the other end by stacking a few
pieces of wood on the workbench.
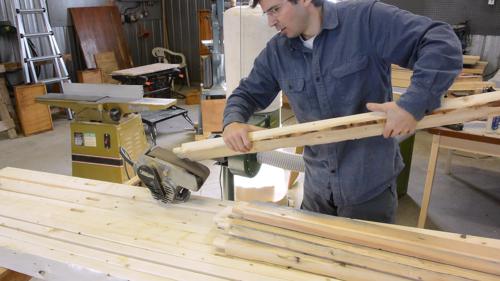 I decided to taper the ends of the tenons slightly. That way, they wouldn't
scrape out as much glue as I insert them.
This is not my main workshop, so I used an old belt sander, clamped to a 2x4 as a stationary sander of sorts.
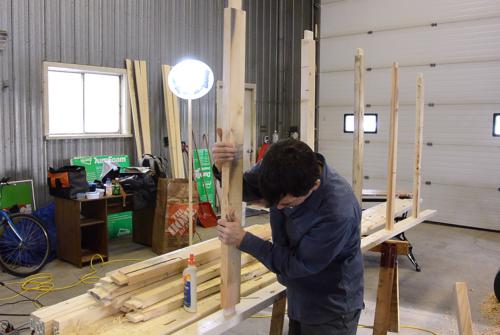
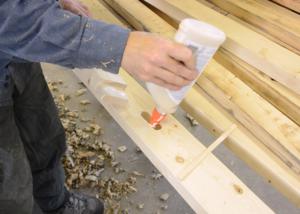 Gluing the rungs in. I only had a glue squeeze bottle with me.
I'm used to using glue from an open container. The bottle was slow
and annoying in comparison.
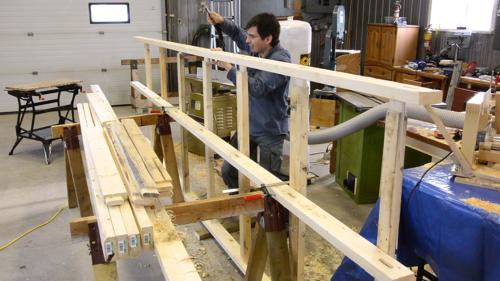
 Gluing on the second rail. A bit of a challenge, with seven mortise and
tenons that need to be glued and aligned at once!
The first ladder had some bowing in the side rails, so I used a cargo strap as a band clamp to squeeze it together in the middle.
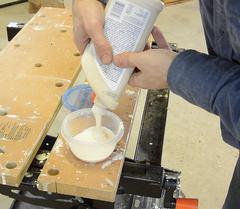 I eventually tired of using the glue bottle and dumped the glue in a plastic
container and started applying it with a wooden splint. Much faster that way!
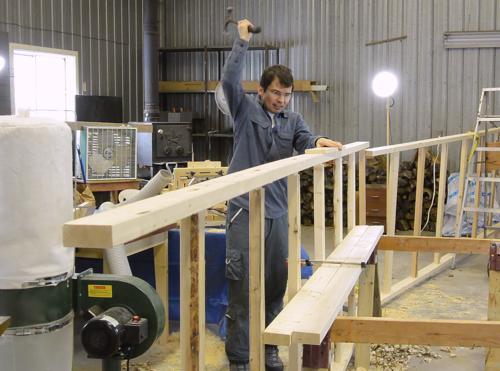 Assembling the second ladder. A few of the rungs had a slight twist in
them, so it took some extra persuasion to put them together!
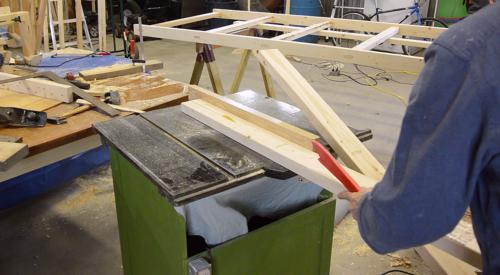 After that, I started ripping some 8' 2x4's down the middle to make cross
braces using my homemade table saw
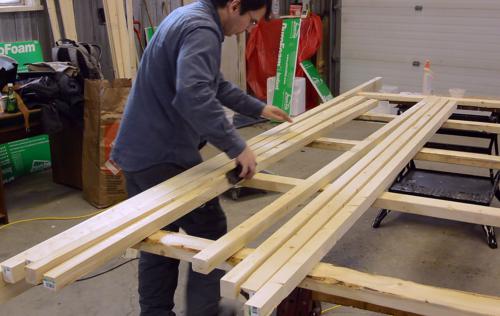 2x4 lumber comes with nice rounded edges, but the edges I just cut were sharp,
so I chamfered them with a hand plane.
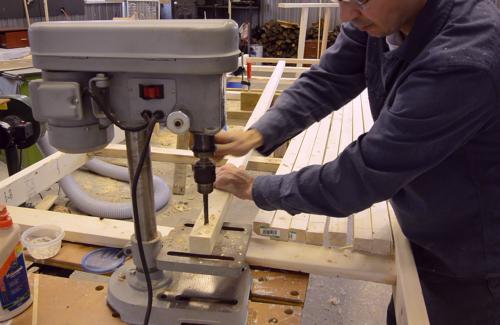 I drilled holes in the ends and in the middle for attaching them.
And this is where I decided to call it a day, so I will finish this scaffold in my next article and video.