 Visiting my sister Marlene in Thunder Bay
this summer (2012), there was, as usual, a project, like
every other
time
 Visiting my sister Marlene in Thunder Bay
this summer (2012), there was, as usual, a project, like
every other
time
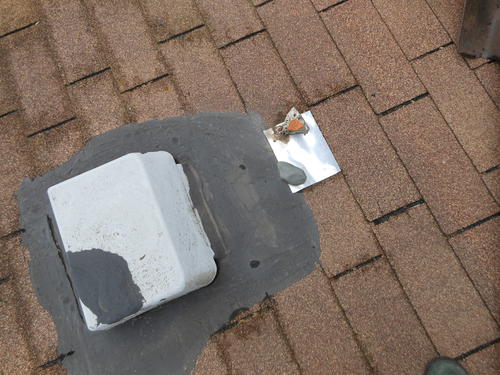
This time it was the roof over the bathroom addition. Whenever there was a lot of rain, water would start dripping in through the bathroom fan in the ceiling. The fan vented through a roof vent, and something around there somewhere was leaky. Previous attempts had been made to seal it with roofing cement, but it still leaked. I thought I might have found the leaky spot on my last visit, and slipped in a piece of aluminium flashing to direct water away from it, but that didn't help any.
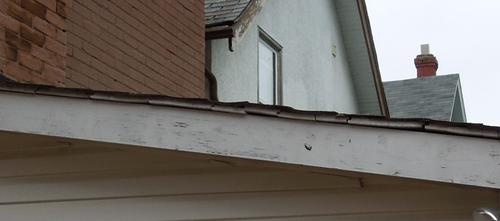 The ends of the sheathing boards were exposed, and they all looked questionable,
certainly, some of them were warped. Between that and the leak that
had been there for years, we weren't sure if the sheathing was still good.
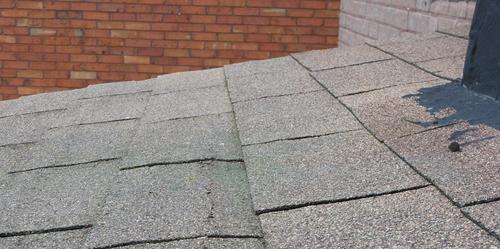 With roughly a 2:12 slope on this roof, it doesn't take much of a ripple on the roof
to reverse the slope and cause water to flow back into the shingles.
Here's a spot that looked questionable, although that spot wasn't actually leaky.
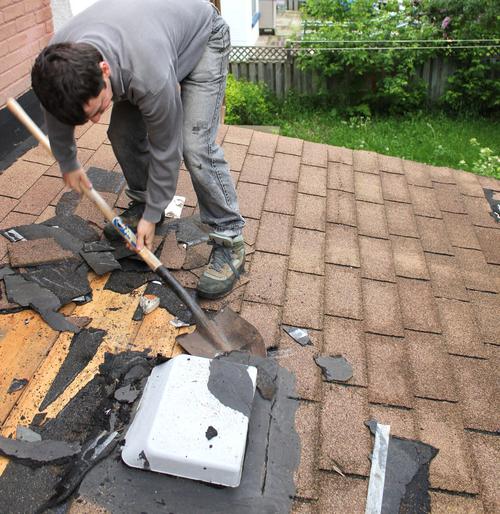 I started tearing the shingles off around the vent. I was curious to see how much would
be wet or rotten around there. But the wood underneath was in surprisingly good shape.
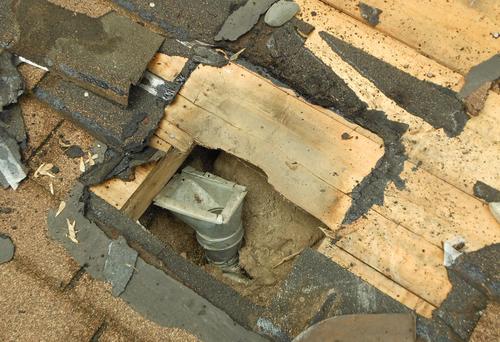 I think the boards just above the vent looked like they got wet frequently, but
they weren't rotten. They probably dried relatively quickly from the sun
warming the roof.
The insulation below the vent was quite wet. You can also see the vent, as it was. It's an expandable plastic hose (like a dryer vent hose), connected to a piece of ductwork, which wasn't actually connected to the vent. So the bathroom fan, for the most part, just vented into the space below the rafters.
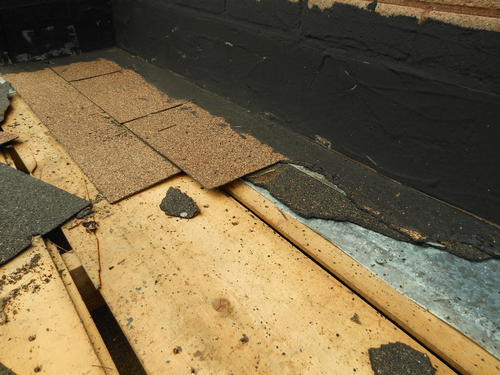 Here's another silly thing about how the roof was done. Flashing was used to connect with the
house, but the flashing was put on before the shingles, so it was under the shingles,
not on top of them.
Any water that would make it down to the flashing would get deflected into the roof,
below the shingles! But the flashing had been covered with enough roof cement
that it still kept the water out.
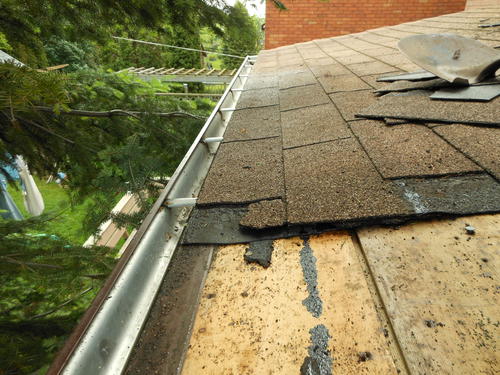 Here's a funny one. The roof is 14' (4.2 meters) wide, but the drip edge came in 10' (3 meter)
segments. So two segments were installed, overlapping by 6'. The problem with that was
that with the slope as low as it was, the doubled-up drip edge made for enough of a ridge
that the shingles sloped back a little, forming a trough for water to accumulate in.
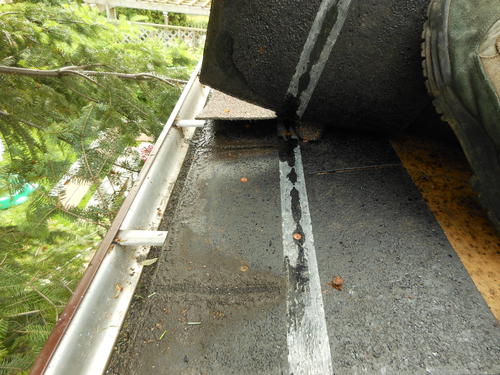 And lifting the old shingles, it was wet underneath, and it looked like it was wet a lot.
Rather than remove the drip edge, I cut the doubled up part off with a hack saw. A drip edge is a good idea, but doubling it up on a low-sloped roof, not so much.
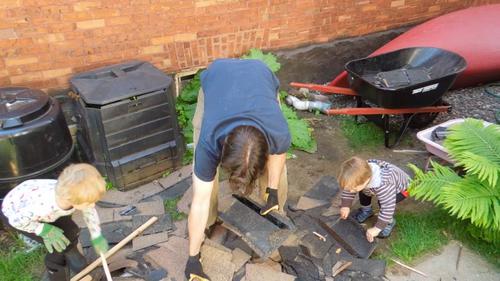 Disposing of the old shingles is always a chore when working on a roof, but this time,
this wasn't my job :) My nephews were eager to help, and, in this case, they were
helpful too.
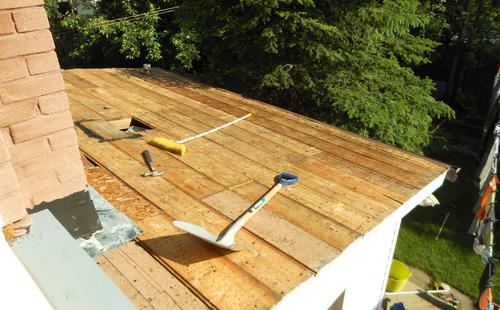 The roof fully stripped.
The shingles had only been nailed on with 1" (25 mm) long nails, which made the old shingles easy to pull off. It's probably not a good idea to use nails that short, though that didn't actually cause any problems. Most of the nails came straight out with the shingles as I pried them off.
The boards had a few gaps and discontinuities in them. For example, right below the chimney is an area that was filled with 5/8" (16 mm) OSB. This was thinner than the boards, so it made for a step up at that spot. Bad idea!
I replaced that segment, and added strips of wood into the bigger gaps, but I neglected to take pictures of that part.
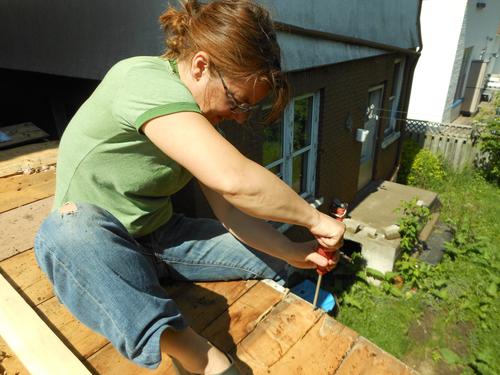 On the side facing the neighbours, the fascia board and supporting short 2x4's
was starting to hang down quite a bit,
so I clamped it to the sheathing, and then we put some screws through the sheathing
to hold it in place. I pre-drilled every screw hole, just to make sure I wasn't going to
crack the weathered wood.
The screws also helped to hold the boards down flat, which made for
a smoother surface. Some of that work was easier with four hands than two, so I
got my sister to help.
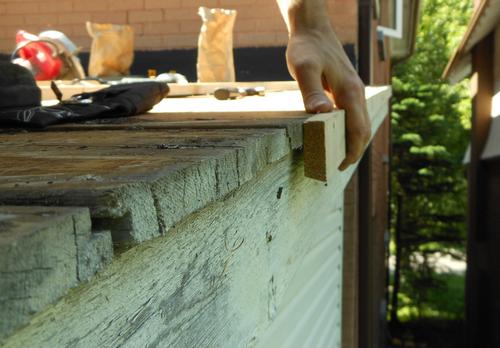 The ends of the boards looked kind of awful, but it was only the ends, that got that
way, from weather exposure. So I cut all the boards to be flush with each other
and then nailed a strip of cedar to the ends of the boards,
both to protect them from weather and to hide the ugliness. I beveled the bottom edge
of that strip by 20 degrees so that any water that might run down it
would drip off the outside edge, away from the fascia board.
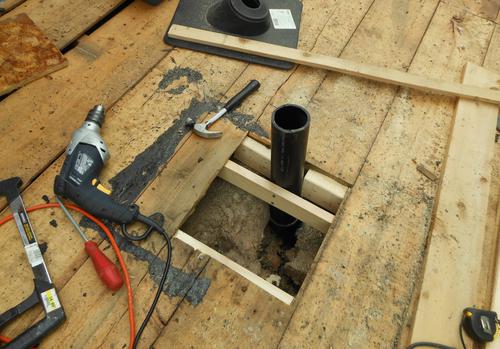 I didn't want to reuse that brittle old plastic hose, and I wasn't quite sure how to
connect the fan to a new vent. I was also suspicious of the style of roof vent that
had been used because, well,
that's where the old roof leaked. So I used some 3" ABS pipe and an elbow to connect to
the bathroom vent. That way, I could use one of those flanges that are meant to
run a vent pipe through a roof.
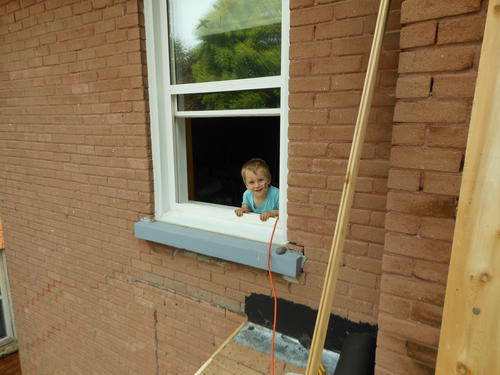 Here's another roofing "don't": Letting three year old kids come on the
roof to help.
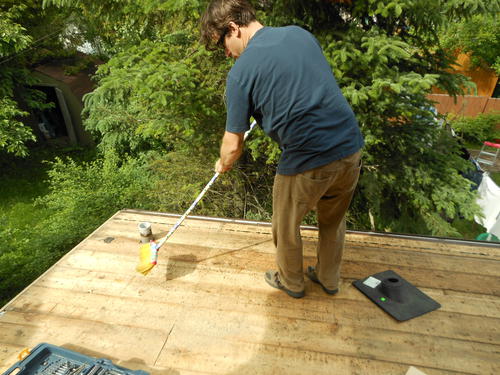 Marlene's husband Olivier sweeping off the roof before starting to put on tar paper.
The old roof didn't have any tar paper on it.
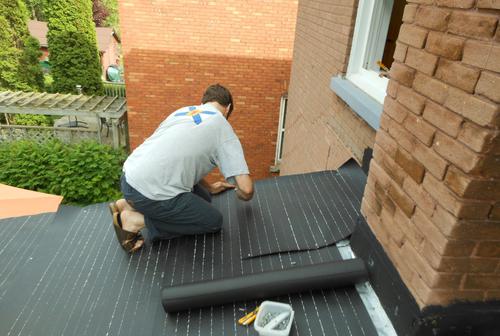 Tar paper is like a second line of defense
if the shingles should leak, though, realistically, I'm not so sure it makes much
of a difference. We had enough left over from the
porch siding project to cover the roof, so it was
a no-brainer to use it.
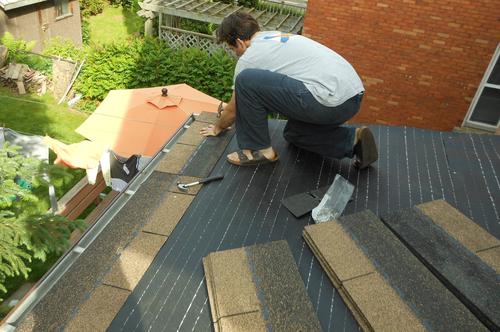 Olivier starting the first regular row of shingles. These are placed on a row of shingles which are nailed
on with the tabs facing up the roof, so that any water that flows between the tabs of the
last row is still directed off the roof.
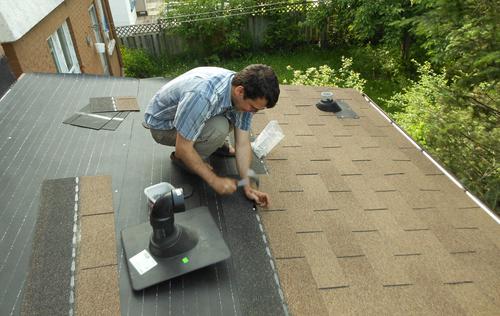 Nearly half done.
in the back corner is the flange for the drain vent, in front of me the vent for the
bathroom fan.
To install the flange, one shingles to about the level of the pipe, then nails the flange on, and then continues by putting the shingles over the flange. That way, water flows from the shingles onto the flange and continuing to flow down-slope, it flows back on the shingles.
I have to say, having a low roof slope sure makes it more comfortable to install the shingles. But other than that, a higher roof slope is much better for the shingles.
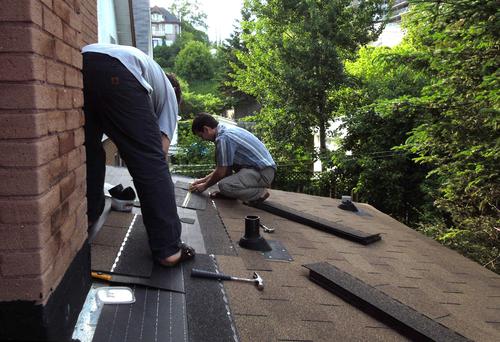 Nearing completion, note the shingles installed over the vent flange.
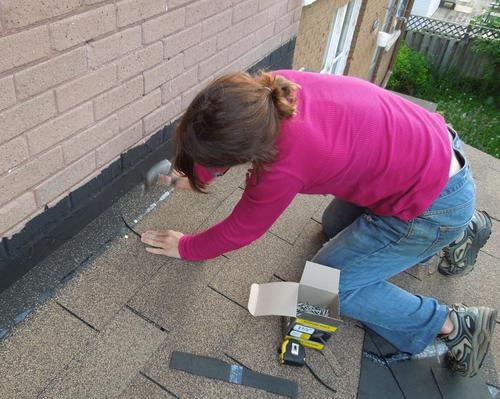 We left the old flashing in place. No harm in it being there, although it wasn't
that much use under the shingles. I didn't want to tear up that
tarred up area around the roof edge.
For the last row of shingles, we just curved them up against the tarred area on the roof. These still need to get tar applied to them to seal the top edge.
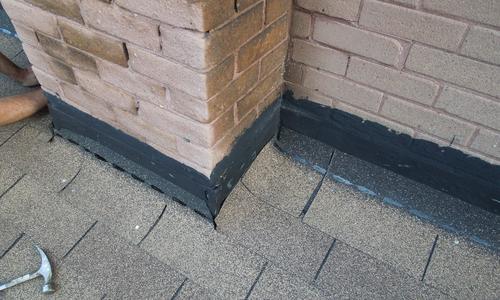 It was a bit trickier curling it up around the chimney.
This isn't actually that critical. The further down the roof, the worse leaks become. But a leak near the top can only leak water that fell at or above the leak, so the potential leakage is much smaller. With this being at the top of the roof, and still under the eaves of the main roof, it would take some driving rain splattering against the walls to get any significant amount of water behind them. But a bit of tar applied to the top edge should seal that up.
I left that work for Olivier to do. We had some hefty rainfalls before he got around to it, but there were no signs of water coming into the house.
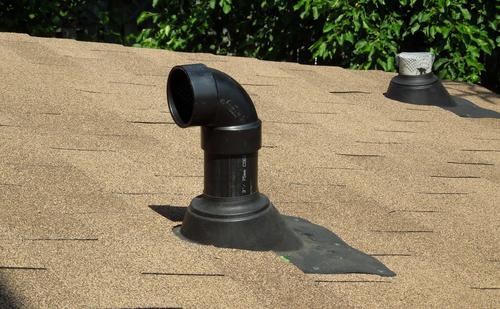 And here's the new "periscope" bathroom vent. We aimed the opening towards the house.
We figured there should never be any driving rain coming from that direction.
I made a screen out of hardware cloth and put that into the end of the pipe to prevent wildlife from getting into it.
I also added a screen to the existing plumbing vent in the background, although that's much less critical. If a bird falls into it, or a squirrel throws a pinecone into it, there's a good chance it will clear out through the sewer eventually. Although, I once saw a vent like that jammed full of pinecones. Somehow, a squirrel decided this was a good place to stash them. I guess that same squirrel hadn't actually figured out a retrieval strategy!
Considering how it was done previously and despite all of that, it only leaked in one place, this roof should do.
on my woodworking website