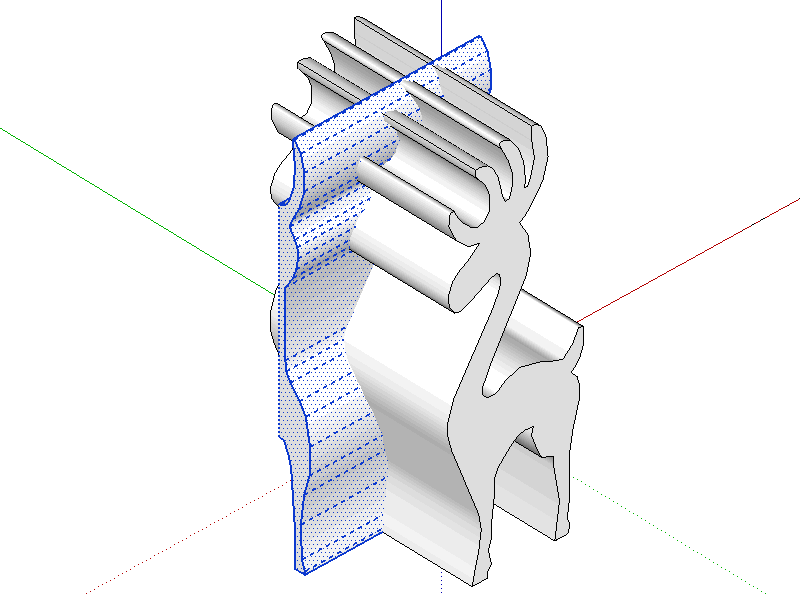
 Of course, once I had the profiles in the CAD program, I might as well check how they'd look
cut out as a 3D pattern by creating "extrusions" of the profile and intersecting them in
the CAD program.
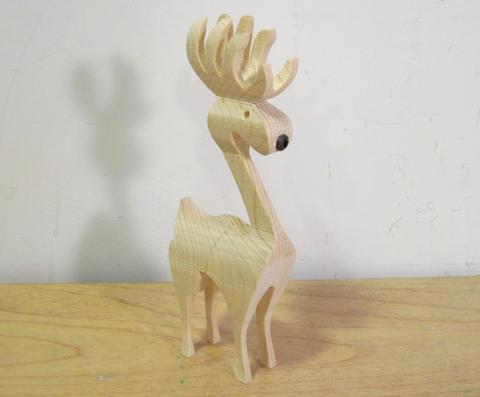 This little diversion started with Ronald Walters sending me some pictures and
a video of making 3D scrollsaw reindeer ornaments.
I thought that was a neat little project, but the pattern he uses is one that has been photocopied
many times, and I wanted to provide a clean profile for people to use to cut their own.
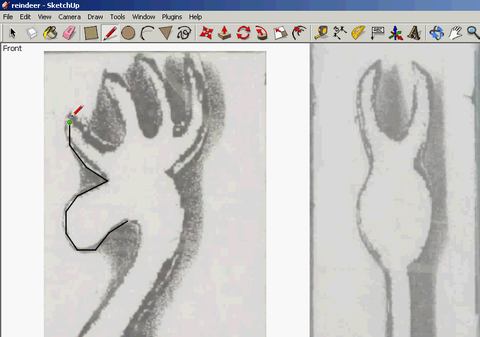
So I started by importing a photo of the pattern into Google SketchUp and tracing an outline of the reindeer using the photo as a template. I know there are programs that can automatically trace an outline, but these outlines weren't really clean enough to even consider doing that, and it didn't take long to trace it out by drawing lines with the mouse.
 Of course, once I had the profiles in the CAD program, I might as well check how they'd look
cut out as a 3D pattern by creating "extrusions" of the profile and intersecting them in
the CAD program.
Google SketchUp Pro has a feature to do intersections of solids. The free version doesn't have that feature, and I still haven't really had a need for the pro version. But the free version can intersect surfaces, so I just intersect them as surfaces and then delete all the surfaces that aren't part of the final 3D shape.
It only takes a couple of minutes to clean up the shape after intersecting, so it's not too bad. I only intersected half the reindeer shape to save time.
Also see my SketchUp tutorials
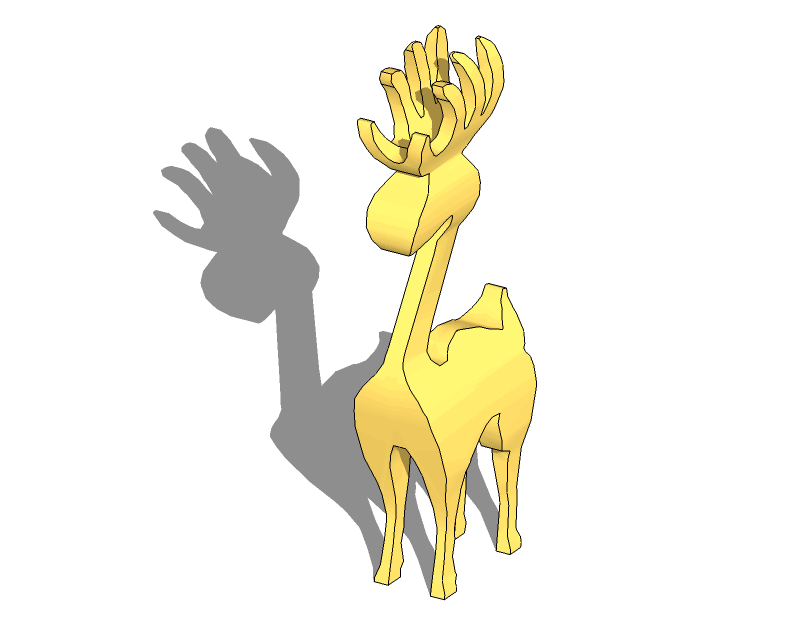 After cleaning up the intersected shape, I just combine the shape with a mirror image of itself.
So here's my 3D CAD model of the reindeer, which I used for the reindeer plans.
Looks OK.
Having come this far, I figured I might as well make one out of wood. But I'm no big fan of scrollsaws, so I just made my pattern bigger so I could cut it out on the bandsaw instead.
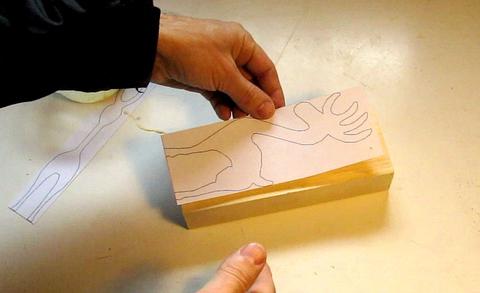 I glued these profiles onto a block of wood that is just the right size. The block should
be a little bit thicker than the front profile (leaving at least 3 mm on each side).
Ideally, the block shouldn't be any wider than the side profile.
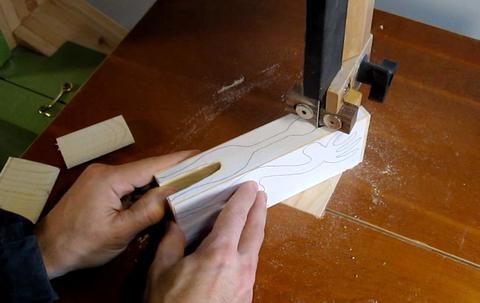 Using a narrow bandsaw blade, I started by cutting out the front profile. First I cut out the
space between the legs and between the antlers, then I cut the side profiles.
It's hard going cutting this deep with a narrow blade, which is why the width of the block (vertical in this photo) should not be any wider than the pattern.
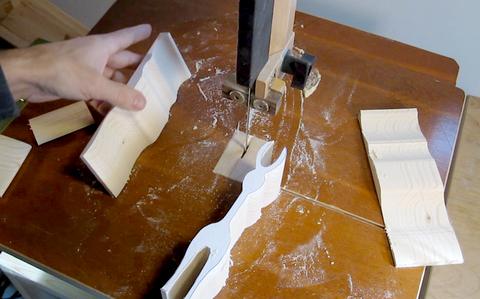 It's important not to make any relief cuts when cutting the sides. The slices cut
off the sides need to stay in one piece for the next step.
To make it around sharp corners, you can back up the saw and make a few extra cuts to open up a space to turn the blade around in.
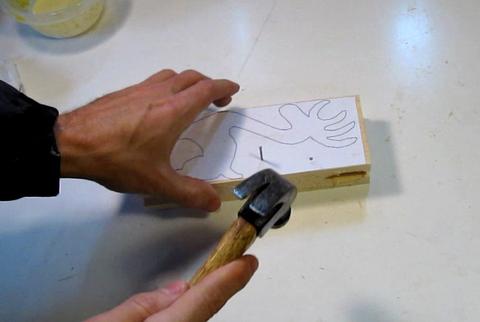 Next I needed to re-attach the pieces together before cutting the side profiles.
The quickest way is to just nail it back together. I'm putting the nails in the part
that will get cut away later so I don't have to worry about damaging my final reindeer.
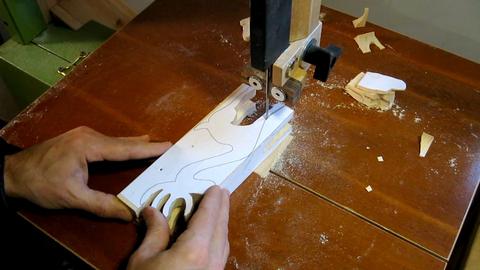 Now cutting out the side profile. I'm leaving the nailed together part until last.
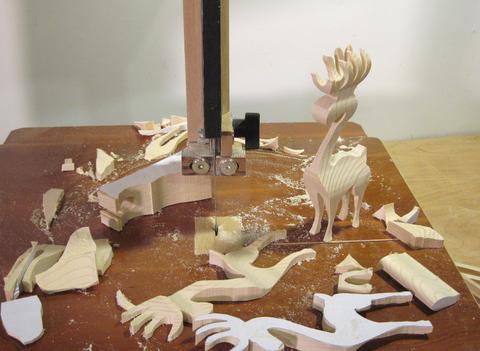 Once all the cuts are made, the whole sandwich of pieces comes apart, and the 3D reindeer
emerges!
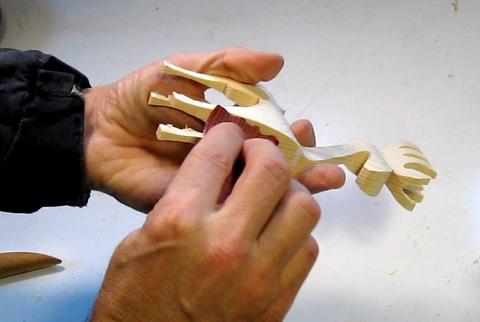 Some of the corners were a bit rough from cutting on the bandsaw. A bit of sanding
helps to clean that up.
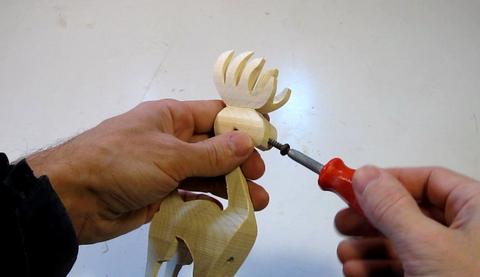 A nice touch is to give the reindeer some sort of nose. Some sort of bead to glue on
would have been ideal, but I didn't have anything appropriate kicking around. So I used
a black screw with a round head as a nose.
 And some small holes serve as eyes. There's much more I could do to decorate this reindeer.
I'm really not that into the whole Santa Claus Christmas story thing. Where I grew up (in Germany), St Nicholas came on Dec 6th (along with his evil "knecht Ruprecht", who would threaten to punish the bad kids), and Christmas gifts were supposed to have been brought by the "christkindl". Although I don't recall actually believing that either!
The reindeer has turned out to be a popular quickie project for testing homemade bandsaws with - see Rod's, Hessam's, Tamas's and Richard's
Or you could make a whole sleigh's worth of reindder, these ones by John Burros.