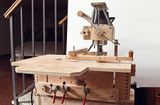
Paul Griffith's dual pantograph
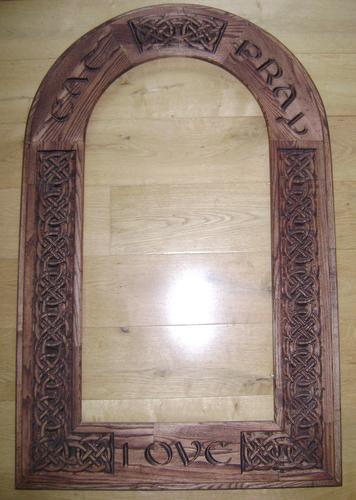 Paul Griffiths writes:
Hi,
I live in Ireland and downloaded the plans for your router pantograph about 18 months ago. I started using it for sign making and soon decided that it was much easier to make the pattern letters larger and move the sign along when each letter is cut. Also I slightly modified the axes to allow cutting at 60%, 50%, 40%, 33%, and 25%, which allows for more flexibility in letter size.
I then downloaded some Celtic fonts and border design fonts and started making mirror frames etc. Of course I soon decided it was too slow and have now got two units working in tandem off a central pattern, as you can see from the photos.
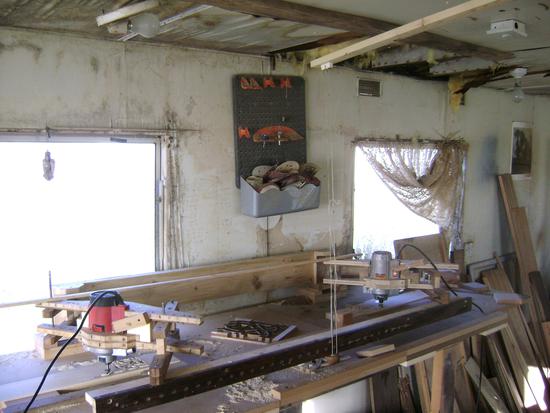 The backs of the pivoting mechanisms are joined with a 150x 40 timber.
Each pantograph is on its own base which can slide along sideways. They are now 1100 mm apart which allows pieces up to 1050 mm to be cut in pairs.
The rear router mount pivot and the stylus point are joined at 1100 mm apart which keeps the two machines parallel and in sync.
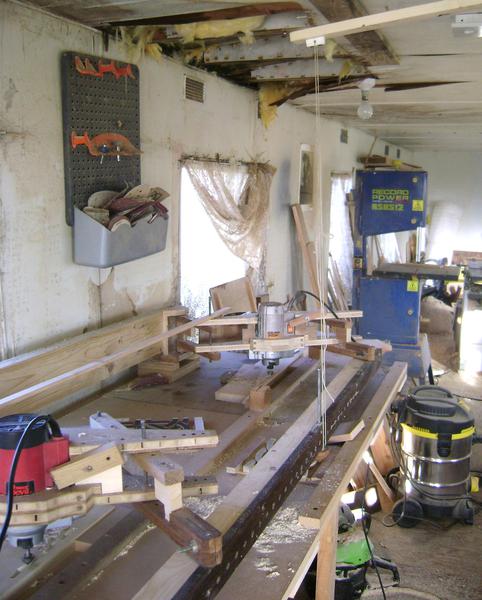
The stylus traces off a centralized pattern and is supported by a double string going up to a flexible overhead batten. This keeps the cutters just above the work surface when not in use and requires only slight downward pressure to cut, rather than having to lift the weight of the dual mechanism.
Even though there is a slight amount of vertical flexibility from end to end, the fact that it is centrally suspended means that once the router bits are adjusted for depth, it cuts identically on either side.
 Before I start, I mark the position on the workpiece of each pattern to
be cut allowing for scale. So if each pattern is 200 mm wide, if I am cutting
at 50% scale, I move the workpiece sideways 100 mm each time relative to
the central index mark of each pantograph.
It works a treat and because I am cutting 2 pieces every time, it makes the whole process much more of an economic proposition. The only downside is that mistakes happen in pairs too!!!!
I was originally thinking of using your full scale router copier to make my frames but decided that the pantograph option would be more comfortable to operate as it allows me to sit be seated directly in front, whereas it appeared to me that because of the length of the workpieces, I would be spending a long period bending over at an angle using the router copier.
My hat goes off to your creative genius. Thanks for the inspiration to take the idea one step further.
Cheers
Paul Griffiths
Tipperary,Ireland
Matthias Comments:
I often get asked how to "set the pantograph to 1:1", but an inherent design of a pantograph of this type is that the closer the pantograph copies to 1:1, the closer the router ends up near the follower stylus, and at 1:1, the router would have to be exactly where the stylus is. But linking two of them could in a way support 1:1, though a copy carver would be simpler. I have at times thought about making two pantographs, facing each other, and joined with a ball joint where the stylus would go. But again, for 1:1 work, a copy carver would be simpler.
See also:
 Lee Zimmer's
router pantograph
Lee Zimmer's
router pantographMore Reader projects
 3D router pantograph
 Router copy carver