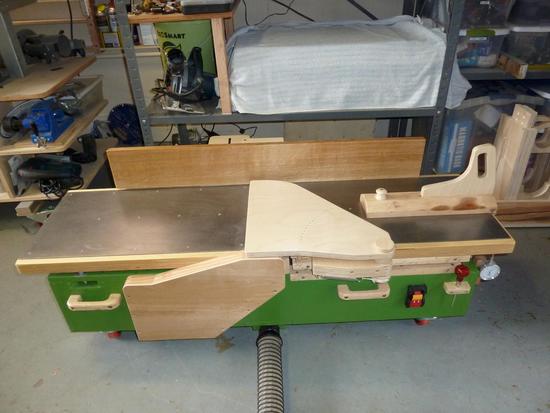
Carsten Avenhaus's jointer with helical carbide insert cutter head
This is my attempt at building a
jointer from your plans. You mention that you did not like the noise
of the jointer built from planer parts. I did not have a planer that I
was ready to cannibalize. Instead of buying a new planer for this
project I decided to spend a bit more and use parts that would reduce
the noise. So this build is based on an after market 13" helical cutter
head for the Dewalt DW735 planer and a 1.5 HP, 3600 RPM induction motor
from Harbor Freight.
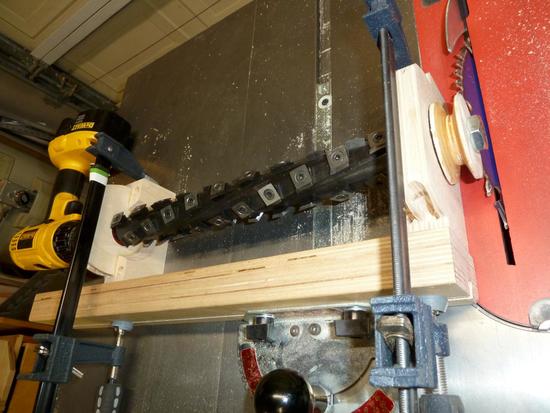
This type of cutter head uses rectangular carbide inserts instead of
straight HSS blades. This was the cheapest Shelix cutter head I could
find, but it had a few challenges. The left bearing is quite a bit
larger than the cutter head diameter and the shaft is a metric 17mm,
which makes it hard to find off the shelf pulleys in the US. I started
with the bearing blocks and then made a wooden pulley on the table saw
while it was mounted to the shaft.
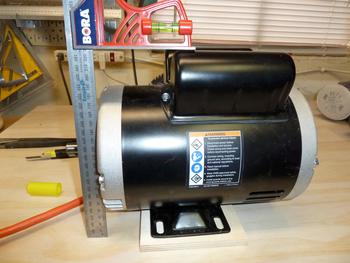
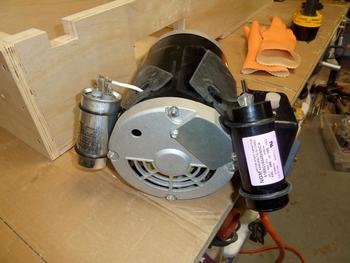
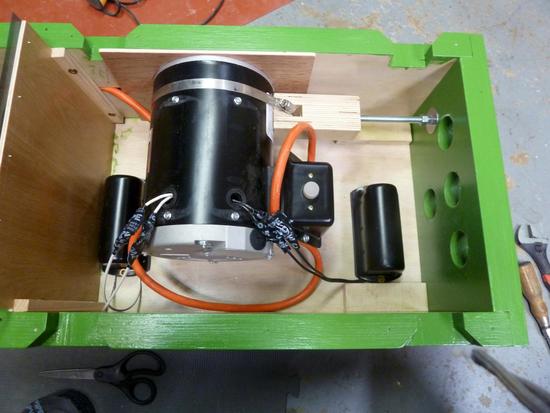
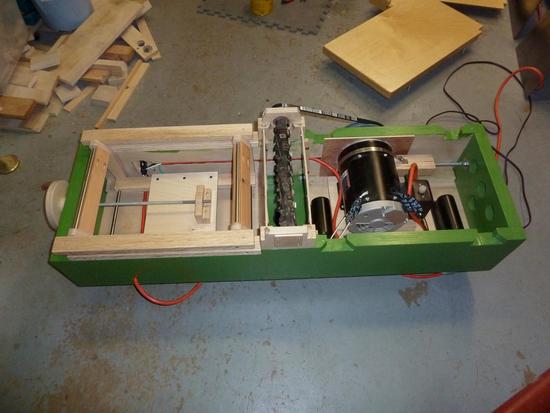
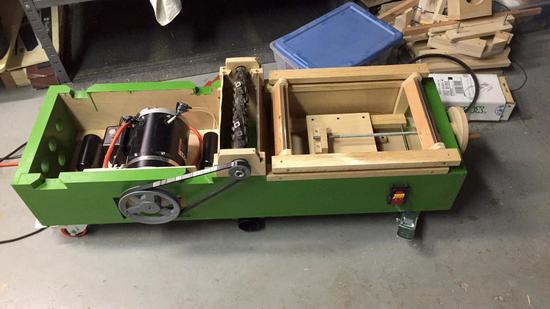
Induction motors are quite a bit bigger than universal motors, but I
still wanted to fit it into the body. Taking off the capacitors and
mounting them at the side helped to keep the body profile as low as
possible.
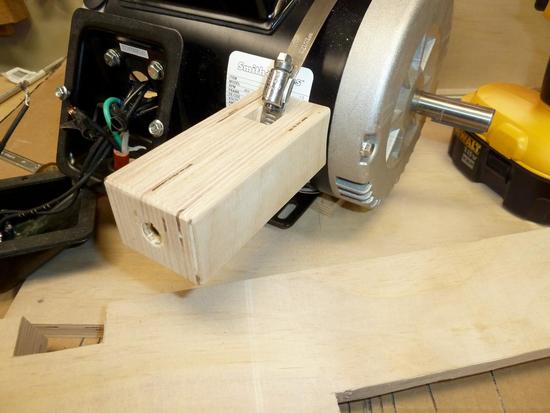
A wooden block with a threaded insert is attached to the motor with a
hose clamp. This allows me to adjust the belt tension with a screw that
comes in from the side. The motor is fixed to the bottom using 4
carriage bolts in routed slots. This enables the motor to move from side
to side.
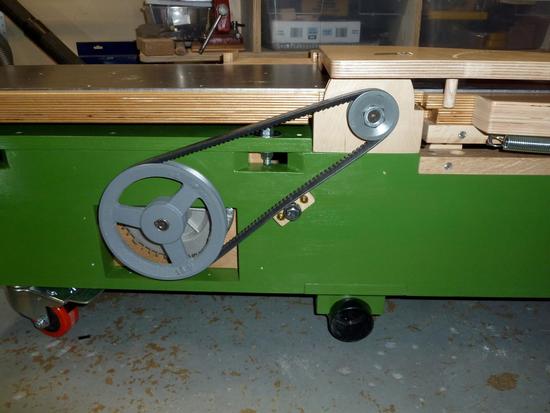
The cutter head is designed to spin at 10,000 RPM. With the 3,600 RPM of
the motor and the given cutter head size I needed a 6" pulley for the
motor. The DW735 uses a flat serpentine belt. I was able to find a
replacement pulley for the 17mm shaft, but no belts or motor pulleys
that matched my setup. To get things going I decided to use a less
efficient cogged V-belt and a cast iron V-belt pulley for the motor.
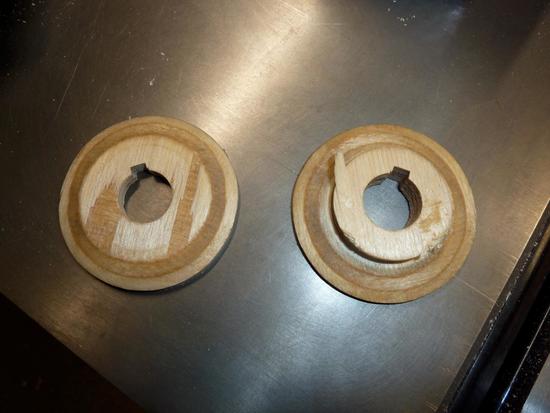
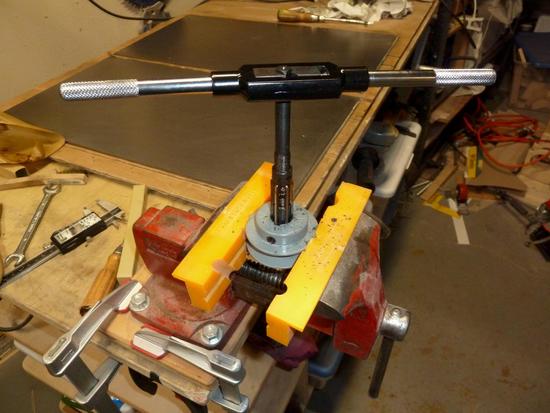
During initial tests I had some belt vibrations and over tensioned the belt. I also did not have the nut holding the pulley on the cutter head tightened enough. This caused my wooden pulley to split. It was easy enough to glue it back together and with the proper belt / nut tension I had no further problems. Still, it made me think about using a cast iron pulley on the cutter head instead. Pulleys with 5/8" (15.9mm) bore are cheap and easy to find. I used an adjustable reamer to expand the hole to 17mm. Unfortunately the key way in the pulley caused the hole to be off center after the reaming. So in the end I got another pulley and asked a friend with a metal lathe to help me out.
Here is the the lamination of the wooden table top, clamping it to the
top of the table saw with your
Long-reach C-clamps to get it as flat
as possible.
My steel table tops were not exactly flat. They had a bow of several mm.
I did not pay attention to this when I drilled the screw holes, so on
the outfeed table the sides of the table were lifting up. I had to add
several more screws to make it flat, but it worked out all right.
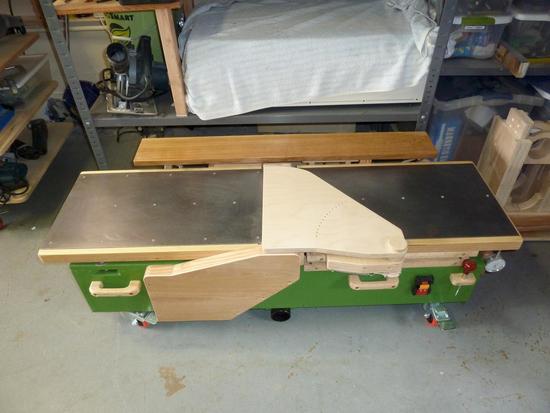
One of the biggest constraints I have is my tiny 1 car garage work shop.
The jointer needed to take up as little space as possible. When the
jointer is not in use it has to store under a shelf. So to keep the
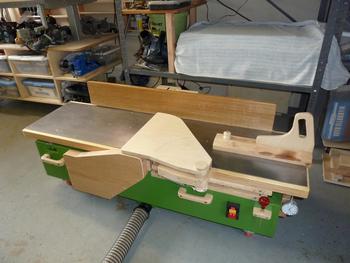
profile as low as possible, I did not put it on a frame. The fence flips
over and stores in the back, level to the table. A shelf holds the push
block and the knob for the fence.
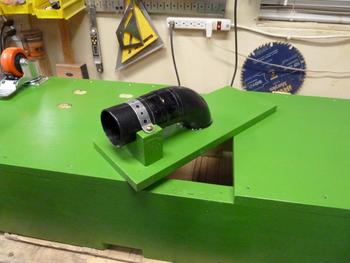
To fit the jointer under the shelf there is no room for a frame and
therefore no room for a box to collect the chips. Instead the bottom
slot is closed up with a dust port for the shop vac. If I ever get a
bigger space I can just remove this part and build the frame then. The
casters lock both the swivel as well as the wheels. Together with the
handles in the front this makes it very easy to get the jointer out and
move it around.
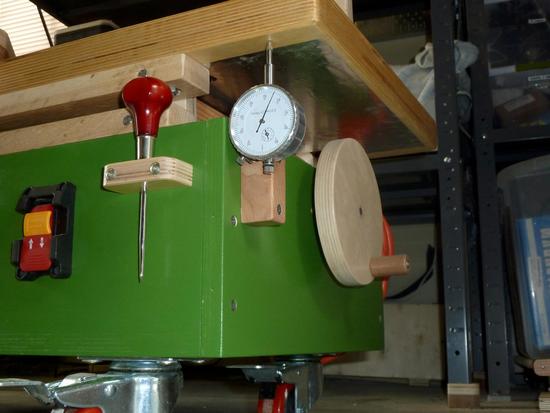
As a finishing touch I added a dial indicator for the table height
adjustment. I really like this feature.
An awl I had fit perfectly
in the 5mm holes that keep the cutter guard open.
To reduce belt vibrations I experimented with adding a roller skate bearing. This worked ok, but since the bearing was probably spinning at around 30,000 RPM it got quite hot. In the end I decided not to use it. Simply playing with the belt tension reduced the vibrations sufficiently.
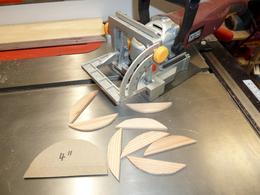
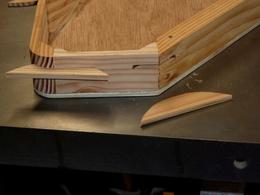
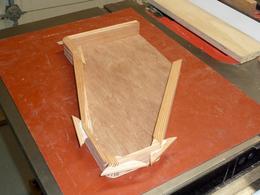
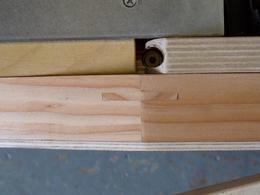
As a side, I found a good use for a cheap biscuit joiner from Harbor
Freight that I have had for a while. It's never actually been used
before, but it came in really handy to cut the slots for splines in the
belt cover. Especially the slot on the inside corner could not have
been done with a table saw. A 4 inch diameter cardboard template made
it easy to cut the splines on the band saw.
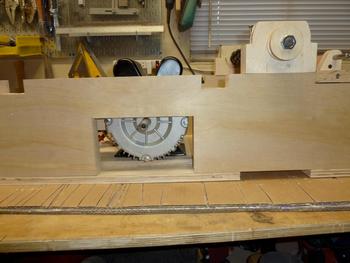
Here are a few more pictures of the inside.
The cutter head was a bit of an experiment for me. Over all I am really
pleased with it so far. Together with the induction motor it lowers the
noise level considerably. My neighbours and my ears will thank me for
it. The work pieces come out as smooth as I could hope for. The carbide
inserts should even allow me to cut
plywood without problems.
More of Carsten's projects:




 pantorouter
 Bandsaw
 Router lift
 Pantograph