 Alois writes
Alois writes
Hi Matthias,
Thank you for your excellent plans and your great tips and advice.
I could learn a lot from your saw and, built it as you recommended, from hardwood and as a "stand-alone" machine. But I would have been too lazy to keep converting a bandsaw back and forth into sawmill mode.
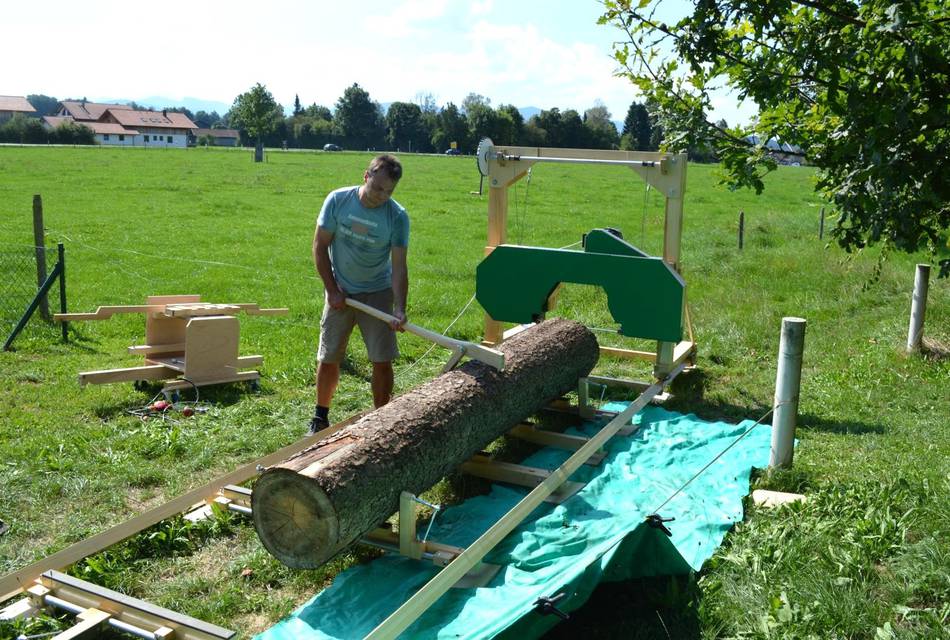
I got my sawmill a little larger. If I start something like this, I want to do it right.
Technical specifications:
3 rail segments, each 3 meters long, an be combined as desired.
Theoretical maximum log diameter: 70 cm (with cutting and turning)
Distance between blade guides: 56 cm
Smallest last board thickness: 2 cm
Throat depth: 33cm (bars)
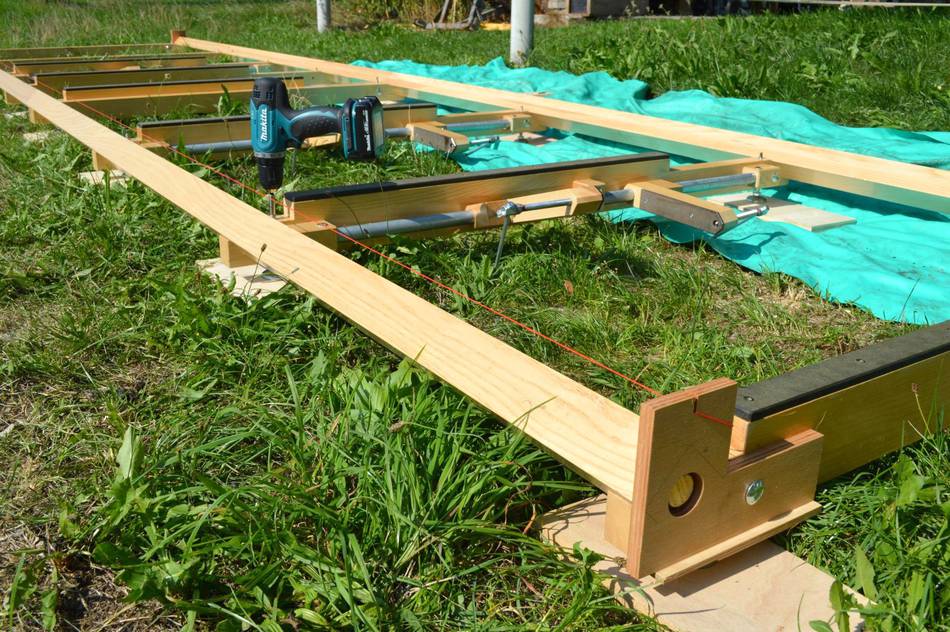 I span a string from the ends of the rails for checking
and adjusting them into a straight line. But using a level
works just as well. I use a cordless drill to adjust the
levelling screws.
I span a string from the ends of the rails for checking
and adjusting them into a straight line. But using a level
works just as well. I use a cordless drill to adjust the
levelling screws.
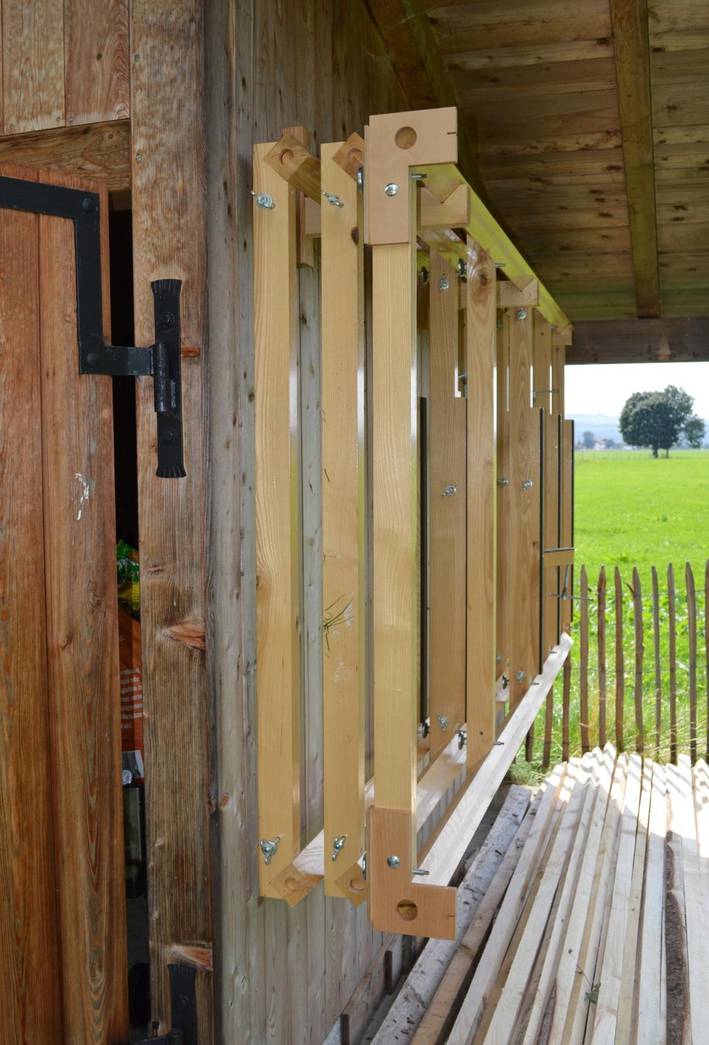
 The saw is built so that it can be put together or taken down by
one person. Two people makes it easier. The frame for the saw
is held together with four screws
like yours,
and consists of three pieces. The sawmill head can be moved with
a small cart.
The saw is built so that it can be put together or taken down by
one person. Two people makes it easier. The frame for the saw
is held together with four screws
like yours,
and consists of three pieces. The sawmill head can be moved with
a small cart.
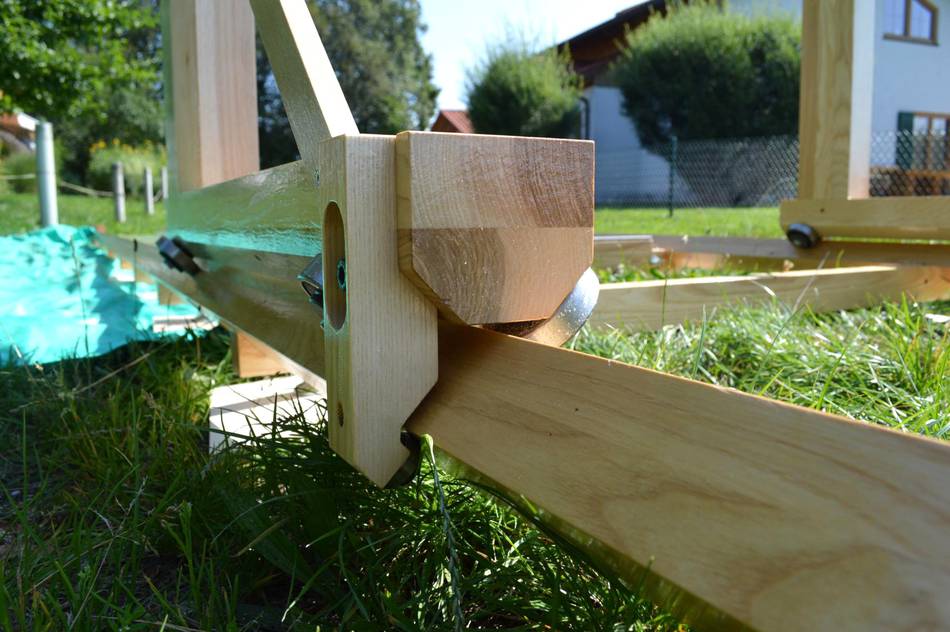 I used ball bearings for the rollers because of the weight.
There is also a roller on the bottom to prevent the saw from
tipping. If the frame warps, the rear rollers can lift
off the frame diagonally a little by two or three millimeters
(a design flaw)
I used ball bearings for the rollers because of the weight.
There is also a roller on the bottom to prevent the saw from
tipping. If the frame warps, the rear rollers can lift
off the frame diagonally a little by two or three millimeters
(a design flaw)
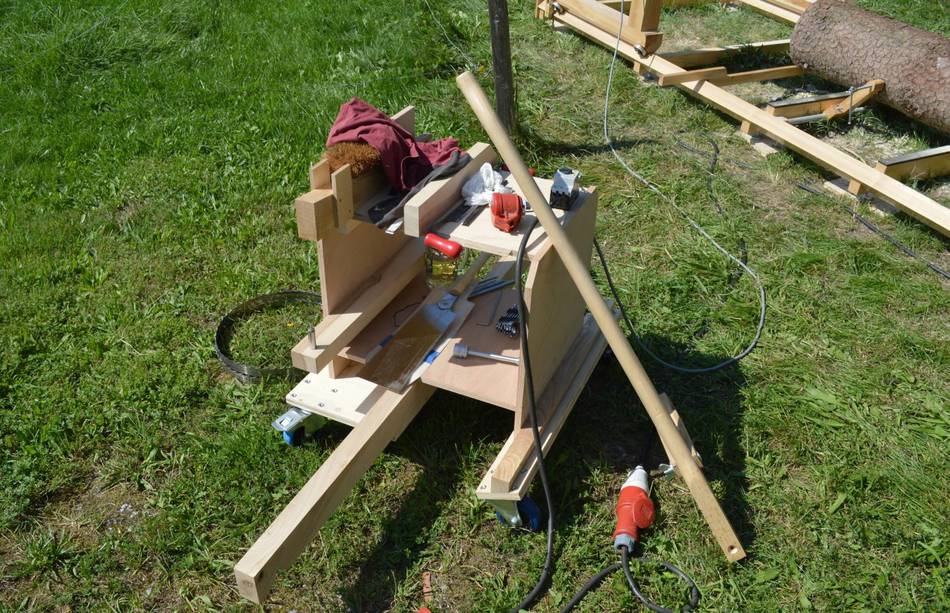 The cart also serves as a tool cart. I will add a removable tray
to it later. The electrician wasn't here yet, so the wiring is
a bit of a mess.
The cart also serves as a tool cart. I will add a removable tray
to it later. The electrician wasn't here yet, so the wiring is
a bit of a mess.
 The belts are tightened using an M8 screw. The motor
(3000 watt output, 400 volt, 2800 RPM) is clamped directly onto
the frame. The belt guard is mounted to the motor and moves with
the motor as the belt is tightened.
The belts are tightened using an M8 screw. The motor
(3000 watt output, 400 volt, 2800 RPM) is clamped directly onto
the frame. The belt guard is mounted to the motor and moves with
the motor as the belt is tightened.
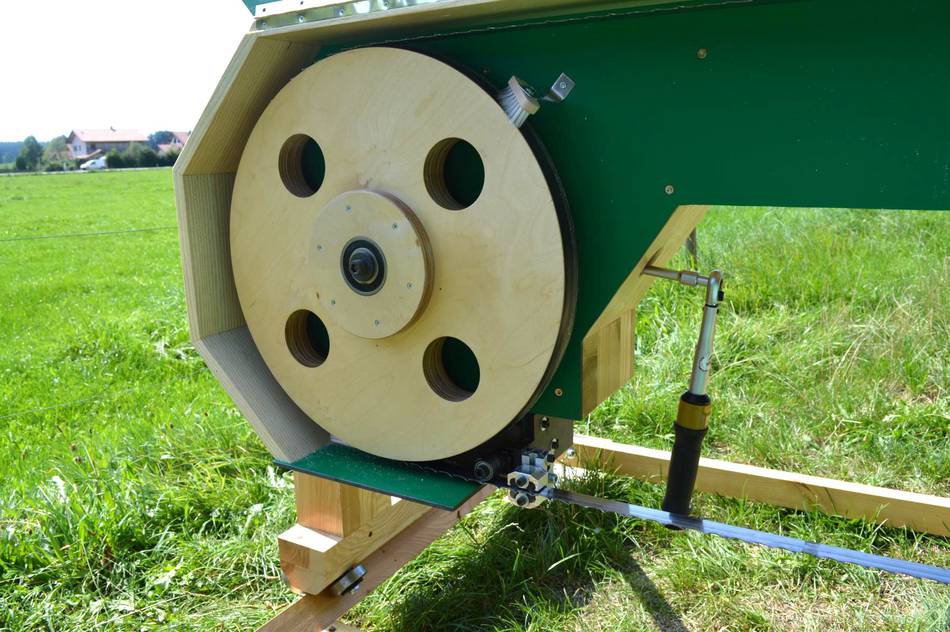 The blade is tightened using an M16 screw which pushes onto
the bottom of the metal frame for the wheel mount, with rubber mats
in between as cushioning.
The blade is tightened using an M16 screw which pushes onto
the bottom of the metal frame for the wheel mount, with rubber mats
in between as cushioning.
 The wheel mount is very similar to yours. The sawmill head is clamped
to the frame with four brackets. The star knobs are tightened before
making a cut.
The wheel mount is very similar to yours. The sawmill head is clamped
to the frame with four brackets. The star knobs are tightened before
making a cut.
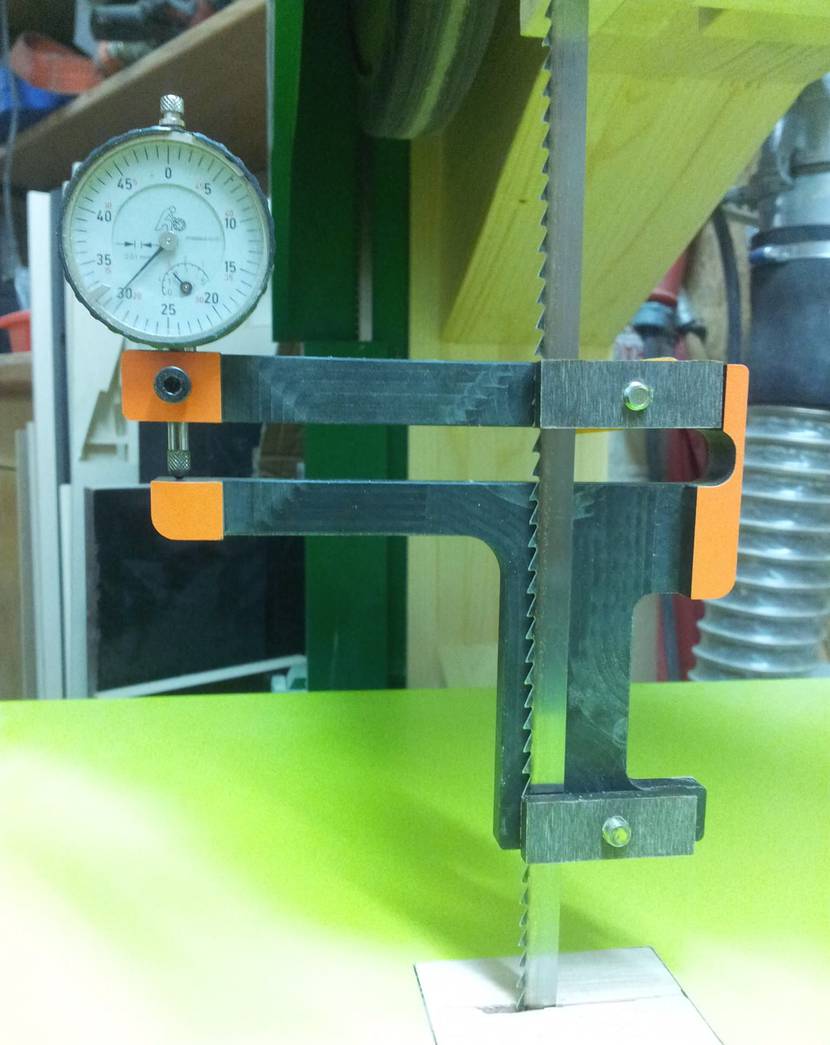 I tighten the blade to 14.000 PSI tension, which is determined by how
much the blade stretches over a certain length
(more on that).
I tighten the blade to 14.000 PSI tension, which is determined by how
much the blade stretches over a certain length
(more on that).
With a blade cross-sectional area of 27,82 square millimeters (26*1.07mm), by my calculations this is a tension of 2900N on the blade (each side), for a total "weight" on the wheel of 590 kg.
I might upgrade the fixed shaft to 40mm because my present 30 mm shaft deflects too much and I need to add too many shims to compensate.
 Height adjustment is set up so that each increment on the wheel is
2 mm, which is almost exactly the width of the cut. I use blades
from Woodmizer. Each blade (360 cm long) costs 20€. The quality of the
blades is excellent.
Height adjustment is set up so that each increment on the wheel is
2 mm, which is almost exactly the width of the cut. I use blades
from Woodmizer. Each blade (360 cm long) costs 20€. The quality of the
blades is excellent.

 I have magnetic strips to stick to the ruler. The strips are the
same thickness as the boards I want to cut. This way I can divide
the log into desired thicknesses. This speeds up adjustments
as I cut.
I have magnetic strips to stick to the ruler. The strips are the
same thickness as the boards I want to cut. This way I can divide
the log into desired thicknesses. This speeds up adjustments
as I cut.
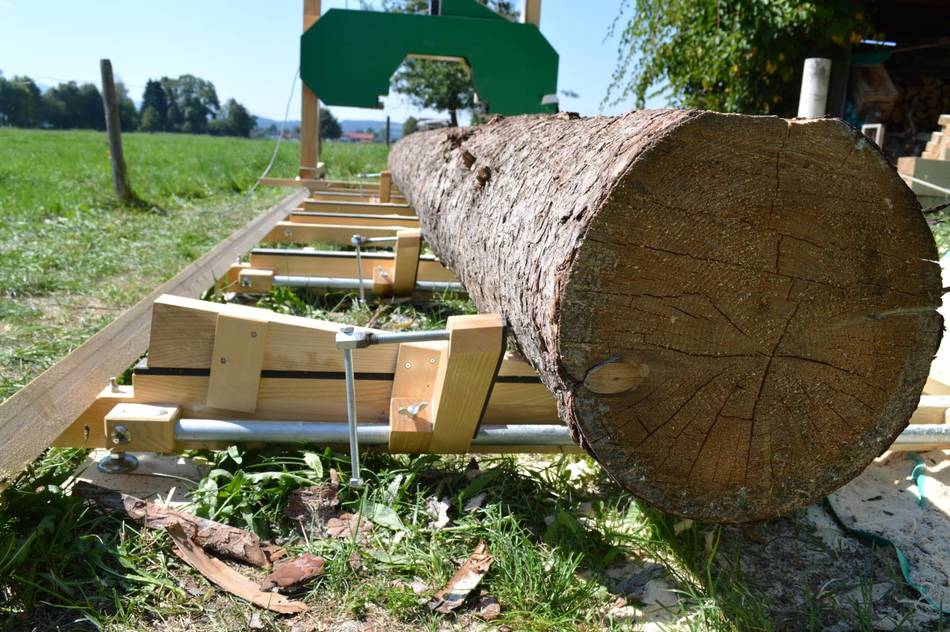 The log clamps are mounted to steel pipes and can be adjusted
at any point along the pipe. They also serve as a right angle
stop when cutting square blocks.
The log clamps are mounted to steel pipes and can be adjusted
at any point along the pipe. They also serve as a right angle
stop when cutting square blocks.
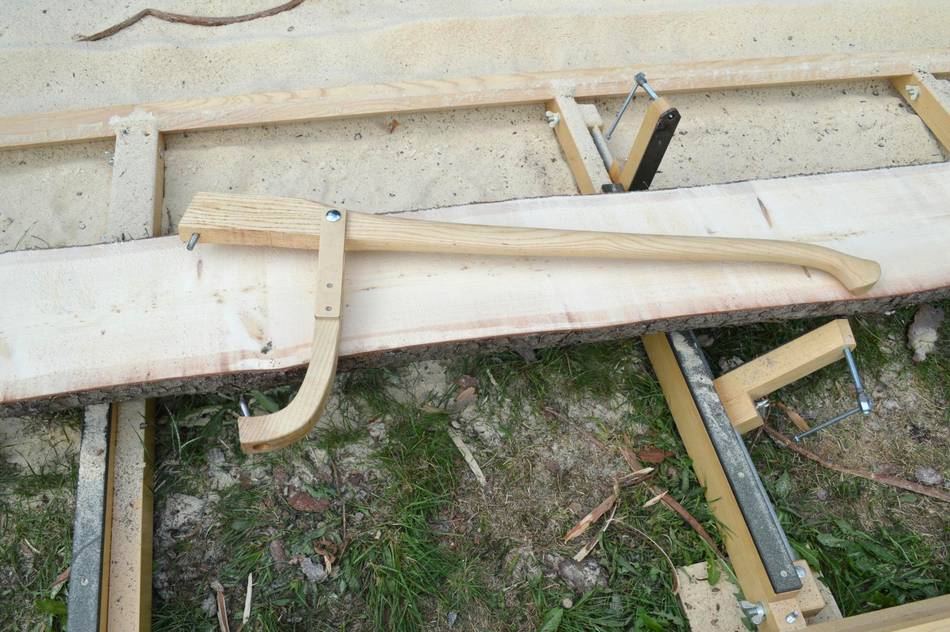 I also built a wooden canthook for turning the logs.
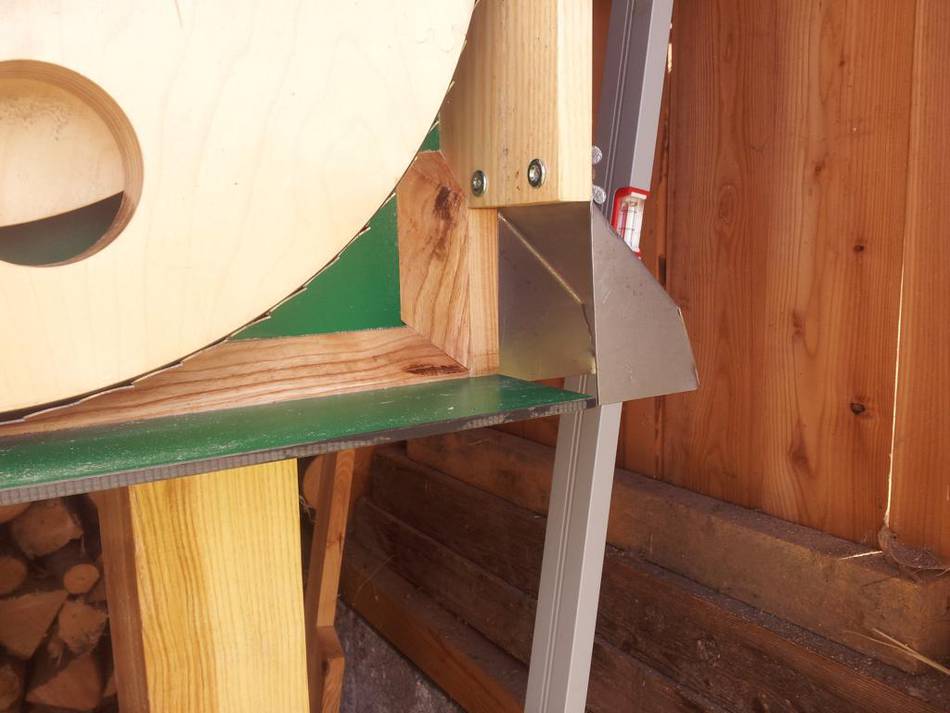
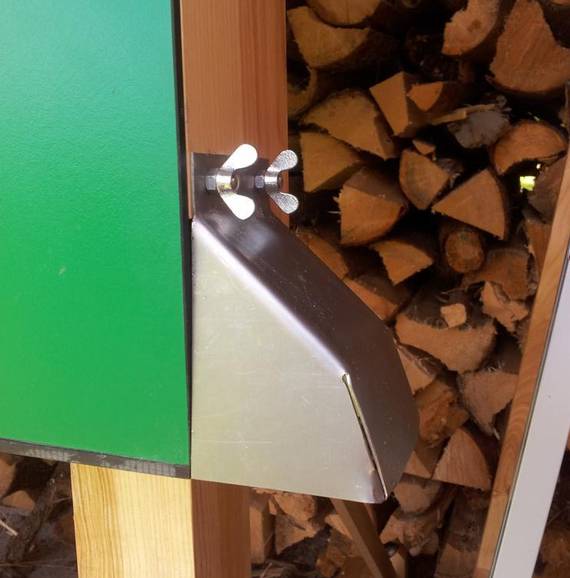
 I made some sheet metal dust deflectors after the first time
I tried the saw. I may also add a scraper that touches the
blades. This could eliminate the need for a water drip system.
I made some sheet metal dust deflectors after the first time
I tried the saw. I may also add a scraper that touches the
blades. This could eliminate the need for a water drip system.
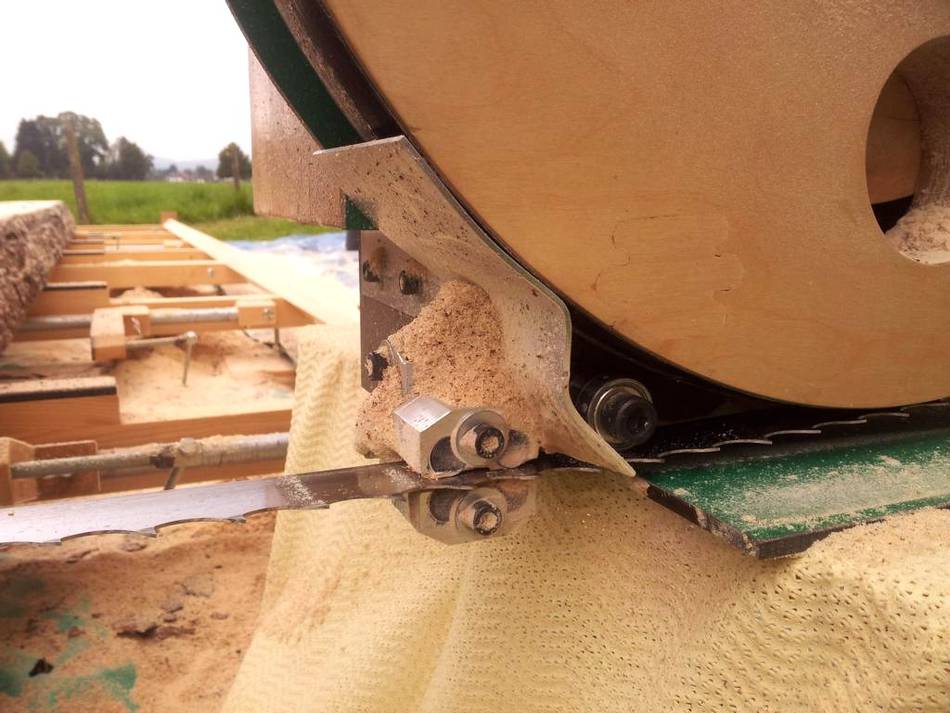
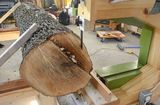
The homemade ceramic blade guides work very well.
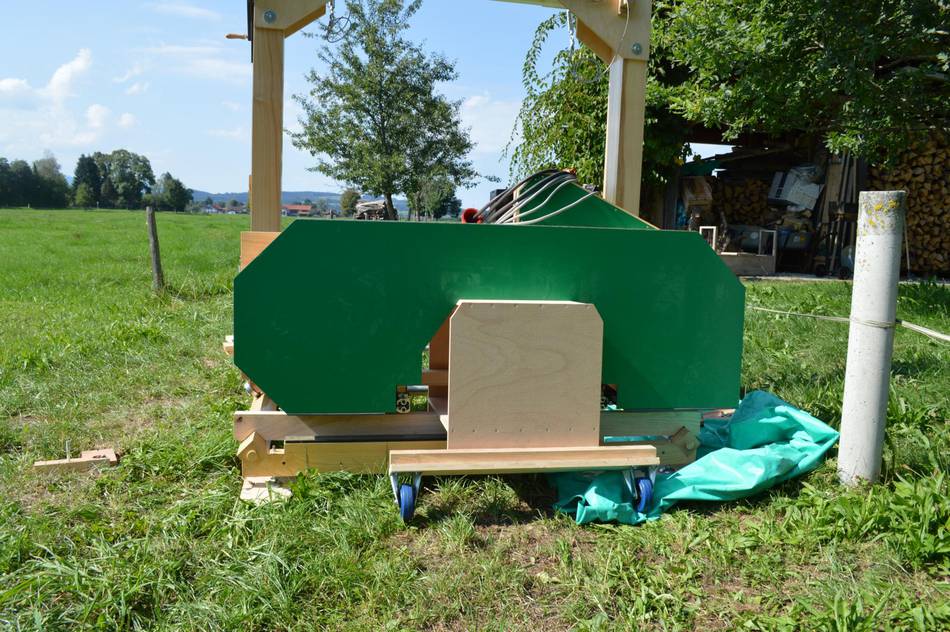
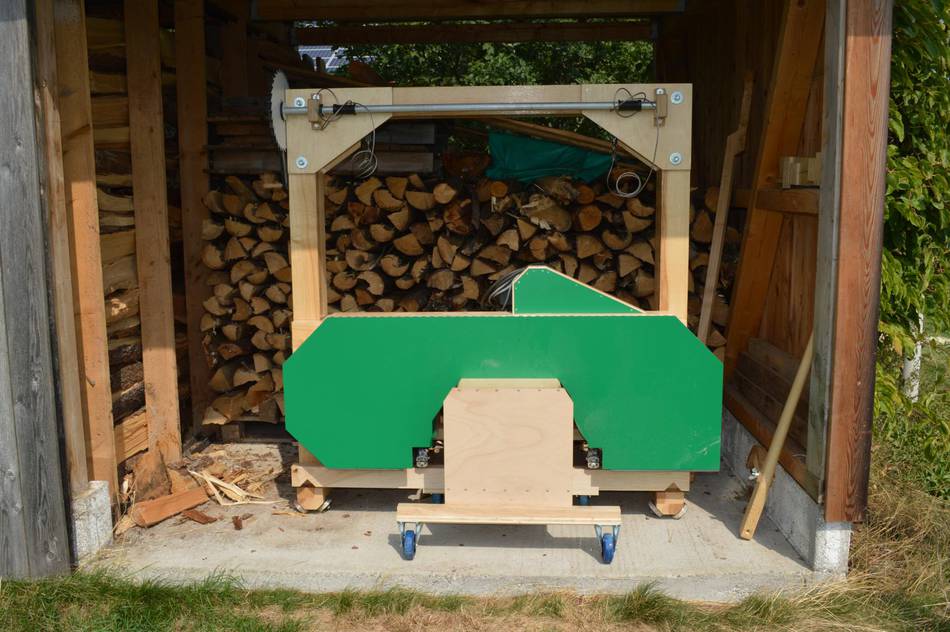 The machine doesn't need a lot of room. I haven't taken the frame
apart yet because I plan on doing some more milling this year.
The machine doesn't need a lot of room. I haven't taken the frame
apart yet because I plan on doing some more milling this year.

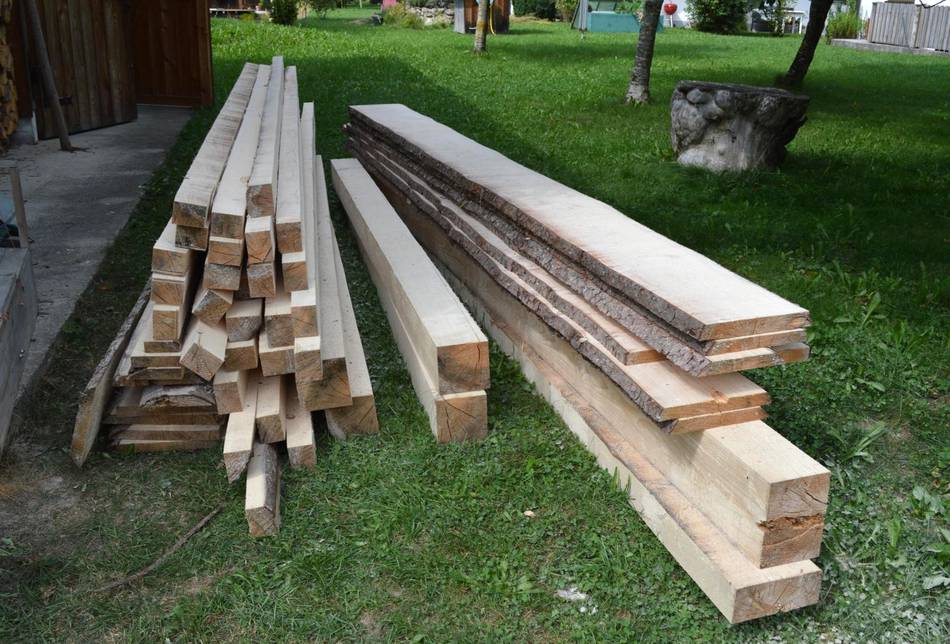 I'm proud of the results. The square beams on this picture
are not as straight as they can be, as I was still using too
little blade tension when I milled them.
I'm proud of the results. The square beams on this picture
are not as straight as they can be, as I was still using too
little blade tension when I milled them.
Alois also has a
facebook photo album
with many more pictures of the construction of his sawmill.
 Alois's bandsaws
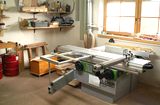 Alois's basement
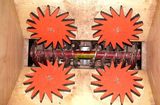 Alois's wood briquette
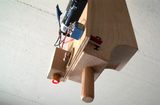 Alois's table saw laser
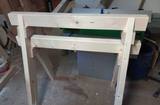 Alois's sawhorses
 Bandsaw-on-a-dolly sawmill
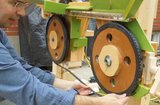 Homemade bandsaw sawmill
 Mitch's bandsaw sawmill
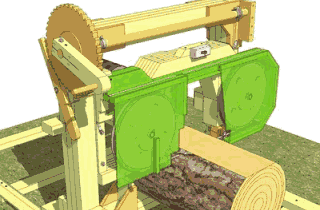 Bandsaw / sawmill plans