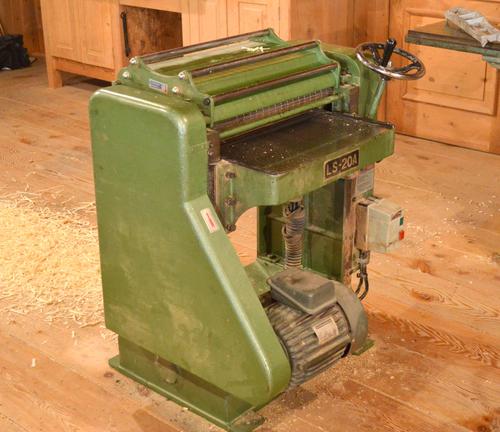
 It's a bit of a beast of a planer, though for a 20-inch planer, it's actually relatively small.
I have seen this overall design of planer from different brands, including Grizzly.
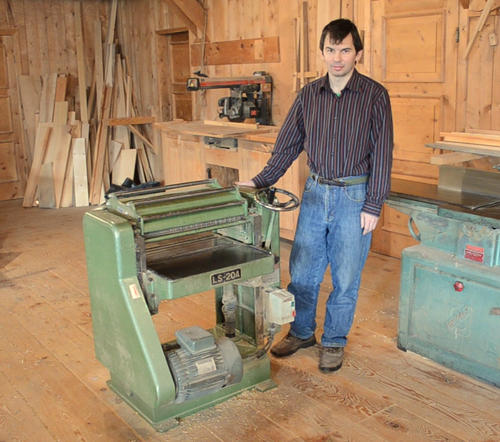 When my dad built his new shop,
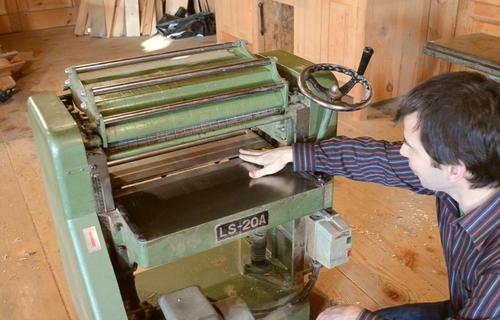
one of the machines he bought was this 20-inch thickness planer from Busy Bee tools.
 It's a bit of a beast of a planer, though for a 20-inch planer, it's actually relatively small.
I have seen this overall design of planer from different brands, including Grizzly.
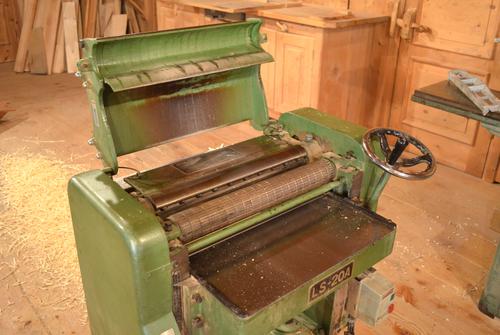 The top of the planer flips up for easy access to the cutter head.
The cutter head is an older style head with three knives, each 20" (50 cm) long. With knives that long, it's difficult to get them sharpened correctly. If the knives have just a slight bow to them, then it's impossible to set them accurately along their whole length.
It's not unusual when getting knives professionally sharpened that they come back with a slight concave curve along the long edge. If the knives are sharpened too fast, they get hot on the cutting edge, while staying cool on the other side. This causes the cutting edge to bow outwards in the middle. If a straight edge is ground onto the knife in this state, once the temperature equalizes, that front edge ends up concave.
 The cover consists of 20 cast iron segments that push down on the board immediately before the
cutter head. These serve to prevent large chunks from getting chipped out of the wood.
With the segments individually pushed down by springs, this follows the contours of any rough lumber that may be going through the planer.
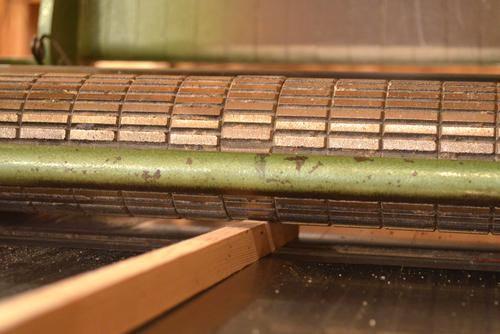 The infeed roller also consists of segments that follow the contours of the wood.
You can see how the segment that the wood is under is pushed up slightly
compared to the adjoining ones.
 This planer has a pair of bed rollers. My dad's previous planer
didn't have rollers, and boards would often get stuck. When I still lived at home,
and there was a large stack of boards to be planed, it was often my job to take them out
of the planer, and sometimes I had to pull hard.
But bed rollers have their own problems too — they need to protrude slightly above the table to take up much of the load, and then they contribute to planer snipe. So I'm no longer sure if bed rollers are a good idea.
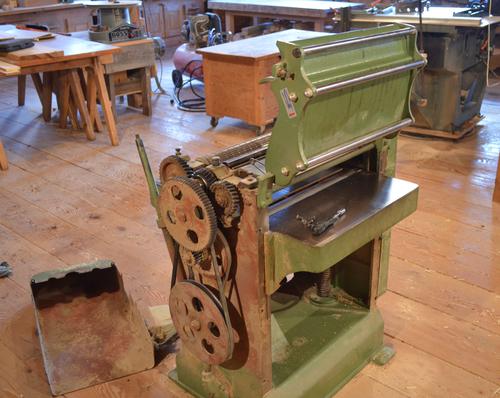 Any thickness planer has a step-down transmission, typically 100:1 or more.
This transmission takes power from the high-speed cutter head (typically 5000 RPM) and reduces it to the feed rollers (typically around 30 RPM).
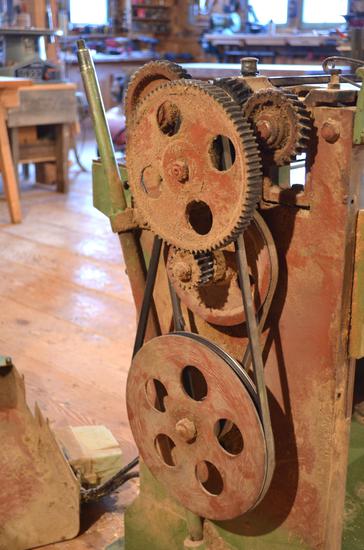 The first two reduction stages on this one are V-belts, followed by two more
geared reductions.
The second-last gear runs on the main planer shaft with a ball bearing, and powers the infeed and outfeed rollers via gears on either side. The outfeed roller is a smaller diameter, so it is driven by a smaller gear (on the right side) to turn it faster.
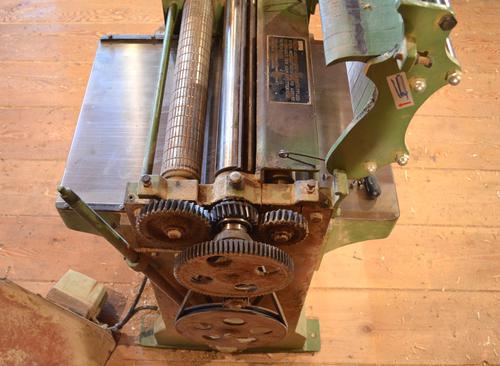 When I gave this planer a going over, it made a loud squeak, which I located to the bearing
for the middle gear on the planer shaft. Not wanting to disassemble the whole planer, I was
able to at least stop the squeak by repeated oiling of the bearing, then starting and stopping
the planer repeatedly to let the oil work its way in without getting thrown off by
centrifugal force.
This led me to wonder what shape the main bearings might be in.
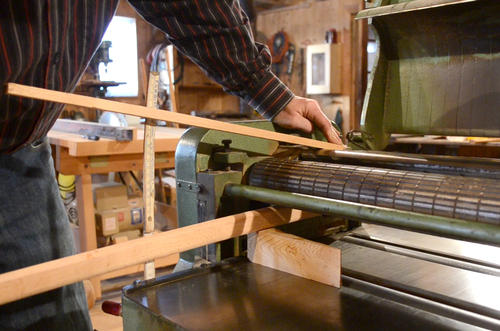 Lifting up on the cutter head with a lever, I could feel and hear it move slightly in
its bearings. I didn't have my dial indicator with me, so I improvised.
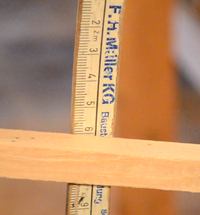 I held a piece of wood against the cutter head and a fixed metal reference a few centimeters
forward of it. The piece of wood, extending outwards to the white folding measure has about a
10:1 leverage. On lifting up on the cutter head, the stick moved almost a millimeter at the
folding measure. So the play in the bearing is around 0.1 mm, or about .004".
So those bearings should probably be replaced. But in the mean time, this planer still planes. With my dad passed away, and me living far away, it will get used only rarely. So I'll just leave it as is.
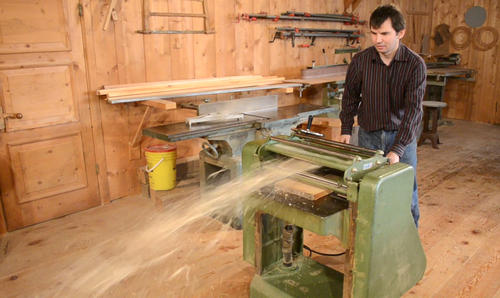 Having gotten used to my cheap thickness planer,
it sure is satisfying to see the chips flying out of this one as it takes two millimeters off
in one pass!
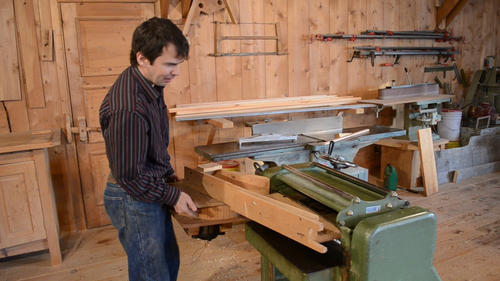 Pretty much all the lumber from my dad's sawmill
was planed with this thickness planer.
When I was still living at home, it was often my job to pull the boards out of the planer
when large piles of lumber needed planing. I always had to tip the board upright
once it came out to dump the shavings on the floor.
But more annoyingly, from time to time, a knot would come loose and get shot towards me.
Fortunately, the planer aims low, so I never got hit in the head.
So I tried to build something to suck the shavings up and blow them into the room (behind the door behind me) where we kept the shavings. But this contraption just didn't have the required suction to keep up with this planer.
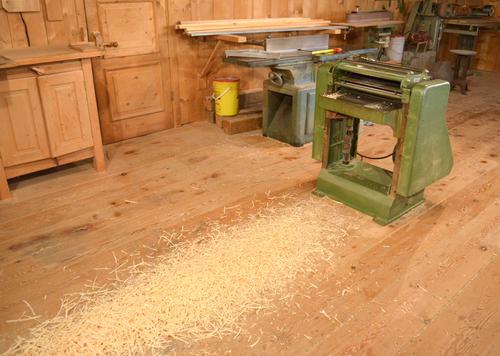 Planing just the one short board made this much shavings. When we planed stacks of boards,
we needed to stop periodically to push the shavings pile into the shavings room.
The capacity of most home shop dust collectors is really quite laughable compared to how fast a planer like this can make shavings. It could fill a typical home shop dust collector in just a few minutes.
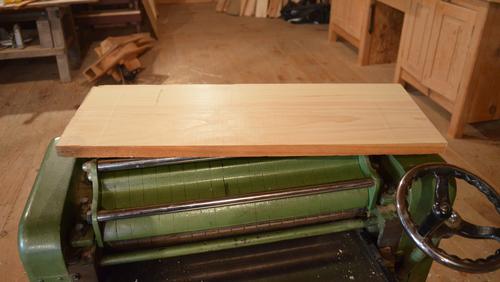 But it doesn't always plane terribly smoothly. There are visible ripples
in the board (probably from the bed rollers), and considerable snipe on either end
of the board. My cheap thickness planer from Canadian tire would do a better job.
If this was my workshop, I'd probably add a cheap small thickness planer, just to give the boards a light final pass.