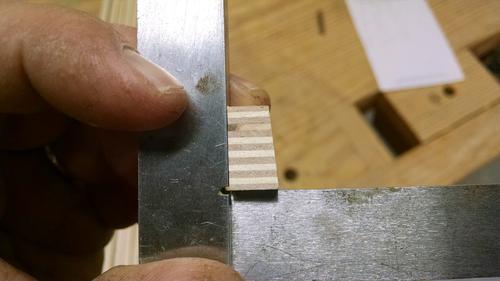
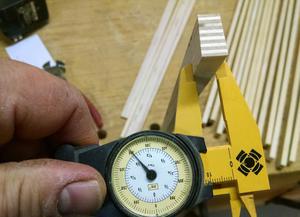
 Then we need some slightly oversized 3/8" stock with a 5 degree bevel on
one side. My stock measures about .405 (I need better calipers!) which
is .030 over on the fat end.
 After building the pantorouter I decided that it would be really sweet
if I had templates pre-made to make a wide range of tenons and mortises.
I like the way the template system works on the
metal pantorouter, so
this is the direction that I went in.
Rather than milling a slot in the template the way that Matthias did, I glued the template together. I had used this idea last year when I made a template for my tenoning jig and figured it would work well here.
All of my templates are made for using a 1/2" straight bit to cut the tenons. I just change the bearing on the follower to make 3/8" and 1/4" tenons.
The first thing to do is make up a batch of template stock. I am using 19mm birch plywood for mine; it's fairly hard and very stable.
We need some 1/4" stock for the slot spacer.

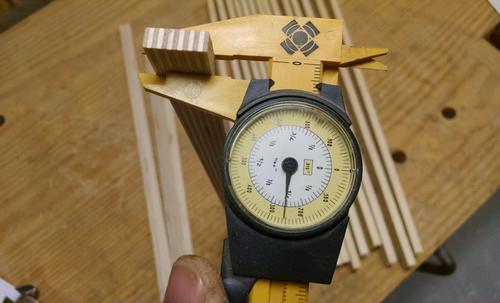
 Then we need some slightly oversized 3/8" stock with a 5 degree bevel on
one side. My stock measures about .405 (I need better calipers!) which
is .030 over on the fat end.
 Now we need to lay out the size of mortise and tenon we want to make.
Our slot length is double the intended mortise size minus 3/4". In this
example I am making a 3/4" mortise. So doubling that would be 1 1/2" and
taking away 3/4" would leave a slot size on 3/4". For another example, if I
wanted to make a 3 1/4" mortise my slot would be 5 3/4".
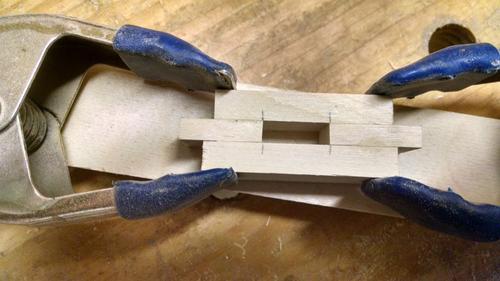 Next we will glue in the spacers. Make sure the bevels are on the outside.
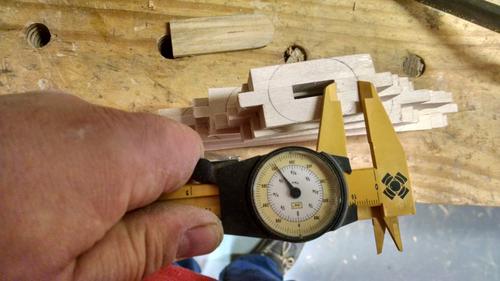 Once the glue has dried we can lay out the ends of the template. I am
laying mine out on the back so the radius of my circle is going to be
.655 or so. I made a pattern for this that you can see above the
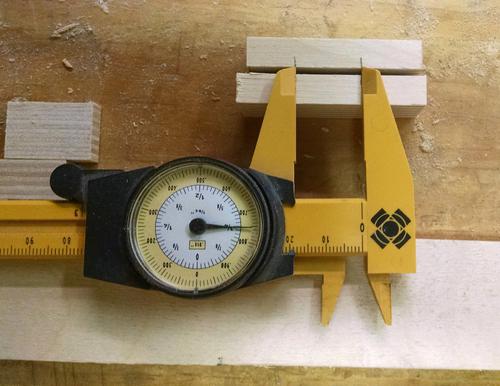
template. I use the caliper to check that the distance from the slot to
the outside of the arc is about .405
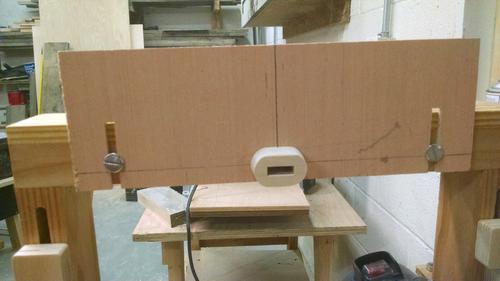 After cutting it out on the bandsaw and sanding it to the line I glued
it onto a piece of Luan as a backer board.
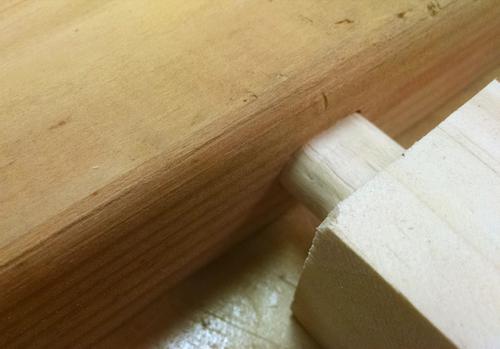 So how does it work? Perfect fit on the first try! Of course it helps
that I had already made a couple of test templates working out all these
dimensions...
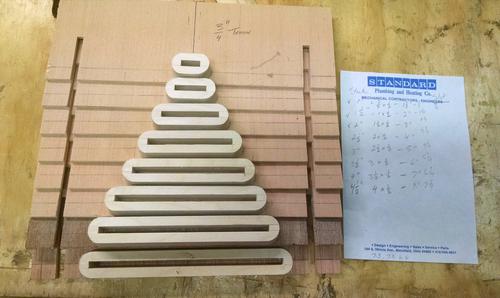 And of course, if you're going to make one you might as well make a tree full.