Comparing pantorouter machines (2013)
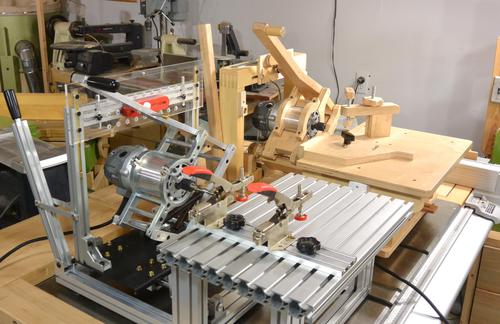
Since receiving a pantorouter from Kuldeep, I have two pantorouter machines. So I thought I'd do a comparison between the two.
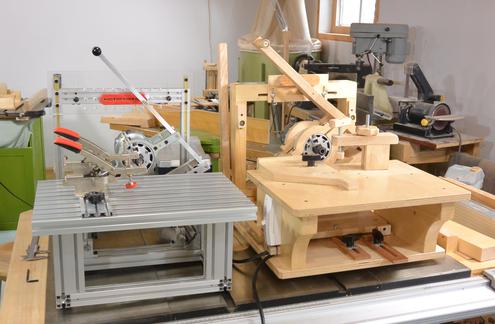
Putting the machines side by side, what immediately struck me was, despite completely different construction, how very similar the two machines are. I guess Kuldeep liked the overall dimensions of my design and didn't see a need to change those. The table on the wooden one is slightly deeper though, and Kuleep's design can back the router further from the table.
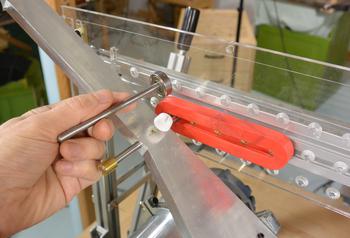
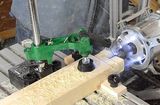
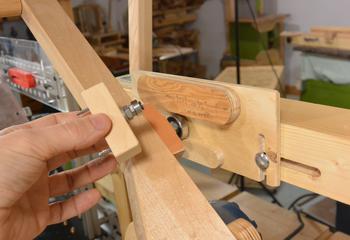 On Kuldeep's machine, the follower bearing is mounted on a shaft which fits tightly in a hole in the
pantograph. On the wooden one, the bearings are mounted to small blocks of wood, which I can swap.
Kuldeep's design is definitely more convenient. Quicker to swap out, easier to adjust how far
back the bearing is, and you can also use it for a stylus in the middle.
I have since made a similar system for my wooden one
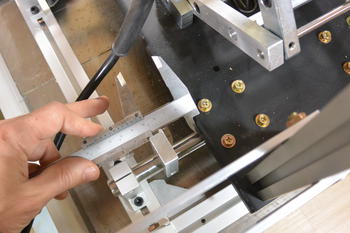
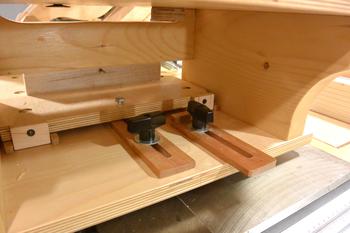 On Kuldeep's machine, the plunge depth is set with two aluminium blocks clamped to one of the shafts.
This makes it easy to see what it's set to, and I find myself using callipers to check the depth
setting. On the wooden one, with the plunge depth set under the table, this is not as visible.
The large knobs on mine make it easier to set though.
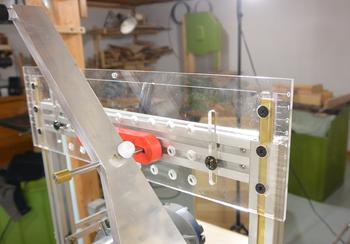
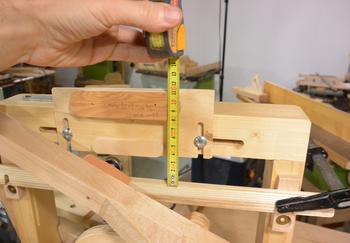 On Kuldeep's design, the template holder has a scale on either side. When set to zero, the template,
if mounted to the middle row of holes, will have it's center corresponding to the table level.
On my design, a set-up bar can be mounted to correspond to the table level. The set-up bar height is worked out with a 1/4" bit in the router, resting on the table, and a 1/2" bearing for the follower. When the 1/4" shaft rests on the table, the bottom edge of the bearing should line up with the set-up bar.
The wooden one is less convenient in this regard. But the wooden one has slots in the template holder, which makes it easier to make templates and mount them anywhere. I can even mount two templates side-by-side.
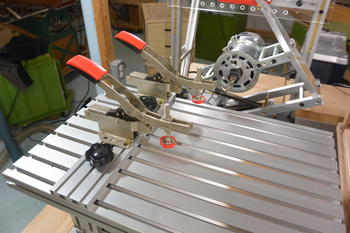
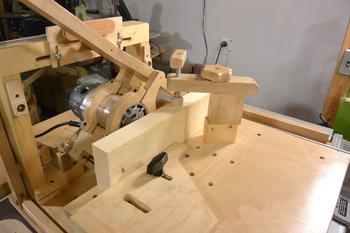 The toggle clamps (an extra cost option) on Kuldeep's design are super quick and easy to use.
But for really thick stock, the clamp, with riser block, on mine is better.
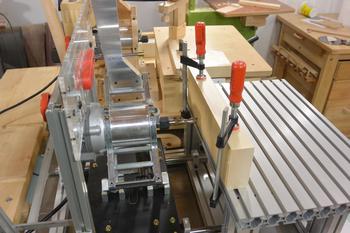
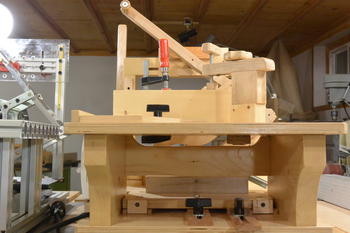 I ended up using a clamp over the back edge of the table to hold large stock on Kuldeep's design
for large stock and for mortising. I was initially worried about routing into the clamps,
but with a mortising template the movement of the router is constrained to inside the template,
so I don't have to worry about accidentally routing the clamp.
Putting the clamp over the back edge worked so well that I wanted to be able to do this on the wooden one as well, so I cut away part of the table support to be able to get the clamps in there.
I will probably end up using both machines going forward, depending on the job, whichever machine is more convenient for the job at hand. Both machines, with the router installed, weigh about 43 pounds (19.5 kg). With similar overall dimensions, they are both equally portable.
I probably spent about $60 building my pantorouter, but I also already had some materials lying around. The all-metal one will cost you more than ten times as much, but it will also take you less than a tenth of the time to assemble and set up than it does to build a wooden one.
See also:
 Assembling the
pantorouter (2015)
 Assembling the
pantorouter (2014)
Back to the pantorouter page.
 Assembling the 2018 pantorouter
 Unboxing and first
 Through dovetails on
 Buy a pantorouter
 New followers for the
 Toggle clamp for the
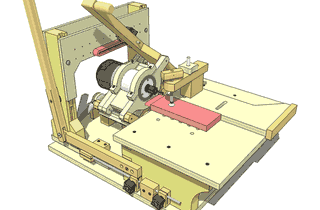 Plans for the wooden pantorouter
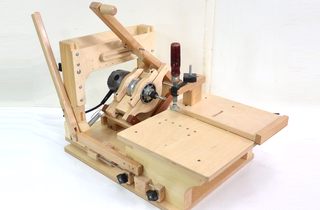 About the wooden pantorouter