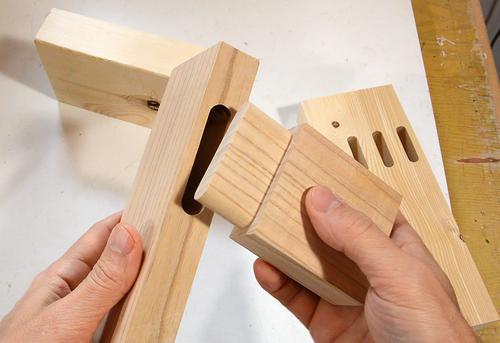
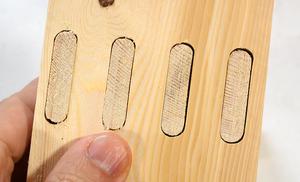
 While building the pantorouter, I made a few test joints.
The mortise and tenon joint at left worked out perfectly, but the
multiple mortise and tenon joint at right didn't fit as well as it
should.

 While building the pantorouter, I made a few test joints.
The mortise and tenon joint at left worked out perfectly, but the
multiple mortise and tenon joint at right didn't fit as well as it
should.
The spacing between the tenons is a bit smaller than that of the mortises, and I had to cut the joint with some slack (using a smaller follower) to be able to assemble it at all. The distortions would, to some extent, be the same for both sides of the joint, except that I cut the tenon piece lying flat on the table (with the tenons oriented vertically), whereas the mortises were oriented horizontally. So it appears there is some distortion introduced by the pantograph.

 I hadn't individually checked the pantograph parts for accuracy,
so I suspected some might be a bit off. But before
taking it apart, I figured I should check how the router
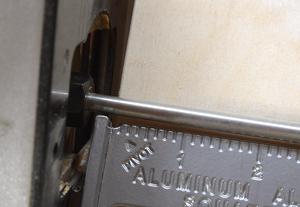
aligns with the table. I mounted a piece of 1/4" steel rod in the
router.
The rod rested flat on the table along the full width of the table, so it appears that aspect is accurate.
But checking with a square, I could tell that it was not square to the edge of the table. Also, plunging in and out, I could see the shaft moved to the side a little bit as the router moved forward and back, so the router axis was also not parallel to the plunge.

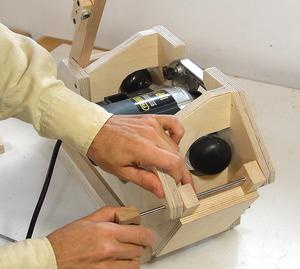 Time to take the pantograph out of the machine. Pulling the shafts out
is difficult. I used the clamps from the plunge
stops to grab the shafts as I pulled them out.
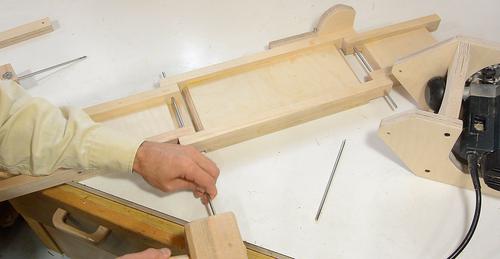 Using another shaft, and a mallet to drive the first shaft out works
too. Push the shaft half way through, then pull both shafts out from
either side.
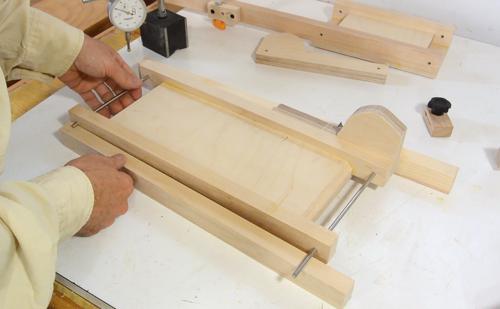
 Then checking the links for length and twist.
Twist is easy to check. With pins in the holes, I rest the links on some straight pieces of wood on a flat surface. If it rocks back and forth (like a wobbly chair), then the link has a twist.
I measured about 0.010" (about 0.25 mm) of rocking on the long link.
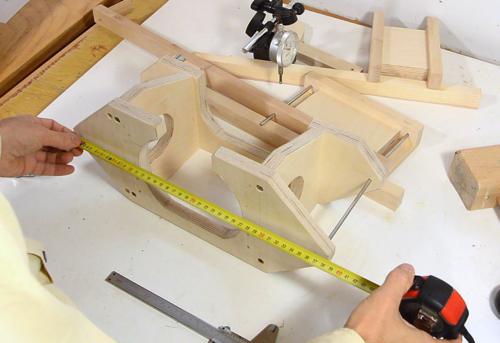
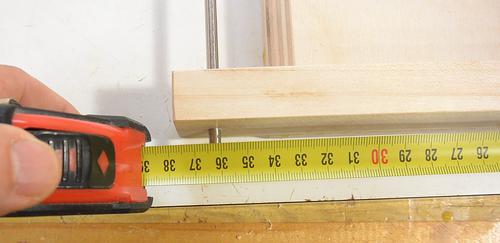 I measured the spacing between the shafts by hooking a tape measure
on one shaft, then measuring to the near edge of the other shaft.
Should be 36 cm to the near edge for the long link. This one is spot on.
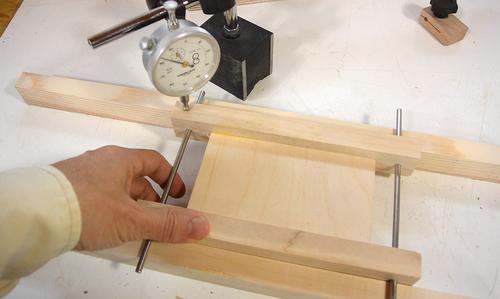 One side of the short link was nearly half a millimeter too long,
but it also had some twist. The dial indicator showed 0.015" (0.3 mm)
of rocking. Given that it's a short link, that was a bit much.
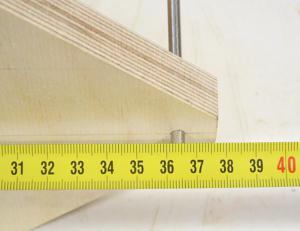 The biggest inaccuracy I found was the length of the router mount link.
The shafts were a full 1.5 mm too far apart! That probably
accounts for most of the inaccuracy.
 Rather than make the part again, I figured I should try to "fix" it.
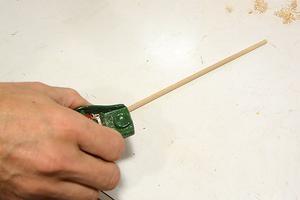
First I cut a section of 3/16" x 3/16" maple square
on the table saw. Then I whittled it to an octagonal shape
using a small hand plane.
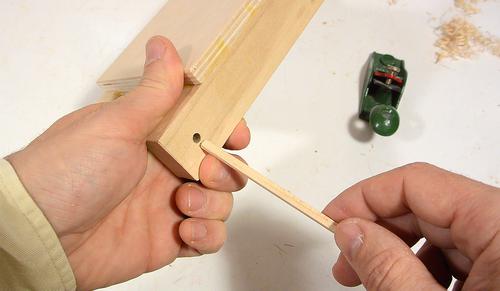
I used the octagonal piece as a dowel to plug the holes that needed to be changed.
 Driving a peg into the pantograph link's hole.
I gave the glue a day to dry before re-drilling.

 Then carefully measuring where the hole actually needs to be. I
used an awl to punch a divot in the new hole position. But now, how to
drill this without allowing the drill to wander?
So I drilled a hole in another piece of hardwood with the drill I wanted to use. I then stuck the drill bit in that hole, with just the middle of the drill's points protruding, and placed that point in the divot. I then firmly clamped the piece of wood in place.
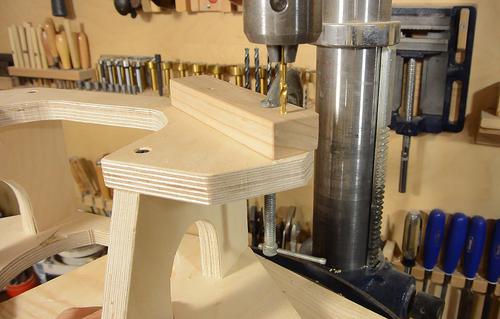
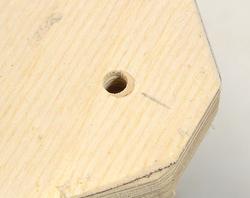 With the clamped on piece of wood guiding the drill, I was able
to re-drill a new, overlapping hole. It worked out ok, so I didn't need
to make a new piece.
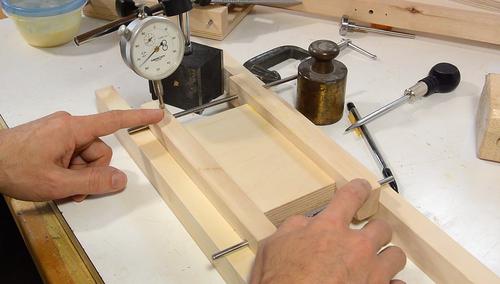
 I wasn't sure whether the error in the short link was worth fixing,
but I figured while I'm at it, I might as well try.
I glued a piece of dowel in the hole and gave that a day to dry.
 The twist that I was trying to correct was really quite small, so I have
to be very accurate about marking to get it more accurate than it was.
With the piece supported on the
shafts in the other three positions, I used the point of a 3/16" drill
bit to scratch the center line of where the hole should be and
carefully measured the distance to the other shaft.
I then use the same technique as with the router mount link to make sure the hole went in the right place.
 The operating handle link had quite a bit of twist to it.
But I also had the hole for the follower slightly crooked, the long part of the link wasn't stiff enough to resist twist flexing where the follower mounts. So I redesigned the operator handle link (drawing on the workbench) and started building a new one.
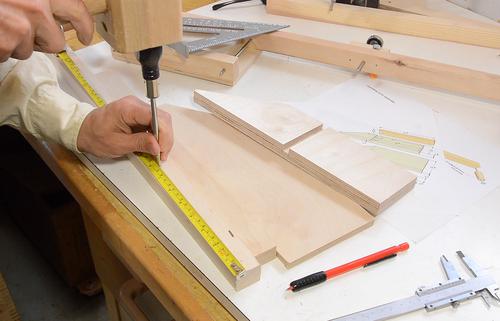 Making the new operator handle link.
If you build a pantorouter XL from my plans, you will of course have the improved design to begin with, so hopefully, you will not need to rebuild yours.
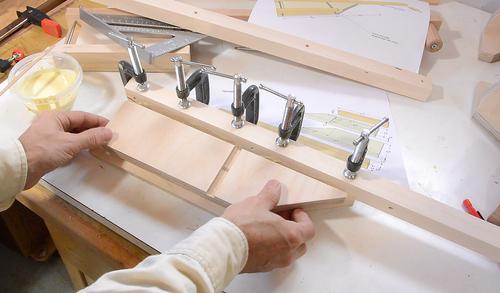
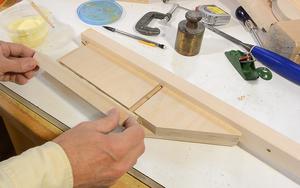 This time, I put glue on the first joint (instead of doing it dry
initially), which sped things up a bit. Though I still waited for the
glue to dry before gluing on the other rail so I could focus on aligning
one joint at a time.
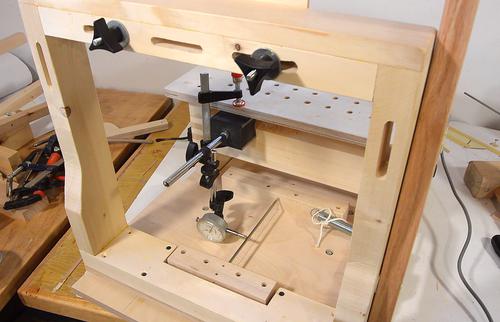
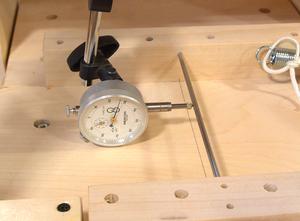 Checking the plunge sled accuracy. The main pivot for the pantograph
was not perpendicular to the table edge, nor was it parallel to the
plunge direction. I checked it by measuring sideways movement with
a dial indicator while moving the plunge sled in and out.
My procedure to make sure the rails were parallel to each other did not include making sure the plunge sled was aligned with the rails. I also only used two screws instead of four on each rail, so I had quite a bit of slack, and, though parallel, the rails were not square to the wood when I tightened the nuts.
So I loosened the nuts, adjusted it, and retightened. After that, everything was aligned.
Back to Pantoruter XL main page