Guitar inlay experiments
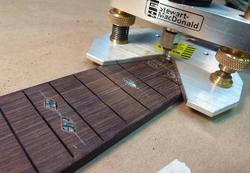 Pat Hawley usually adds some nice mother of pearl inlay to his
guitar fretboards.
This is normally done freehand using a Dremel tool (or similar rotary tool)
with a router base. It's finiky and painstaking work.
I had previously done some larger inlays with my pantograph, so I figured my pantograph could be used for smaller inlays too. So I built a Dremel mount for my pantograph to try this out.
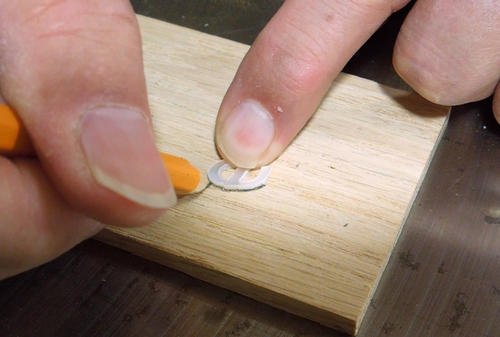
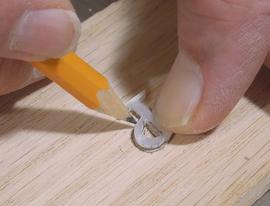
For the first experiment, Pat outlined the inlay with a pencil...
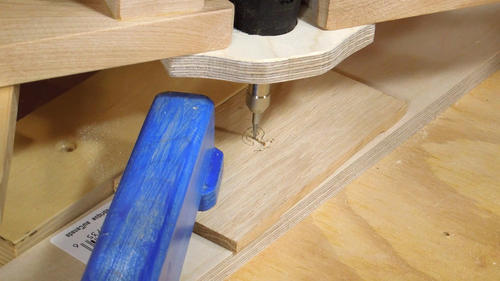 ... then guided the pantograph freehand to route out the cavity.
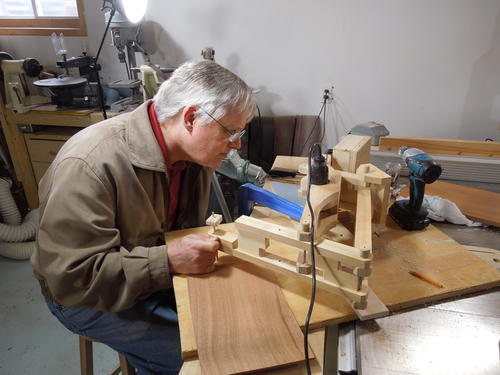 We set the pantograph for a 3:1 reduction and used a 1/16", but later a 3/64" bit
(1.6 mm and 1.2 mm).
With a 3:1 advantage on the handle, you don't have to control it as carefully.
But more importantly, you also have a 3:1 advantage on any sideways pull
from the cutting bit. So you only feel one third the force on your hand,
and even if it does pull the hand to the side slightly, the router moves only
one third as much as the hand. This pretty much
eliminated any deflection of the router from the cutting force.
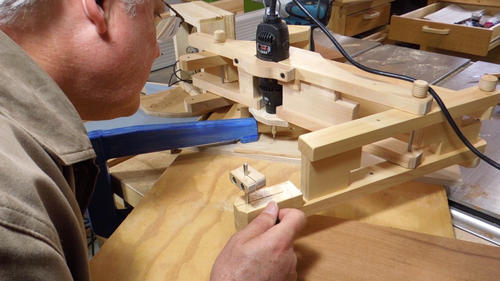 Pat found this was much easier to work with than what he normally did.
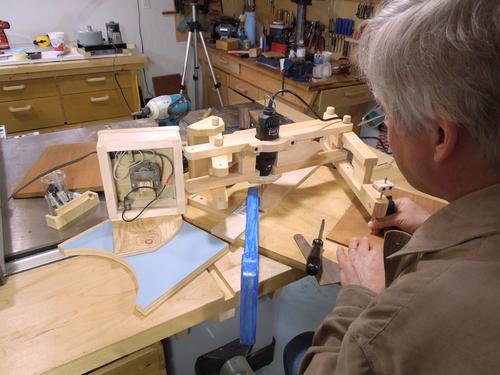 I also set up a small blower to blow away the dust. The blower is in the small wooden
box to the left of the pantograph.
I used some of my blue long reach clamps to hold the stock down.
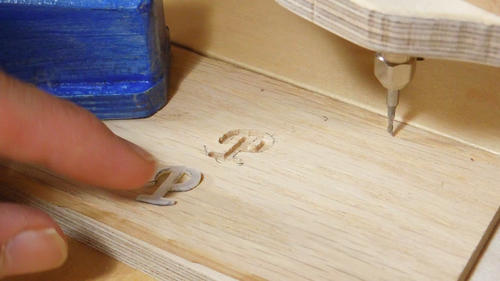
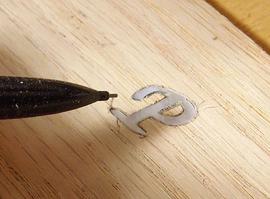 Cavity carved, time for a fit check.
The inlay didn't fit right away, it took a few extra tries to carve out some edges.
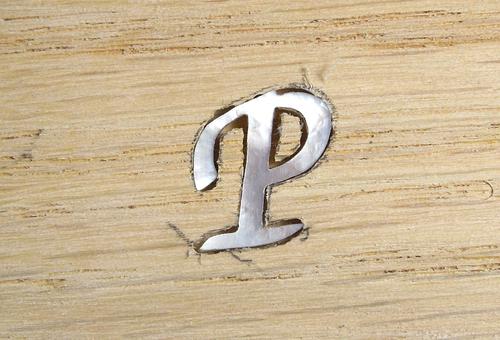
 It looked pretty good from an angle, but when magnified, and seen head on, there
were some gaps, some large enough to stick a 0.5 mm pencil lead into.
Part of the problem was that the pencil Pat used didn't have a perfect point on it, and he could not get the line right against the edge of the letter. I think a 0.7 mm pencil lead, held vertically, but sharpened to have a skewed tip, might have been better at getting a line right on the edge.
Another problem was that oak is very tricky to cut that way. The hardness of the wood varies a lot with the growth rings.
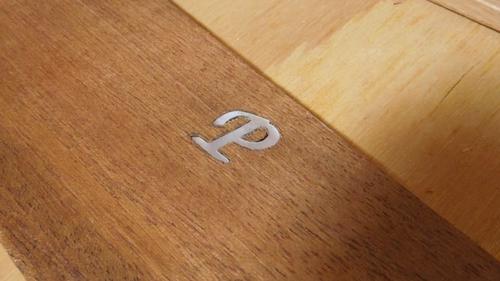 Next we tried the same method in a scrap of Mahogany - which I had just
resawed for him.
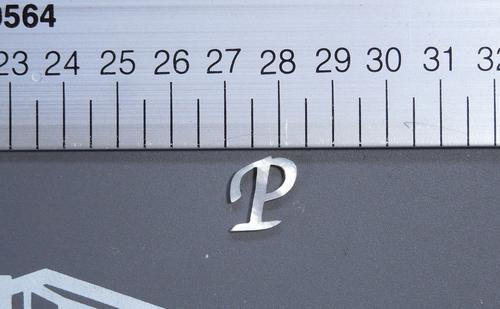 The next method we tried was to trace using an image. I photographed the
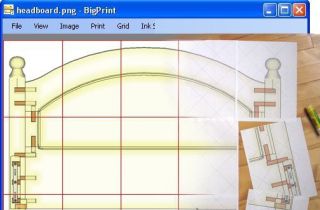
letter next to a ruler, then used my BigPrint program
to scale a printout exactly 3x the size.
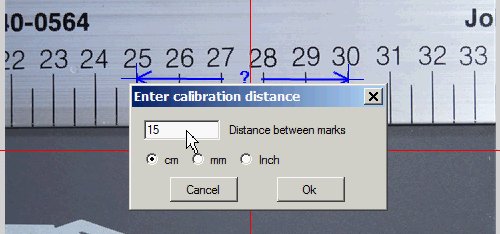 BigPrint is designed to make it easy to
make 1:1 printouts from photographs by marking a known distance on the picture.
I caused a 3x scaling by marking a 5 cm distance on the ruler and telling BigPrint that
this was 15 cm. After that, I cropped it to just the area around the P and then
printed it.
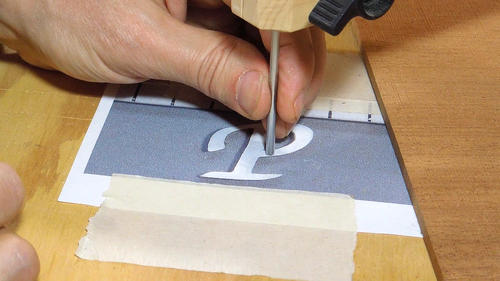 I then used a 1/8" (3.2 mm) rod as a follower stylus. With a 3/64" bit in the router, and 3:1 reduction,
my follower would ideally be three times as big, or 9/64", which is close to 1/8".
Sorry for all the fractions. Fractional inches are just a ridiculous system of measurement for small stuff like this, but the bits and shafts we were using were all sized even fractions of inches.
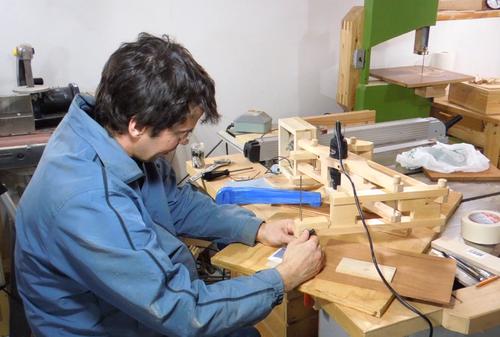 My turn to try it with the pantograph, following the printed letter. I focused on the stylus
on the printout, not even watching the cutter itself.
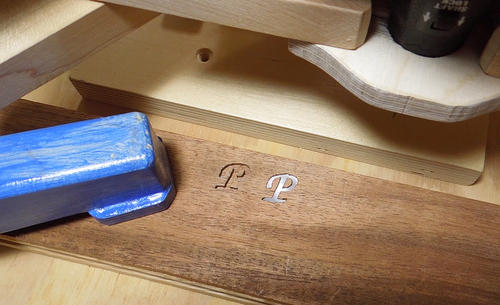 Like the previous try, it took some going over some areas a second time to get the inlay
to fit. It looked pretty good once placed.
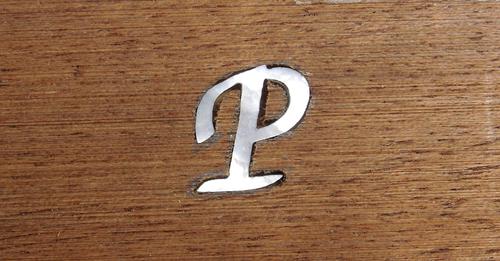
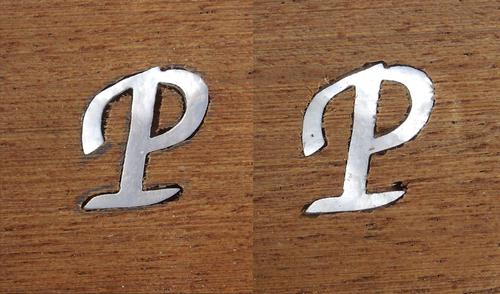 On close examination, it was quite accurate. New one on the right, compared to the
previous try on the left.
There was some chipout on the bottom corner of the inside of the P. Also, to accommodate the sharp point on the bottom of the P, I had to cut outside the shape a bit with the round cutter.
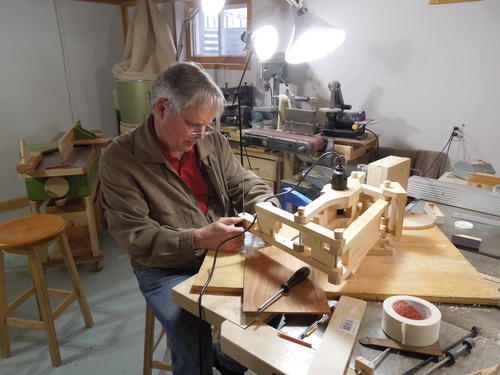 Now Pat having a go at it with the paper template. Pat works much more meticulously than I do.
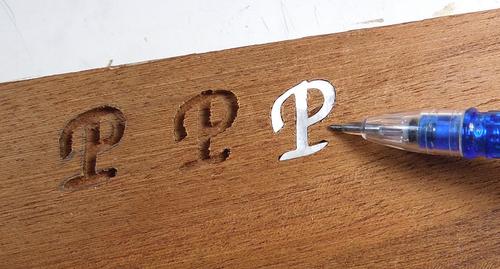 That's a 0.7 mm pencil lead next to it,for scale. The whole letter is about 13 mm (1/2") tall.
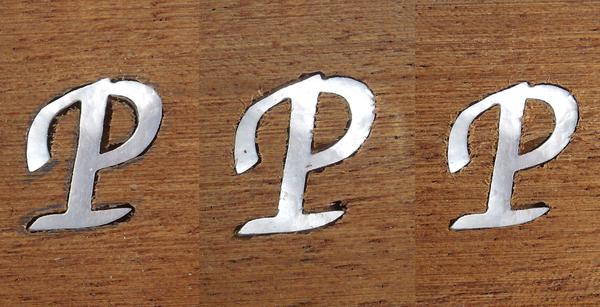 The three successive attempts, leftmost by pencil outline, the next two by paper template.
The one on the left is already much better than typical freehand.
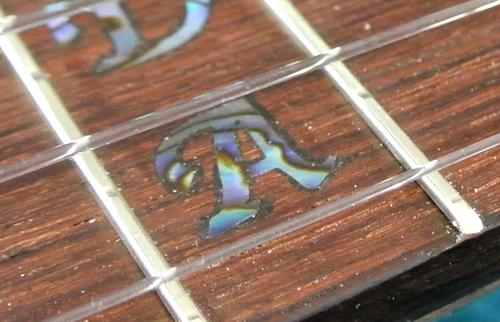 By comparison, if you look VERY closely at the inlays in the ukulele Pat built for Danielle
Alard, you can see the cavity goes a bit beyond the inlay. This is about as good
as anyone can do freehand. I hadn't actually noticed the imperfections when
comparing it to mine, only on really enlarging the
photos afterwards did I even notice this. Between the dark fretboard and the stained
epoxy, the imperfections look almost intentional.
So I think a pantograph has a lot of potential for improving the accuracy of intricate inlays, like on a guitar fretboard.
Another alternative: Casting a mold
I figure I should mention another method, which is to use a thermal plastic to cast a mold, then use a small sort of copy carver to copy the cavity. Experience tells me that if I don't mention it, a number of people will email me to tell me about it. The nice thing about making a casting, over this method, is that you don't need a computer, and that you are less likely to accidentally slip outside. But the nice thing about this method is that you don't need to make a casting.However, if your inlay has any outside radiuses that are tighter than the bit you are carving the cavity with, as was the case here, a follower of the same size won't be able to get into the corners of the cavity. This means you have to rework your cavity with a knife to carve out the corners. Or you could use a follower smaller than the cutter, but then your cavity will be larger than the inlay on all sides. But with this pantograph technique, you make sure you covered the whole area of the inlay, even if it means going slightly outside the pattern in some corners.
Another advantage of using the 3x pantograph and BigPrint is if you are making inlays that consist of many segments. No need to try to line up multiple plastic molds. Just arrange them, photograph, and make one paper pattern.
More about the 3D router pantograph on my woodworking website
 Dremel mount for the pantograph
 A followup on
 Ukulele fretboard inlay
 Inlays with the router pantograph
 Router pantograph
 BigPrint program
 Letter stencil maker
 Alois's guitar inlays
 John Baker's pantograph
 Making wooden rings