Patio bench (for napping on)
This article also available in Spanish and Russian
 My friend Tara wanted a patio bench for the screen porch at her cottage that could
also be used as a cot for napping on. Seeing that this was for a screened in porch,
that put it more in the class of 'patio furniture'.
I figured I should be able to build something up relatively quickly, so I timed myself when I built it, and from entering the shop to having it done, it took two hours to build. But that's not counting shopping for materials, and figuring out the design in my head.
 Because the bench didn't have to be weather proof, I could get away with making it
just from spruce lumber, which kept the costs down.
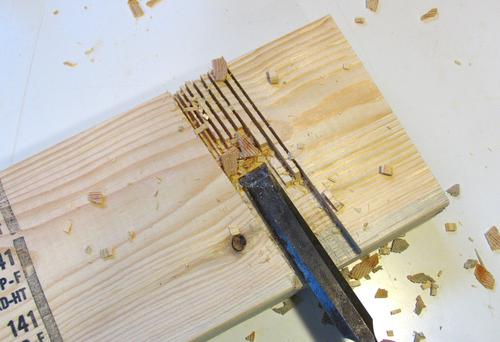
The basic structure of the bench consists of two arched stands with legs, and eight 6' long 2x4's lying on top. I started by cutting a dado 3/8" deep and 1.5" wide into the 2x6 cross pieces, by making a series of cuts, then chiseling out the rest.
The legs are tilted outwards from vertical by 6 degrees.
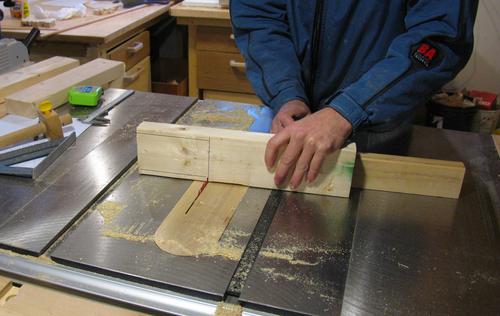 The legs also have a 3/8" notch cut out of them where they connect to the cross pieces,
so that the cross pieces rest on the shoulders of the leg segments.
I made the rip cuts for the legs on the band saw, and then an angled cut with the
miter gauge on the table saw. I could have made the long cut on the table saw
as well, but it would have meant a little bit more chiseling out and cleaning
out the cut afterwards.
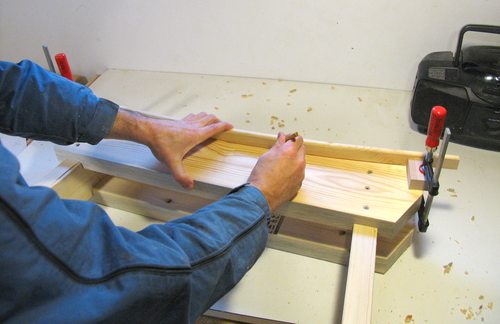 Next I sandwiched the cross pieces together with the legs. To mark an curve on the
top of the leg, I clamped a block to either end of the cross piece, and pulled
a thin strip (about 1/4" thick) of wood down in the middle by about 1", and
marked the edge of the piece with a pencil. This roughly approximates an
arc with around 8' radius. Using any sort of compass would not have been practical for
this curve.
The reason I curved the top is that it helps for napping on the bench. With the bench being narrower than a bed, I figured giving it a slightly concave arch to cradle whoever is lying on it. I figure it's useful to keep one centered on it naturally, so one is not always inclined to roll towards the edge.
I have at one time slept on a narrow guest bed where the profile of the bed was actually convex, and with nothing to keep me falling off either side. I found that very difficult to relax on. It felt like I was balancing on a log, not cradled at all.
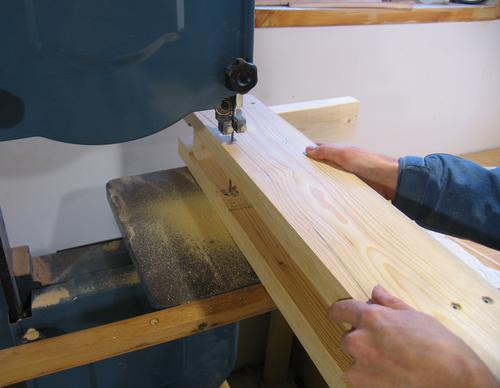 The opening on my bandsaw is big enough that I could just cut both sides at once
with the stand assembled. If you don't have a big enough bandsaw, or are using
a reciprocating saw, I'd recommend marking
just one part with an arc, cutting that part, and using it to mark the other three
pieces.
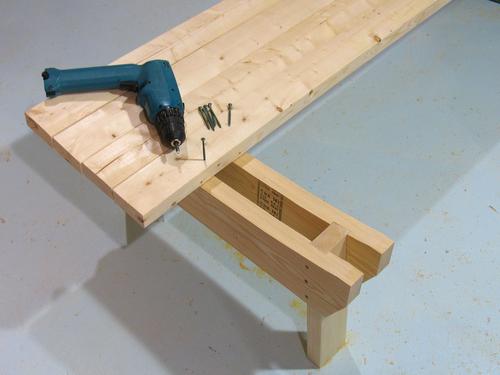 Next it's time to screw the 2x4's to the top. I drew a line down the middle
of the supports, and screwed one 2x4 to the one side of it, and started from there.
With the curve of the top, it's a bit tricky to calculate exactly where the last
2x4 ends up, but if you start from the middle, it will end up symmetric, so that
doesn't matter so much.
You might not want to screw in all the screws at once if you build one - the bench is a lot easier to move in pieces.
Another thing - unless you can get some very straight 2x4's, it may be worthwhile to make another arching piece (like the two parts in the stand) and screw that to the 2x4's in the middle to keep them all level. I managed to find straight enough 2x4's that I didn't need to do this.
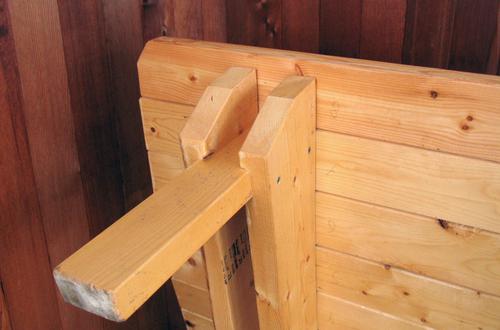 A detail of the bottom of the bench. You can see where I numbered the 2x4's, so
that the same 2x4 would go in the same place when reassembled.
With me drilling the screw holes
freehand, putting the same pieces in the same place is important.
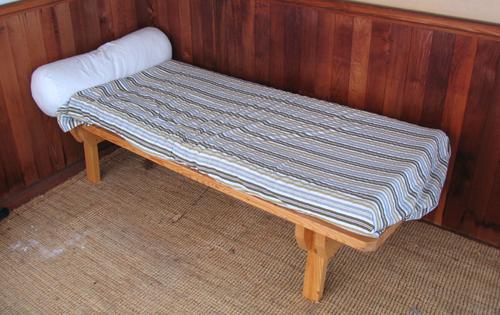 And here's the bench with a small mattress pad on it. Ready for napping!
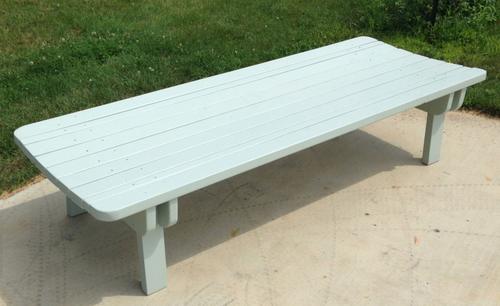 Another build of the napping bench, picture sent to me by Matt Vaughn.
See also:
 Gunnar's teak chairs
Back to my Woodworking website.
 Plans for this patio bench
 Patio table plans
 Lawn chairs
 Building a bed
 Building a Table
 Building a small deck
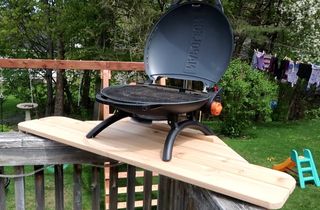 Corner shelf for a barbecue