Making the support arm
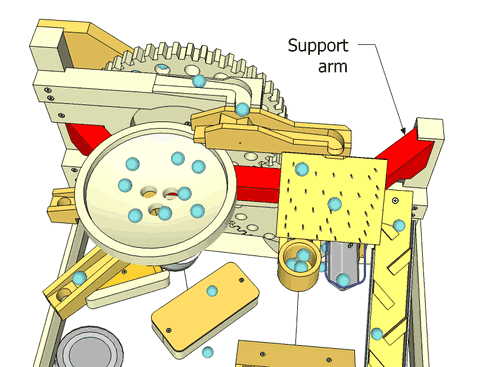 The support arm holds the swirling bowl and the pin board at the top
of the machine. The arm connects to both vertical posts.
The arm has two finger joints that connect at 45 degrees. These could be cut with something like the screw advance box joint jig. But I didn't want to make that jig a requirement for building this machine, so instead I cut the joints on the bandsaw using templates.
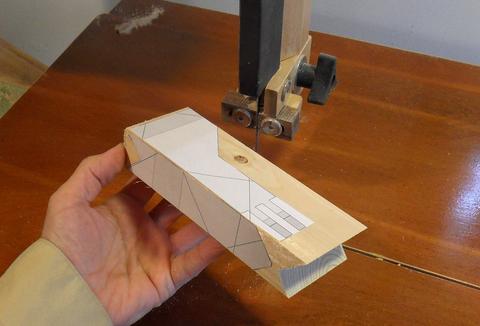 Here's starting one of the end pieces of this support arm. I glued the templates onto
a piece of wood 5.5 cm wide and 3 cm thick.
You can see some extra diagonal lines on the template. These are because I printed my preliminary version of the plans using my BigPrint program. I hadn't yet split the plan into individual pages, so I printed it as one big sheet, with a diagonal grid superimposed to help align the pages when gluing them together. To avoid confusion, the plans I will have for sale won't have these extra lines.
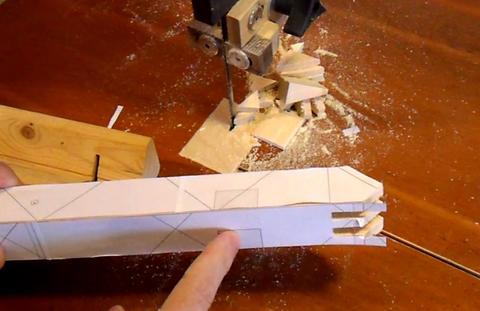
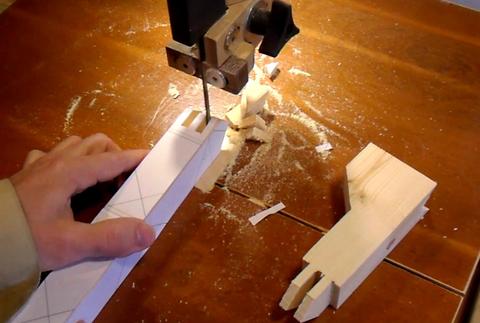
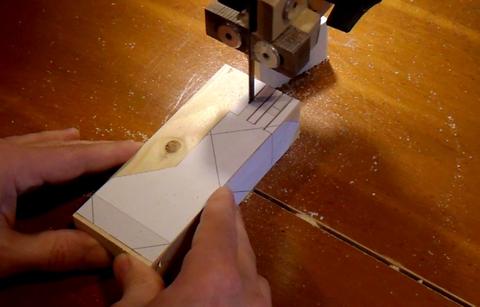 Cutting out the fingers of the box joint. Cut on the waste side of the lines, but
also cut away the line.
It's important to cut only the cuts shown here at first. If you start cutting away more, you will lose part of the template that you need to make the 45-degree cuts from the other side.
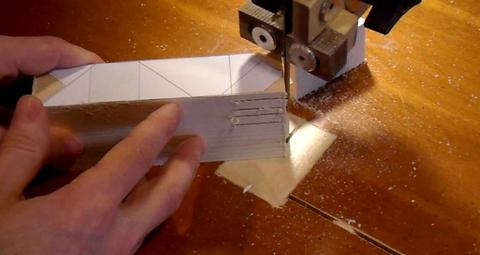 Now cutting the 45-degree angles on the ends of the piece of wood.
After these are cut, the wood is placed flat on the table again and the rest of the finger joints and outline are cut.
 Use the same procedure for the finger joints on the end of the bar that spans the
two mounts. First just the side edges of the fingers, then the 45-degree cut.
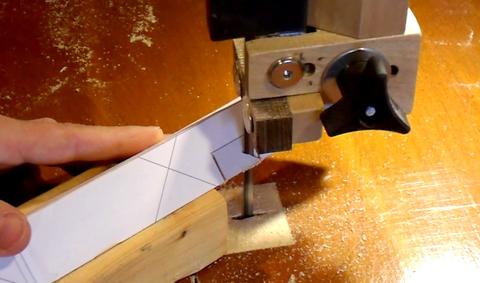 A 45-degree notch needs to be cut out of this bar. It looks a little confusing
in this view, because I generated the top template from a transparent view,
so the notch is visible from the top as well.
I changed the final plans to show a bottom view of this part, which
will make this notch appear more logical.
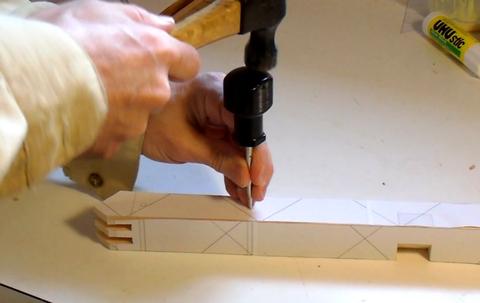 I'm cutting this notch by placing the piece of wood on a V-block. Be sure to
keep the V-block close to the blade and securely hold down the stock to avoid mishaps.
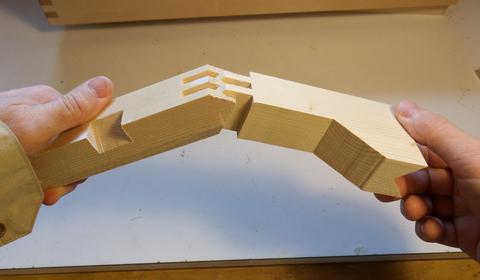 Checking the fit. It's a good idea to check before removing the templates,
just in case more needs to be cut off.
 I found that mine were a little tight. The lines from the template were
still visible in a few spots, so I cut those away.
Sufficient bandsaw blade tension ensures that the blade stays vertical even when shaving just a fraction of a millimeter off the side of the wood.
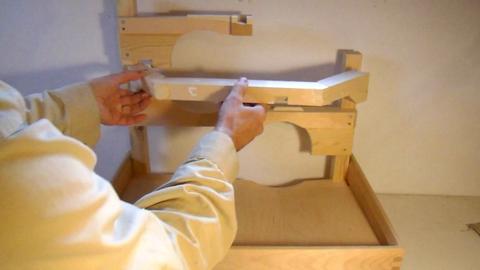 When assembling the arm, be sure to check the fit against the machine. If the corner
joints are not quite 45-degrees, the arm may be too long or too short.
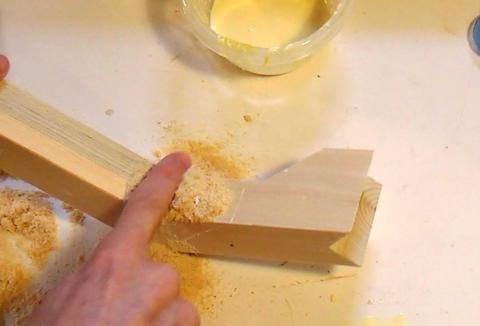 Bandsaw cut finger joints are often not that clean. So to close the gap, I used lots
of glue. I then rub sawdust into the joint to fill any voids.
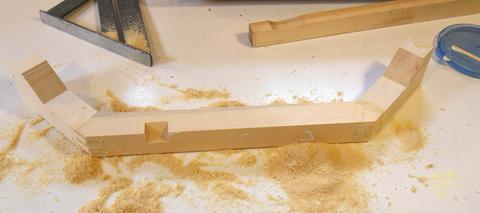 The assembled support arm, after gluing.
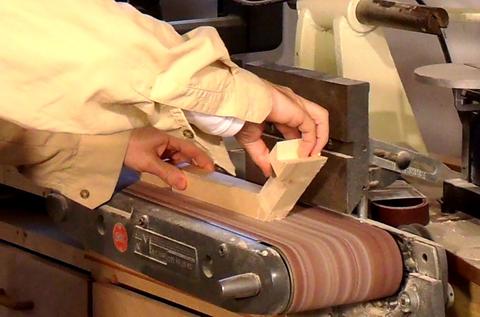 A bit of work on the belt sander really helps to clean up the joints.
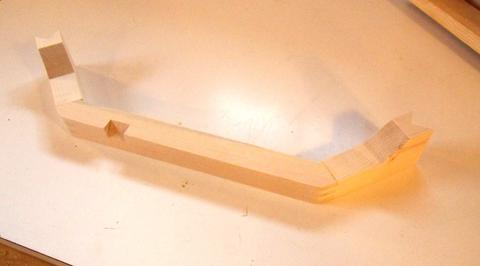 With the glue and sawdust filling and sanding, the joints look
quite decent.
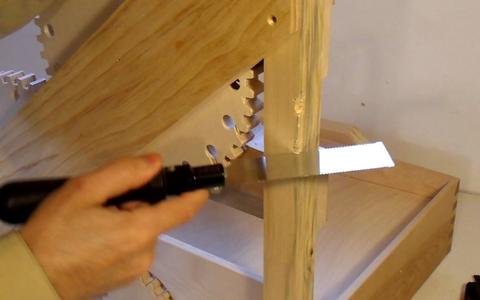 To mount the support arm, holes need to be drilled at a 45 degree angle from the corners
of the posts. It would be very difficult to start these holes from the corner, so
I'm cutting flat spots into the posts. First by making a cut on either side of where
I need the hole to be, then carving a 45 degree chamfer between them with a knife.
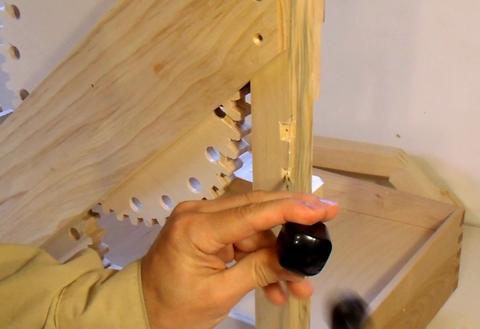 Now using an awl to punch holes for where I need to drill. Having a pre-punched
awl-hole helps to guide the drill when starting the hole.
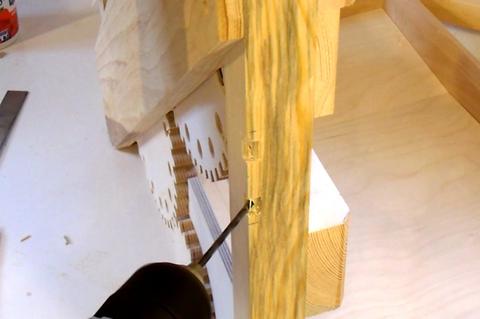 Now drilling a hole all the way through the post. I start with a small drill
which more readily follows my awl hole then drill a 9/64" (3.5 mm) hole for the shank
of the screw.
It may be better to drill these 45-degree holes before assembling the back frame, but I hadn't yet marked these hole positions on the plans when I built the machine, and I was too lazy to take the whole thing apart again.
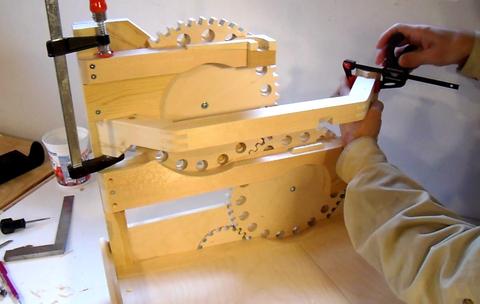 Next it's time to clamp the support arm in place.
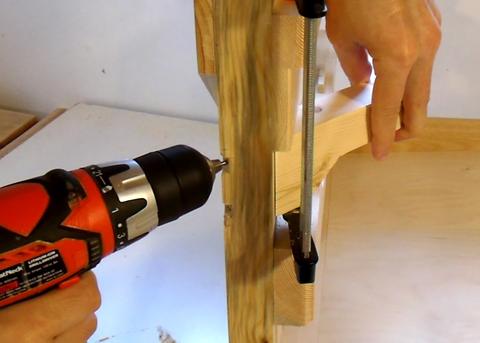 Now drilling a pilot hole into the support arm. I'm drilling this through
the shank holes drilled previously.
I drilled the shank holes freehand, so they weren't
that accurate. Drilling the pilot holes through the shank holes ensures
that the holes will still line up.
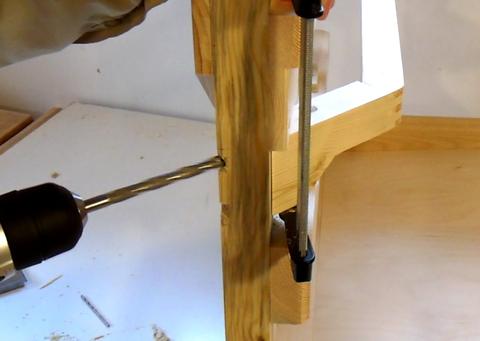 Next, I drill a 5/16" (8 mm) hole to countersink the screw head below the surface.
I'm only using 2" (5 cm) long screws, so it helps to sink the head about 1.5 cm below
the surface. That leaves enough of the screw threading into the support
arm to get a decent hold.
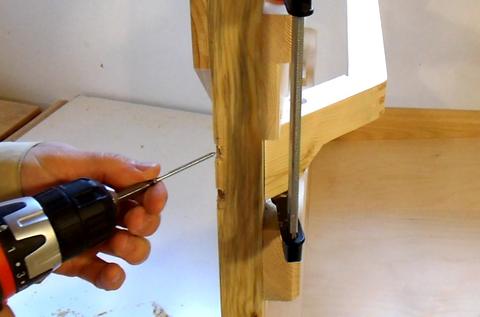 And finally, adding the mounting screws!
Don't tighten them too much - that support arm needs to be removed again in later steps of the construction.
Next: Marble distribution