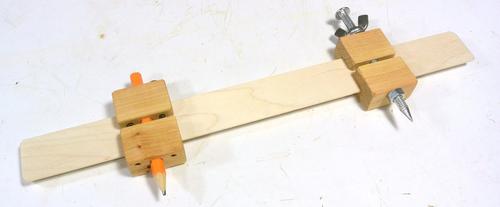
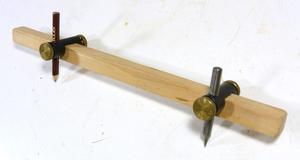
 Many years ago I bought a set of trammel points from Lee Valley Tools.

 Many years ago I bought a set of trammel points from Lee Valley Tools.
I figured I should also get a beam compass to use in my other shop, but didn't want to buy another set. I had seen John Heisz's beam compass, but I had my mind sent on trammel points. So here (at left) is the prototype of the design I came up with, with a bit of inspiration from John Heisz's design.
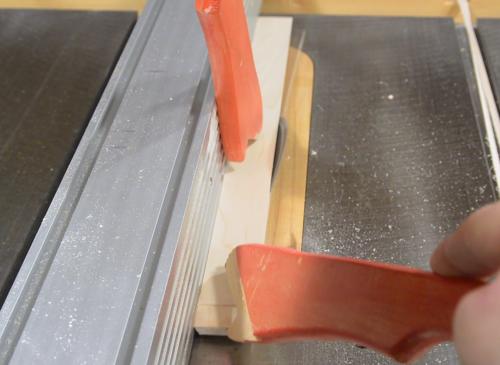
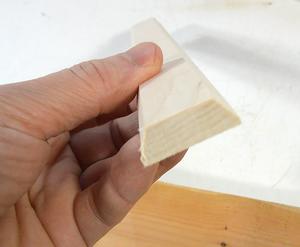 I start by cutting a dovetail rail on the table saw, both sides angled at 30 degrees.
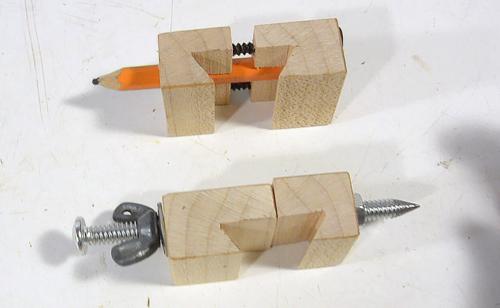 Two brackets clamp to this dovetail rail, one with a pencil, the other with a point.
At left, my initial prototype.
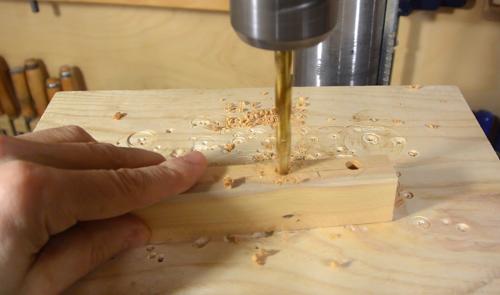
 The hole for the pencil overlaps the dovetail slightly to allow the dovetail
rail to press against it. I need to drill the pencil holes
before cutting the dovetail slot so the drill won't wander into it.
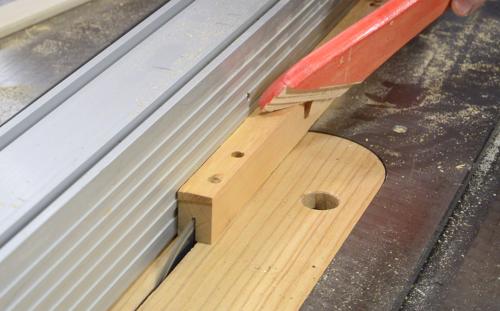
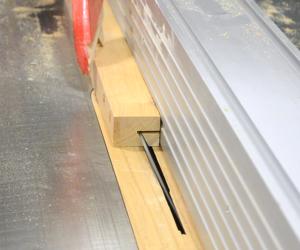 Next cutting the dovetail slot, with two cuts on the table saw.
At 30 degrees, it would be hard to find a router bit to cut that sort of slot.
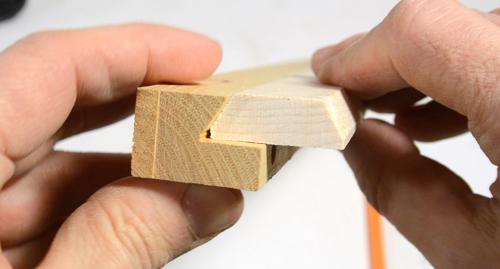 Checking the slot against the rail.
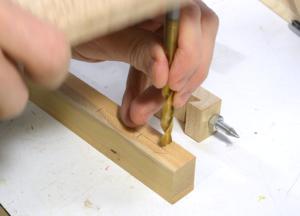
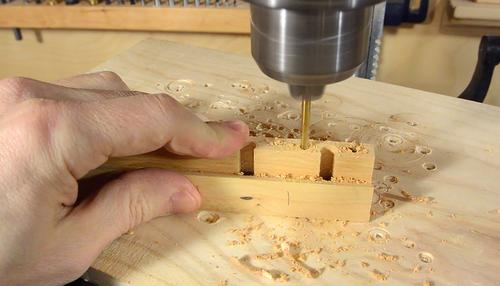 Then drilling the holes for the screws that pull the pencil side together.
One block needs holes large enough that the screw's threads will slide through it. The other block will engage the threads. I was worried the screw might split the block, so for the thinner part of the block, I drilled the holes larger. Only the thick part of the block engages the threads.
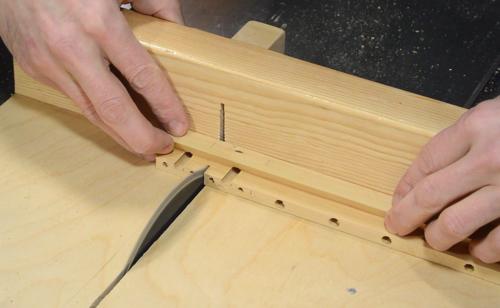
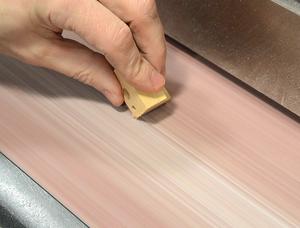 Then cutting the rail into individual blocks
and rounding the sharp edges on the belt sander.
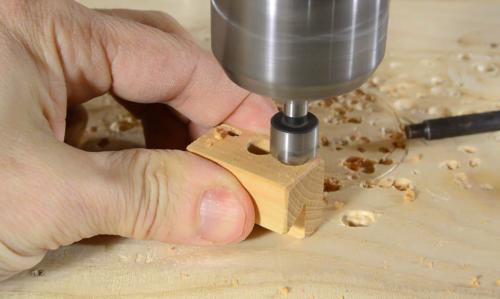 Also countersinking some holes for the wood screws. I should have done
this before cutting the rail into blocks, but I forgot.
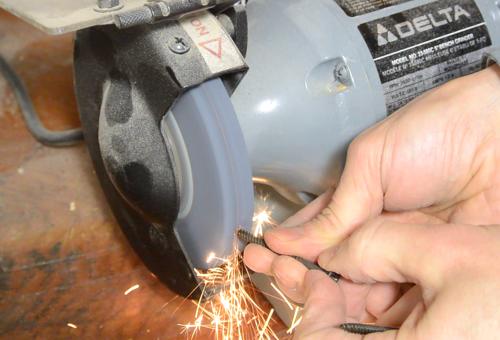
 The closest size of screw I had was just a bit too long, so I ground
the tips off them to shorten them.
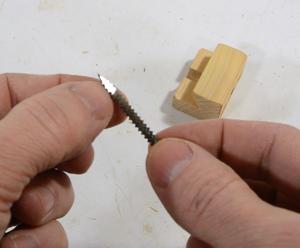
I also ground the tip of a screw flat so I could use it to pre-cut screw threads in the blocks. This to avoid splitting the block when I put the screws in.
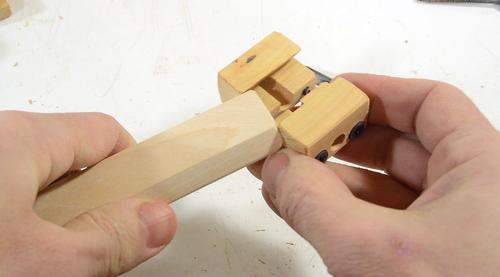
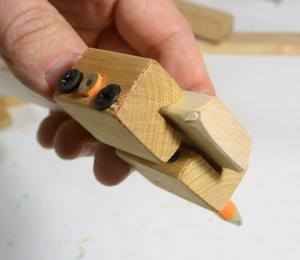 Here's how the assembled pencil end fits on the rail.
Tightening the screws pulls the block tighter onto the rail, which presses the pencil against the rail to lock it in place.
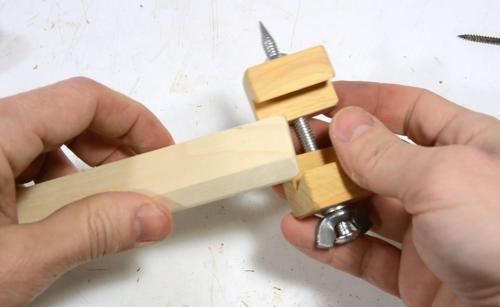
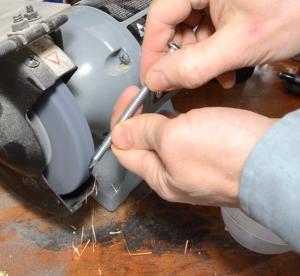 For the point end of the compass, I used a 4" (10 cm) 1/4" (6 mm) screw and
ground a point onto it.
The screw fits tightly into the block nearer the point, and a nut helps to lock it.
The block on the wing nut side slides loosely on the bolt. Tightening the wing nut locks the point onto the rail.
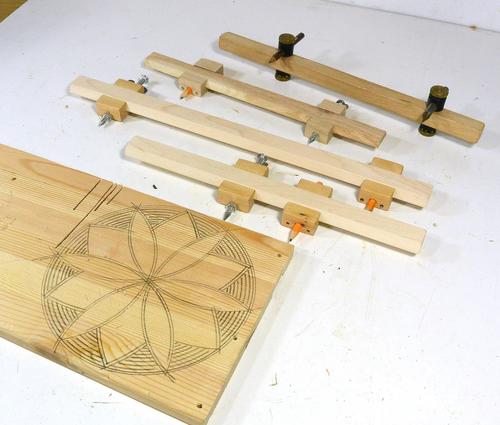 The way I made this beam compass was mostly sawing and drilling operations.
So it wasn't much more work to make two compasses.
I also still have my prototype beam compass, plus the trammel points I bought years ago.
I much prefer beam compasses using trammel points. For smaller circles, I can move both the point and the pencil closer to the middle. Or I could switch to a different length rail for larger circles.
I don't think I'll be using the lee valley trammel points any more. They are nicely made, but the way they clamp onto the rail often lets them wiggle side to side. Lee Valley doesn't sell that style anymore. My homemade ones don't have this problem. And they are easier to set too.
It's always fun to draw artistic patterns with a compass. Here the results of playing around with one of them for a bit.
There are a lot of compass designs out there by various YouTubers.
Trevor's Workshop has made a video of
a lot of compass designs,
he even built every one of them!