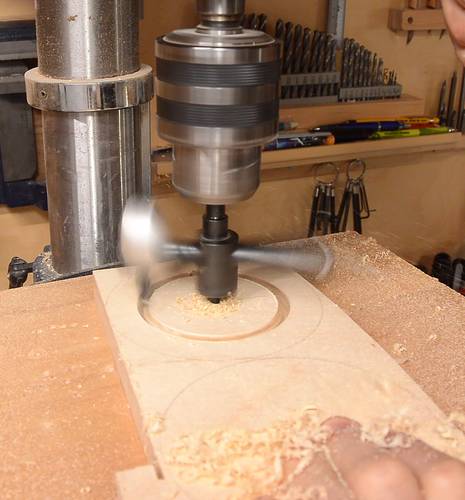
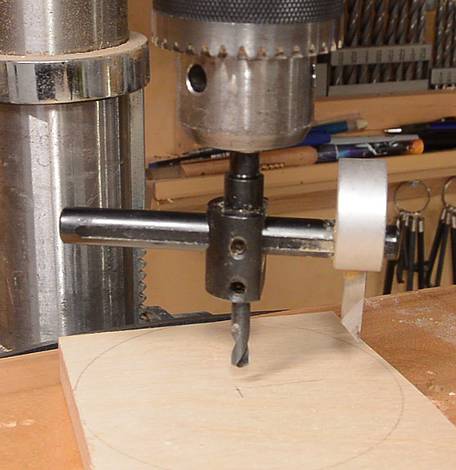
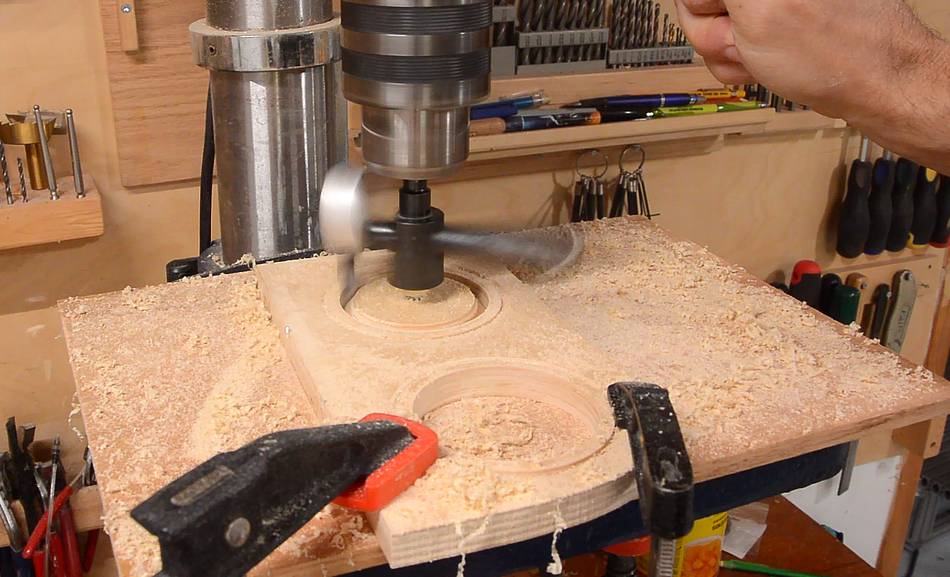
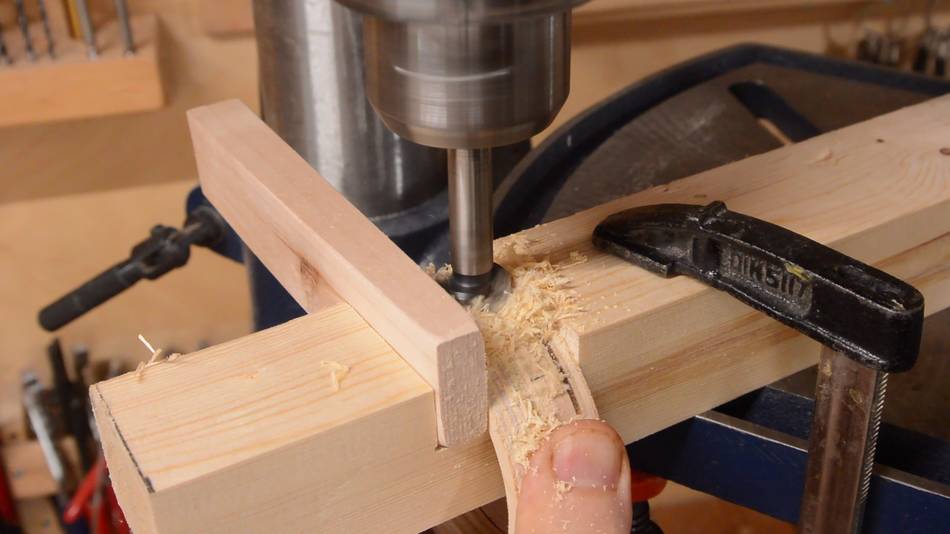
 The outer bearing race needs to have a round hole in the middle.
I couldn't cut that with the bandsaw, and didn't want to cut the 18 mm Baltic
birch plywood on the scroll saw, so I used a drill press
circle cutter.
The outer bearing race needs to have a round hole in the middle.
I couldn't cut that with the bandsaw, and didn't want to cut the 18 mm Baltic
birch plywood on the scroll saw, so I used a drill press
circle cutter.
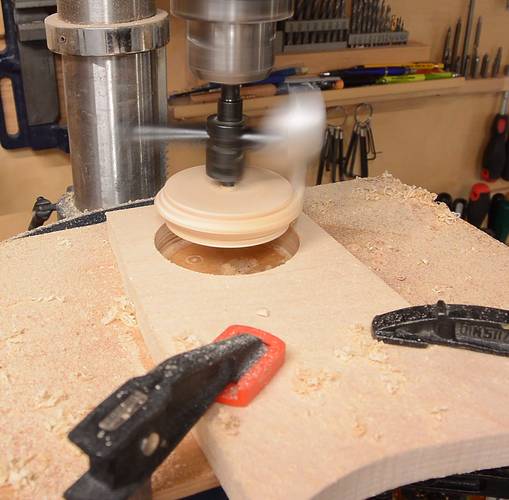
I cut from both sides. Before finishing the cut on the second side, I clamped the workpiece to the drill press table because, once the circle cutter breaks through, the stock has a tendency to jump around if it's not clamped down.
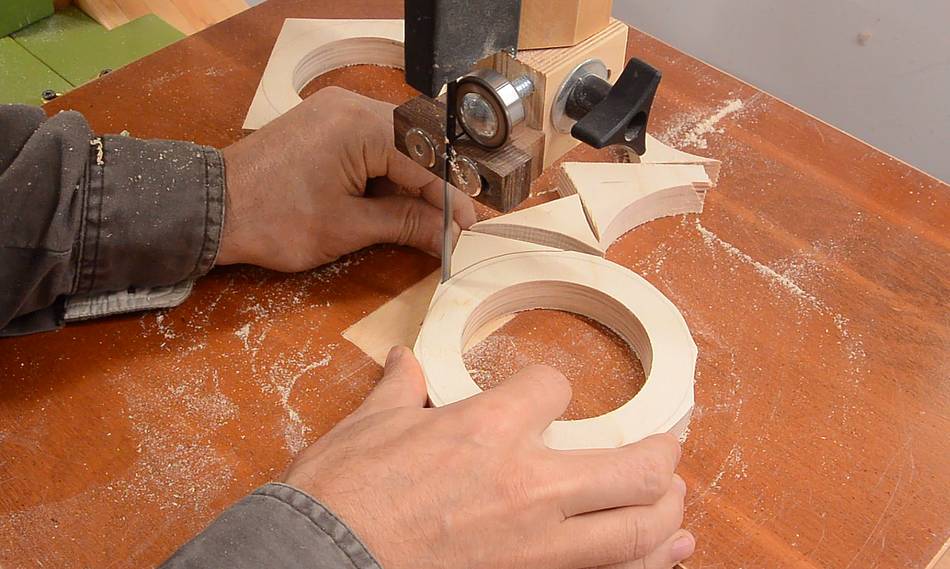
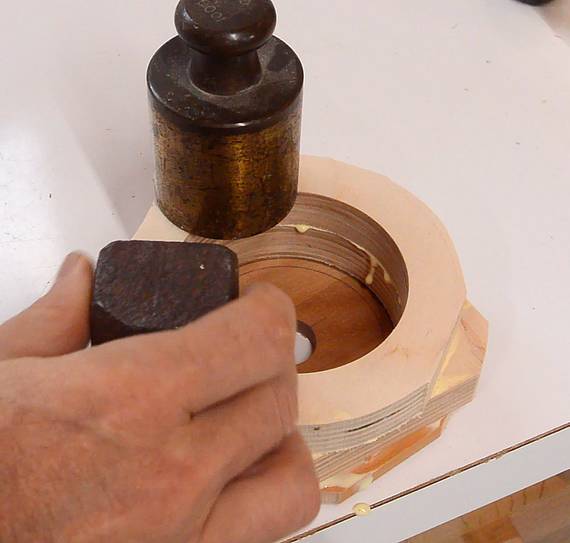
 The outer ring is made of two layers of Baltic birch. I cut them out before
gluing them because the circle cutter isn't very good at cutting deep holes.
First I clamped them with weights, but once the glue partly set, I
switched to clamps. If I clamped it right away, the glue (being a lubricant)
would cause the joint to slide out of alignment.
The outer ring is made of two layers of Baltic birch. I cut them out before
gluing them because the circle cutter isn't very good at cutting deep holes.
First I clamped them with weights, but once the glue partly set, I
switched to clamps. If I clamped it right away, the glue (being a lubricant)
would cause the joint to slide out of alignment.
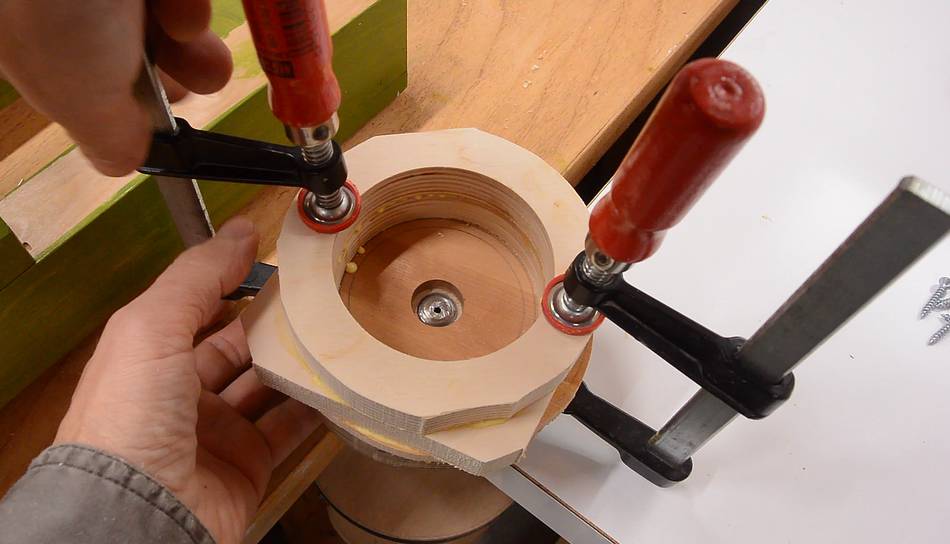 I also added a 8 mm thick sacrificial layer on the bottom. This layer
has a hole in the middle, which allowed me to line it up with
the faceplate of my homemade lathe.
I first clamped the workpiece to the faceplate...
I also added a 8 mm thick sacrificial layer on the bottom. This layer
has a hole in the middle, which allowed me to line it up with
the faceplate of my homemade lathe.
I first clamped the workpiece to the faceplate...
 ...then put the faceplate on the bench, drilled pilot holes, and screwed the
workpiece to the faceplate.
...then put the faceplate on the bench, drilled pilot holes, and screwed the
workpiece to the faceplate.
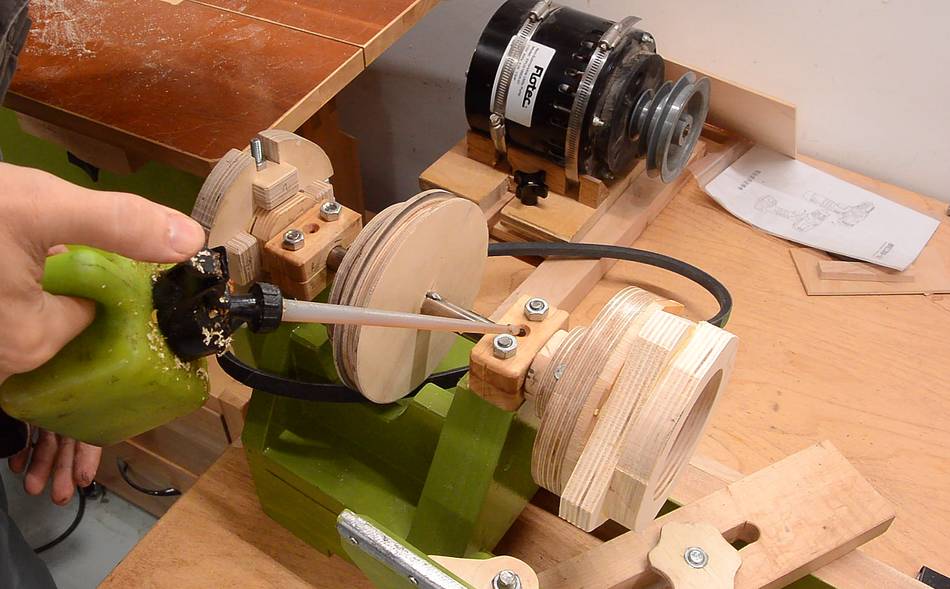 I then mounted the faceplate and drive shaft to the lathe, attached the
top half of the wooden bearing blocks, and gave each a drop of oil.
Adequate lubrication is important with wooden bearings.
I then mounted the faceplate and drive shaft to the lathe, attached the
top half of the wooden bearing blocks, and gave each a drop of oil.
Adequate lubrication is important with wooden bearings.
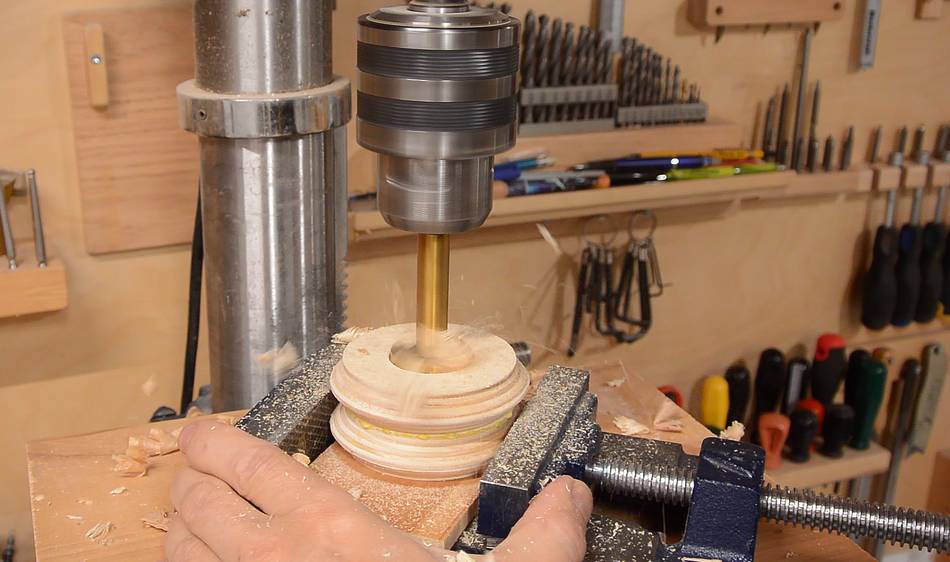
 I then used a scraper to enlarge the hole slightly, thereby ensuring the
hole was centered on the lathe.
I then used a scraper to enlarge the hole slightly, thereby ensuring the
hole was centered on the lathe.
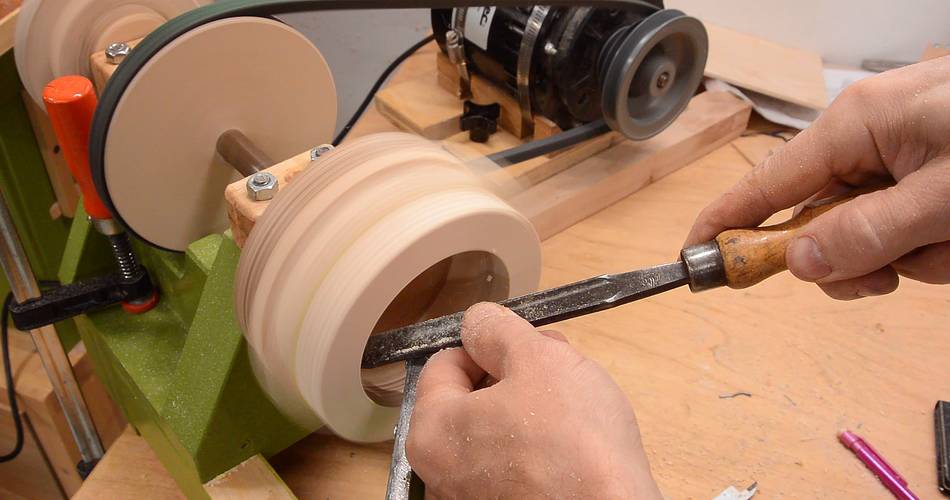
 I used a gouge (but using it more as a scraper) to cut a groove
on the inside for the marbles to run in.
I used a gouge (but using it more as a scraper) to cut a groove
on the inside for the marbles to run in.
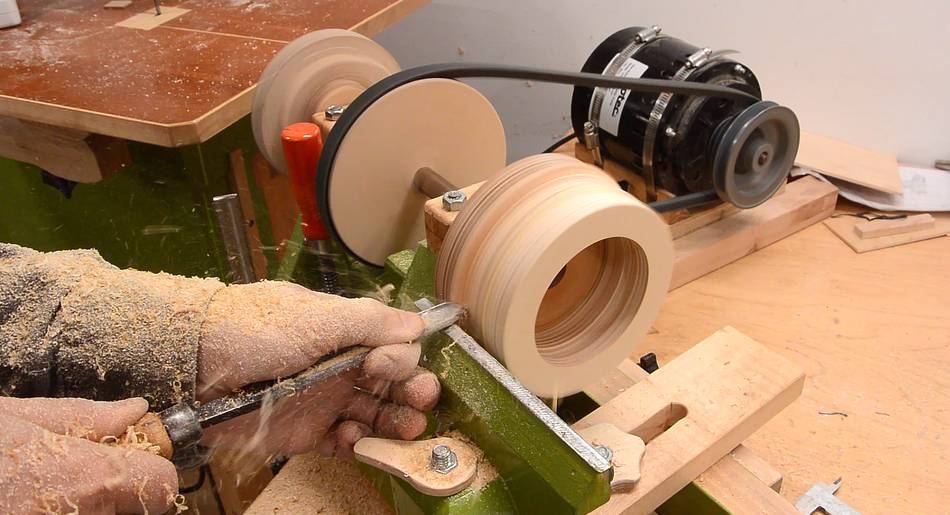 After that, I turned the outside round, ensuring it's concentric with the hole
in the middle.
After that, I turned the outside round, ensuring it's concentric with the hole
in the middle.
It would have been tempting to use a parting tool to cut it off the sacrificial piece, but I would have hit the screws I used to attach it (this might have worked if the sacrificial piece was much thicker)
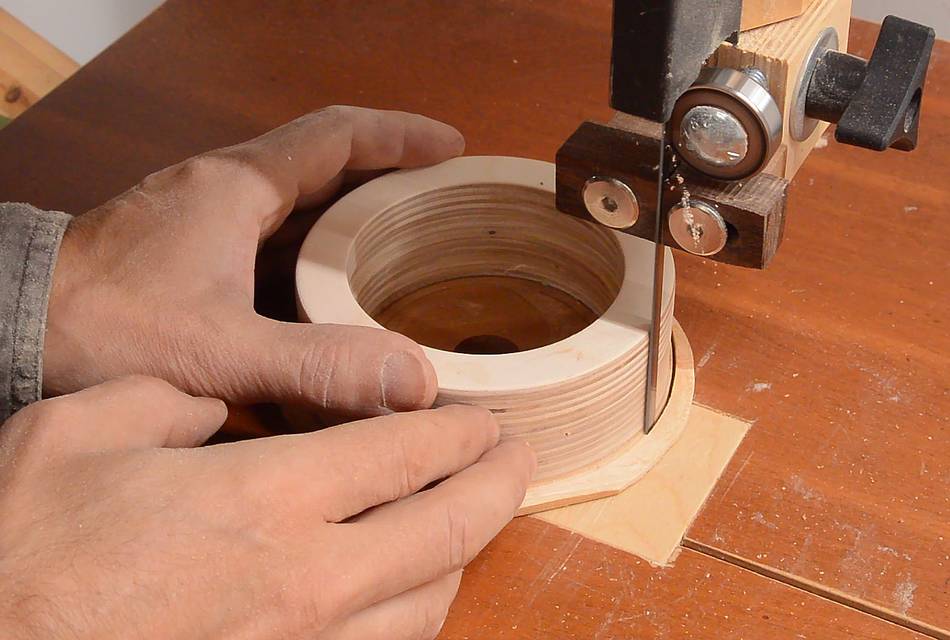 So instead, I unscrewed it and cut off most of the overhang of the sacrificial piece
on the bandsaw.
So instead, I unscrewed it and cut off most of the overhang of the sacrificial piece
on the bandsaw.
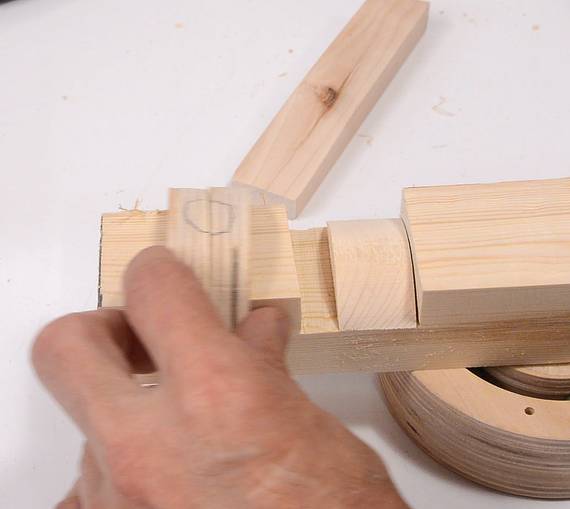
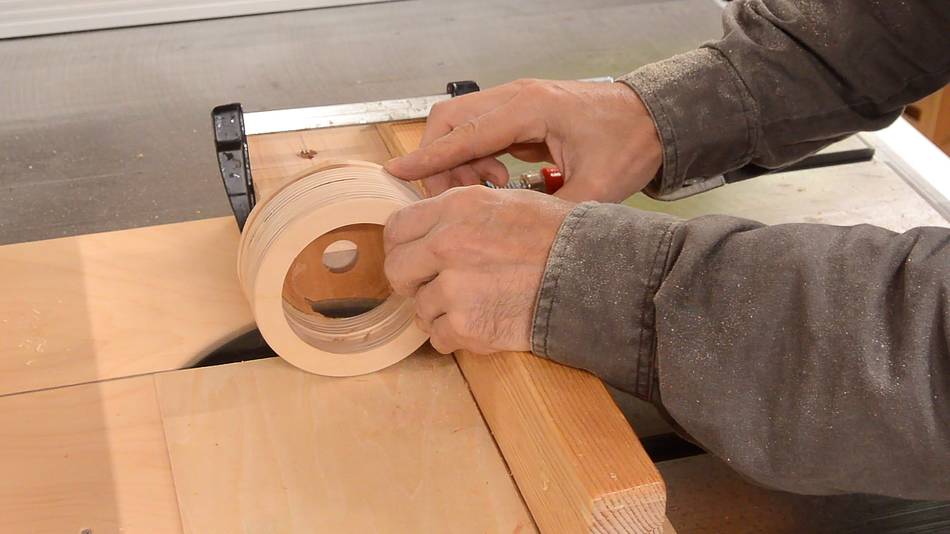 I then put the piece on my
small table saw sled, with a block on the right to
ensure I put it in proper alignment, and cut the sacrificial piece
off one part at a time. Doing this sort of operation without a sled
would be very dangerous. With a table saw sled, it's only a little
bit dangerous.
I then put the piece on my
small table saw sled, with a block on the right to
ensure I put it in proper alignment, and cut the sacrificial piece
off one part at a time. Doing this sort of operation without a sled
would be very dangerous. With a table saw sled, it's only a little
bit dangerous.
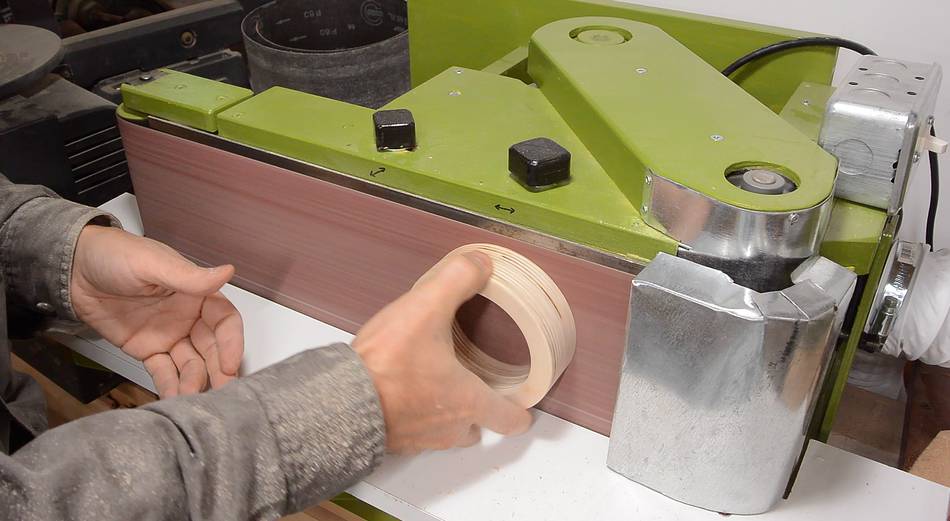 Then cleaning up the cut on my
homemade belt sander. I use the sander for quick operations between
other steps quite often, so having the sander with
it's own dust collector helps
a lot - not having to worry about opening blast gates or turning on a separate
dust collector.
Then cleaning up the cut on my
homemade belt sander. I use the sander for quick operations between
other steps quite often, so having the sander with
it's own dust collector helps
a lot - not having to worry about opening blast gates or turning on a separate
dust collector.
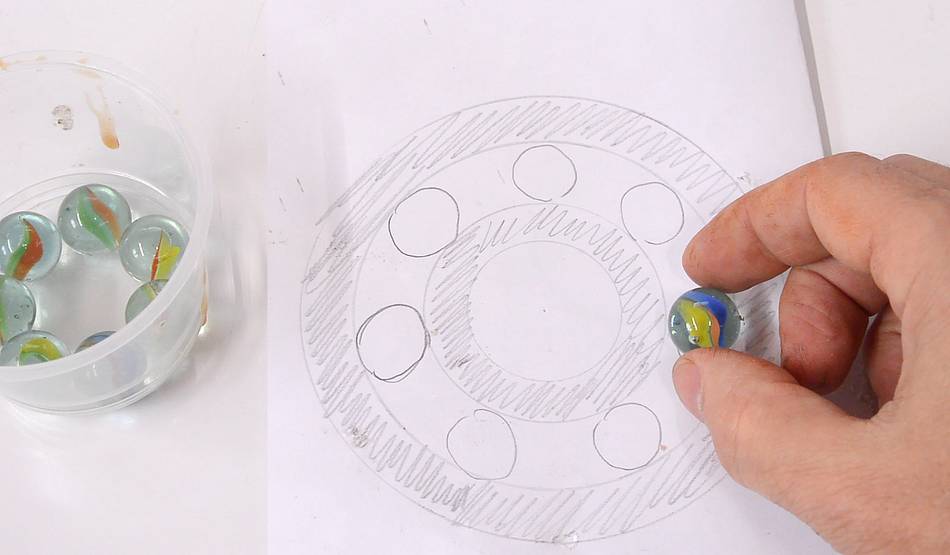
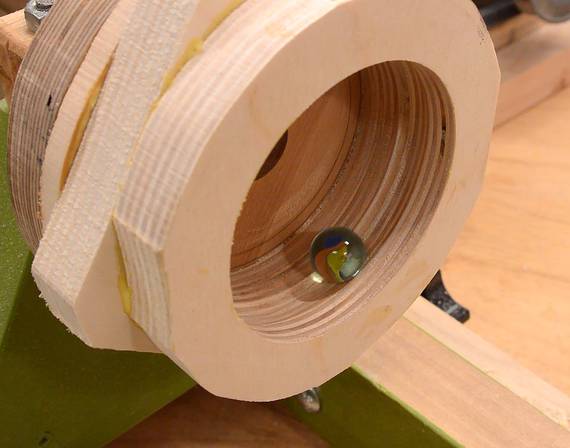
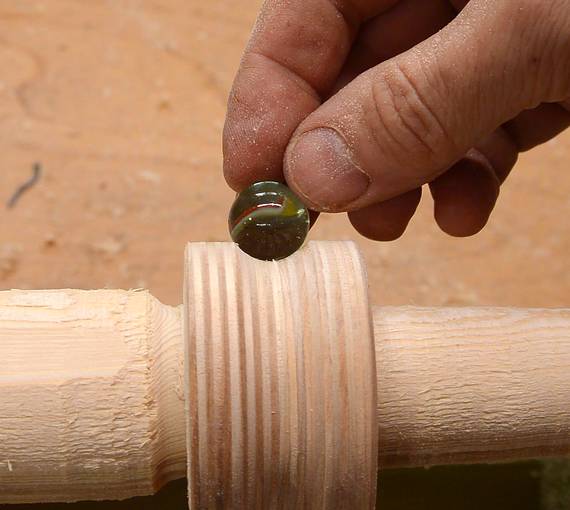
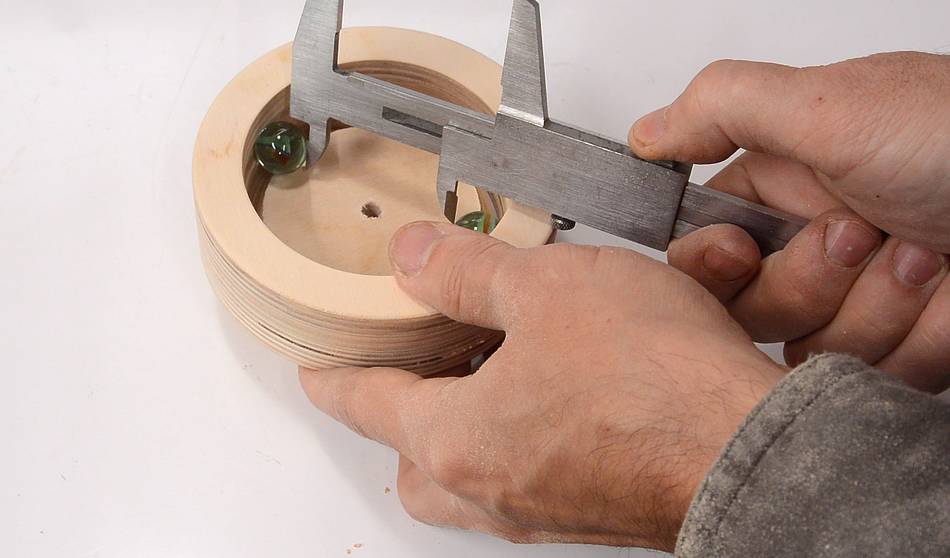 Placing two marbles in the groove, plus a piece of scrap underneath to
keep them from falling out, I measure the distance between them. This tells
me how big the center part of the bearing should be.
Placing two marbles in the groove, plus a piece of scrap underneath to
keep them from falling out, I measure the distance between them. This tells
me how big the center part of the bearing should be.
 The scraps from cutting the holes for the outside rings were big enough
for the hub. Here I'm drilling the central shaft hole.
The scraps from cutting the holes for the outside rings were big enough
for the hub. Here I'm drilling the central shaft hole.
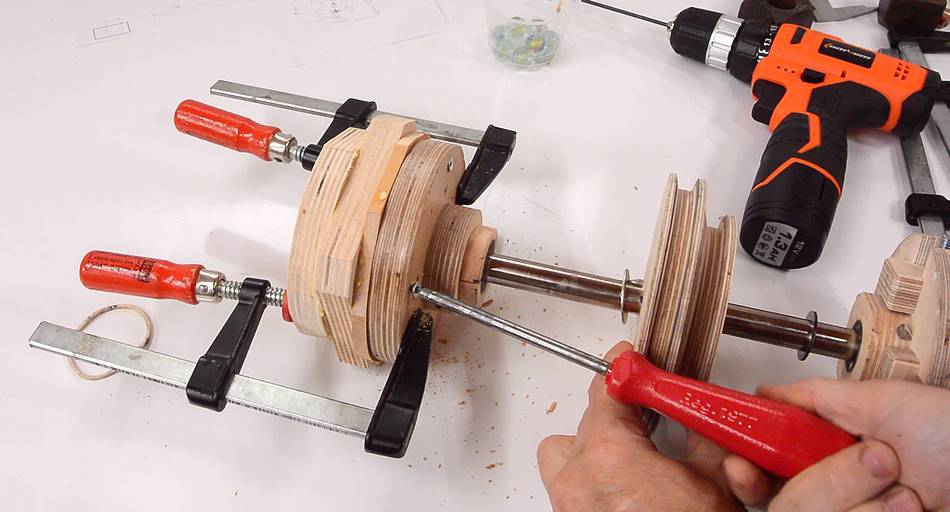
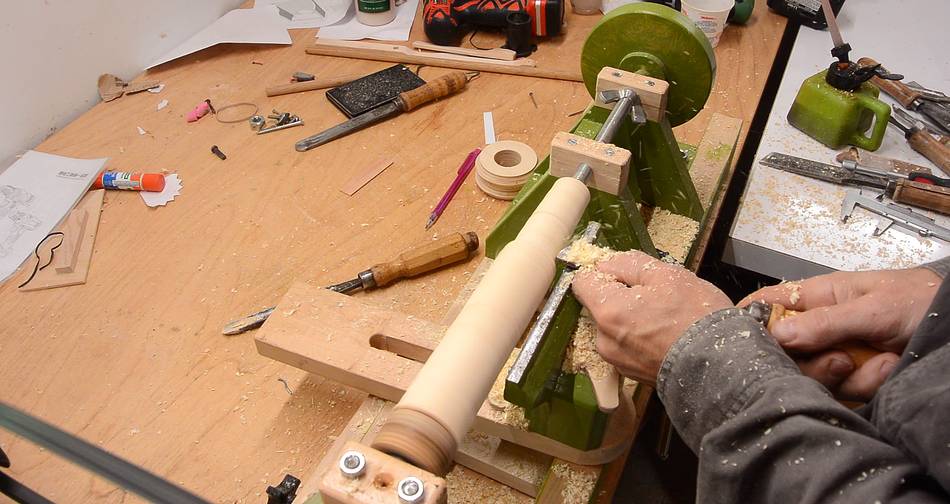 The best way to mount that central piece on my homemade lathe was to just
make a mandrel on the lathe, then ram the workpiece onto that.
The best way to mount that central piece on my homemade lathe was to just
make a mandrel on the lathe, then ram the workpiece onto that.
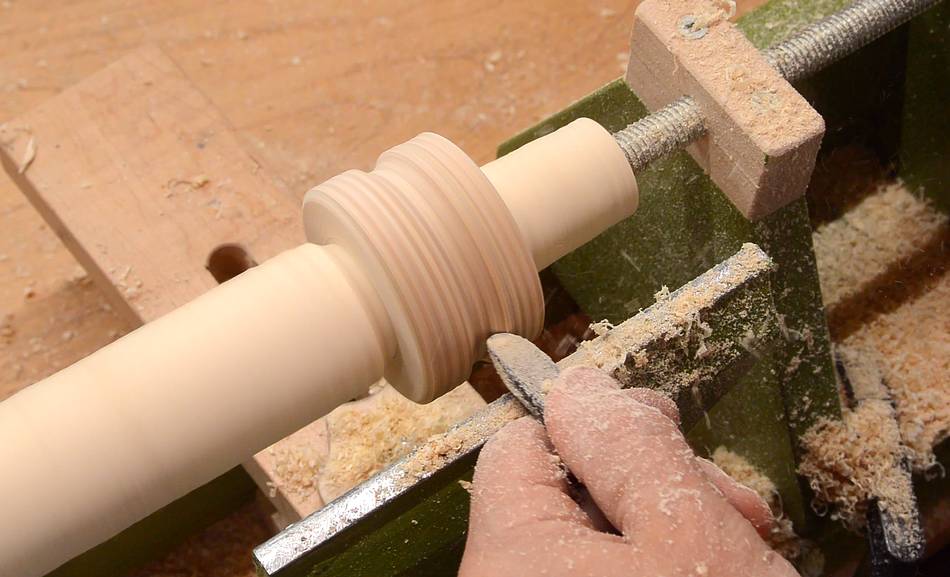
 Then turning the outside cylindrical, with a diameter about 1 cm greater
than what I measued between the marbles earlier. The depth of the
groove will be to what I measured.
Then turning the outside cylindrical, with a diameter about 1 cm greater
than what I measued between the marbles earlier. The depth of the
groove will be to what I measured.
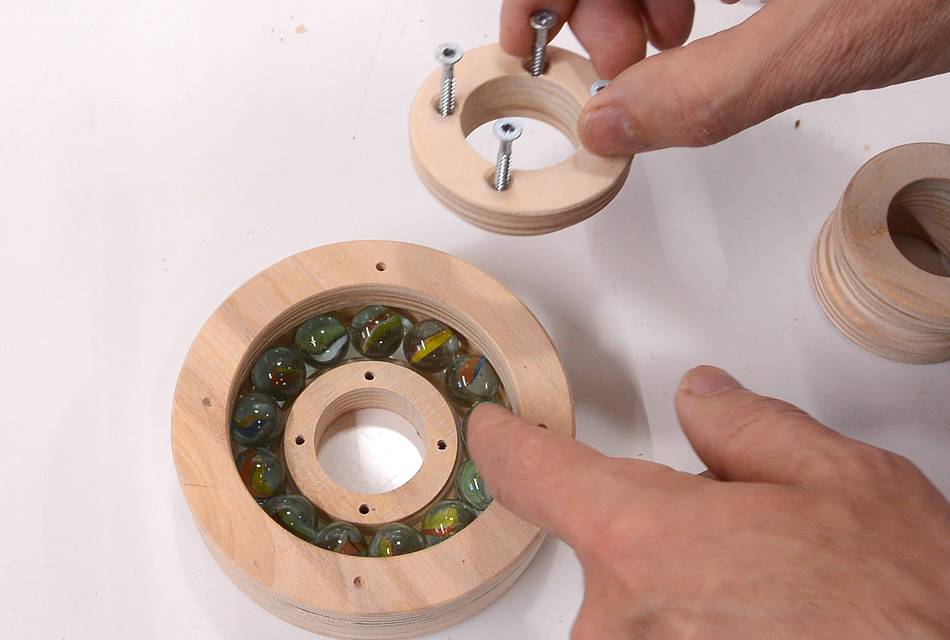
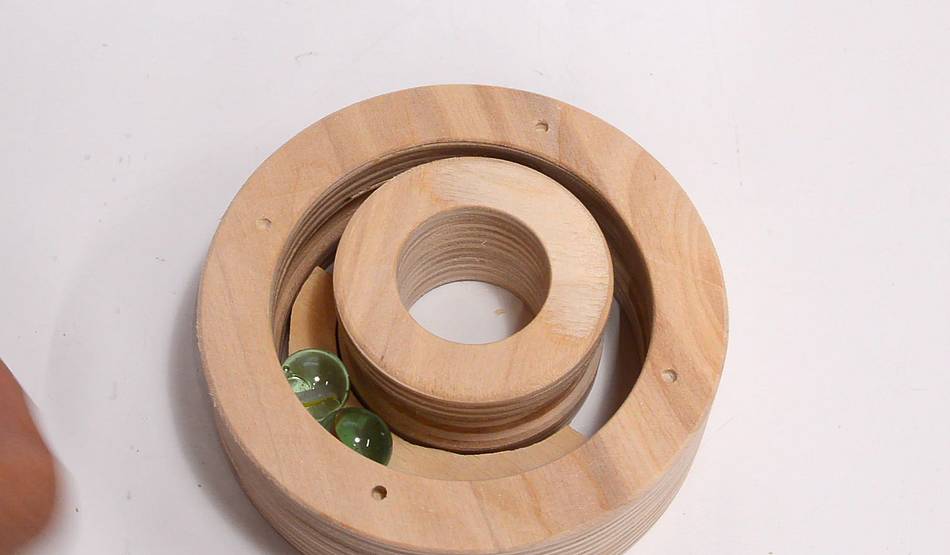 Here comes the clever bit: By moving the hub off to the side, half the
groove can be filled with marbles.
Here comes the clever bit: By moving the hub off to the side, half the
groove can be filled with marbles.
Then, with the marbles spread around the circumference, the hub is locked in place. But there needs to be something that keeps the balls evenly spread around so they don't bunch up on one side.
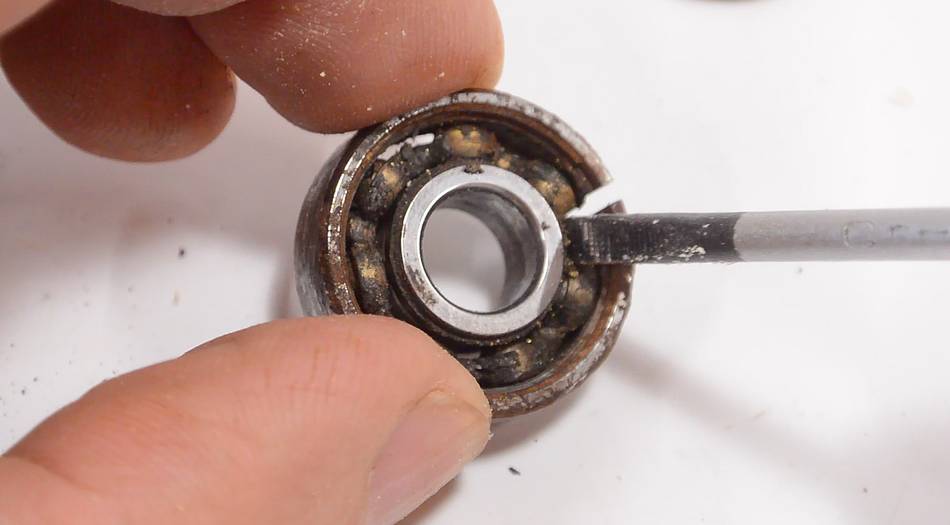
 In normal ball bearings, which are assembled the same way,
there is a ball cage that does this job. I cut open a small cheap
roller skate ball bearings to show.
In normal ball bearings, which are assembled the same way,
there is a ball cage that does this job. I cut open a small cheap
roller skate ball bearings to show.
 I cut some thin wooden rings out of 12 mm Baltic birch plywood
to make a ball cage out of wood.
I cut some thin wooden rings out of 12 mm Baltic birch plywood
to make a ball cage out of wood.
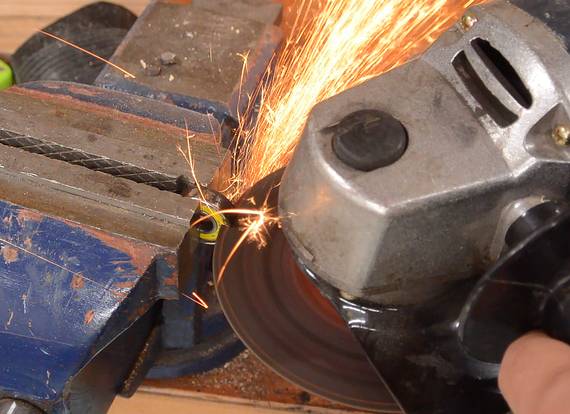
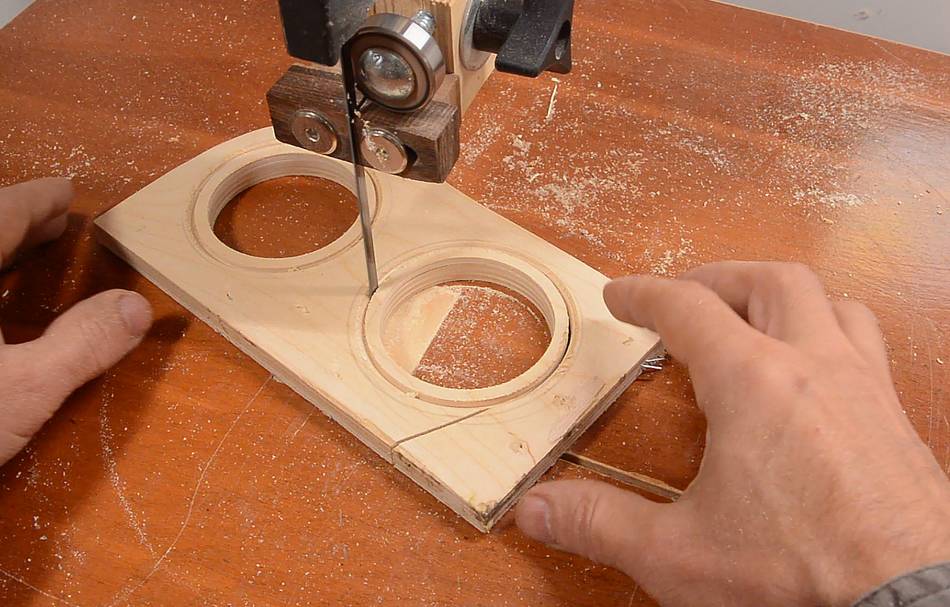 I fully cut the inside holes of these rings with the circle cutter
as well as most of the outside, but finished the outside cut
on the bandsaw. It would have been too risky to
fully cut the outside of the rings with the circle cutter as well.
The ring would probably have gotten loose and smashed by the circle
cutter.
I fully cut the inside holes of these rings with the circle cutter
as well as most of the outside, but finished the outside cut
on the bandsaw. It would have been too risky to
fully cut the outside of the rings with the circle cutter as well.
The ring would probably have gotten loose and smashed by the circle
cutter.
 I then needed to drill some holes just larger than the marbles
But with a drill this large in a workpiece this thin,
I was pretty sure the drill would tear it up unless it was
very well secured and clamped together.
I then needed to drill some holes just larger than the marbles
But with a drill this large in a workpiece this thin,
I was pretty sure the drill would tear it up unless it was
very well secured and clamped together.
So I made a jig to fully support the ring on the bottom and squeeze it from both sides while drilling.
 This worked out fairly well. I only broke the wood in one place.
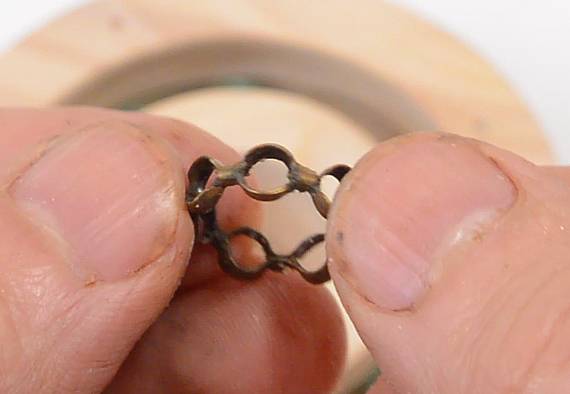
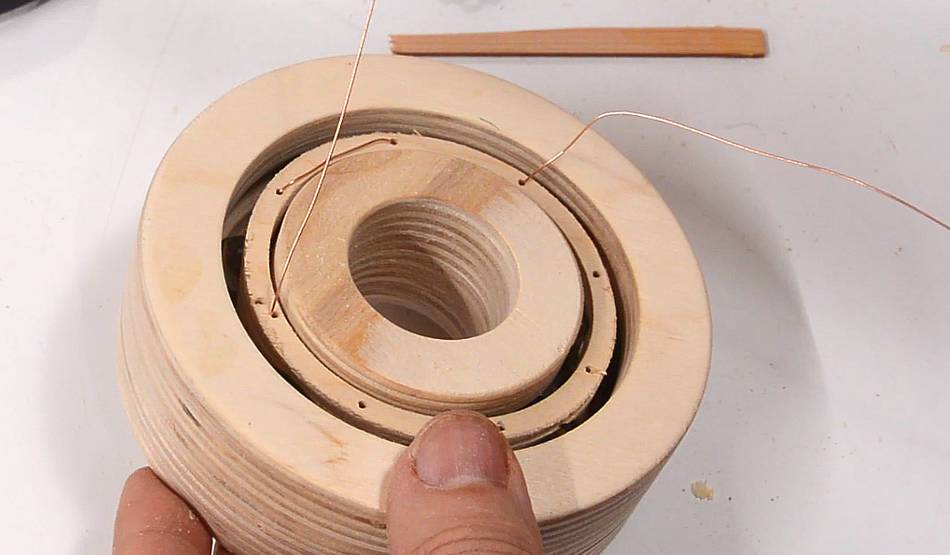 My initial intent was to screw the two halves of the ring together,
but even #4 wood screws would have been too big. So I drilled
some holes through both pieces and snaked some copper wire back
and forth to hold them together.
My initial intent was to screw the two halves of the ring together,
but even #4 wood screws would have been too big. So I drilled
some holes through both pieces and snaked some copper wire back
and forth to hold them together.
 The ring worked, but it obstructed the view to the marbles
and also added a little bit of friction.
The ring worked, but it obstructed the view to the marbles
and also added a little bit of friction.
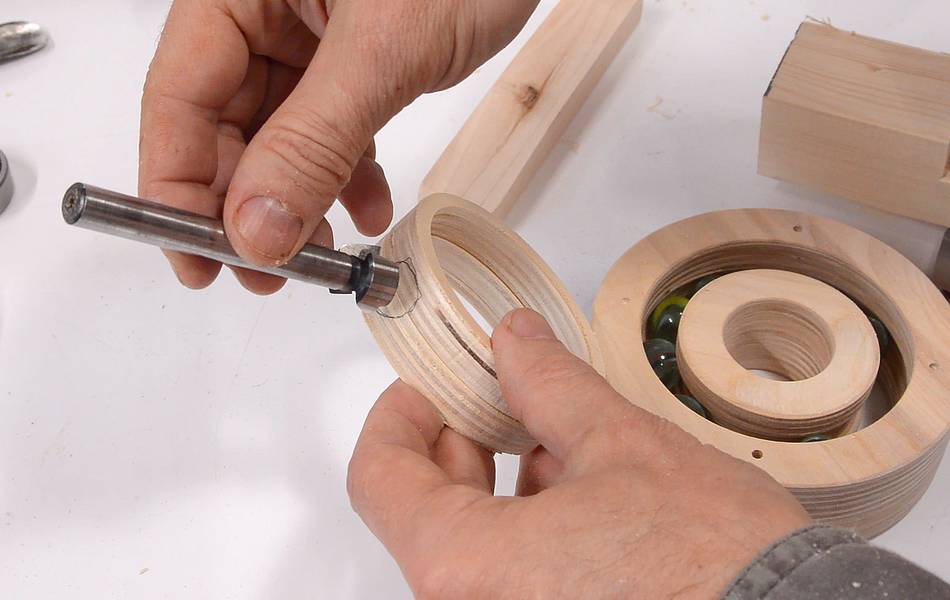
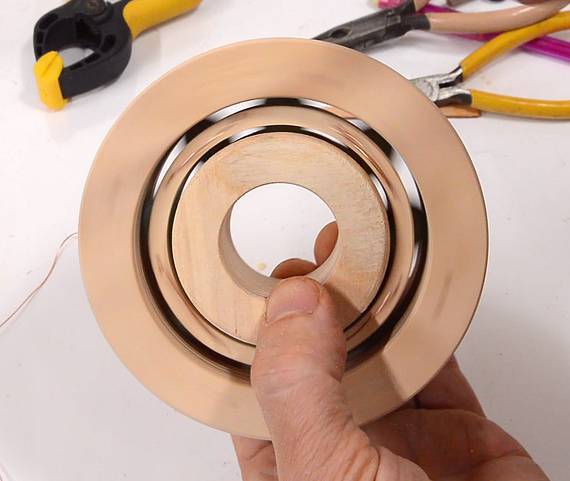
With the main purpose of the bearing being to look cool, I opted for a different solution.
 I screwed together two pieces of birch plywood, drilled the hole,
and turned it on the lathe to make a new hub that could be split
apart for installation.
I screwed together two pieces of birch plywood, drilled the hole,
and turned it on the lathe to make a new hub that could be split
apart for installation.
This way, I could fill the entire bearing with marbles.
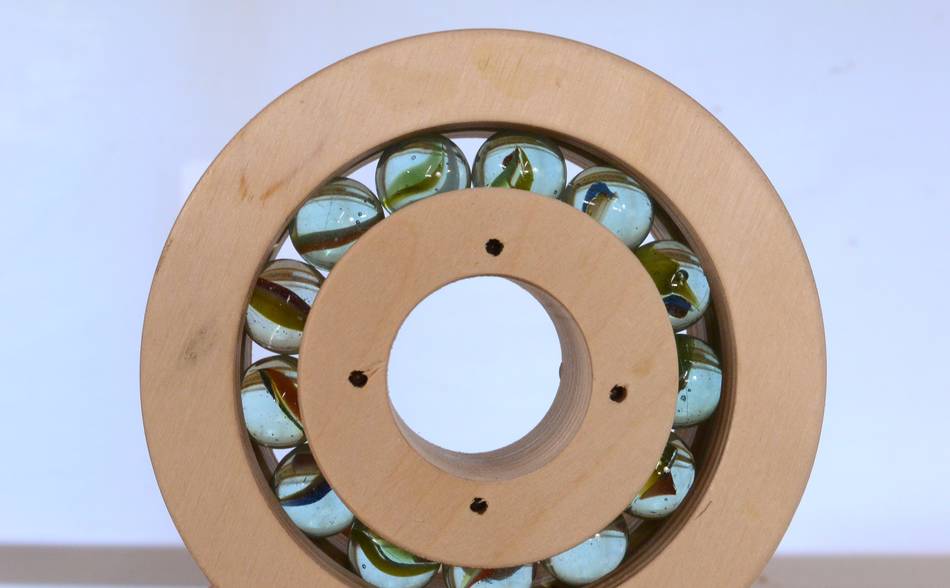 There is friction between the marbles, so this version stays spinning for
less time than the one with the ball cage. But more importantly, it looks
much cooler.
There is friction between the marbles, so this version stays spinning for
less time than the one with the ball cage. But more importantly, it looks
much cooler.
This bearing was just for fun, but using marbles to make a
lazy-Susan style bearing is much simpler. For example, see
Peter Collin's
sit-and-spin toy using marbles to make a bearing.
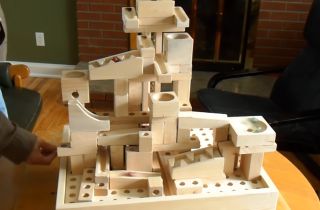 Modular marble machine
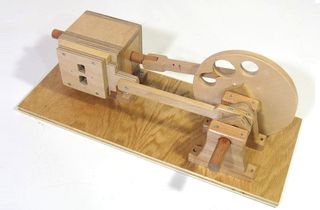 Wooden air engine
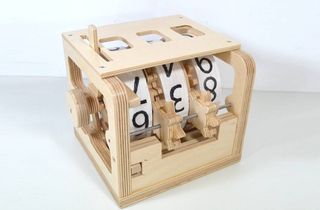 Mechanical counter
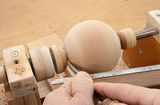 Turning a ball on the lathe
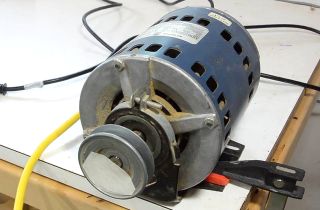 How AC induction
 Wooden combination
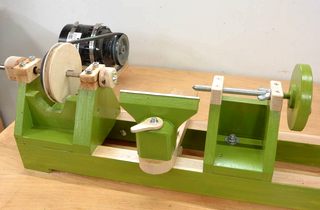 Homemade lathe
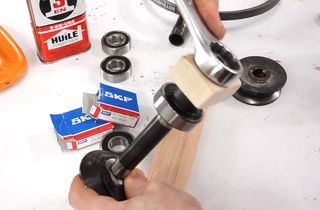 Table saw bearing replacement