Wooden jewelry display

My friend Tara saw a similar display rack to this one at a friends of a friends, and showed it to me, hinting she would love to have something similar.
It's a display rack primarily for holding earrings. Not the precious ones, more the colourful kind that women seem to have a whole lot of to go with different outfits. It also had hooks on it, which held various necklaces and rings.
The display rack she had showed me didn't look exactly like this one. But I'm not one for making an exact copy of something, so this is more my variation on the design. I decided to go for the "rounded rectangle" look for style.
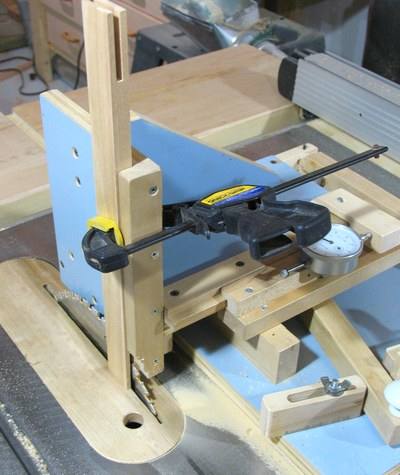 To join the corners, I used a double lap joint. My new
tenon jig is ideal for this purpose.
The thing to do is to cut out the lap joint before cutting the curves of rounded rectangle. The top and bottom horizontal pieces are made wider by the inside radius of the curvature for the corners.
The vertical part of the frame forms the outsides of the double lap joint.
That way, the slit that is cut on the
inside of the vertical piece for holding the rails naturally ends at the joint.
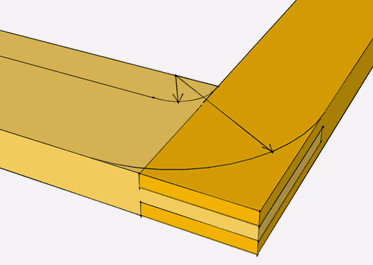
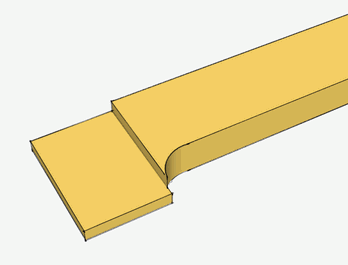
It's best to assemble the two pieces together (without glue) to mark the radii for the curve - see above left. After marking, take the joint apart and cut the inside round with a narrow bandsaw blade or a scrollsaw. You could also use a 1 1/4" forstner bit drill to cut the inside arc.
It's best to leave cutting the outside round until the rest of the frame is glued together, so that the pieces are aligned, and stay aligned while cutting.
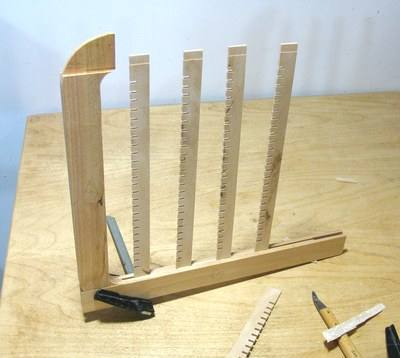 A slot, just the width of a sawblade, is cut on the inside of the vertical rails, to accept the thin horizontal
pieces with all the slots in them.
The strips are cut from one block of wood. The many slots in the strips (1 cm spacing)
are cut in the block, and then the individual strips ripped from that. The strips should
be the width of the kerf of your saw blade, so that they can fit into a slot
in the vertical part of the frame. I ended up cutting the strips just a hair
too thick, so I narrowed the ends of the strips just a little to make them fit.
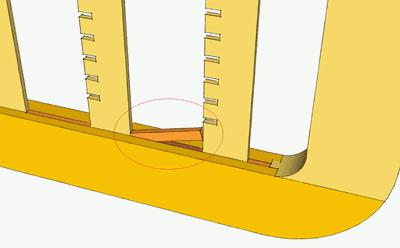 To close the rest of the slit that these strips are in, I made little blocks of wood,
which I inserted between the strips to close the gap.
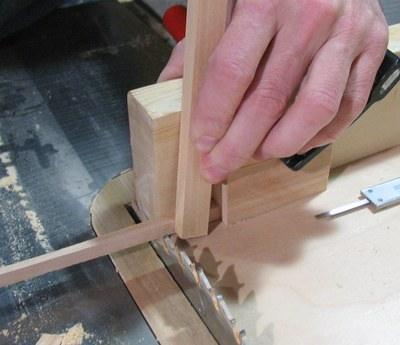 Cutting strips so small and short on the table saw is a little bit tricky.
I cut them by taking several strips stacked on each other (that's three strips
in the photo at left), and using another piece to hold it on my table saw sled
while cutting them off. I held the other end of the strips with my right hand
to keep them from flying off after the cut.
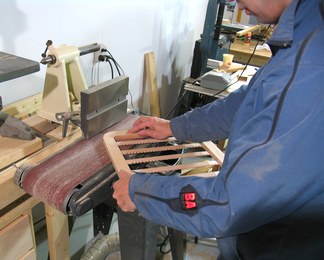
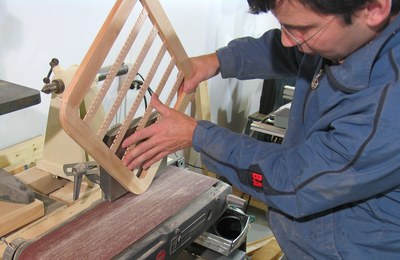
Once I had the frame assembled, I sanded the corners to take away any unevenness in the lap joints, and to make the outside rounds smooth.
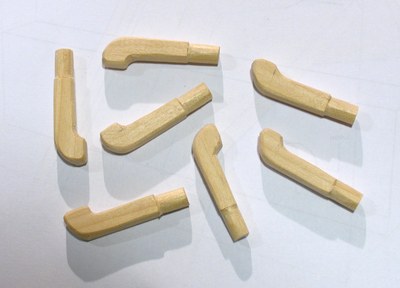
 The jeweley display rack that Tara showed me had round knobs on it to hold the necklaces
and rings. But I didn't feel like making so many little knobs on my lathe, so I
decided to go for something different, and made these hooks to hold the stuff.
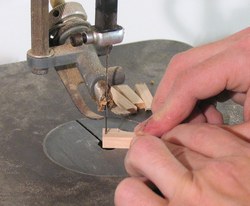
The hooks are cut from a rectangular section of wood. The hook part is cut out
with a scrollsaw (see photo at right)
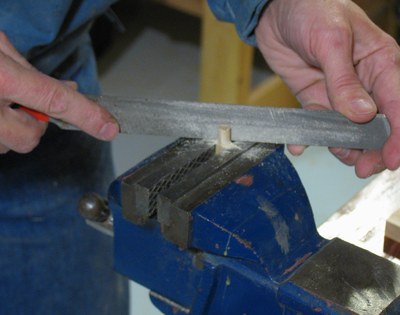 The end of the hooks is cut with a file on the vise. This goes quite fast.
I kept a piece of wood with the right size hole handy to check the size of the tenon
as I went along.
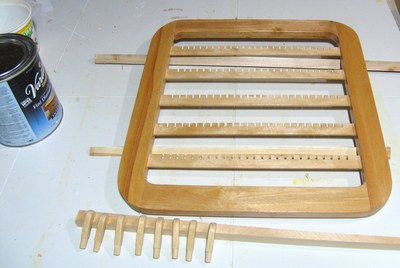 Varnishing around protrusions like these hooks is always quite a bother. Any corners tend
top scrape the varnish out of the brush, so it bunches up there, and sanding around
corners is also awkward.
So I decided to varnish the hooks separately from the frame. I didn't even drill the
holes for the hooks before I varnished the frame.
I did have to be careful not to varnish the tenon part of the hooks though. Although,
a little bit of varnish there would not have hurt that much, seeing that these hooks
don't have to hold much.
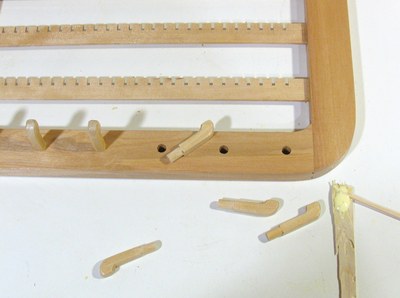 After three coats of varnish, and letting it dry, it was time to drill the holes
for the hooks, and install the hooks.
I used a small splint of wood to spread glue on the insides of the holes, and also
put some on the hooks themselves. They went in fairly quick, and without damaging any
of the varnish.
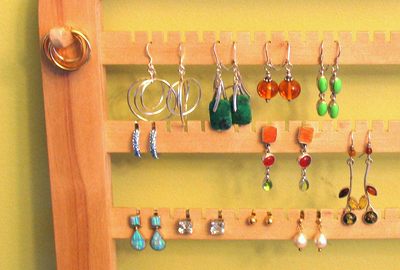 And here is how it looks with some earrings on it.
I also drew some plans for this jewelry display:
See also:
Back to my Woodworking website
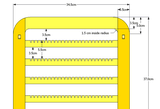 Plans for the jewelry display
 Making wooden rings
 Tiny little box
 Small keepsake box