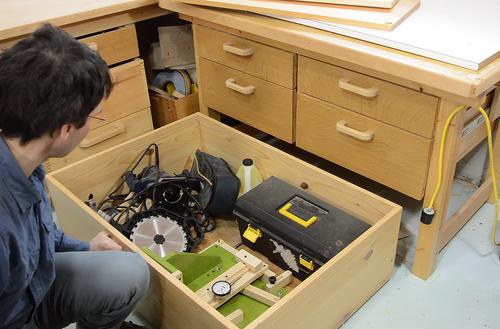
 I wanted to make a rolling drawer to go under my daybed,
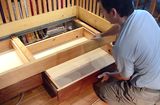
similar to this drawer under this workbench.
 I wanted to make a rolling drawer to go under my daybed,
similar to this drawer under this workbench.
I have made a few under bed drawers similar to this before, but didn't document it in as much detail.
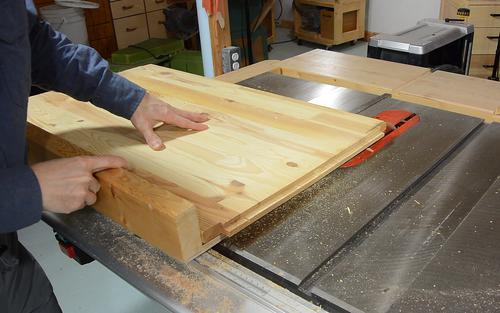 For materials, I mostly used recycled wood. I used an old Ikea shelf for the sides.
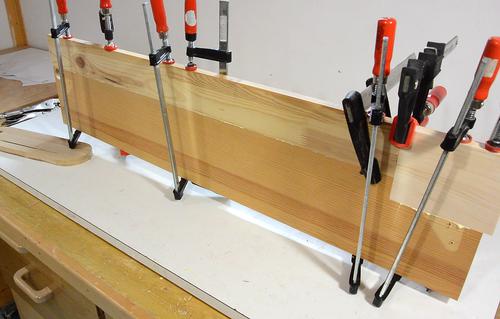 For the front and back, I used another shelf. I was able to use one piece for the front,
and for the back, I glued it up with the rest of the Ikea shelf, plus a short piece of scrap.
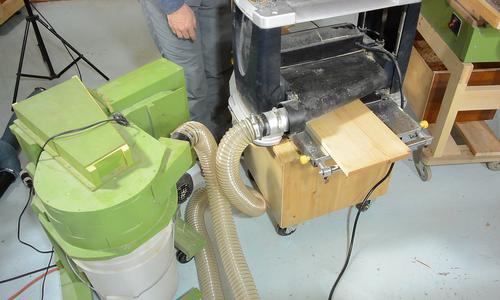 I planed everything down slightly to remove any old finish and get it to a consistent thickness
of 18 mm. As usual, I'm using my small dust collector
with the planer.
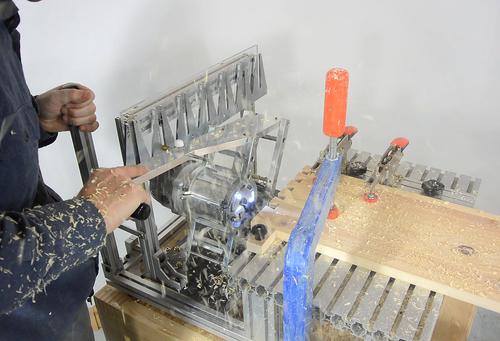 I usually use box joints for this sort of thing using my
screw advance box joint jig, but Kuldeep sent me a
dovetail template to go with the
metal pantorouter, so I wanted to try that
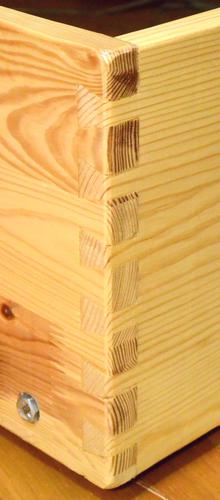
out for an actual project. This template is for 14-degree through-dovetails, with 32 mm
dovetail spacing (or about 1 133/512 inches)
I clamped the stock down in the middle with one of my long reach clamps and added a small side-stop to keep the stock from slipping to the side.
The tails are cut with the dovetail bit moving straight up and down, using the vertical slots in the template.
The soft wood was much easier to route than when I tried that same dovetail bit on hard maple!
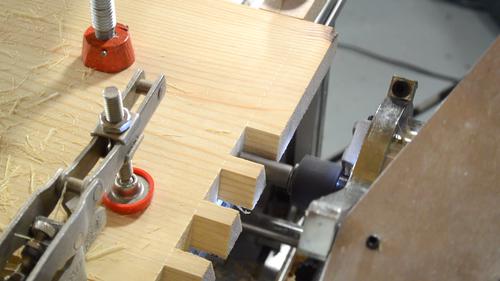
The pins are cut with a straight bit while running the follower along the sides
of the 'V's in the template. This makes for pins with slanted edges.
A straight bit, in this orientation, is cutting mostly side
grain, so these cuts are quite easy.
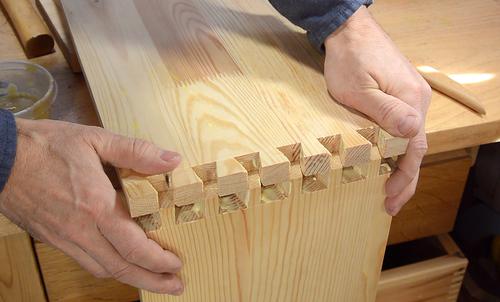
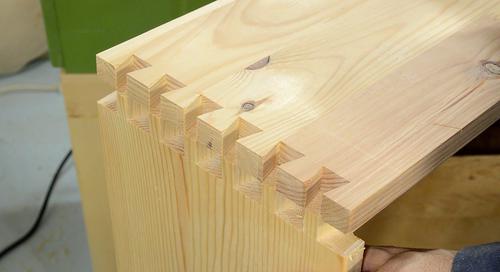 Checking the fit. I didn't cut a test piece for these joints because I still had the template
lined up correctly from a previous test dovetail that I cut, so I knew it would fit.
Interestingly, the wood for sides of the box was stored in my basement, but the front and back were stored in my garage. I put the project aside for two days after cutting the joints, and they already didn't quite match after two days, because the wood from the garage acclimatized to the drier indoor air.
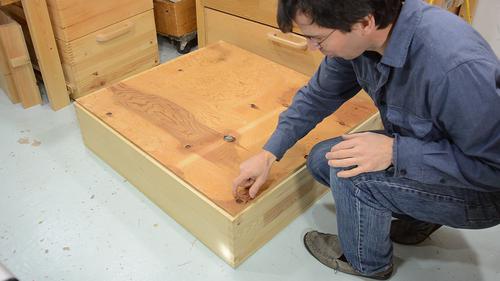 I used some plywood I found in the garbage for the bottom. This needs to be rabbeted in,
but before I do that, I need to figure out where the wheels go.
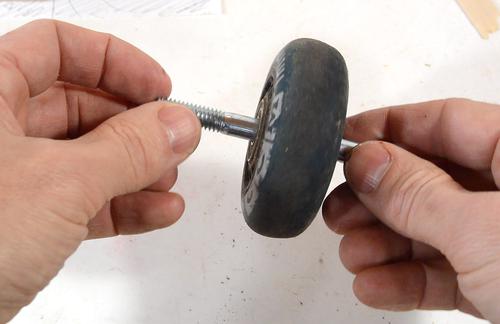 I'm using wheels from some discarded inline roller skates. The bearings in these
have an 8mm inner diameter, which fits nicely on a 5/16" (7.94mm) bolt. It does require
removing the plastic sleeves or hub these wheels usually have in them though.
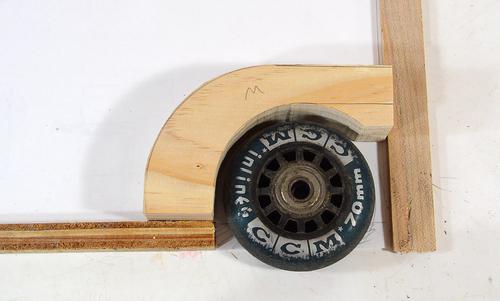
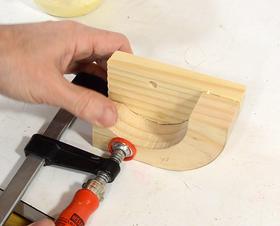 The wheels go in the inside corners of the drawers. If the wheels were on the outside,
I'd need clearance for them not to get caught on the bed posts. But with
the wheels inside, the drawer can be that much bigger.
A wooden "wheel well" keeps the drawer contents from the wheels and supports one end of the bolt that forms the axle.
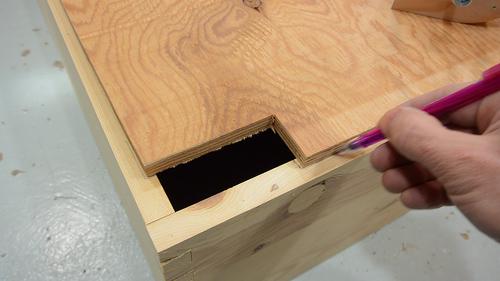 With the wheel wells made, and holes cut in the bottom, I know how far the rabbets for
the bottom need to extend.
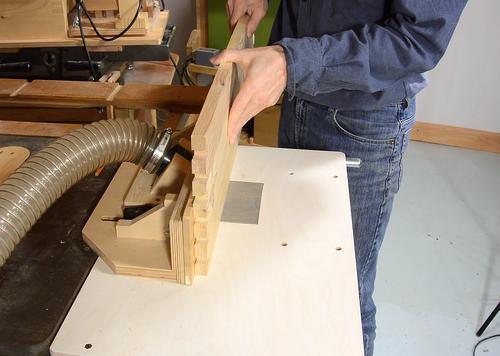 I cut the rabbets using a 3/4" router bit on my router table.
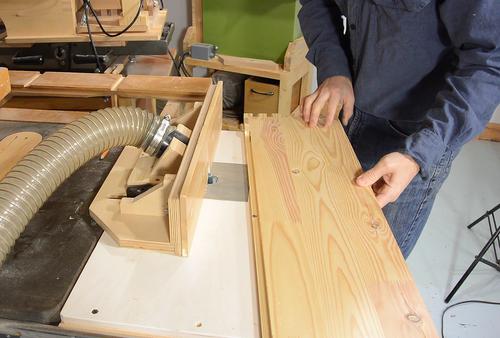 That way, I could start and stop the rabbet part-way along
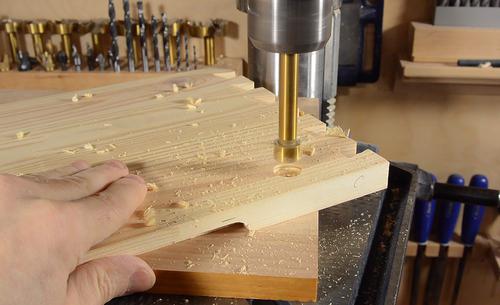
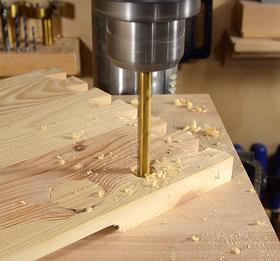 Before gluing the box together, I also drill the holes for the axle bolt
to go through the outside. I start with a 3/4" shallow hole, with a 5/16" through-hole
in the middle of that. That way, the bolt head won't stick out the side.
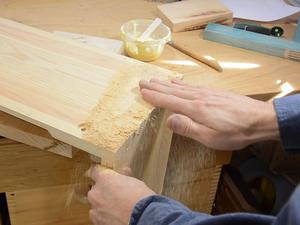 Finally, gluing the box together.
I wipe off excess glue with sawdust. This has the side-benefit of filling any gaps and chipout with glue soaked sawdust, rendering gaps nearly invisible.
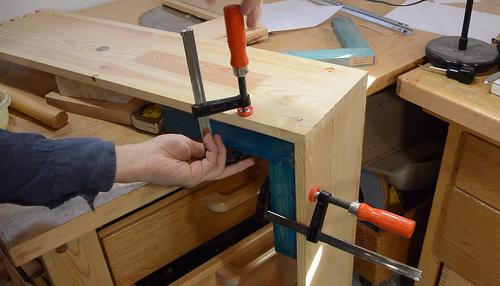 I clamp a clamping square to the corner to make sure it
stays square as I do the other corners.
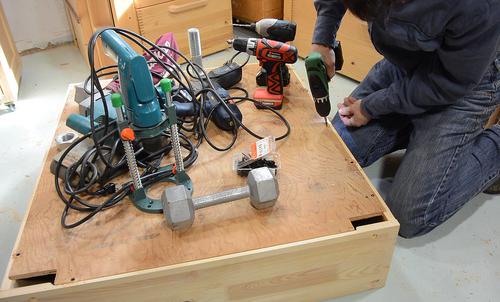
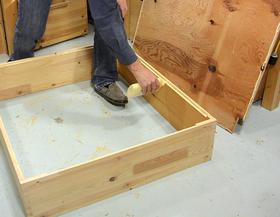 Then gluing on the bottom. For a change, I'm using a glue bottle instead of
a wooden splint and open glue container. The glue bottle works better for
this job.
I weighed the bottom down with weights and power tools to make sure it was making contact all around, then screwed the lid down for good measure.
If I didn't have my long reach C clamps, I would have glued them on before gluing on the bottom, but by gluing them on last, I can make sure they make a good glue joint with the bottom as well.
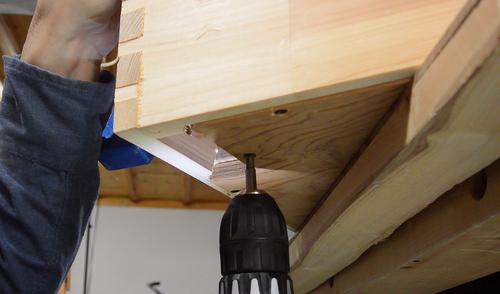 I also screw each wheel well to the bottom, just to make sure that under heavy load
the wheel pushing up on the axle bolt won't pop it loose.
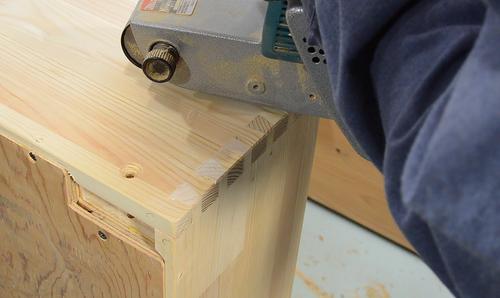 Finally, flushing out the dovetails. I deliberately left them a little bit proud
so I could work them flush later. I rough cut the flat with a hand plane,
then finished up with the belt sander.
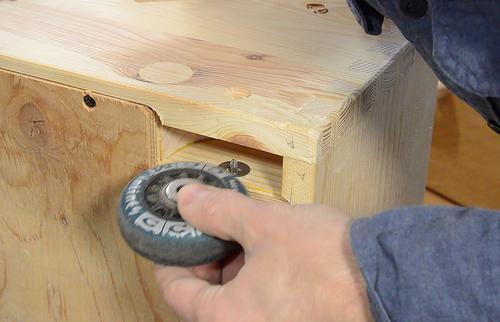
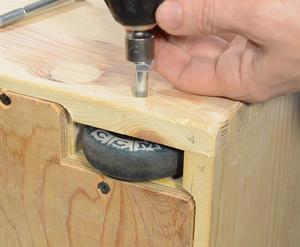 The tricky part is inserting the wheel, with a washer on either side. I start
by placing one washer in the wheel well, then carefully slide the wheel in, with
a washer resting on top of it.
I stuck a screwdriver in just partway from the bottom to keep the lower washer from getting pushed aside. Once I had the wheel in there, I poked it all the way through to center the wheels and washers. Then comes the bolt from the top.
The bolt just screws directly into an undersized hole on the other side of the wheel well. I'm using a drill with a nut driver to drive it in.
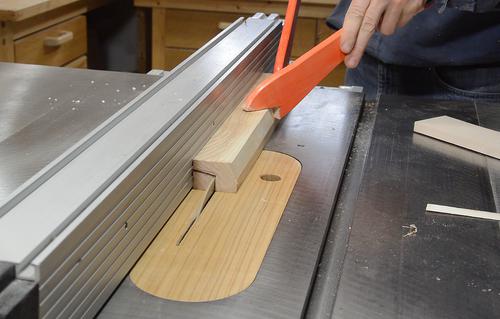
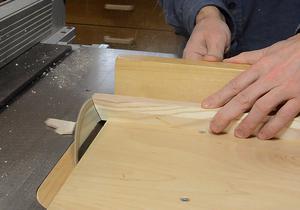 I made a handle for the drawer by ripping a profile out of some hardwood on the
table saw, with a bevel cut on either end.
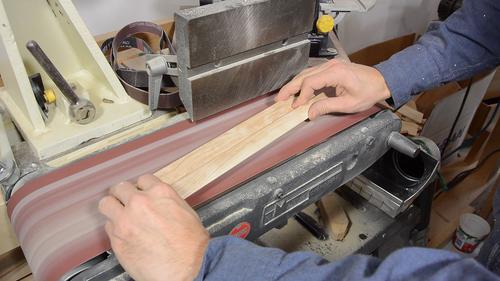 I rounded over the corners on the belt sander.
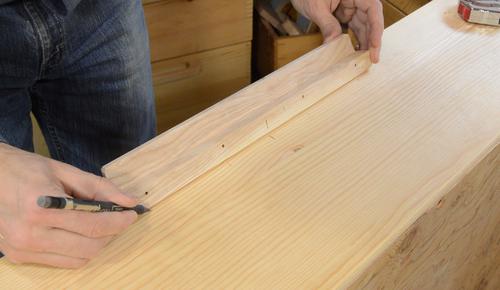
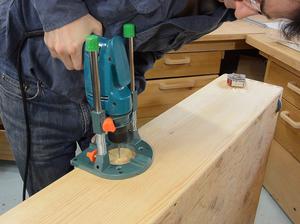 I drilled four mounting holes in the handle. I also marked the center of the
drawer and the handle. Here I line up the center marks and mark the hole positions.
I established how far from the edge the holes need to be on the drawer by scoring a line
with a marking gauge.
I used a drill guide with my hand drill to make sure the holes are square to the surface.
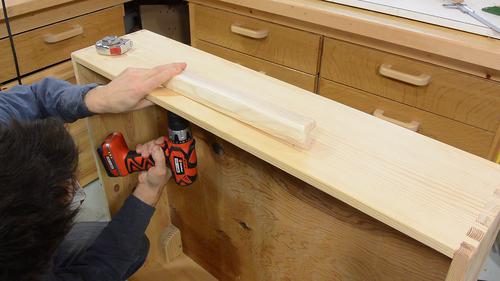 Screwing the handle on from the inside. I also glued it on, just
for good measure.
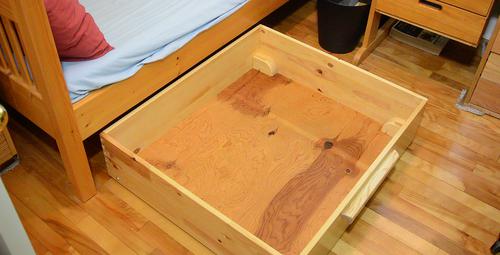
 At 80x90 cm (32x36"), it's a considerably sized drawer. It can withstand
me sitting in it...
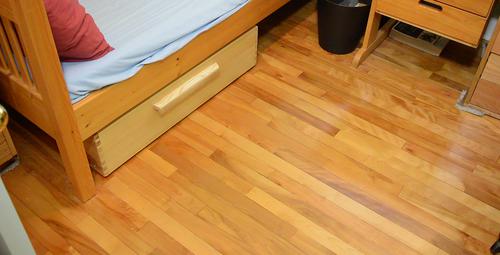 ...yet it rolls very easily, disappearing under the bed with just
a light push. This isn't always a good thing. If the floor slopes
ever so slightly away from the bed, the drawer will come rolling out
all by itself.
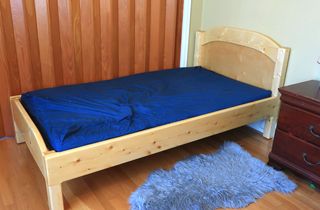 Building a bed from 2x4 lumber
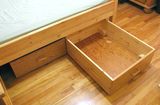 a previous Under bed storage drawer build
 Under bed drawers