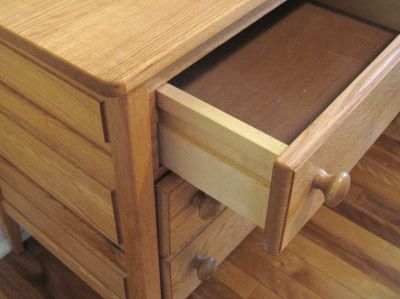
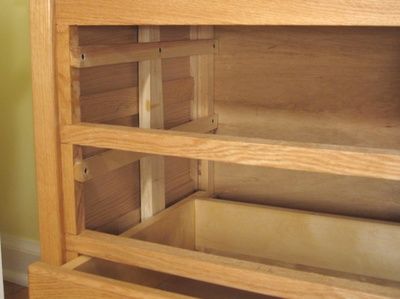
This article summarizes different drawer designs I have, and my experiences with these types of drawers. I'm hoping this will help you decide which styles of drawers to make when you do make some.
My dad often makes drawers like that on furniture he builds.


I have personally never used this approach though - I don't have my own source of hardwood, and its too expensive to buy just to make drawers.
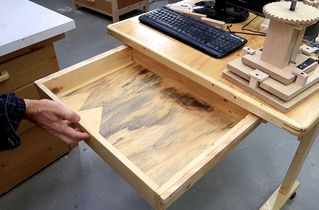
I used this approach for a drawer in a TV table. With the drawer only filling part
of the space underneath the table, the channel just spanned from the front
to the back for the drawers to slide in.
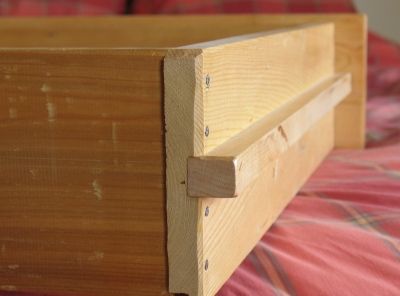
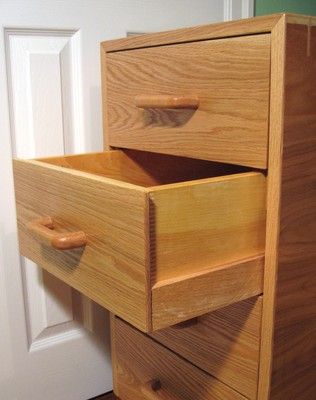
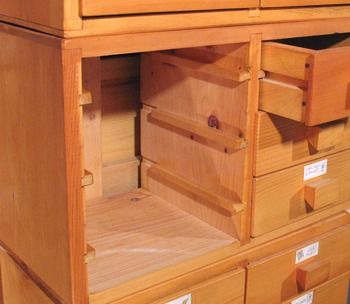
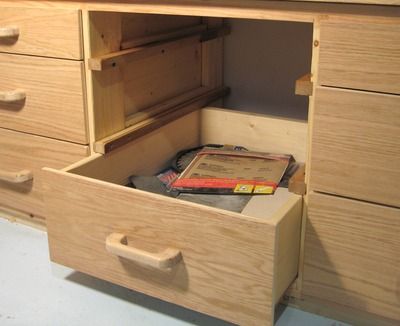
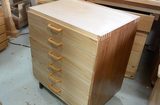
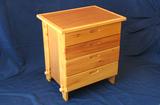
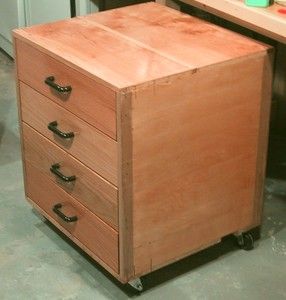 I also used this approach in a drawer chest, shown at left. The drawers go right to the edge of the
cabinet, so it was more expedient and space efficient to just attach pieces of hardwood
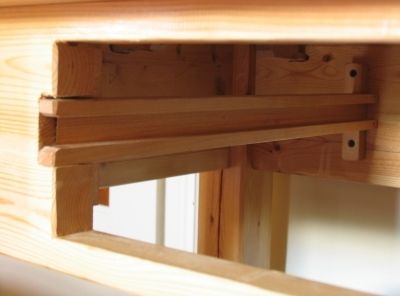
to the inside sides of the cabinet. I just used pieces of scrap hardwood I had lying around,
which is why the pieces of wood have odd shapes to them
Each drawer has a bottom guide, and a top guide. The top guide is there to keep the back of the drawer from tipping out if its pulled out more than half way and let go.
A refinement was to make the top rail a little bit shorter on the front. That way, if the drawer is nearly out, rather than have a crazy amount of leverage on the rails and potentially damage things, it will simply fall out. It also makes the drawer easier to insert back in the cabinet if it was taken out, as the back of it just needs to be placed on the bottom rails, and pushed in, rather than aligning it precisely first.
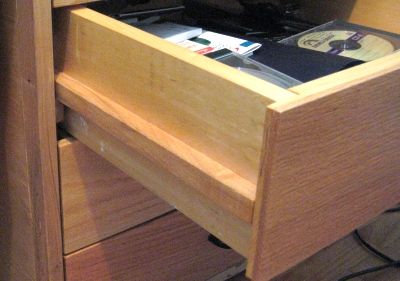
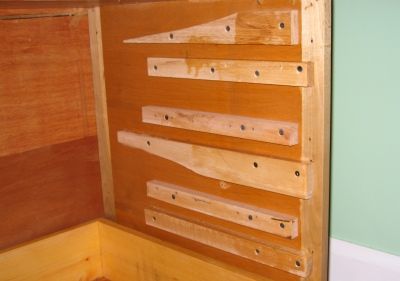
I originally made this drawer chest to slide under a workbench in the basement. But as a nice touch, I spent $20 for quarter inch thick pieces of oak that I glued to the front of the drawer. The whole thing ended up looking so nice, it's now under a desk in my new place.
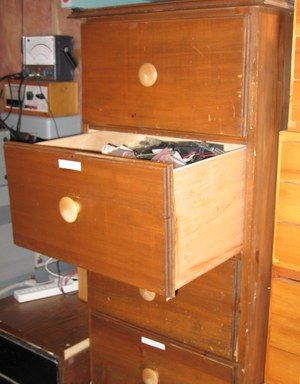
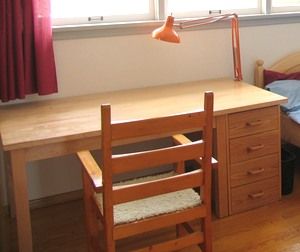 A variation of this is to put the slides towards the bottom. I did this with another box
of drawers, which for a while, served as desk drawers, as seen at left.
For these drawers, I made the slides higher, but narrower. With the extra width of the hardwood slides, gluing them just to the sides of the drawer was quite sufficient.
The slides actually are the bottommost part of the drawer, and to some extent help hold the bottom in place. Being fairly narrow, they also make this drawer case more space efficient. They do look slightly odd out of the cabinet though, but overall, it's a very practical combination.
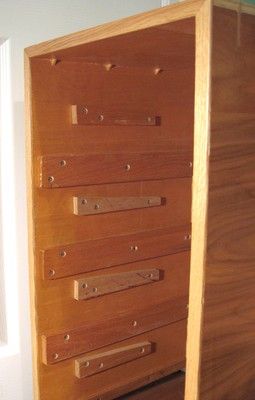
I used odd shaped pieces of scrap wood for the guide rails inside the cabinet, hence the odd shapes in the image above right.
I had built that drawer cabinet for the basement originally. The plywood case was reclaimed plywood. On a whim, I put bits of oak on the drawer fronts, and the whole thing ended up looking too good for the basement. I combined it with a table to form a 'desk' - see shot earlier. The table part also makes a decent dining table if the tabletop is not mounted off centre. Its like a furniture wardrobe remix!
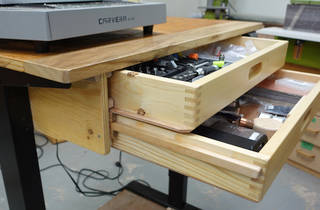
I used this approach for my disassemble-able desk drawers. With the drawers sliding on maple rails, I left the whole drawer section open, with the rails that the drawers slide together actually holding the drawer frame together. With the whole drawer frame being disassemble-able, this worked out well, both mechanically and visually.
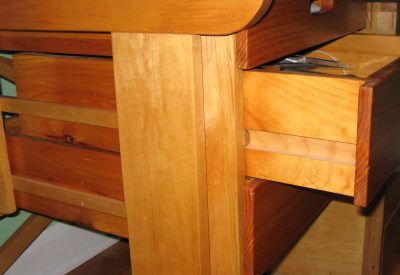
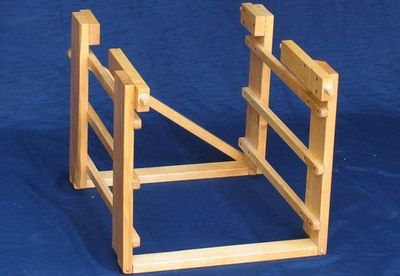
I again used the softwood drawer slot on a hardwood slide method for my disassemble-able dressers. Once again, not needing much of a frame around the drawers worked to my advantage, as I was able to keep the rest of the dresser to a bare minimum.
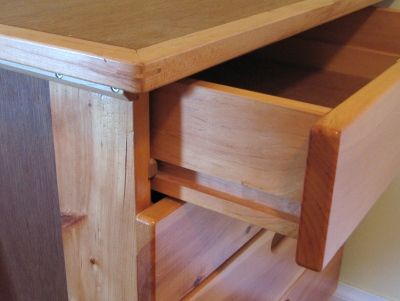
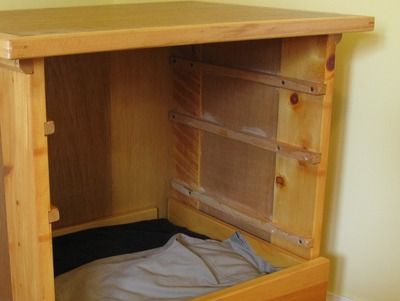
Other than not being as durable, and not sliding as well, the risky part of this design is that it might result in the drawer getting split apart if its mostly pulled out, and then pushed down on hard. With the rail in the end of the slot, it will put a lot of force on the drawer sides, forcing the top and bottom apart. The middle is weakened already because it has the slot cut in it. I always make sure the sides are very securely glued to the back, so that the back, which has no slot in it, would have to be split apart as well for this to happen.
It's probably a paranoid fear though, because I have never had any of my drawers fail that way, but then again, I don't abuse them.
The drawers splitting apart is not much of a concern for smaller drawers though.
Back when I was in high school, I made a lot of wooden drawer boxes to sort all of my electronic
and mechanical parts into. The simplicity of this design worked out well, and I never worried
about the drawers getting damaged.
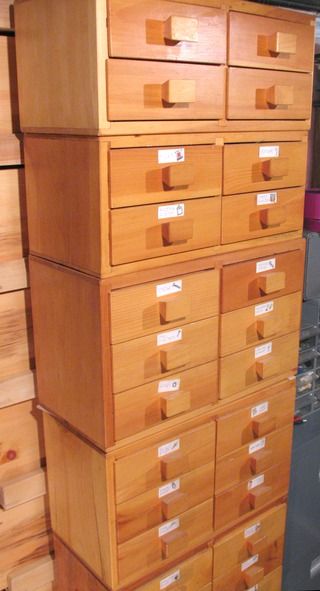
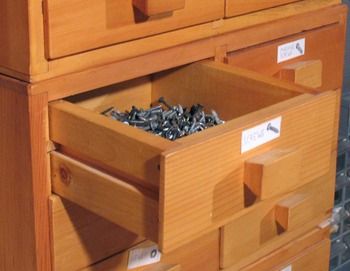
The rails that the drawers slide on are only glued to the cases for the front half. That way,
the boards of the case, which change in width with humidity, will exert less force on them.
I don't think I'd take the time to make so many drawers again (the shots above show just some of them), but when I was still in high school, I had little money and lots of time. And the wooden drawers do hold up to time better than plastic ones would.
For this reason, I have never built anything where I had softwood glide on softwood. I do have one example of such a piece of furniture in my basement though. A boarder left it behind many years ago. Its a fairly space efficient storage unit though, which is why I even took it with me when I moved to my new place.
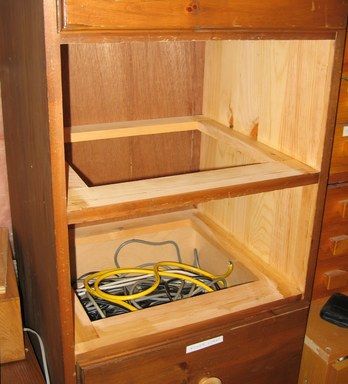
The drawer sides are made of plywood, so partially, the drawers slide on the end grain to some extent, which would cause additional wear to the cabinet if they were used frequently.
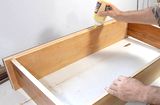
I was able to make the drawers slide more easily though by putting some fairly slippery floor varnish on the cabinet where the drawers slide on, and on the bottom of the drawers. Varnish on the rails doesn't always help make them slide better - it very much depends on what kind of varnish you use.
This approach is useful when the piece of furniture uses a face frame, as its makes it easy to add the single centre rail that the drawer slides on. It also helps reinforce the drawer bottom, so thinner material can be used for that.
It does unfortunately use up a lot of vertical space, as there needs to be a piece of wood to go between the drawers, and the drawers need to have room on the bottom for the rail. The pictures are from a piece of furniture made by my dad. Because I always want to optimize the amount of space inside the drawers, I have never used this technique myself.
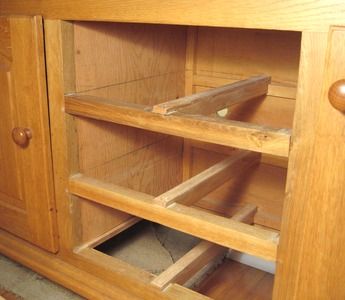
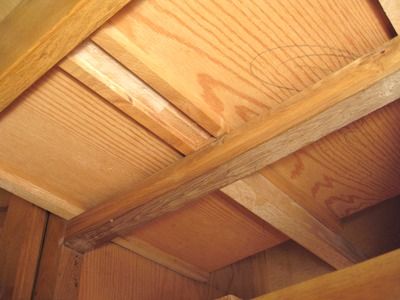
 The advantage of this approach is that you don't need any extra space on the side for
the guide rails. The vertical space used by the guiderails is still usabble for storage
because the drawer below can be piled higher to use that space, so long as
the drawer front is also as high. Otherwise, the contents would scrape against the
drawer front of the drawer above when the drawer is opened.
The disadvantages of this approach is that one needs to leave enough clearance above and below the drawers to allow expansion due to humidity changes, especially if one builds the drawers in the winter when the air is drier.
The other catch is that is tricky to make the drawer slide on hardwood. For these drawers, I ended up gluing a strip of hardwood to the bottom edges to make for a hardwood on hardwood slide for these drawers.
A lot of old wooden desks from the 60's and 70's use this approach. They made the
front, back and sides all out of hardwood for these, so the drawers already ended up sliding
hardwood on hardwood. The drawer bottoms would are mounted in a rabbet in
the sides, so that the bottom-most part of the drawer is actually the sides.
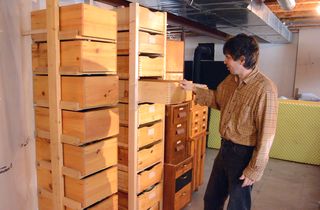
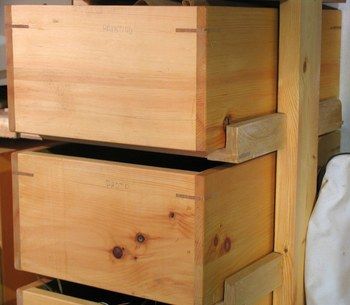 I didn't worry too much about how well these drawers on this
storage unit would slide though. They are
drawers in a way, but in another way, just boxes on a rack. I thought I'd include it
because I think it's a neat variation on the storage drawer idea.
Oil
Putting any sort of oil on the slides makes them slide superbly. Unfortunately, this is not always
a good idea, especially if the drawer doesn't have a slot or rails on the side. Just imagine
putting your sock drawer down on the bed!
The other reason not to use oil though is that oil eventually becomes sticky, as the thinner
components of the oil will very slowly evaporate - even at room temperature. So unless you have
some wooden slide that is part of some sort of wooden machine
that you expect to re-lubricate, avoid oil.
Wax
A less effective, but much cleaner method is to use wax. Just rubbing a candle onto the rails makes
a big difference. For added effectiveness, heat the parts up a little with a heat gun
before application. The effect is rather long lasting, but even if it does wear off eventually,
at least it never gets sticky like oil does.
Varnish
Some types of varnish can help a drawer slide more freely, but not all varnishes. So experiment first.
I have had good results with this varnish, but your results
may vary. I suspect for heavy drawers, it wears away too quickly, but it seems to work
very well for lighter drawers.
If you do use varnish, give the varnish an extra day to harden even after it is dry to the touch,
so that you don't wear it off right away. Youy can also add wax and/or a bit of oil to help it glide.
 Gliding button
Another clever thing I see on commercial wooden drawers from the 60's and 70's is some sort of
metal or plastic button on the corner of the front that the drawer slides on. But that sort of button
needs to be totally smooth for it to be beneficial, and I haven't found a good source of a
button like that. I don't think plastic covered thumbtacks would be nearly durable enough,
and metal ones would be too rough. So I haven't experimented with this method, though they work well on some
old furniture I have.
UHMW tape
UHMW tape, also known as "Ultra High Molecular Weight tape is a relatively new solution to the sliding
problem. Its a relatively thick and tough sticky tape, meant to be applied to surfaces that
need to slide.
For drawers that run really rough, such as soft wood on soft wood, it can provide quick and significant improvement in how drawers slide. But I found that it doesn't glide as easily as a smooth hardwood on hardwood that's been waxed. Also, it doesn't necessarily last very long, especially if applied to a surface that isn't completely flat. And if it comes off, the sticky adhesive residue is a problem.
 Wooden drawer slides: So many options (video, 2025)
 Tool stand drawers (2015)
 Drawer for a table, making wooden slides slide well (video, 2022)
 Making drawers for a
 Drawers for the daybed (2015)
 Under bed
 Tall rack of storage boxes for the basement (2018)
 Box joined drawers (2009)
 Making drawer handles (2009)
 Making drawer pulls (2019)
 Refacing drawers (2008)
 Knock down dresser (1991)
 Workbench drawers (2008)
 Drawers for a storage cabinet (2011)
 Drawer front repair (2012)
 Adding drawers under a table (2020)
 Six standing desk drawers (2023)