Building a chest of drawers
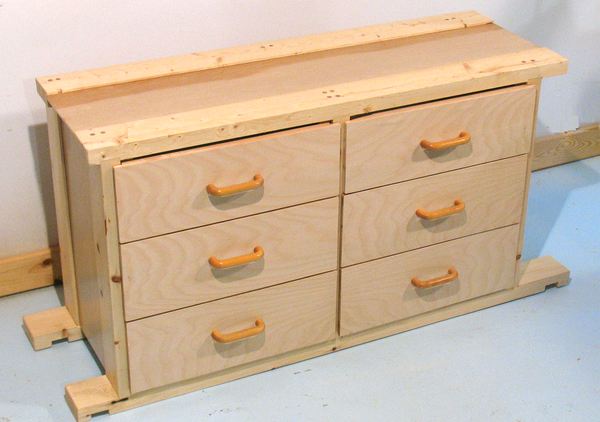
This article is about building a chest of drawers that I made to fit under my lathe stand.
I had intended to put drawers into this lathe stand all along, but decided to make the drawers a separate project, mainly to break the project into smaller pieces.
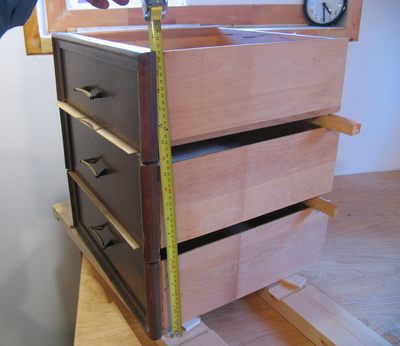 Much as I had done with a dresser I built,
I decided to reuse some old drawers as raw materials. I refaced
them to make them look like new.
I used my usual approach of not drawing any plans when I built this chest of drawers. To figure out how large a cabinet I'd need, I just stacked the drawers on top of each other with spacers in between. I then took measurements off the stack for where the drawer slides and frame needed to go.
This approach does mean spending a bit more time in the shop figuring things out, but drawing plans can be very time consuming, so it's a time saving overall.
Shown at left is measuring where the dados need to go into the verticals of the dresser frame. I had already cut the horizontal pieces and am measuring straight into the dado at the bottom, so I don't even have to add the depth of the dado to my vertical measurements.
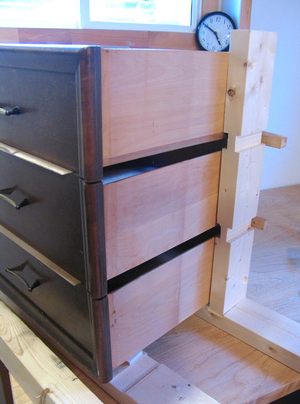 This photo shows the dados cut, and checking their position against the stack of drawers.
The dados receive L shaped guides for the
drawers. They are aligned so that the bottom edge of the L shaped guide is
about 3 mm above the top edge of the drawer below. This guides the top of the drawers,
and keeps them from tipping out when pulled most of the way out.
I like just checking the pieces like that. There's something to be said for "measure twice, cut once". But if you can mark the pieces just off each other, without measuring at all, that's even better.
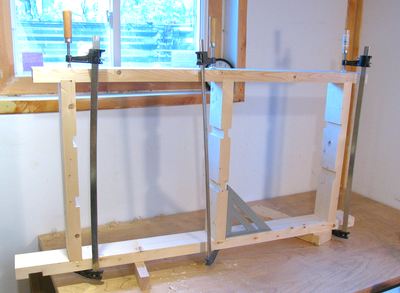 Clamping the frame together. There is a frame for the front, and one for the back.
On clamping it together, it needed a bit of shifting to the right, so I put the middle
clamp on at an angle to put it in square. Fortunately, it had no twist to it.
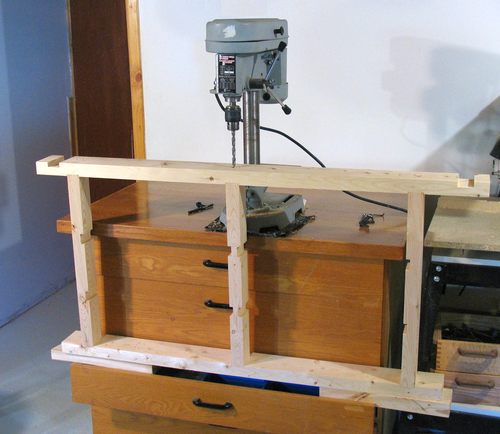 I drilled some 3/8" holes into the joints, and doweled them after I glued the frame.
The frame was too big to fit into my drill press, but by turning a small drill press to face away from me, and then rotating the top to face towards me again, I was able to drill into the large piece. I was rather proud of coming up with this trick.
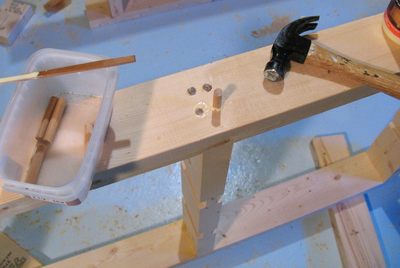 I put four 3/8" dowels into the middle T joint, and two each in the corners.
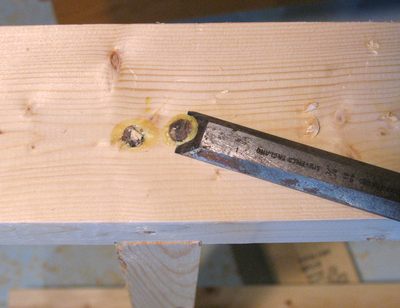 I pounded the dowels but left them sticking about 1 mm out of the surface. This made
trimming them flush with a chisel rather easy.
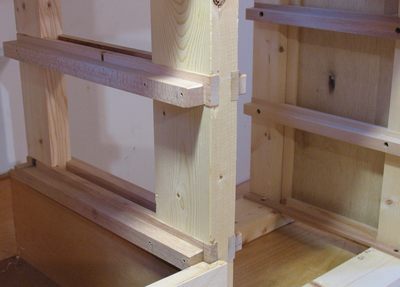 This shot shows the drawer guide rails screwed in. I had to trim them back a little
bit, because of how the rabbeted drawer fronts were shaped. This allows the drawer
to slide back far enough so that the drawer front touches the frame.
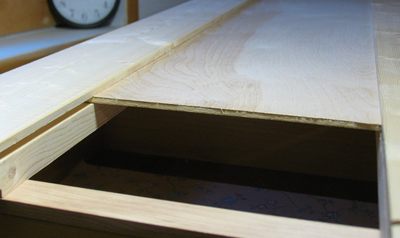 For the top of the drawer chest, I slid in a piece of veneered particle board into two
rabbets I'd cut into the frame. I used the same approach for the sides of the chest.
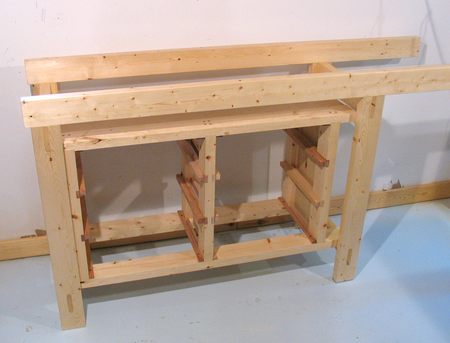 This photo shows the chest inserted into my lathe stand
It turned out the only way to get it in was through the top, so I had to take the lathe
off the stand to install it.
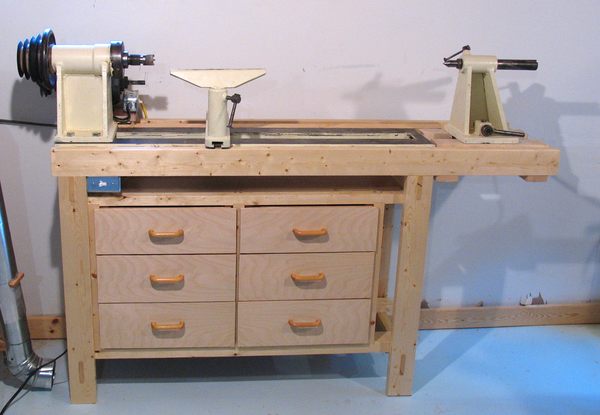 This is what it looks like with the lathe back on. It's a handy storage unit in space
that would otherwise not be very usable.
Note that these are the same drawers as in the first photos of the article, but refaced with new veneer and with new handles on them.
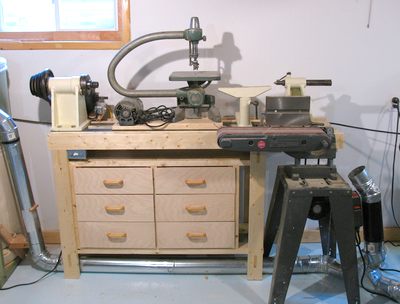 With such a nice lathe stand, it's kind of a shame I don't use my lathe very much.
This is what the lathe usually looks like. The lathe bed, being fairly wide,
is a good place to stack other tools.
See also
Back to my Woodworking website