Table saw dovetail jig: Finish pins, start tails jig
Making the tails jig
 I already prepared the base, guide bar, and stock mount for the
pins jig while I was making the dovetail jig. Those parts were
very similar, so I just made both at the same time.
I already prepared the base, guide bar, and stock mount for the
pins jig while I was making the dovetail jig. Those parts were
very similar, so I just made both at the same time.
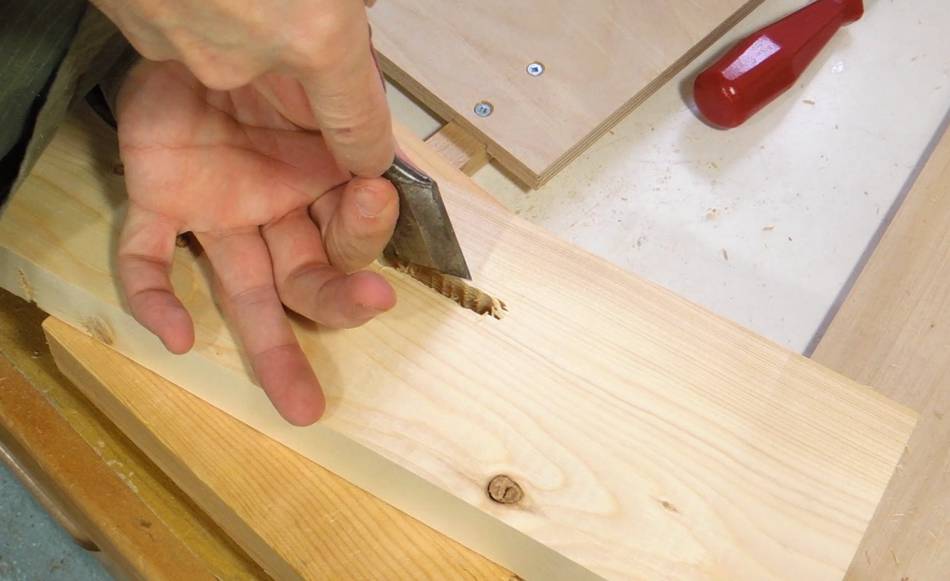
The mount for the tails jig has a slot cut into it. I cut this slot by making a series of holes just a bit larger than the screw that will go in the slot, I then cleaned that out with a chisel.
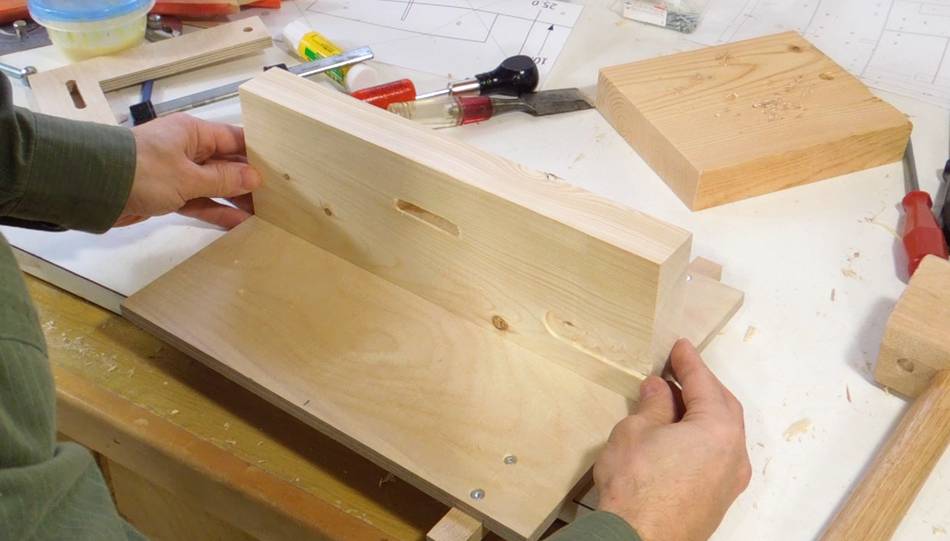 The part with the slot mounts on the plywood base...
 ... with drywall screws from below.
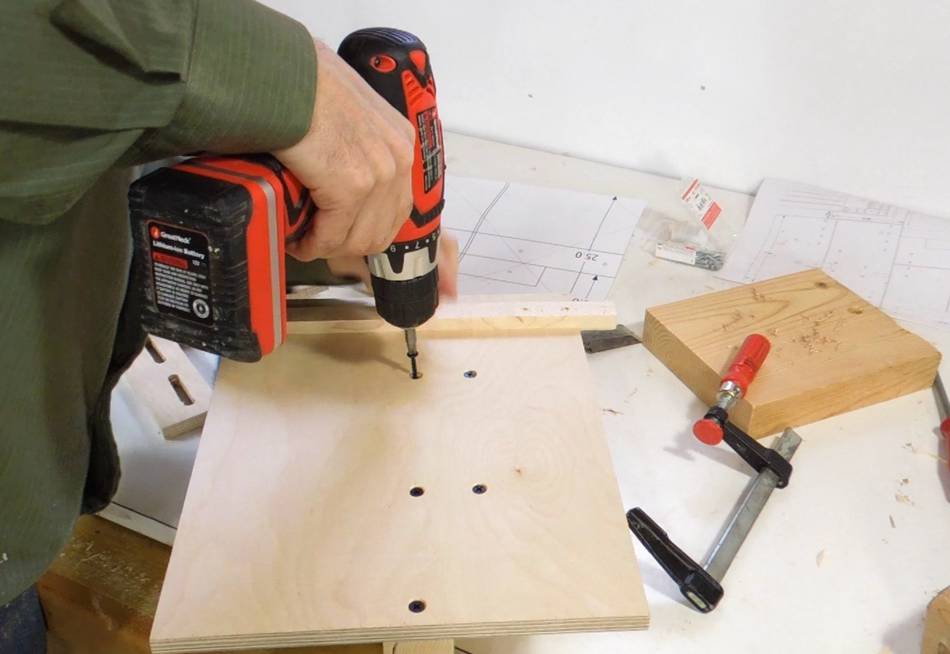
 The front of the plywood has a recess for the carriage bolt head so
that the head does not protrude. On the back, I use a plastic knob and
washer to fix the board in place.
The front of the plywood has a recess for the carriage bolt head so
that the head does not protrude. On the back, I use a plastic knob and
washer to fix the board in place.
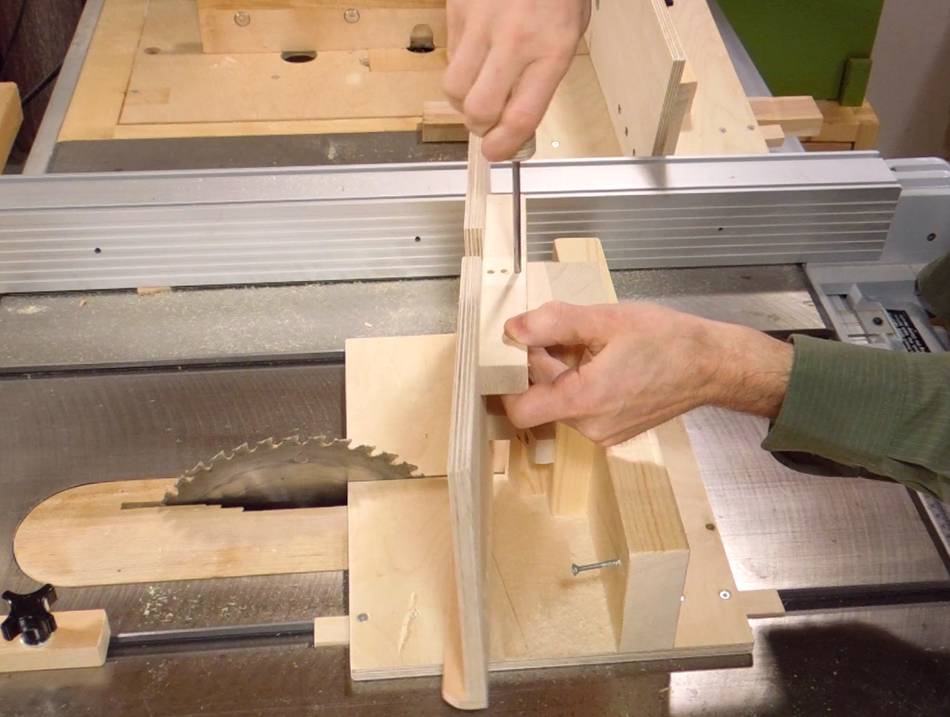
 Making the first cut into the jig, with the saw blade tilted at 10 degrees.
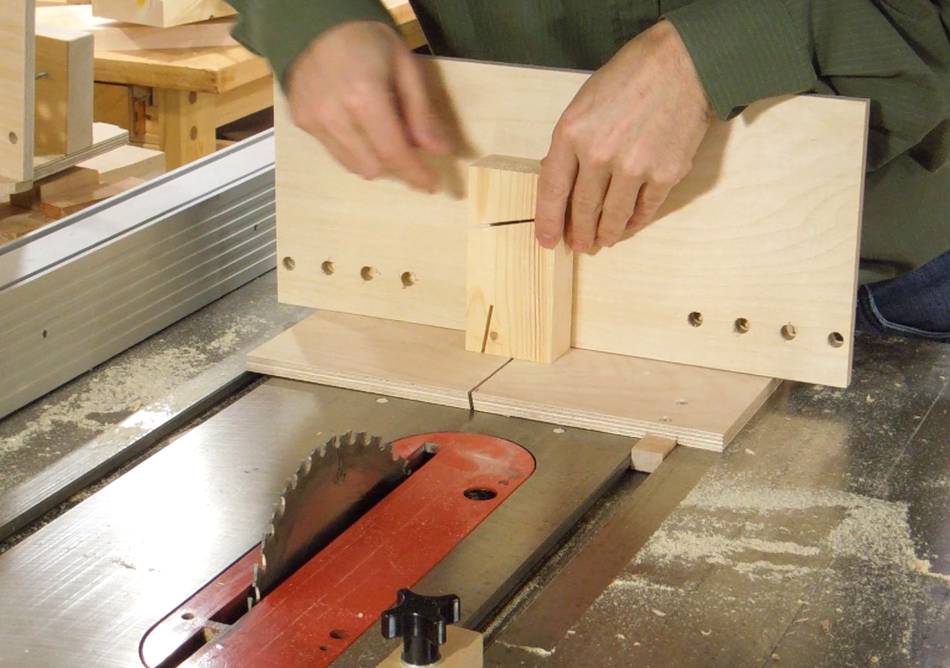 After making the first cut, I need to flip the test
piece over to make the second cut.
After making the first cut, I need to flip the test
piece over to make the second cut.
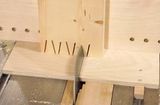
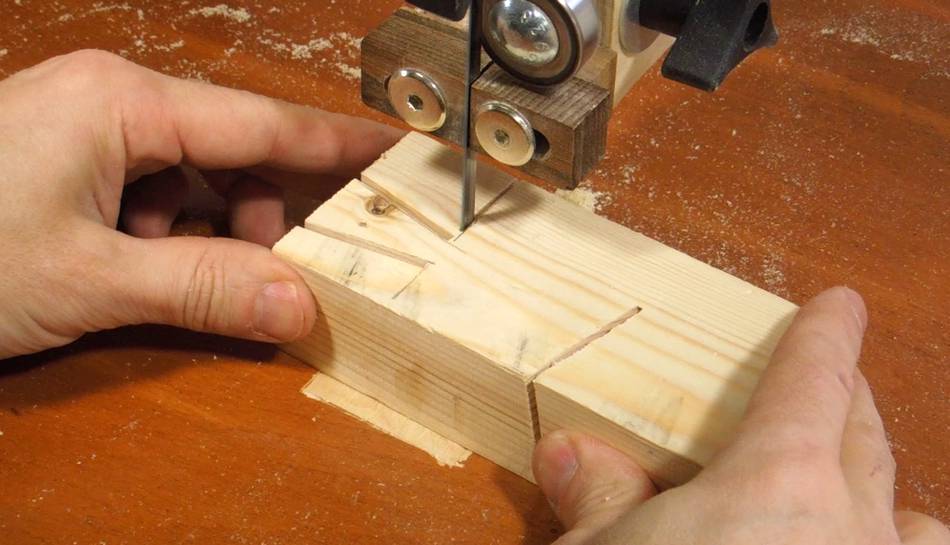 The waste still needs to be cut out with a bandsaw.
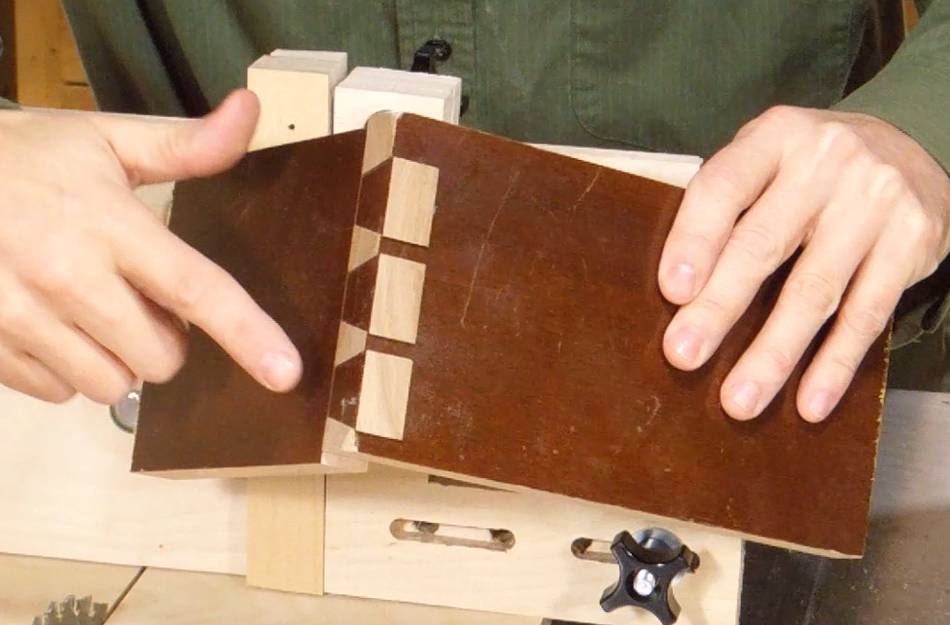
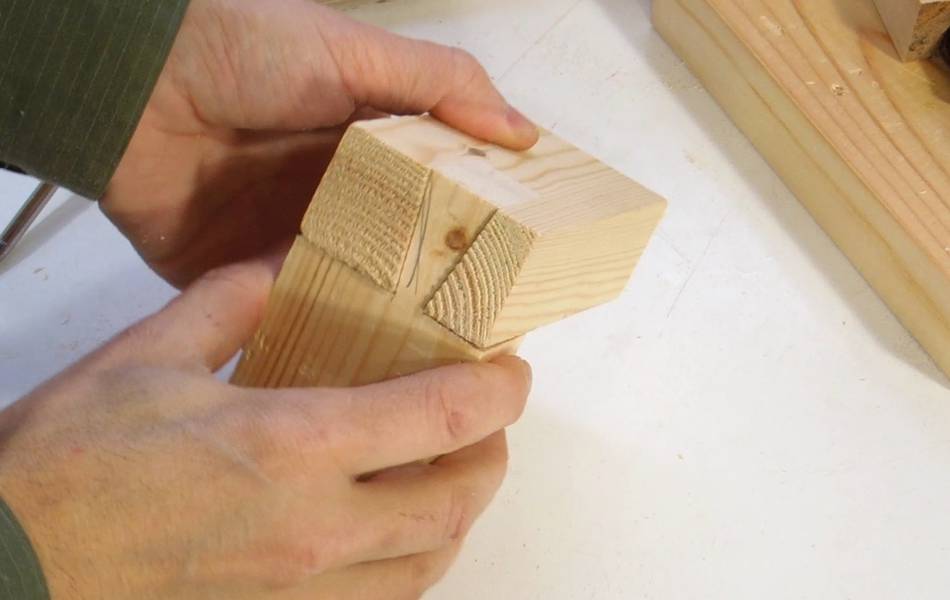 Checking my test piece against the tail-hole I cut earlier.
I should have been more careful cutting the shoulders.
This one was just a bit loose.
Checking my test piece against the tail-hole I cut earlier.
I should have been more careful cutting the shoulders.
This one was just a bit loose.
 If I'm just making a single tail for a dovetail joint, I can just
line it up by pencil mark. But if I'm making several joints
with several tails each, it makes more sense to figure out the perfect
fit and then be able to reproduce it.
If I'm just making a single tail for a dovetail joint, I can just
line it up by pencil mark. But if I'm making several joints
with several tails each, it makes more sense to figure out the perfect
fit and then be able to reproduce it.
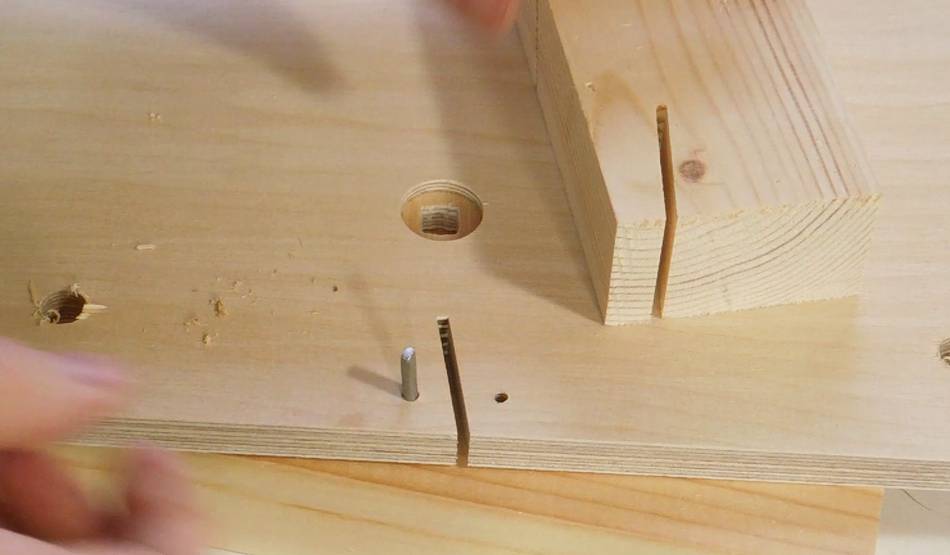
So I added an alignment pin to the tails jig. The idea is to hook the workpiece to the pin by the kerf from the other cuts, so that the other side of the pin can be cut a consistent distance from the first cuts.
But with the pin sticking out of the tails jig, that pin will get in the way when making the first set of cuts, so I made a second backer board for the tails jig (without a pin) to make the first set of cuts with. That was easier than making the pin removable, and avoids the risk of it coming loose.
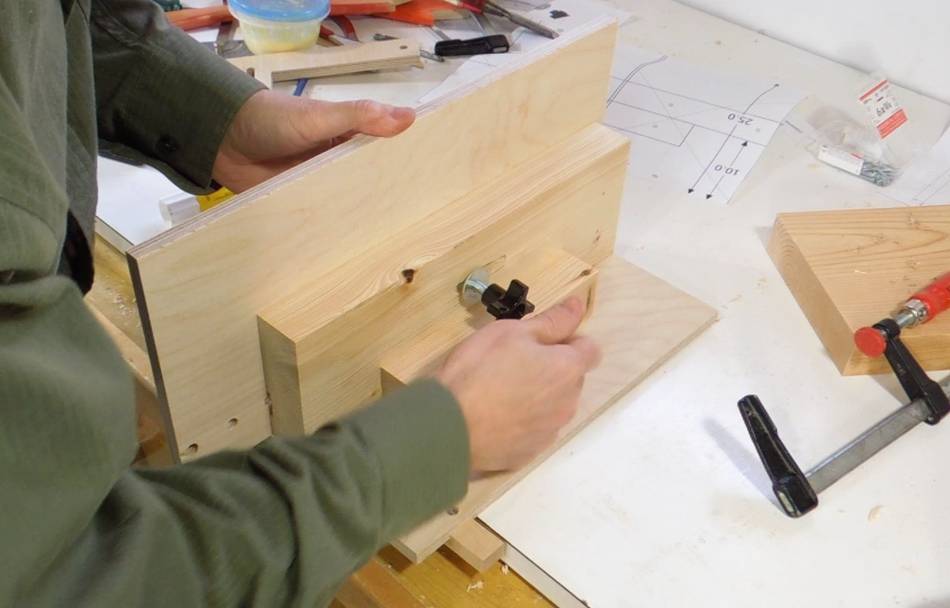
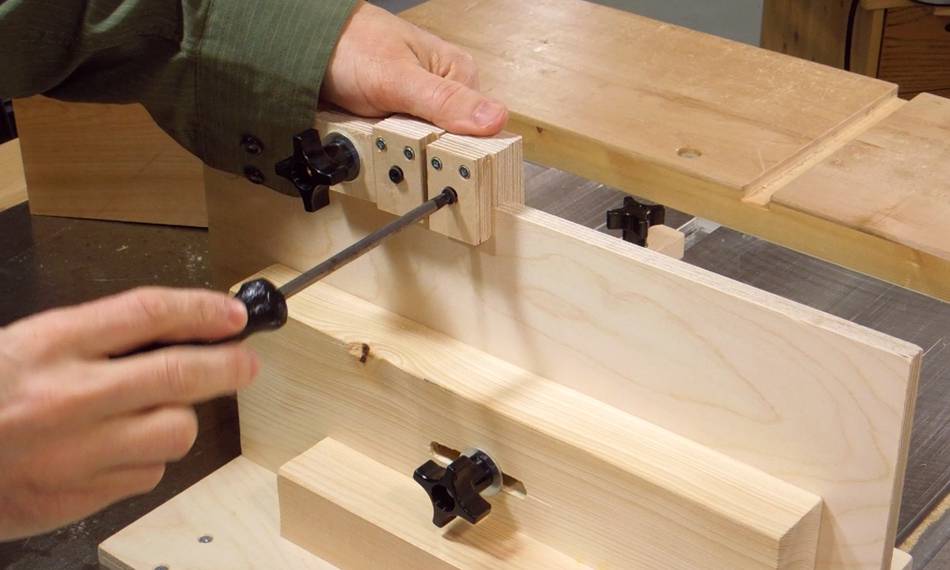
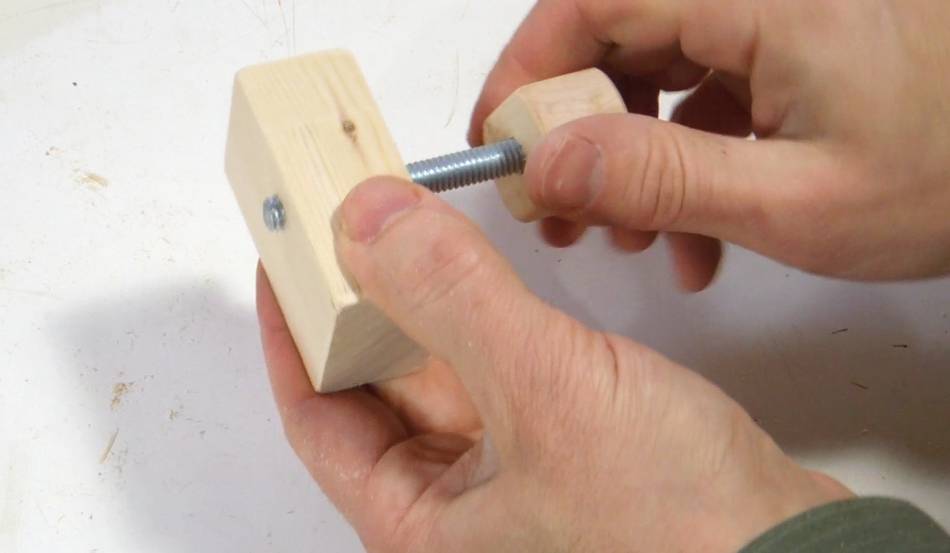 Lateral adjustment of the pin is done by moving the whole backer board
side to side. I made a wooden knob to fit around the head of a
carriage bolt.
Lateral adjustment of the pin is done by moving the whole backer board
side to side. I made a wooden knob to fit around the head of a
carriage bolt.
I drilled a slightly undersized hole and screwed the bolt straight into the wood. The thread on the bolt engages the wood enough to hold it firm, but still loose enough that I can turn it in by hand.
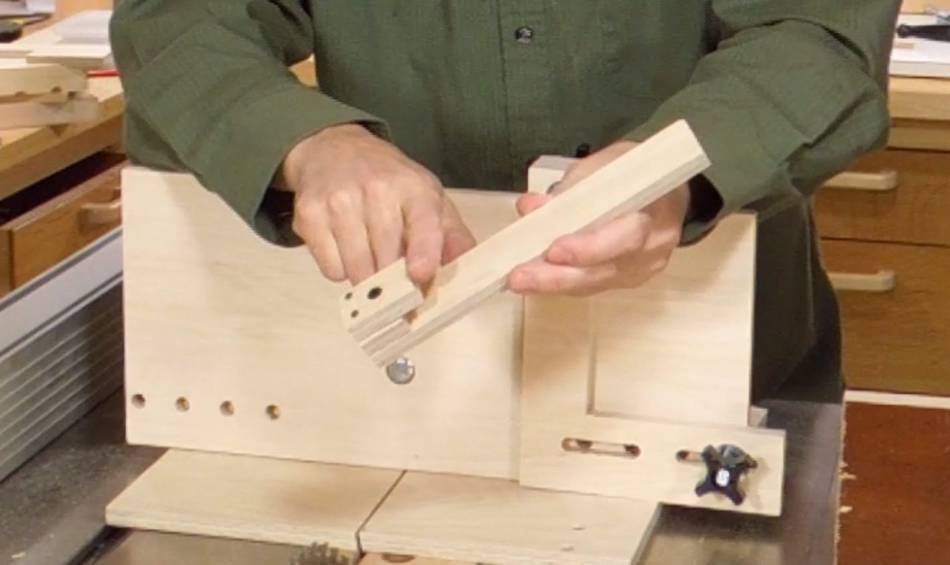
 With this fine adjustment, once I use it to set the size of the tails, I can
swap out the backing board for the one without the pin, make the
first set of cuts, then put this one back on. As long as I haven't
turned the knob, it will return to the same position.
With this fine adjustment, once I use it to set the size of the tails, I can
swap out the backing board for the one without the pin, make the
first set of cuts, then put this one back on. As long as I haven't
turned the knob, it will return to the same position.
Fence and spacers
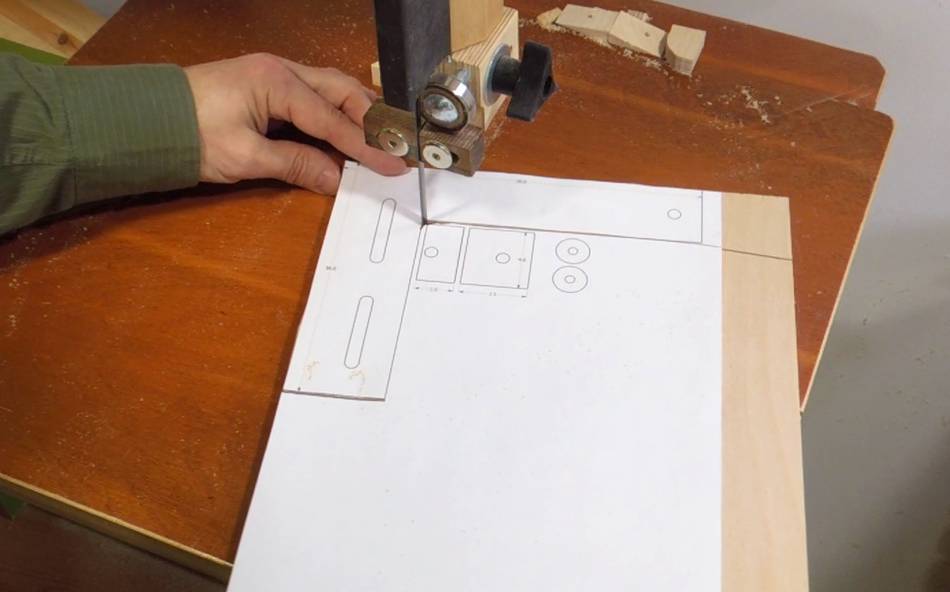 I also need to make a fence, or a stop of sorts, for the jig.
I'm using a paper template, glued to plywood. The two edges that need
to be straight and square were pre-cut on the table saw, and I'm just cutting
out the rest with the bandsaw.
I also need to make a fence, or a stop of sorts, for the jig.
I'm using a paper template, glued to plywood. The two edges that need
to be straight and square were pre-cut on the table saw, and I'm just cutting
out the rest with the bandsaw.
For the slots, I drilled a series of holes and then cleaned out in between with a chisel. A router could also be used, but I was too lazy to set it up.
 Most dovetail joints have more than one dovetail to them.
The tails and pins of the two boards need to match precisely.
Most dovetail joints have more than one dovetail to them.
The tails and pins of the two boards need to match precisely.
To help space the pins and tails, I made some spacers to reposition the workpiece by consistent intervals from the fence.
 When I experimented with my prototype dovetail jig, I found the spacers
would often fall off the jig and onto the blade. Not safe!
When I experimented with my prototype dovetail jig, I found the spacers
would often fall off the jig and onto the blade. Not safe!
So I designed these spacers to have a hook on the back, with a screw for clamping them to the fence, if desired.
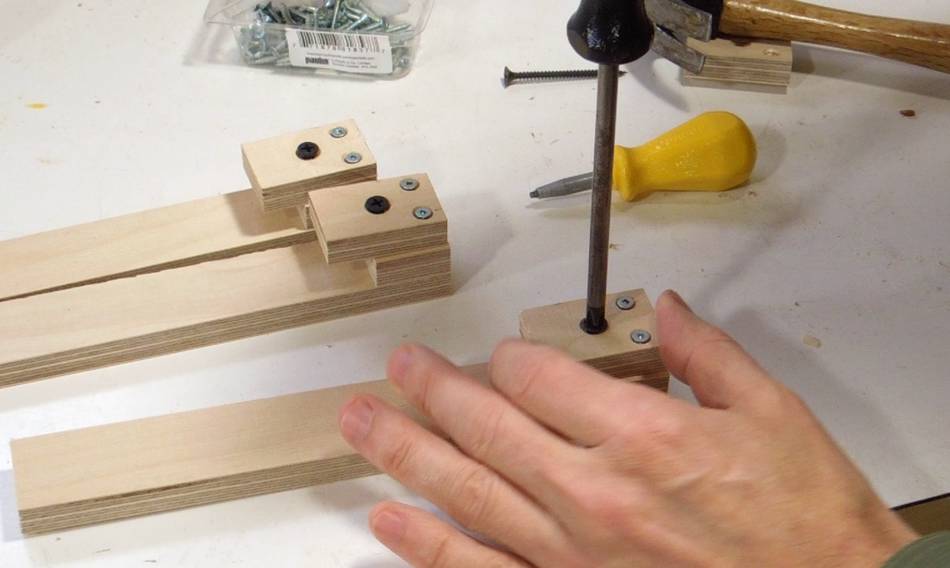 The hooks are held on by three screws. Two small screws serve
to align the hook, and a larger screw does the clamping.
The hooks are held on by three screws. Two small screws serve
to align the hook, and a larger screw does the clamping.
 In use, a screwdriver can be used to lock the spacers in place.
 I also made a sort of "stop" to prevent the jig from getting pushed past the
center of the blade.
I also made a sort of "stop" to prevent the jig from getting pushed past the
center of the blade.
This makes the jig safer to use. It also prevents me from cutting too far into the jig. As such, the blade never comes out the back of the jig, which has a further advantage of ensuring that the sawdust has to follow the saw's kerf down into the saw table.
The block is held in place with a T-nut, similar to how my featherboard is held down. A plastic knob locks the block in place.
If you don't know where to find one of these plastic knobs, you can also make one, like I did here
 The metal pin for the pivot in the tails jig can be placed in
three different positions to adjust how the jig swivels.
The further back the pin is placed from the front of the jig, the wider the
cut between pins the jig will make, for wider dovetails.
The metal pin for the pivot in the tails jig can be placed in
three different positions to adjust how the jig swivels.
The further back the pin is placed from the front of the jig, the wider the
cut between pins the jig will make, for wider dovetails.
I made a wooden knob for this pin from two layers of the 11 mm birch plywood. I pre-drilled slightly undersized holes in the plywood, slightly tapered the shaft, and pounded it into the wood.
You may wonder, how long does it take to make the jigs? Well, it took me
about eight hours to build the jigs and do the test piece.
I have the advantage of familiarity with the design,
but those eight hours also include filming every step, which included
setting up the camera on a tripod and moving the lights for 150 scenes
in the videos (without counting re-takes).
Having a set of plans, and 1:1 paper templates really speeds things up.
Next: Setting up and using the jig
See also:
 Using the table saw
 Impossible looking
 Buy plans for the jig