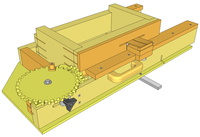
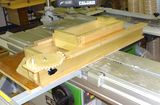
Screw advance box joint jig version 2
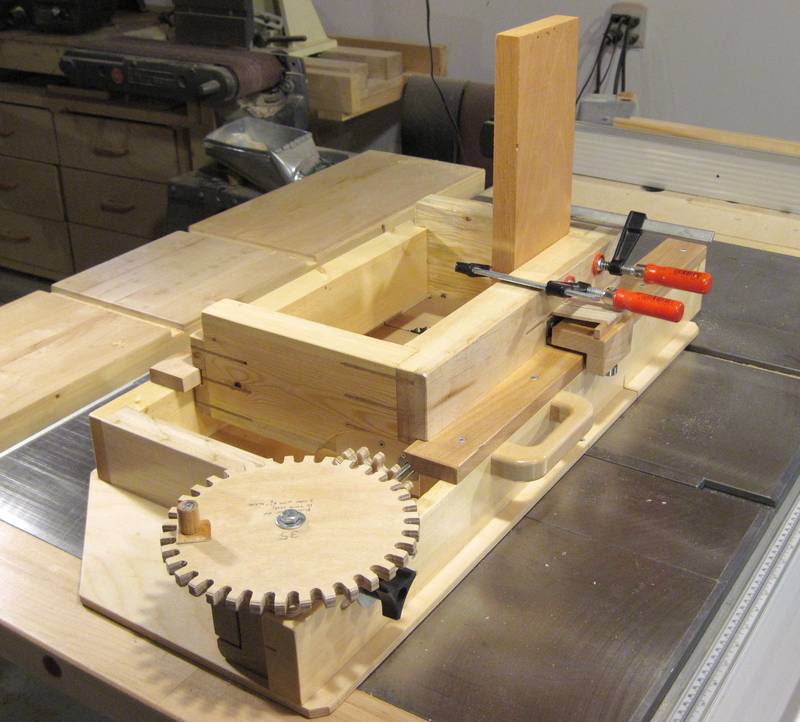 After I built my original screw advance box joint jig
I ended up using it quite a lot. But over time, I realized the jig and
plans could be improved on a bit.
After I built my original screw advance box joint jig
I ended up using it quite a lot. But over time, I realized the jig and
plans could be improved on a bit.
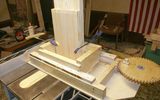
Primarily, I came up with a much better method of mounting the primary gears. With my old jig, I had to make a gear mount block for each primary gear. But over time, I ended up making quite a variety of primary gears to hit some of those odd intervals that I needed for various types of joints. So a big improvement was to come up with a mounting system that didn't require separate blocks for each primary gear.
Other improvements involved simplifying the design where I could, and tweaking dimensions to allow for deeper cuts without cutting into the jig.
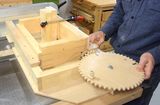
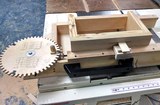
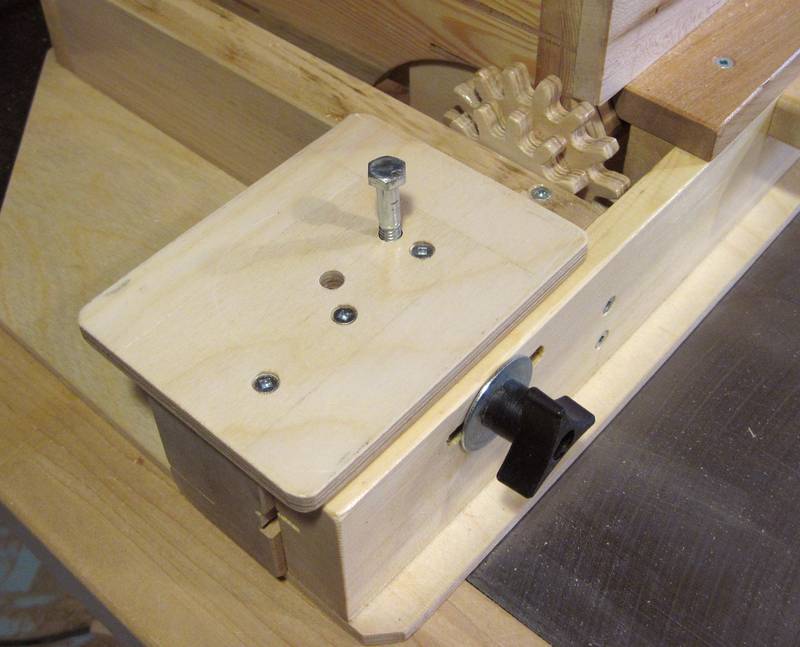 This is the improved gear mounting block. The gear mounting block has some
clever elements to it. The block can be mounted at two different heights
for meshing with the 12-tooth and 16-tooth gears. It also slides left and right
to accommodate different sizes of gears ON IT. The gears are mounted by pushing
the bolt through the gear and into one of two holes on the top.
On tightening the plastic knob the block is locked in place and also
clamps down on the bolt holding the gear, locking it in place. This makes
for faster gear changes.
This is the improved gear mounting block. The gear mounting block has some
clever elements to it. The block can be mounted at two different heights
for meshing with the 12-tooth and 16-tooth gears. It also slides left and right
to accommodate different sizes of gears ON IT. The gears are mounted by pushing
the bolt through the gear and into one of two holes on the top.
On tightening the plastic knob the block is locked in place and also
clamps down on the bolt holding the gear, locking it in place. This makes
for faster gear changes.
The block has two holes for the bolt holding the gear. For the smaller primary gears the hole on the right is used. The hole on the left is for the larger gears of up to 48 teeth..
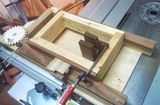
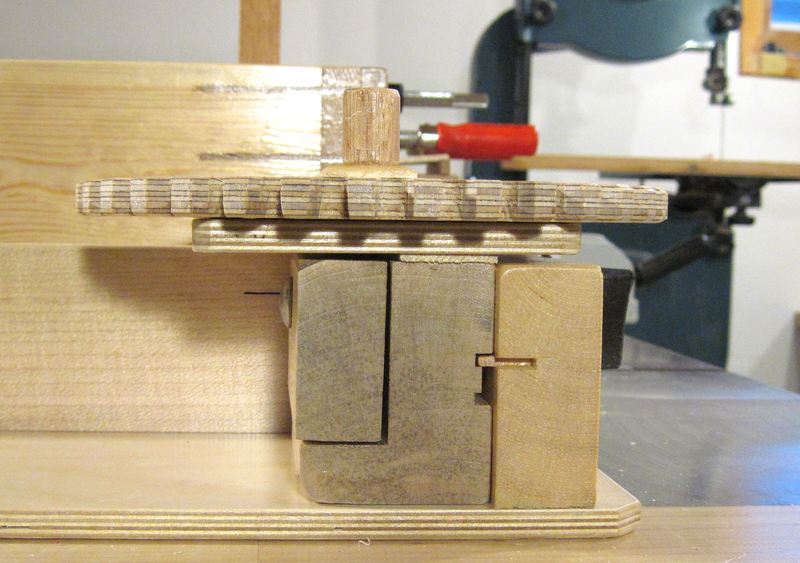 This picture shows how the block mounts. The block is made of a solid
piece of maple. It has two grooves cut into it which mesh with a small
piece of maple that protrudes from the frame. The idea is that the
block can be slid side to side at two different heights, similar to what
I did for the
motor mount on my horizontal boring machine
This picture shows how the block mounts. The block is made of a solid
piece of maple. It has two grooves cut into it which mesh with a small
piece of maple that protrudes from the frame. The idea is that the
block can be slid side to side at two different heights, similar to what
I did for the
motor mount on my horizontal boring machine
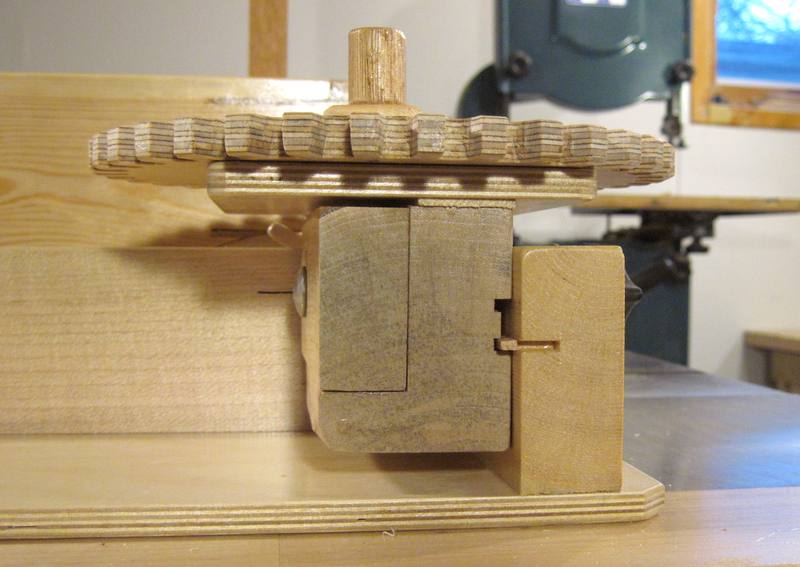 This photo shows the block placed in the upper position. Note how the little piece of wood
that is inset into the frame meshes with the lower slot on the gear mount block, whereas
on the previous photo, it meshed with the upper slot.
This photo shows the block placed in the upper position. Note how the little piece of wood
that is inset into the frame meshes with the lower slot on the gear mount block, whereas
on the previous photo, it meshed with the upper slot.
|
This video shows the box joint jig being used to cut a finger joint. A finger joint is
essentially a box joint with very tightly spaced fingers. I'm using a thin kerf saw blade instead of a dado blade
to make the fingers very narrow. Accuracy is very critical for this type of joint, so this is a good demonstration
of what the jig can do.
Whenever I need a new custom size interval to make that I can't do with the gears I already have, I just make another gear |
|
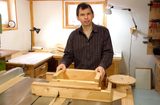
I have produced another video showing how I can use this jig to quickly cut a very accurate double tenon joint.
Its not just for box joints!
I have produced extensive instructions and plans for this jig included with the plans you can buy |
|
Improved box joint jig
plans for sale |
See also:
 Cutting box joints
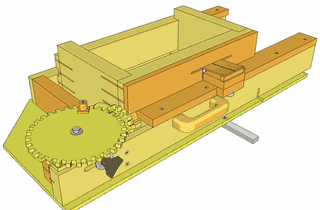
Reader build box joint jigs
 Elyasaf's box joint jig
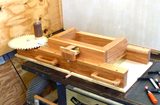
Elsewhere on the web: Art's box joint jig build (wordsnwood.com) - lots of pictures and details
Back to my Woodworking website