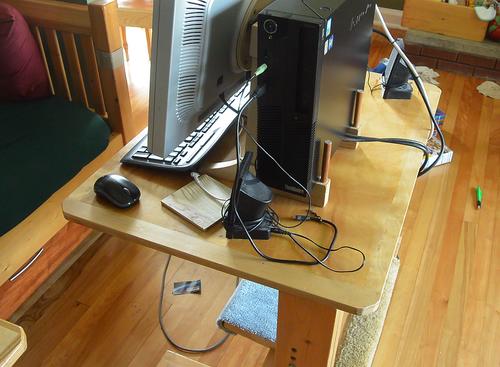
 This project started out with wanting to make a fence for the back
of one of these computer desks to keep
our baby from pulling the speakers and other stuff off the back.
 This project started out with wanting to make a fence for the back
of one of these computer desks to keep
our baby from pulling the speakers and other stuff off the back.
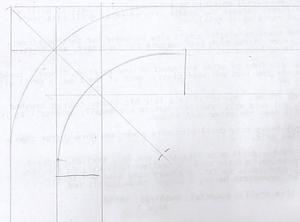 The corners on the desk top are rounded so I wanted the fence to also
be rounded. Rounded enough that if I cut the round out of a box joint,
the original boards would no longer be joined at all.
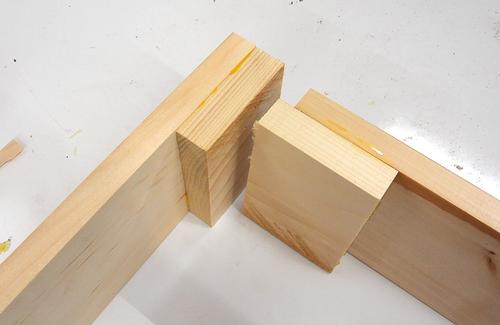 I doubled up the thickness of the boards where the joint was to be...

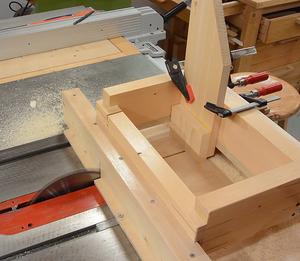 ... then cut box joints (or finger joints) using my
box joint jig, with each slot only the
width of the saw blade.
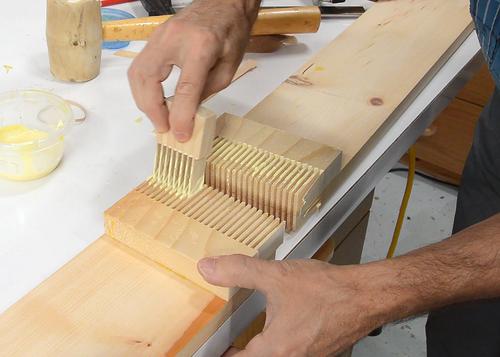 Maybe I made them a bit too tight. The joints were hard to push
together for a dry-fit, and even harder to pry apart. With glue on
them, the wood swells, which can make it even harder.
I made a comb out of wood (using my box joint jig) to apply glue to eight slots at a time. That way, I could get the glue in faster and give the wood less time to swell before assembly.
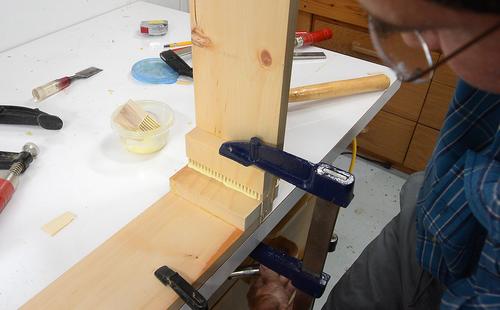 I couldn't push it together by hand, but fortunately the joints had a step
on them that I could apply a big clamp to and push them together.
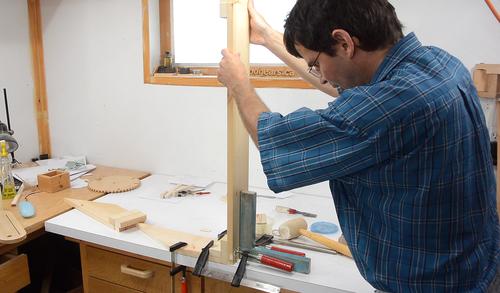 The joints went together smoother than I expected. The glue swells
the wood, but it also acts as a lubricant.
Here, I'm pulling the joint into squareness. The clamp had a tendency to pull it into a less than 90° angle.
 Then marking the shape I actually wanted with a compass. I clamped an extra
block of wood to the joint so I could put the compass's point into it.
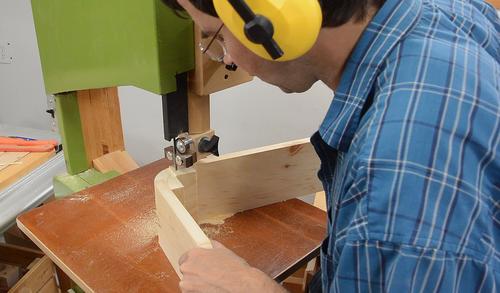 Cutting it out on the bandsaw,
with a 1/4" blade. This is really deeper than 1/4" blades are meant
to cut, but if it's very sharp, it can be done (like for this
canoe paddle).
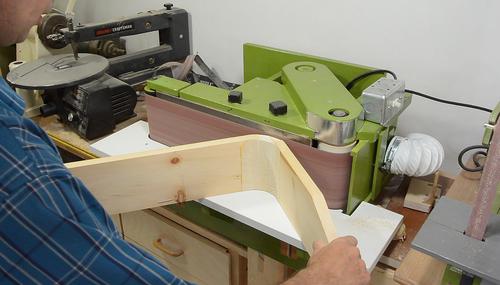
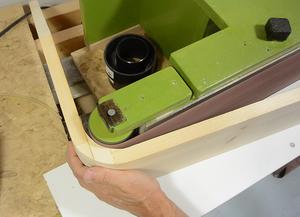 Then cleaning up the cuts on my belt
sander
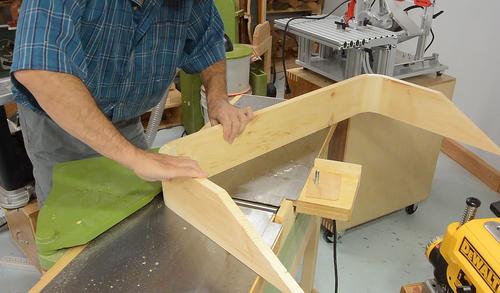 The alignment of my pieces wasn't perfect. I used my
jointer with the fence removed to
level them. (normally, one would remove the guard for this instead of
the fence, but on my jointer, the fence is easier to remove
than the guard)
 Then adding a 1/4" round-over to the top edge.
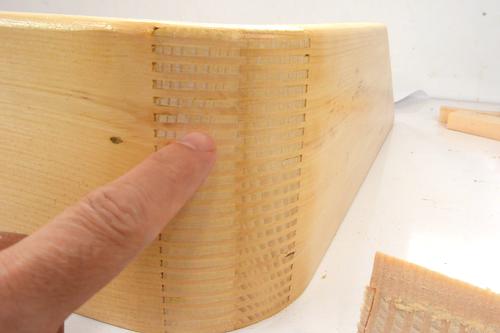 Here's what it looks like after varnishing. The middle part of the joint,
with its alternating grain direction is essentially like plywood.
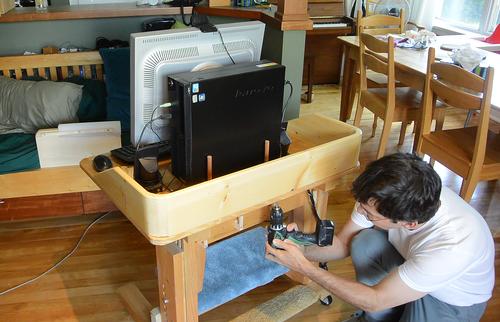 And installing it on the desk, screwed on from below.
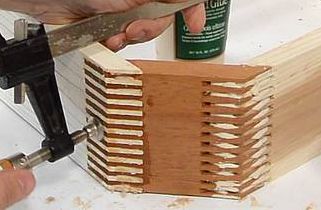 Octagonal box joined box (2016)
 Making small
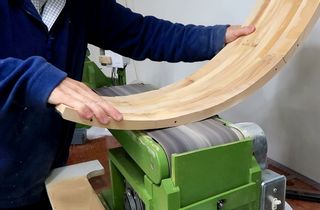 Curvy board (video, 2022)