Screw advance box joint jig for sale (used to be for sale)
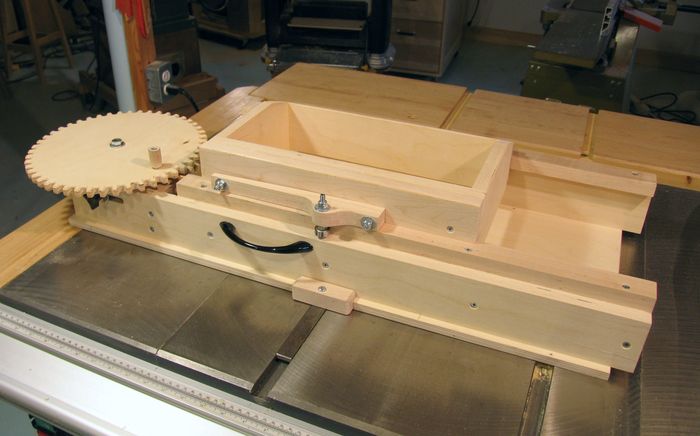 People often ask me if they can buy a pre-built version of the
screw advance box joint jig.
Unfortunately, I don't have the time to produce these jigs for people, so I haven't
produced any jigs for people to buy.
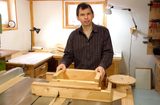
Having discussed the matter with John Heisz, he expressed interest in building some of these jigs for people. John Heisz is a talented woodworker, who has built and modified some of his own machines, including his homemade tablesaw, his homemade router lift and table, his disk sander and bar clamps
Please note: The pre-built box joint jig is no longer for sale, but you can still
buy box joint jig plans
 The design of jig that I sell plans for is optimized
for building one at a time. However, the design is not the best for building in batches and
shipping to people, so John has made some changes to design for the jigs he's selling.
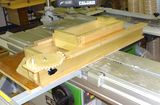
A very necessary change is that the guide bar in the jig, as shipped, is not firmly attached in place. The distance between the left slot and the table saw varies between saw models, so the bar position needs to be set according to your saw.
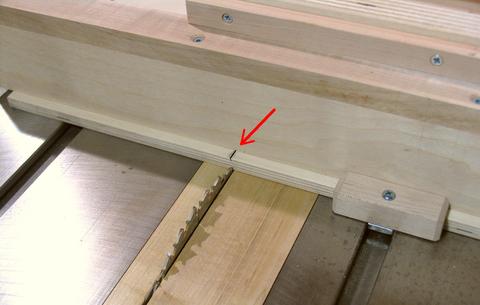
Also, the slot in the jig floor is not yet cut when you receive the jig. A mark on the jig indicates where the saw blade should line up when the bar is first attached.
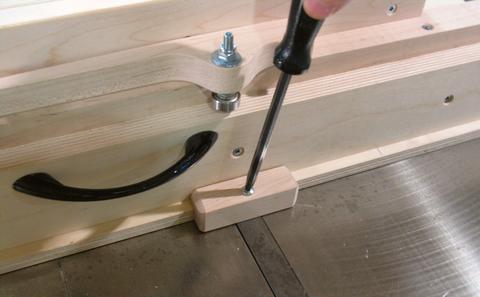 The bar has a clamp on either side so that the jig can be positioned and squared on the table
saw, with the bar in the slot. After positioning, the bar is clamped in place.
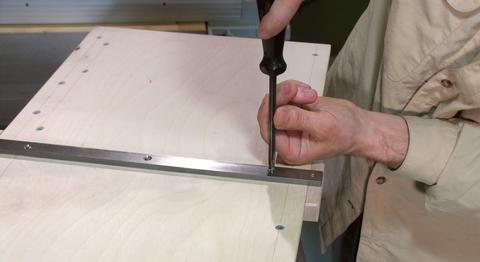 The jig can then be flipped over to screw the bar down from the bottom side.
insert a drill bit that barely fits inside the holes in the bar, and tap that with a mallet to make a divot at the middle of the holes. then drill small pilot holes and screw the bar in place.
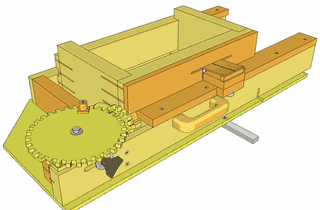
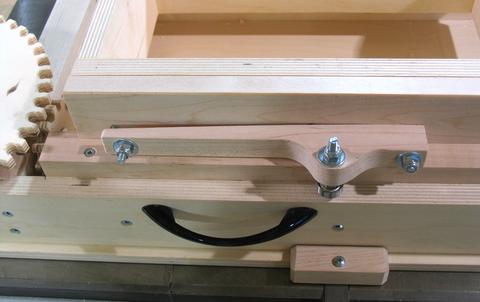 There is a change to how the idler roller works. The wood spring and hinge mechanism
on my jig can be a bit fiddly, and john has replaced it with a different mechanism.
The nut on the left can be turned to loosen or tighten the idler roller.
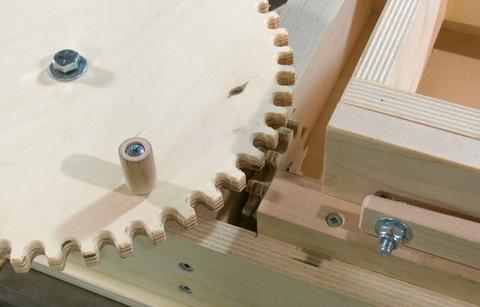 A further change is that this version of the jig has a 12-tooth secondary, as opposed to
a 12 and 16-tooth secondary gears.
I found that I used the 12-tooth secondary on my jig almost exclusively, so this design
has been simplified to have just the 12-tooth secondary. This simplified the gear mount
a fair bit. But the gear mount is still adjustable side to side, with one knob clamping
the position and the screw, so that gear changes can be done quickly.
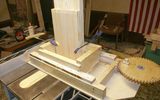
Have a close look at the gears (click image to enlarge). John's gears look much better than
the gears I make. Ask John about buying just a pre-made gear set.
There is a lot that this box joint jig can do - for more about box joints and what can be done with a screw advance box joint jigs, see my page on box joints
Epilogue
The price was $300 US + shipping. This seems expensive, but with the jigs all made by hand, once all the steps, packaging, time spent shipping, and support were accounted for, it was still hard to justify the time compared to other work. The process could have been made more efficient with larger quantities, but at $300, the volume wasn't there. At a half the price, the quantities would no doubt have been better, but then, even with better methods, it would be very difficult to make a reasonable income at it.
This is not unlike my experience at trying to selling jenga pistols. With so many of the goods we buy made by very cheap labour overseas, there's a gap between the price we expect to pay, and what you can sell it for and still make a decent living. I'm not trying to lay a guilt trip on anybody - I like my cheap goods as much as the next guy, but it's a funny world we live in. At least when I build stuff myself, I'm not dependent on cheap labour somewhere else :).
In the mean time, you can still buy the box joint jig plans
See also:
Back to the Box joint page
