But some of you may want to build this bandsaw without having a tilting router lift, so I figured I should revisit this topic without a tilting router lift.
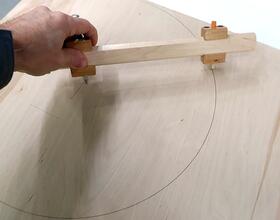
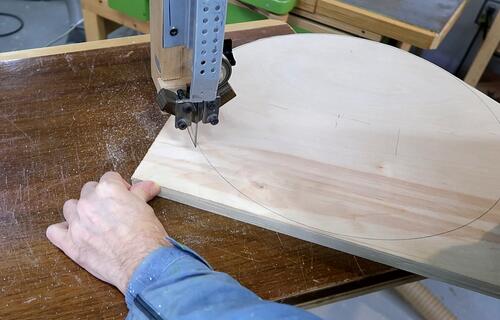
I start by marking a circle with my beam compass and rough cutting it on my
bandsaw.
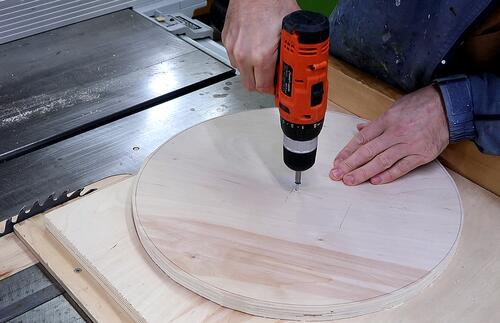
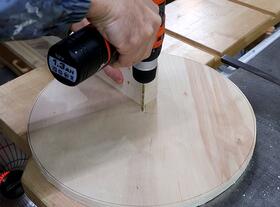 Then drilling a small hole in the middle.
I used a piece of wood next to the drill while drilling
to help me get the hole square to the wood. A drill press would be better
but this pulley is too wide to fit on my drill press.
Then screwing it onto another piece of wood that's on my table saw sled.
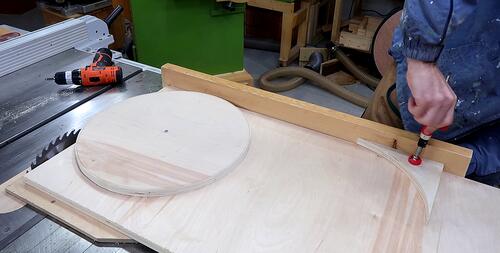 Then positioning the plywood so the saw just cuts a little bit off, and clamping
it down on the table saw sled.
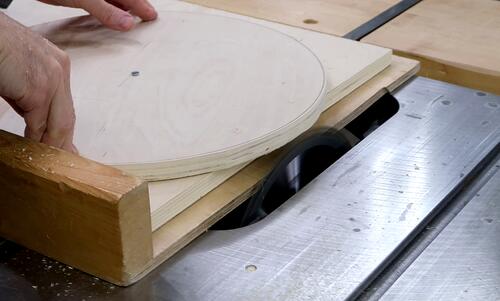 I start with the blade straight under the workpiece, and spin it clockwise (cutting
backwards) to make an initial scoring cut on the bottom. This to avoid tear-out
next.
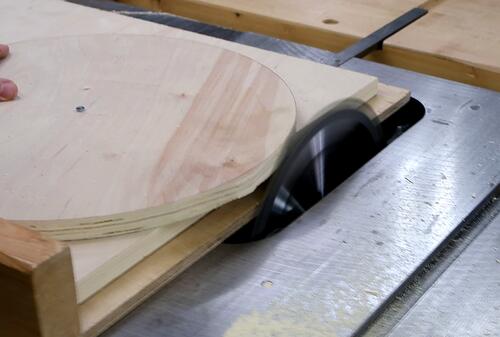 Then raising the blade, and making a series of cuts to get it approximately round.
This could be done even when starting with a square piece, but would take longer.
Once it's close enough to round, I just spin the disc while the blade is cutting.
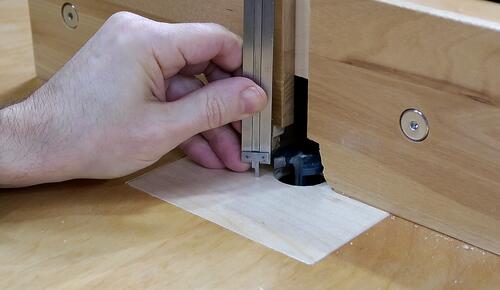
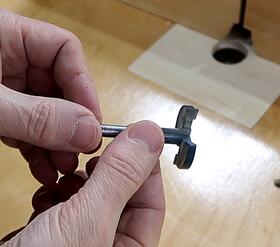 I'm going to cut the V-groove with a slot cutting bit, a 1/4" wide
bit that came with a cheap router bit set.
I set this up to cut 1 cm deep, and the center 9 mm above the table to cut in the middle of my 18 mm plywood.
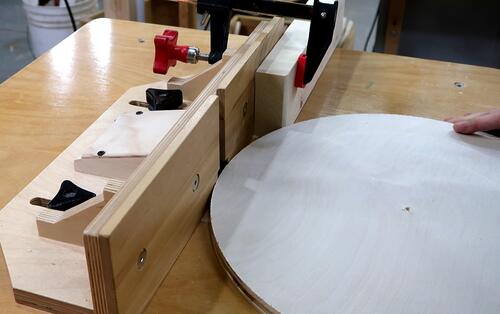 Then cutting the 1/4" slot all the way around.
Note the block clamped to the router table fence on the far side. This helps me position the disc on the table, also helps when starting the slot, and may prevent kickback.
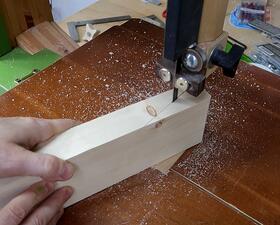 I need a 20 degree angle on the sides of the slot. Last time I tilted
the router in my tilting router lift, but the idea is to do it without a
tilting router lift, so I'll make a wedge to angle the workpiece by
20 degrees.
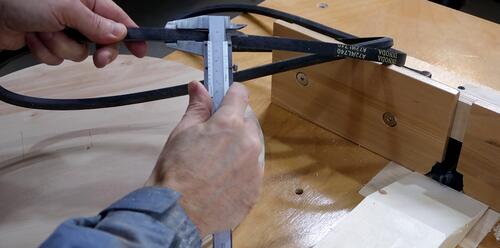
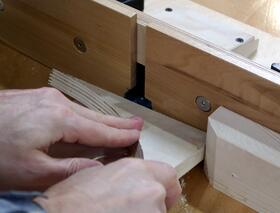 The belt is 1/2" (12.7 mm) wide at it's widest part. With 18 mm plywood, that means
I need about 2.5 mm left on either side. I set the router lift and check by
pushing a piece of scrap against it.
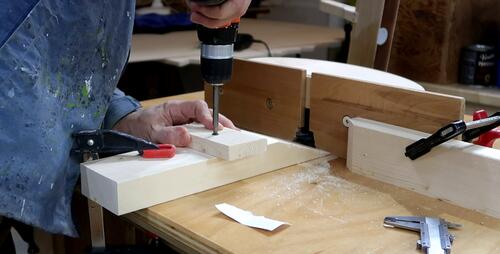 I realized my wedge may not be giving me enough support, so I screwed another piece
of wood onto it to make a wider bearing surface.
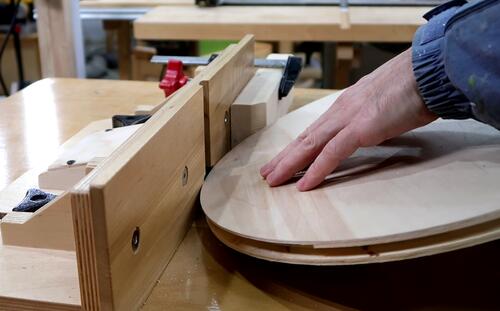 Then cutting the slot on one side, flipping it over, and cutting again.
My initial cut was a slot slightly too narrow, so I raised the bit slightly and cut again.
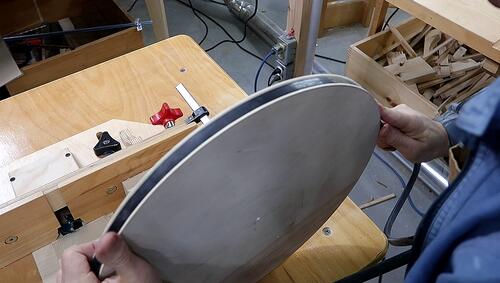
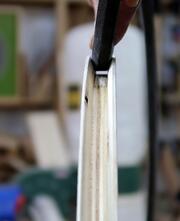 Checking how the belt fits. It should be flush with the edge, or sit a bit
deeper. Also, ideally it should not bottom out in the v-slot.
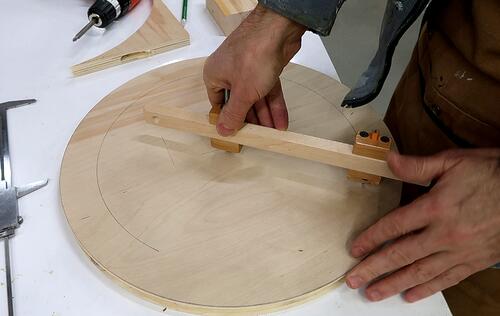 Before going any further, I use my beam compass to draw some concentric circles
on the disk. If I lose the center position, for example, by cutting a big
hole in the middle, these circles will help me re-establish it later.
 This is the size pulley in the plans for my 26" bandsaw,
but this bandsaw already has a pulley. So I'll make it fit on my
homemade lathe instead.
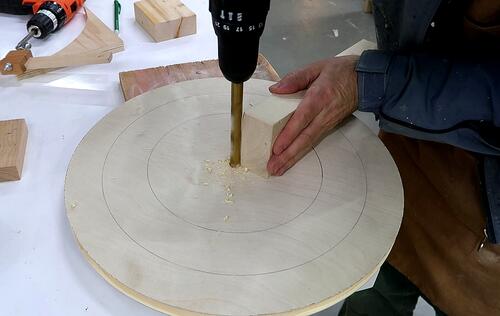
I drill a 10 mm hole to match the lathe's shaft. I use a block of wood to help me guide the drill square to the workpiece.
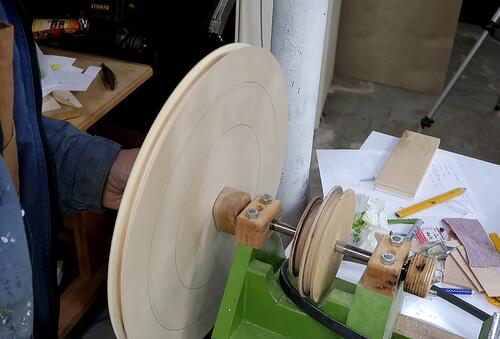 Checking the fit on the lathe.
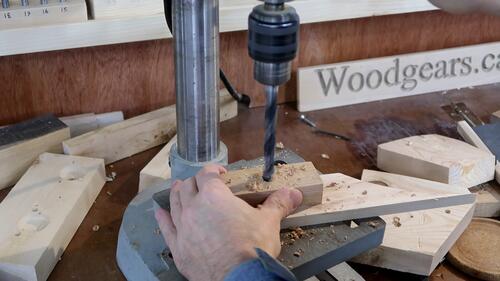 Then making a block of wood as a flange. As I drill the hole for the shaft, I
turn the block by 180 mm every few millimeters. This helps
to cancel out any non-squareness of the drill press table. Even if the
drill press table is prefectly square, the force of drilling will cause it
to flex down slightly.
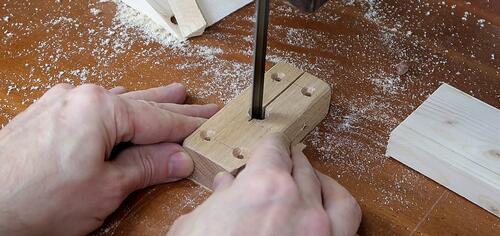
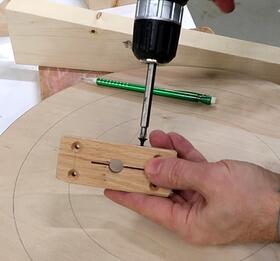 I cut a slot in the flange block so that I can use a screw to tighten it up
on the shaft with a screw that goes across.
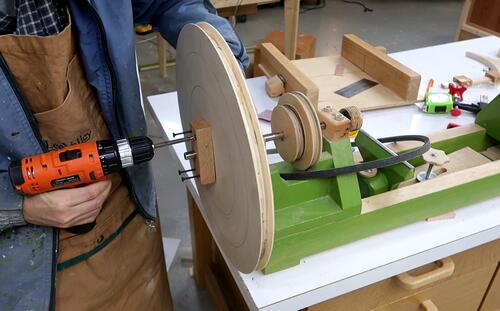 Then screwing it onto the big pulley.
If I was planning on using this pulley a lot, I'd put another block like this on the other side to give it more firm support. And if it had to apply a lot of torque, I'd cut a keyway in the shaft with an angle grinder, a keyway in the flanges with a jigsaw, and use a nail as a key.
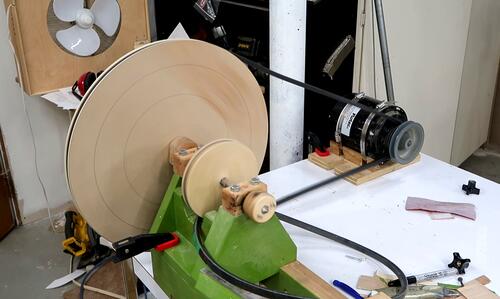 And testing it on the lathe. I get about a 10:1 reduction using the
smallest pulley on the motor.
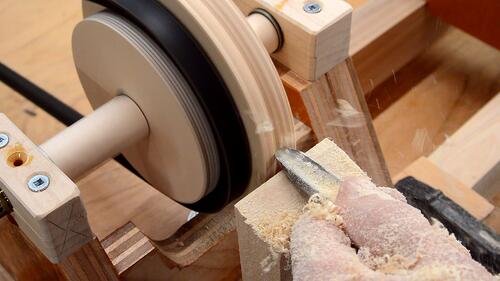 This method is best for large pulleys, 10 cm (8") or bigger.
For small pulleys, it's best to use high quality
plywood like baltic birch and turn it in place. The picture shows how
I made the pulleys for my homemade lathe.
It's a step pulley. I just ran the V-belt on the other step of the pulley, which
didn't yet have a V-groove in it yet, and used a chisel to turn a V-groove in
the larger disk, then put the belt in the new V-groove and turned a V-groove
in the smaller disk.
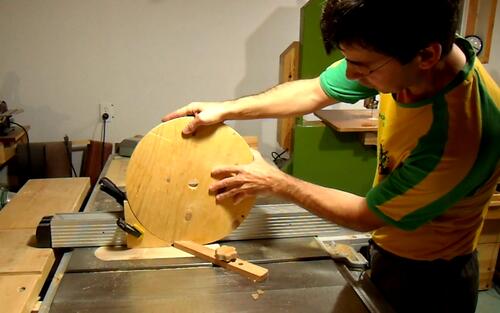 I have also in the past made such pulleys on the table saw, though this takes a
bit longer because several cuts are needed to hog out the material, and it's
also a bit more hair-raising. But tilting the table saw blade allowed me
to make the angle cuts for the sides of the slot.
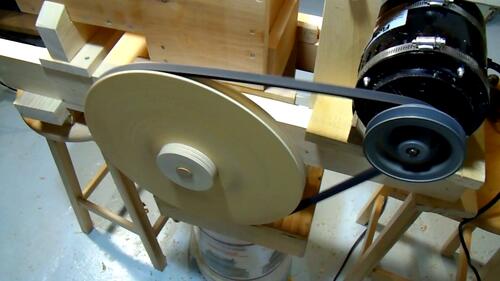 Aside from bandsaws, I also made large pulleys like that for my apple grinder
one and apple grinder version 2.