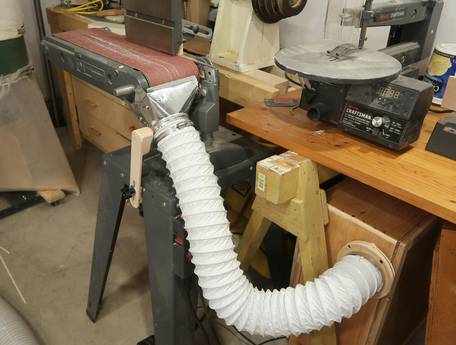
 This is my old belt sander. I haven't used it much since I
built this one. I wanted to move it to the
small shop space I set up
in the house basement, but I wasn't going to use it there without adding
dust collection to it.
This is my old belt sander. I haven't used it much since I
built this one. I wanted to move it to the
small shop space I set up
in the house basement, but I wasn't going to use it there without adding
dust collection to it.
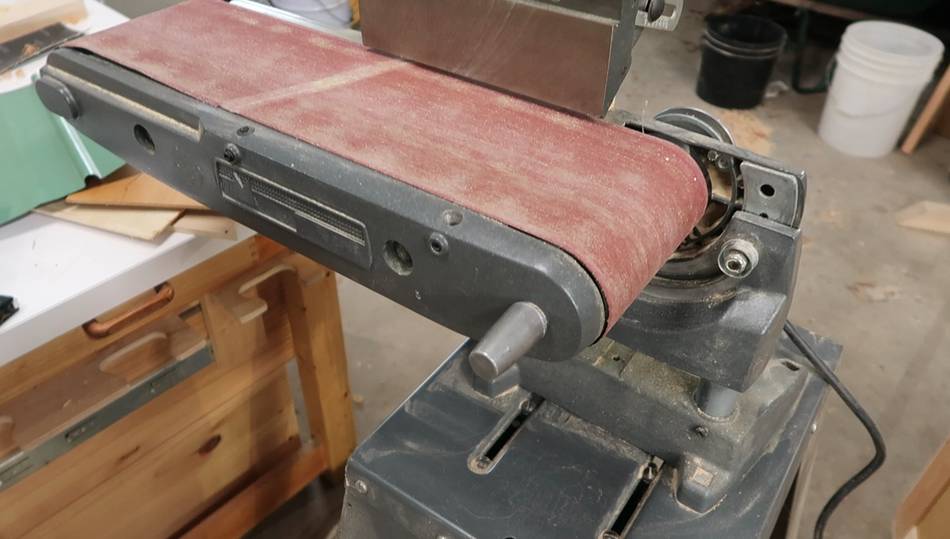
This is my old belt sander. I haven't used it much since I
built this one. I wanted to move it to the
small shop space I set up
in the house basement, but I wasn't going to use it there without adding
dust collection to it.
I had some simple dust collection on it before (see this picture) but I wanted something more effective, a bit more like the dust collection on the homemade one.
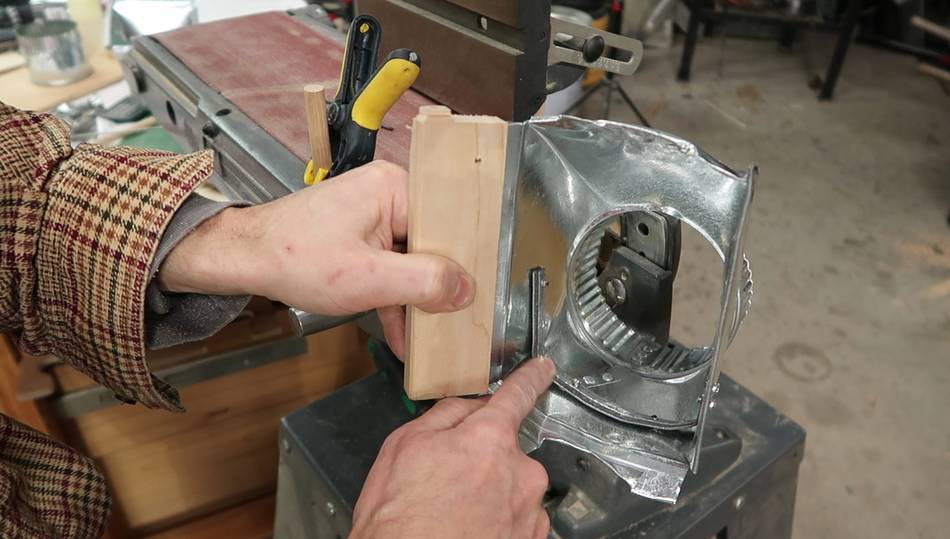
 This piece of ductwork is about the right size and shape to make the
chute for collecting the dust. I wanted to mount it so its top was
nearly level with the belt for sanding flat objects, but I also want
to be able to pivot it down a bit so that I can sand curves on
the sander's drive roller.
This piece of ductwork is about the right size and shape to make the
chute for collecting the dust. I wanted to mount it so its top was
nearly level with the belt for sanding flat objects, but I also want
to be able to pivot it down a bit so that I can sand curves on
the sander's drive roller.
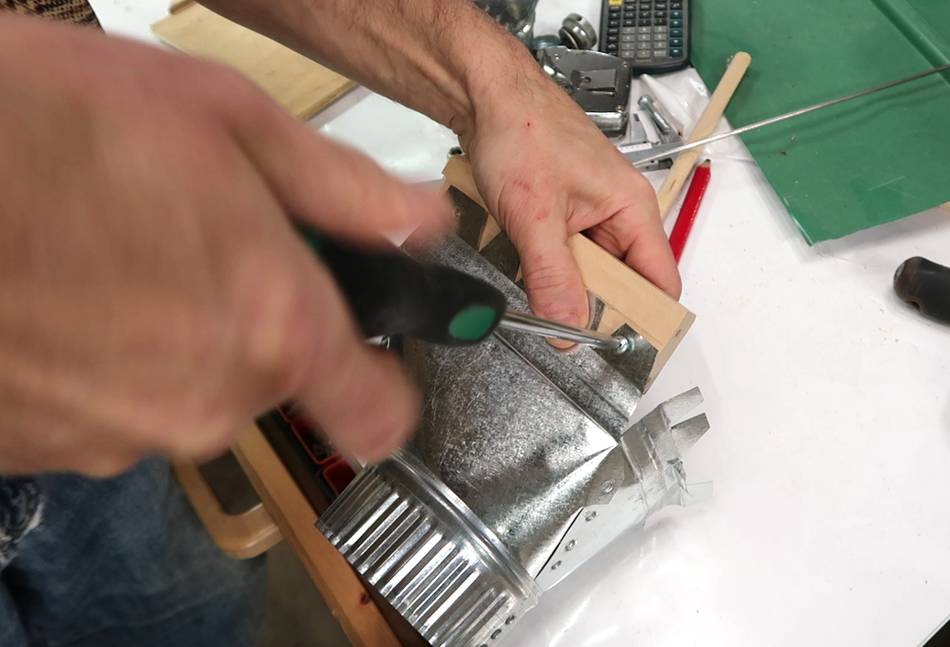
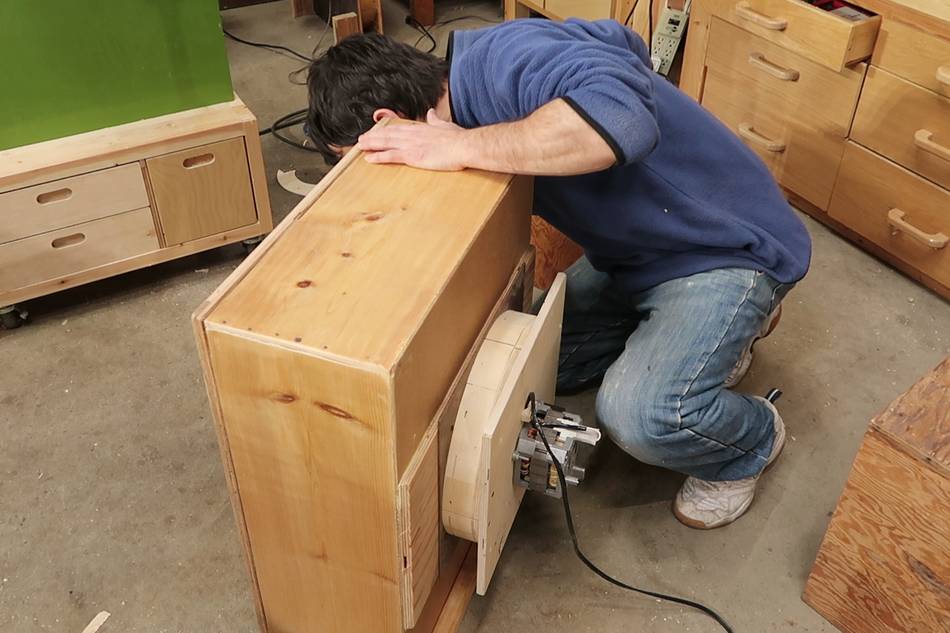
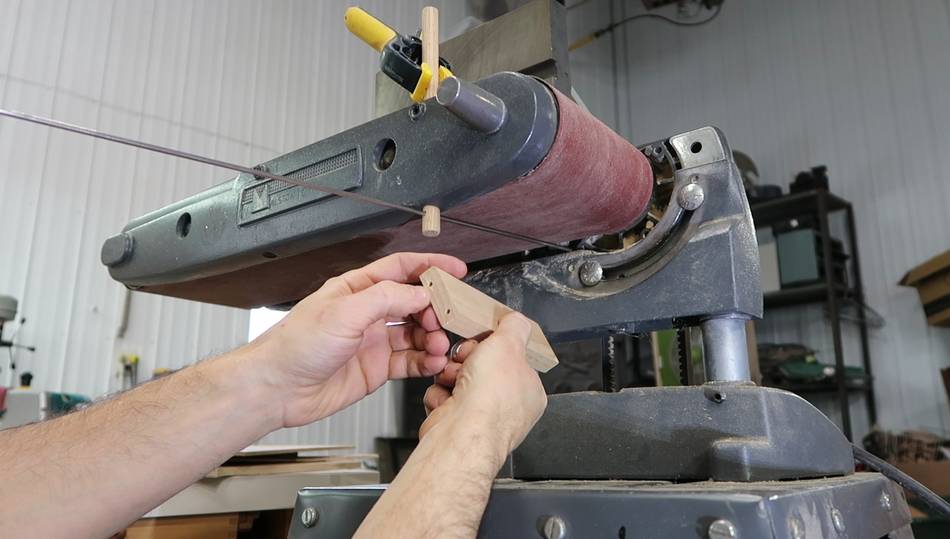 The sander has some 1/2" holes for mounting the table to it.
I put a dowel through one of these for a mounting point. A hole
through that dowel makes for a pivot for the dust chute.
Now I just need a hole on the other side.
The sander has some 1/2" holes for mounting the table to it.
I put a dowel through one of these for a mounting point. A hole
through that dowel makes for a pivot for the dust chute.
Now I just need a hole on the other side.
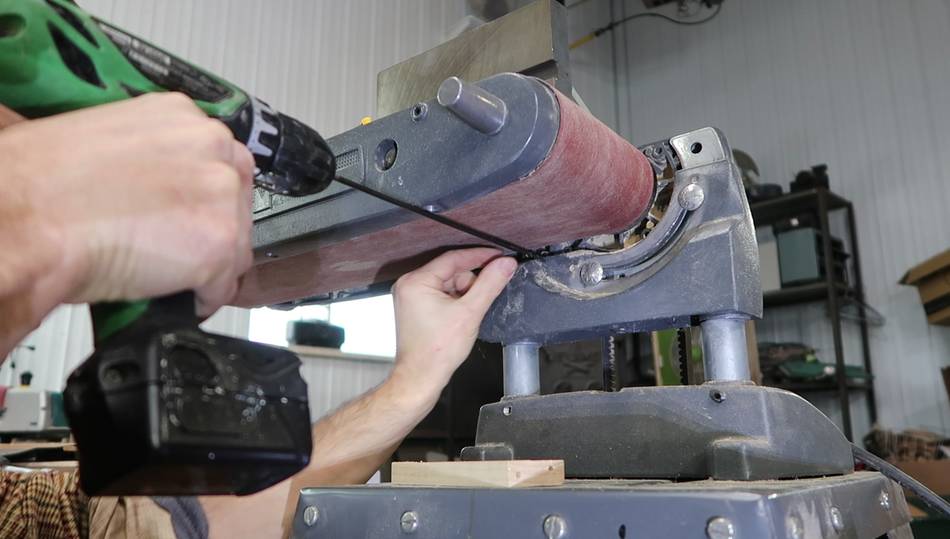 I lined it up, then drilled a hole through the mounts
for the sander on the other side.
I lined it up, then drilled a hole through the mounts
for the sander on the other side.
This would not work if the sander were ever tilted vertically. It was designed to tilt vertically, but in the 20 years I had it I haven't ever tilted it up. In fact, an extra screw in the curved slot (for more stability) prevents it from being tilted up.
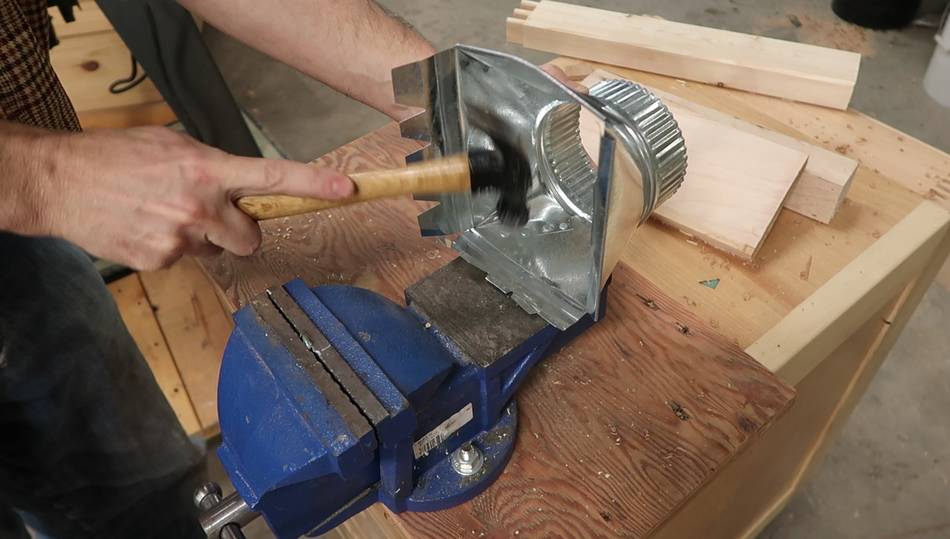 The furnace duct flange needed some modifications, lots of bending
and a bit of cutting to make it fit.
The furnace duct flange needed some modifications, lots of bending
and a bit of cutting to make it fit.
The flange was designed to attach to the side of a main furnace duct and connect to a 4" round duct going to floor furnace vent
 Attaching a piece of wood to extend it on one side and provide
holes to pivot it on.
Attaching a piece of wood to extend it on one side and provide
holes to pivot it on.
 With all the cutting flattening and bending, the duct flange
got a little too floppy, so I added this piece of metal to the
inside to reinforce it. Ugly, but not normally visible.
With all the cutting flattening and bending, the duct flange
got a little too floppy, so I added this piece of metal to the
inside to reinforce it. Ugly, but not normally visible.
 I drove a nail into a pilot hole on either end of the wooden part that
I attached, then cut them off with an angle grinder.
I drove a nail into a pilot hole on either end of the wooden part that
I attached, then cut them off with an angle grinder.
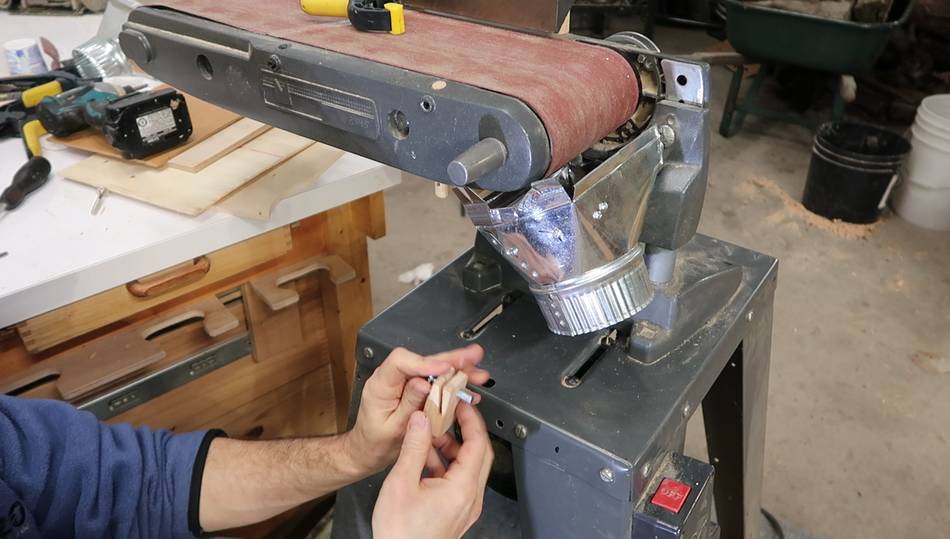 Then I needed some way to lock the flange at a specific angle.
I made a block of wood with a slot at an angle to attach
to part of the base and hold a screw to lock a link that holds
the chute at the right angle.
Then I needed some way to lock the flange at a specific angle.
I made a block of wood with a slot at an angle to attach
to part of the base and hold a screw to lock a link that holds
the chute at the right angle.
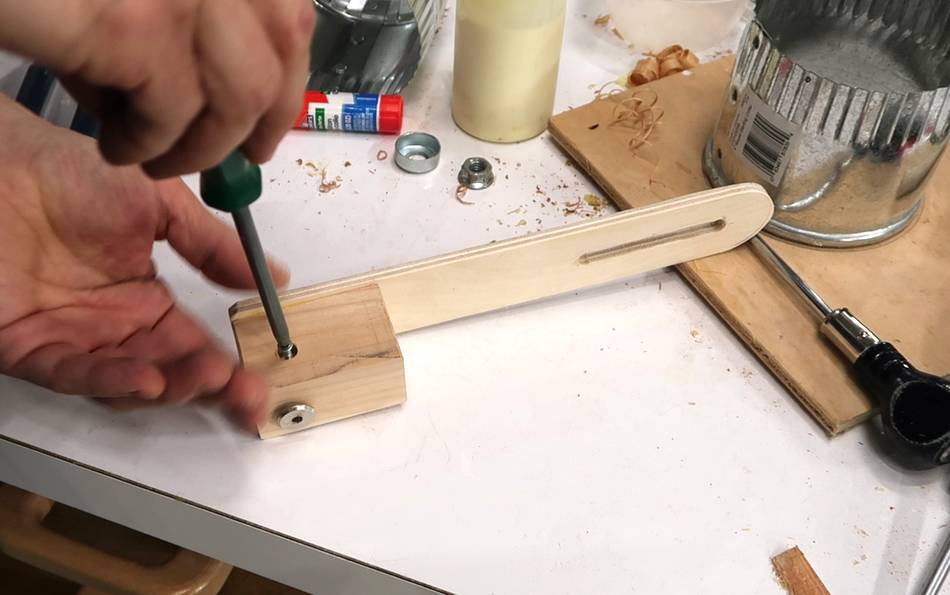 This is the link I made. The block goes on the top end, and a
big screw inserts into the block, coming from inside the duct.
This is the link I made. The block goes on the top end, and a
big screw inserts into the block, coming from inside the duct.
Because it's awkward to screw from inside the duct, this screw isn't actually screwed in. Instead, it locks in the block via a sort-of set screw, which I'm screwing in here.
The slot on the other end of the link serves for adjusting the height.
 Link in place. I ended up shaping the block of wood a bit more so it
wouldn't interfere with attaching a hose.
Link in place. I ended up shaping the block of wood a bit more so it
wouldn't interfere with attaching a hose.
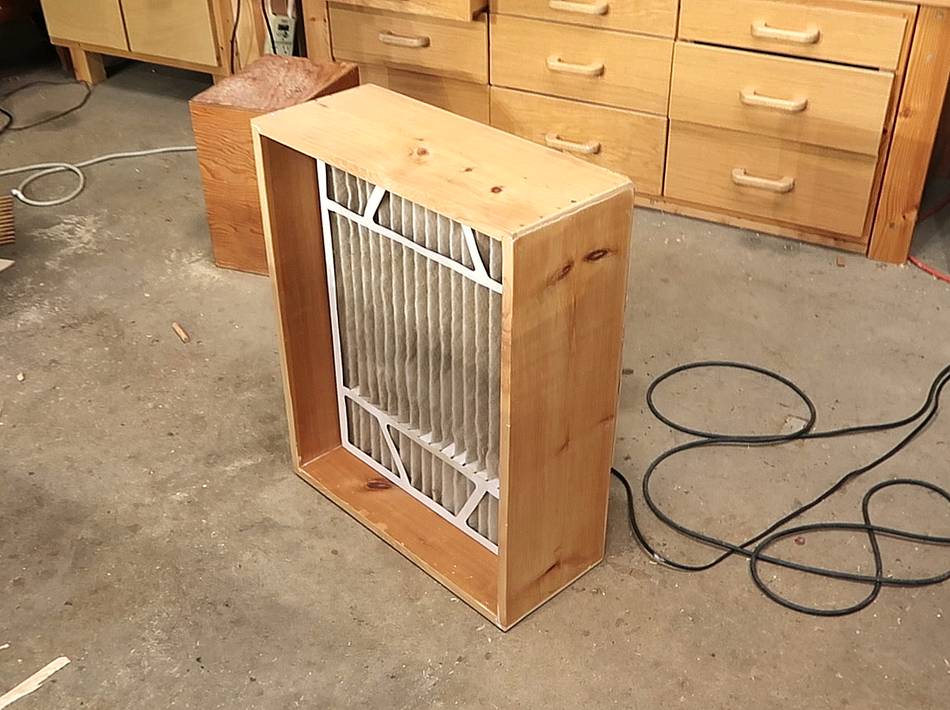 I made yet another mini dust collector
for this belt sander. This one uses one of those 4" thick 24"x20" furnace
filters which has a lot of surface area, but also a lot of room
between the pleats. Note that I'm not folding the filter like I did
earlier.
Getting
a good seal around the folded filter was just too difficult.
I made yet another mini dust collector
for this belt sander. This one uses one of those 4" thick 24"x20" furnace
filters which has a lot of surface area, but also a lot of room
between the pleats. Note that I'm not folding the filter like I did
earlier.
Getting
a good seal around the folded filter was just too difficult.
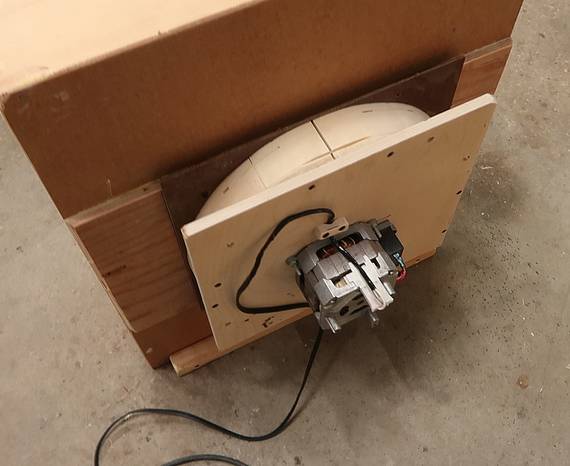 The blower is from these
experiments. I actually built two blowers that time,
the other one went into this
dust collector
The blower is from these
experiments. I actually built two blowers that time,
the other one went into this
dust collector
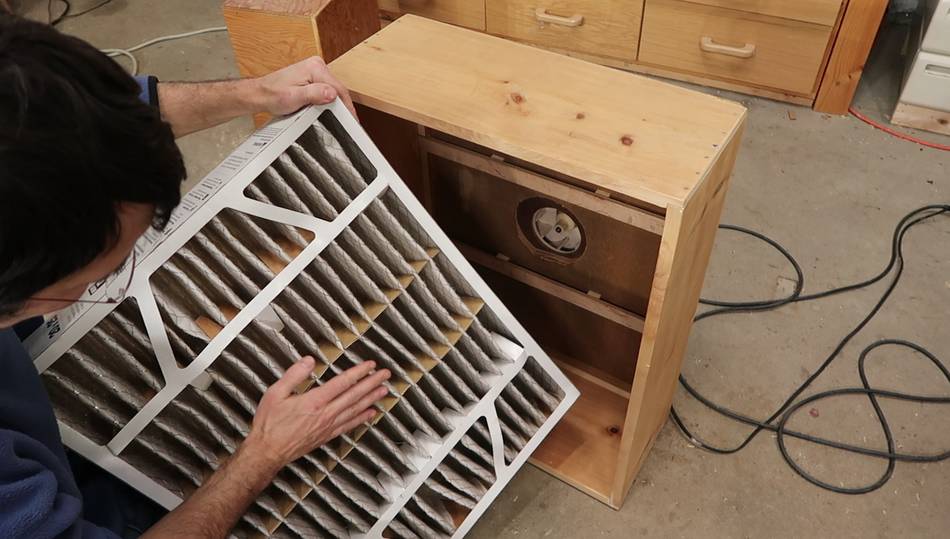 Filters like this really aren't designed for this application. The blower
I'm using can produce about ten times as much suction as a furnace blower,
and once the filter is caked with dust, that pressure would probably cause
the pleats to collapse on themselves. So I added extra spacers on
the outflow side to prevent this. These are just cardboard triangles
hot-glued in place.
Filters like this really aren't designed for this application. The blower
I'm using can produce about ten times as much suction as a furnace blower,
and once the filter is caked with dust, that pressure would probably cause
the pleats to collapse on themselves. So I added extra spacers on
the outflow side to prevent this. These are just cardboard triangles
hot-glued in place.
There are also some supports in the box itself to hold the middle of the filter to keep the whole filter from buckling.
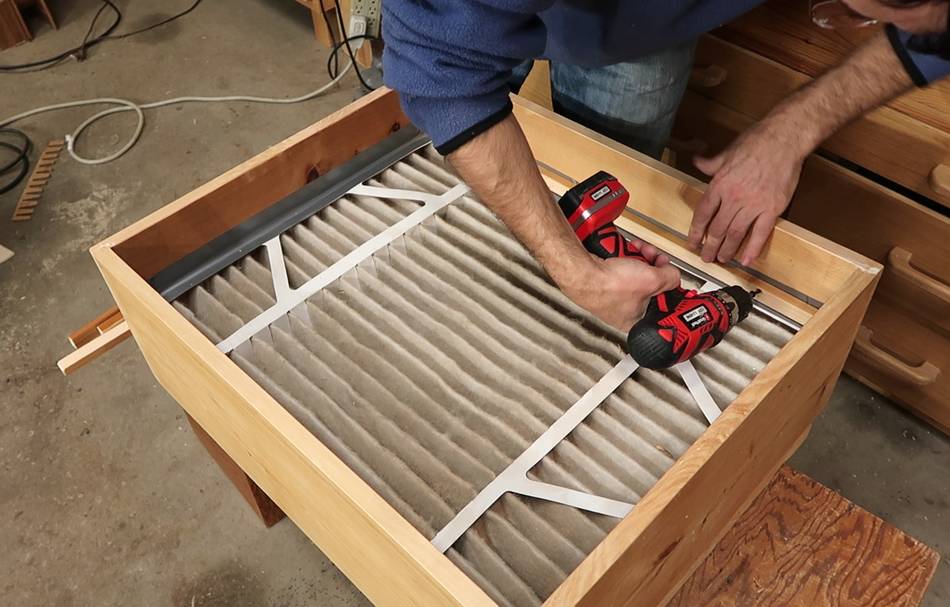 I had issues with blow by with these filters in the past, so
taped it into the box. But I have also had issues with the duct tape
not sticking permanently, so I'm adding strips of wood to hold the
filter and the tape in place.
I had issues with blow by with these filters in the past, so
taped it into the box. But I have also had issues with the duct tape
not sticking permanently, so I'm adding strips of wood to hold the
filter and the tape in place.
I guess better tape would solve this, but with this tape, at least I could still get the filter out if I ever need to. Plus, it saved me a trip to the store.
I plan on only using this dust collector with a belt sander, so I don't need a lot of room for dust and I don't need to worry about planer shavings getting permanently wedged between the pleats.
 With the lid on the box, there is very little air coming out of the
outlet of the blower, so the case is fairly tight. The seal for the
lid is some strips corrugated cardboard along the edges. The cardboard
is compressible so it takes up any variations in the wood.
With the lid on the box, there is very little air coming out of the
outlet of the blower, so the case is fairly tight. The seal for the
lid is some strips corrugated cardboard along the edges. The cardboard
is compressible so it takes up any variations in the wood.
Then listening along the edges for leaks. I could hear some air flowing in on two of the corners, though looking at it, the gaps in the seal were so small I decided it was good enough.
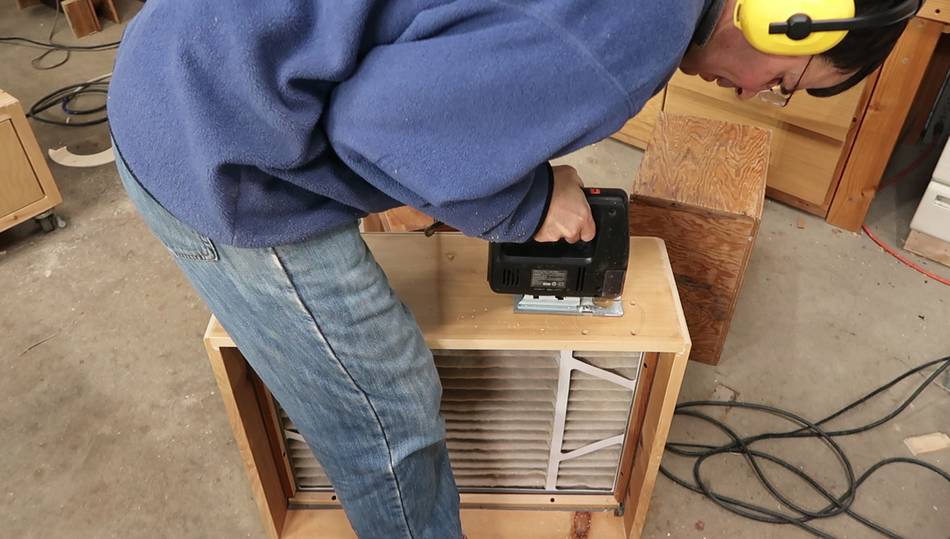 Then cutting the air inlet hole in the box.
 The hose flange for the inlet is another piece of furnace ducting
(much cheaper than dust collection fittings). The sides of the box are
not entirely flat, so I'm using some weather stripping as a seal for that.
The hose flange for the inlet is another piece of furnace ducting
(much cheaper than dust collection fittings). The sides of the box are
not entirely flat, so I'm using some weather stripping as a seal for that.
I originally bought that weather stripping as a seal for the lid, but I totally forgot that I had it when I made the lid.
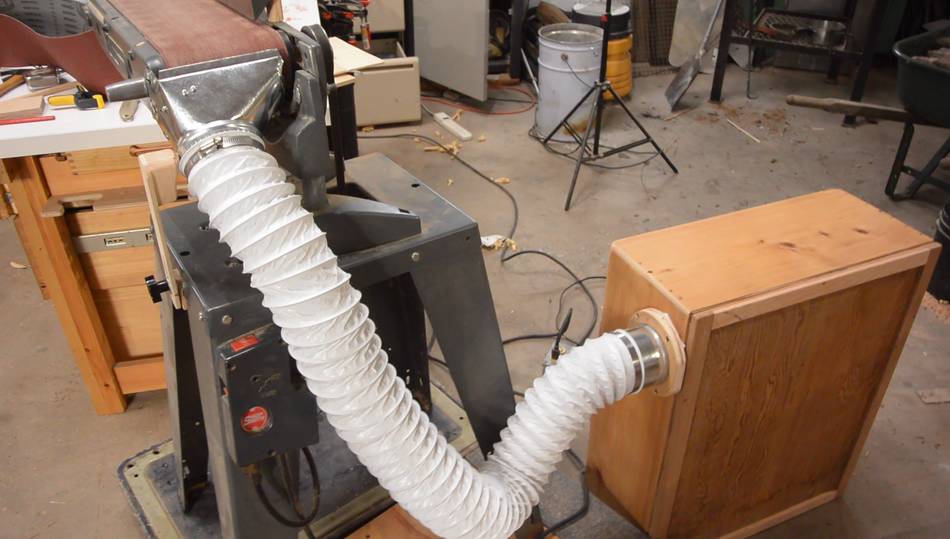 Dust collector hooked up, using some dryer hose.
Dryer hose is much cheaper than dust collection hose. With relative low suction (for a dust collector) and only fine dust going through the hose, this will do just fine. I have even used this sort of piping with a real dust collector and a planer, and it worked for that too, though not ideally.
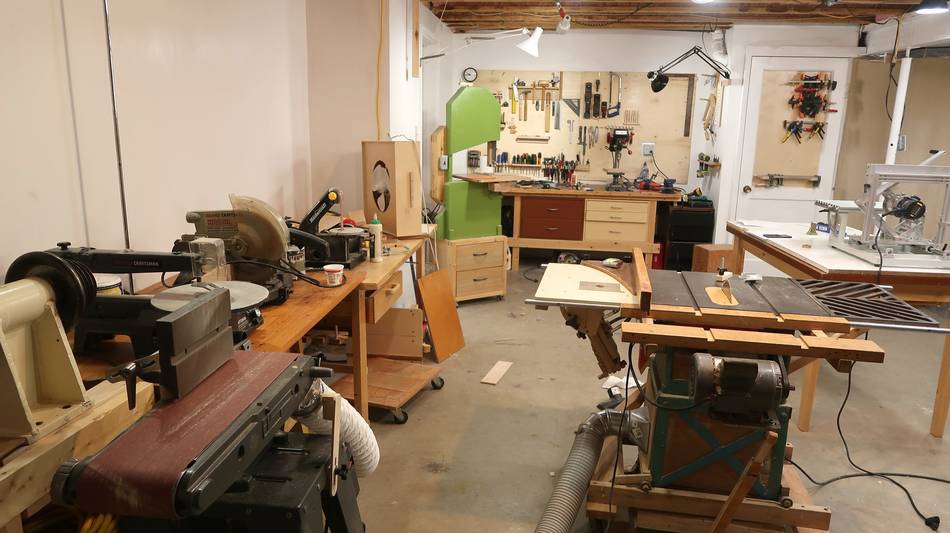
 And the reason I did this was because I wanted to move this belt sander
to my basement workshop in the house, but I didn't want to use it
in the house without good dust collection on it.
And the reason I did this was because I wanted to move this belt sander
to my basement workshop in the house, but I didn't want to use it
in the house without good dust collection on it.
A video about this basement shop
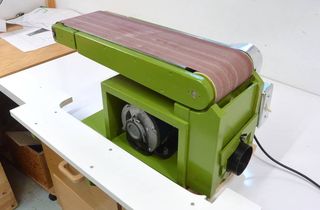 homemade belt sander
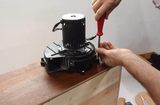 A different approach to dust collection
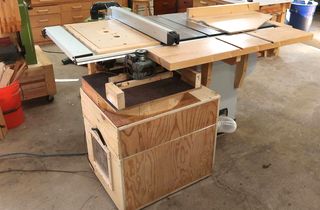 A dedicated dust collector for the table saw
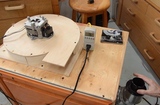 Box dust collector
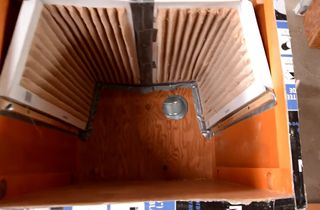 Random dust collection updates