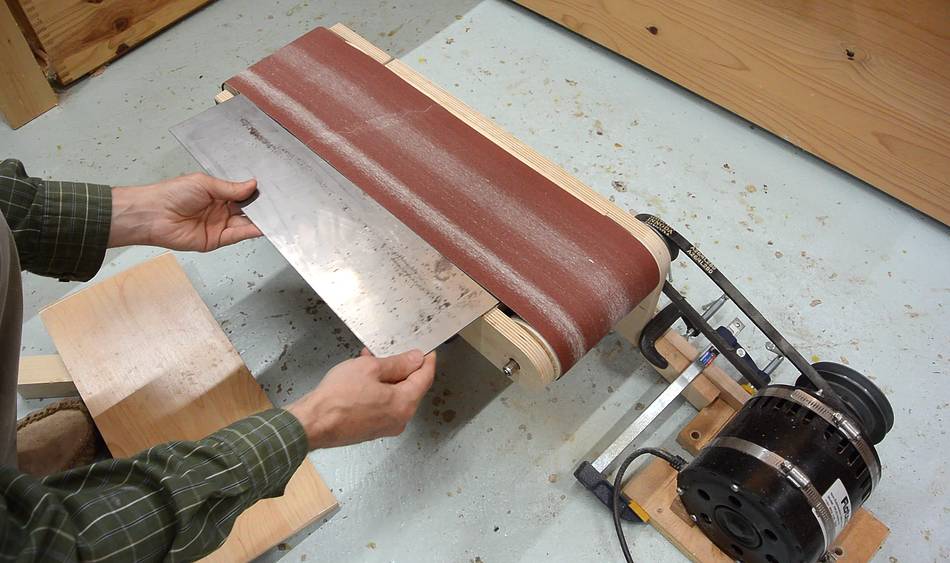
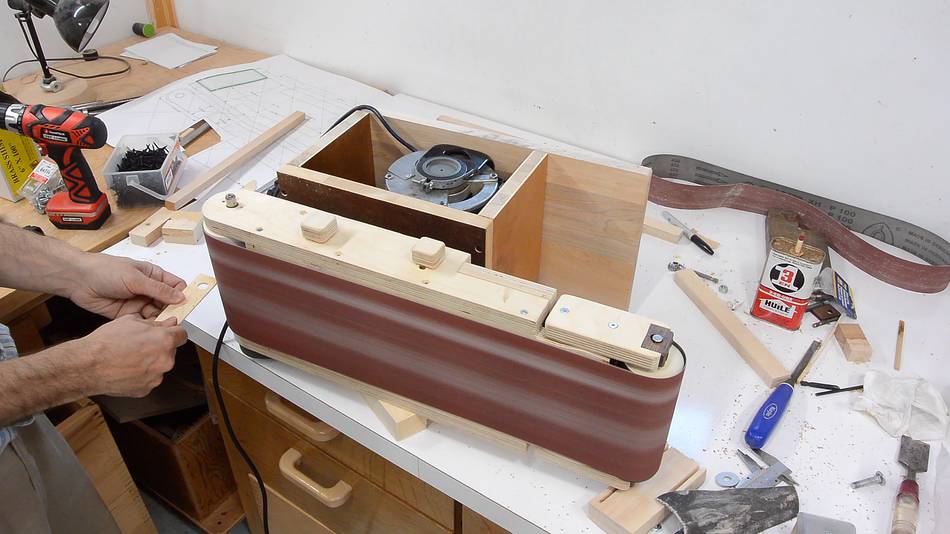
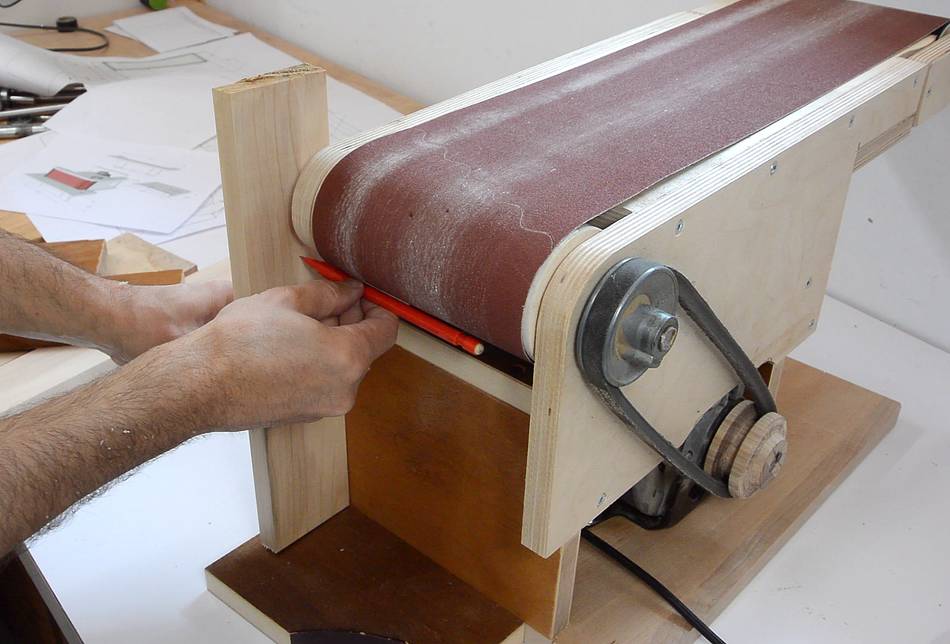
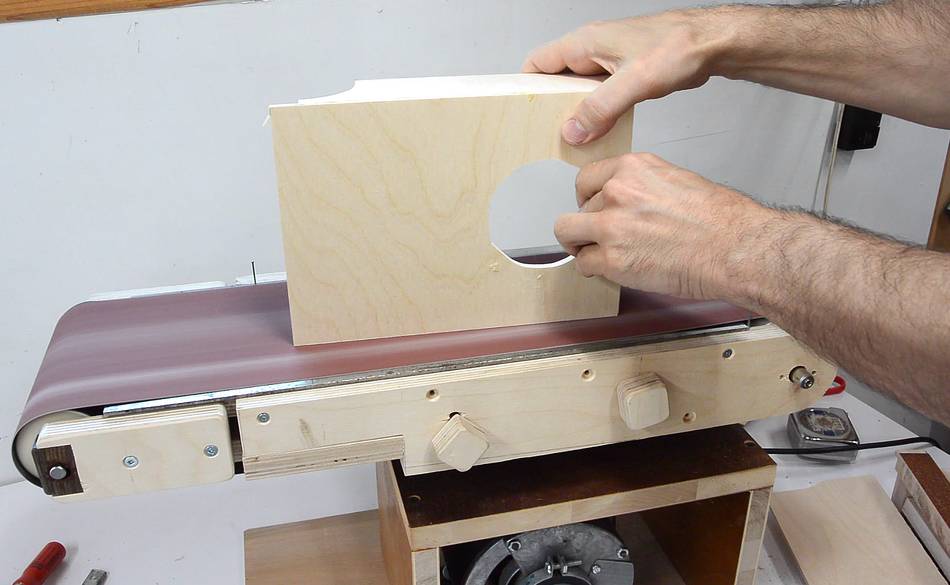
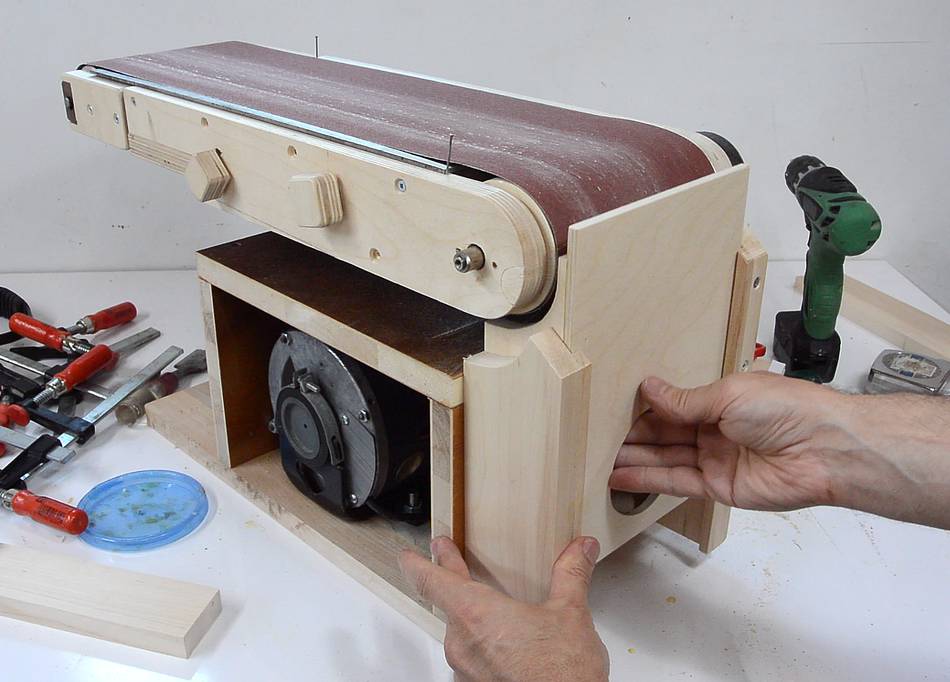
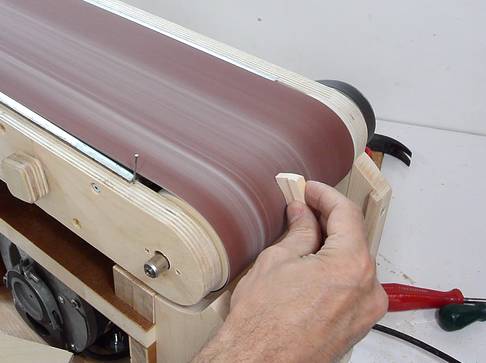
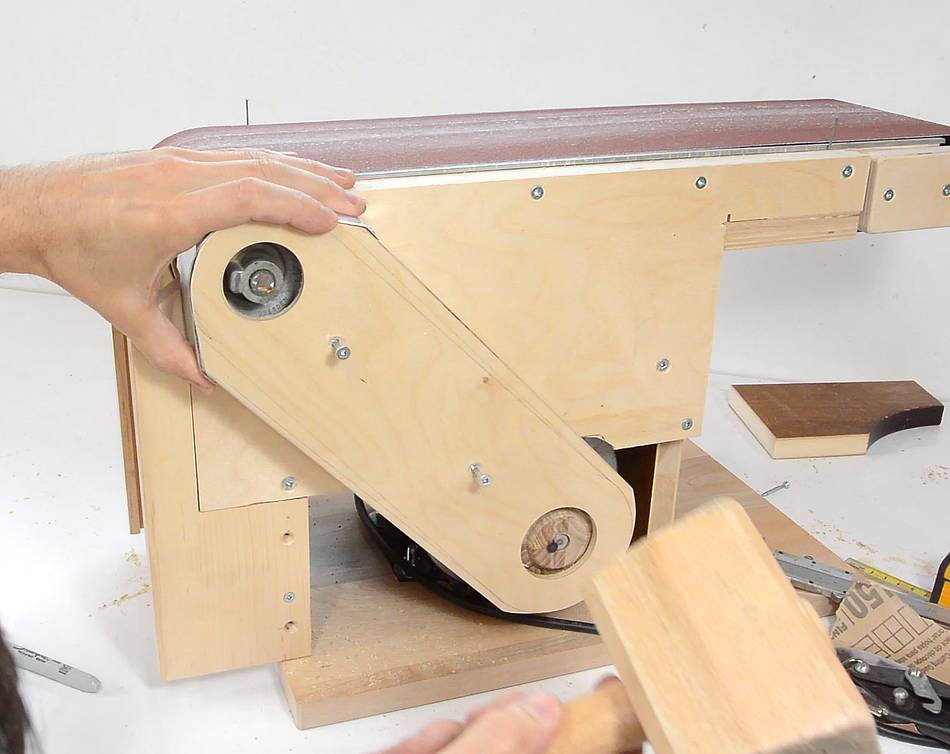
Once the belt sander was in this state I was confident that it would work.
I ordered a piece of 3 mm thick sheet metal from the
Metal Supermarket to
use as a platen.
This adds 3 mm of thickness, which is how much the rollers are above
the plywood. But I realized, I should ideally raise it slightly
higher to make sure the belt pushes against the platen a little.
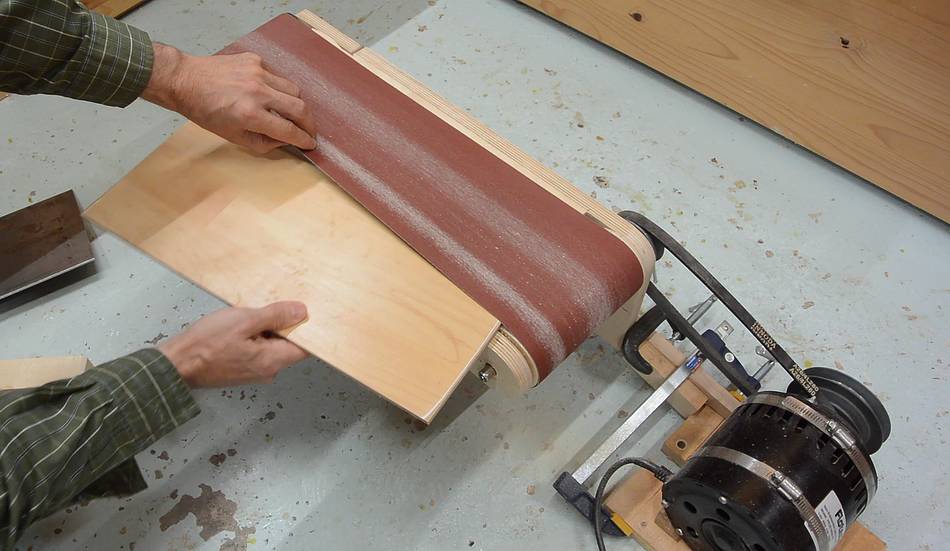
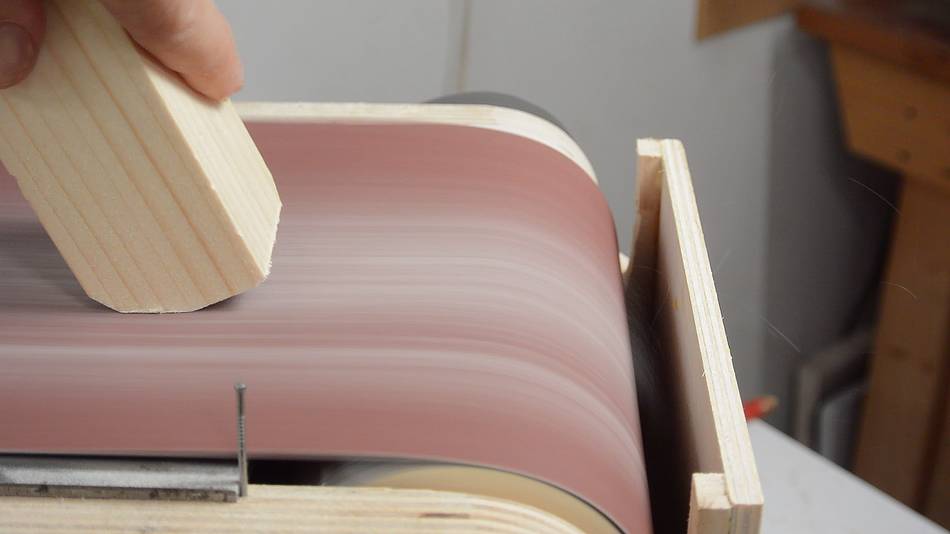
I also experimented with using a piece of laminate flooring as backing
material. I sanded a lot in the same spot to see how it would hold up, but I
couldn't see any signs of wear afterwards. The main issue with the
laminate flooring was that it's much thicker, so it lifted the belt
quite a bit, and that made the sander much louder.
If running the belt at high speed, heat build-up might also be an issue.
I have mine running at about 440 meters/minute or 1500 fpm.
Building the base
Next step was to build some sort of base for it so that the motor could
be underneath the belt. Here checking the layout of the pieces I cut.
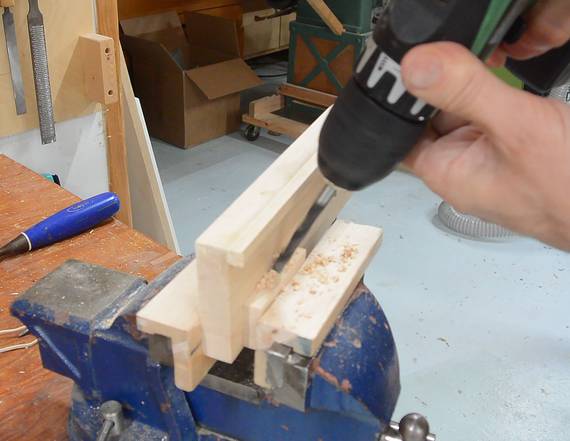
I butt joined the pieces together with glue. After the glue dried, I
drilled pilot holes and added screws to the corners.
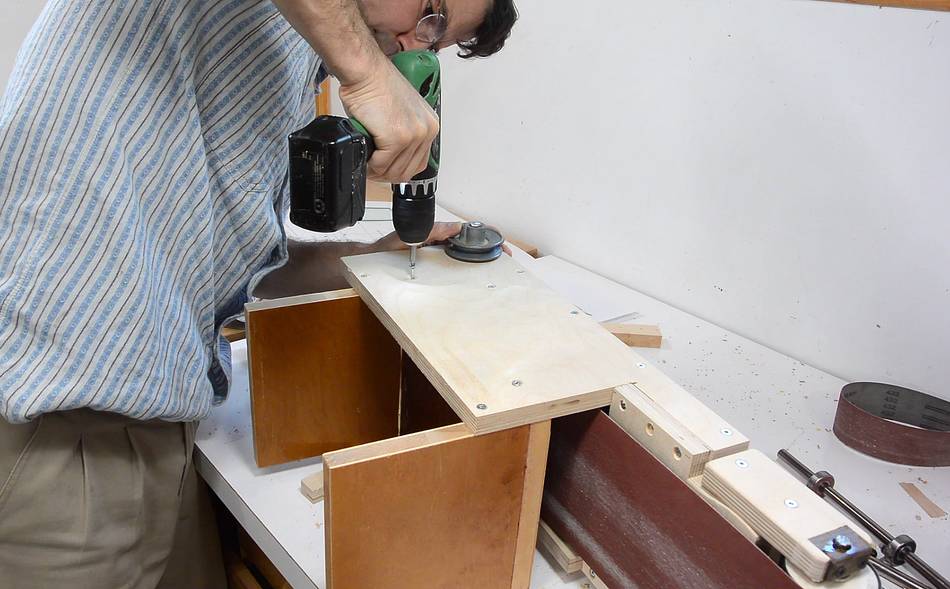
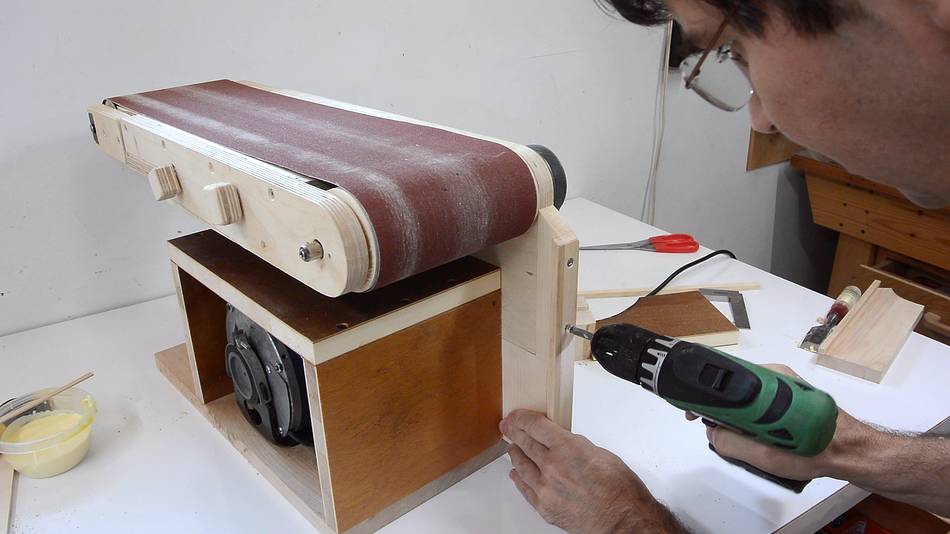
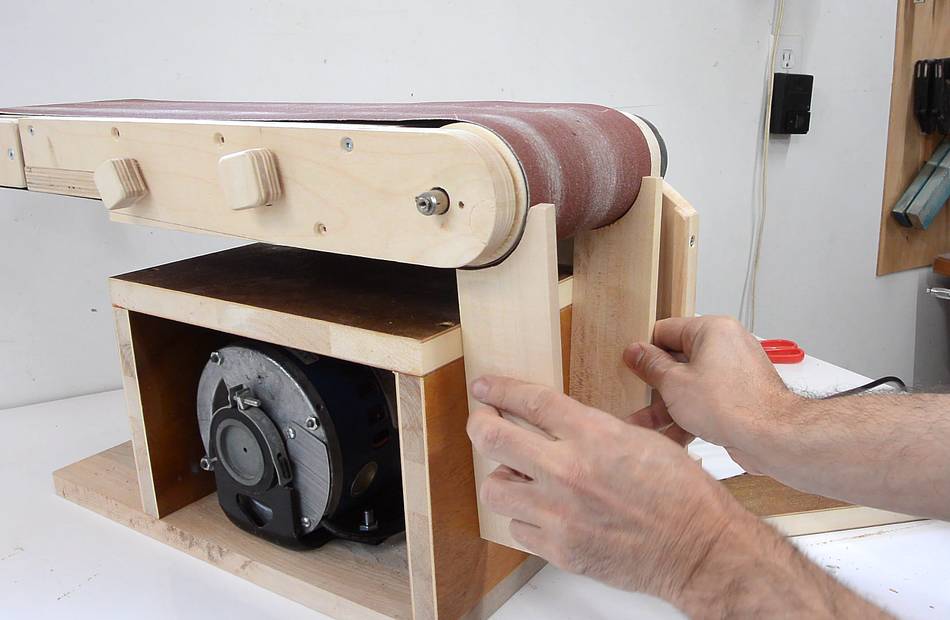
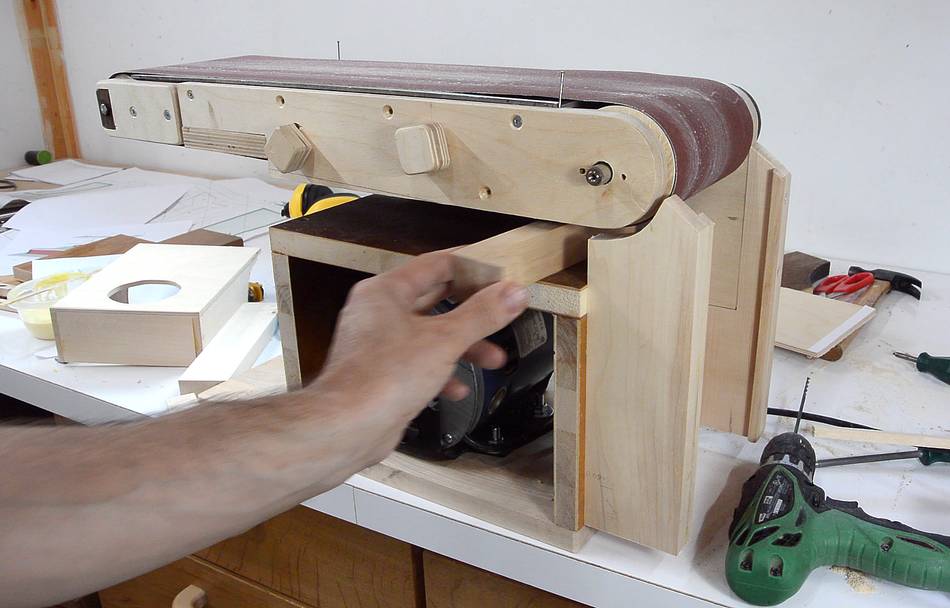
Then screwing the sander part to the base. Ideally, the piece of
plywood on the back of the sander would extend down a bit further,
but at this point I diverged from my initial design, so this wasn't
very pre-planned.
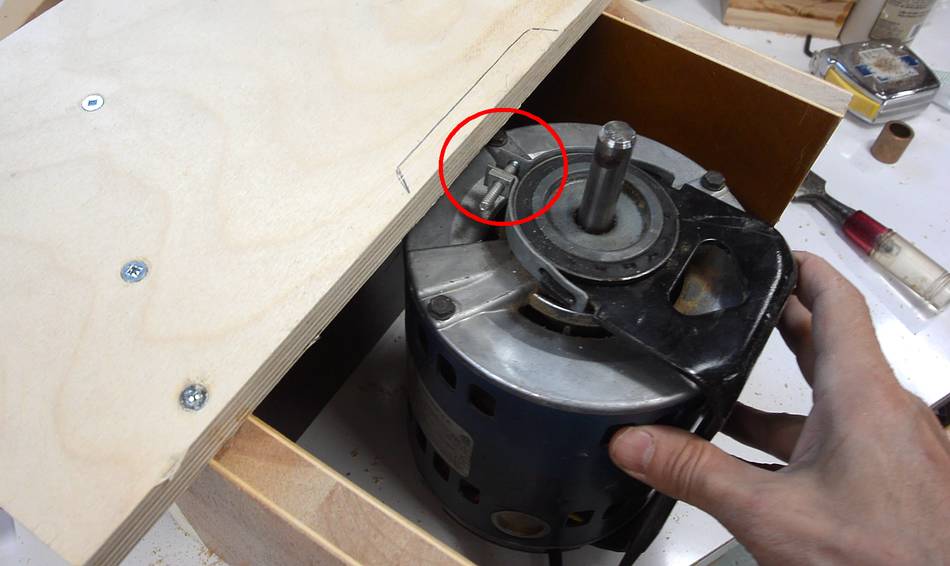
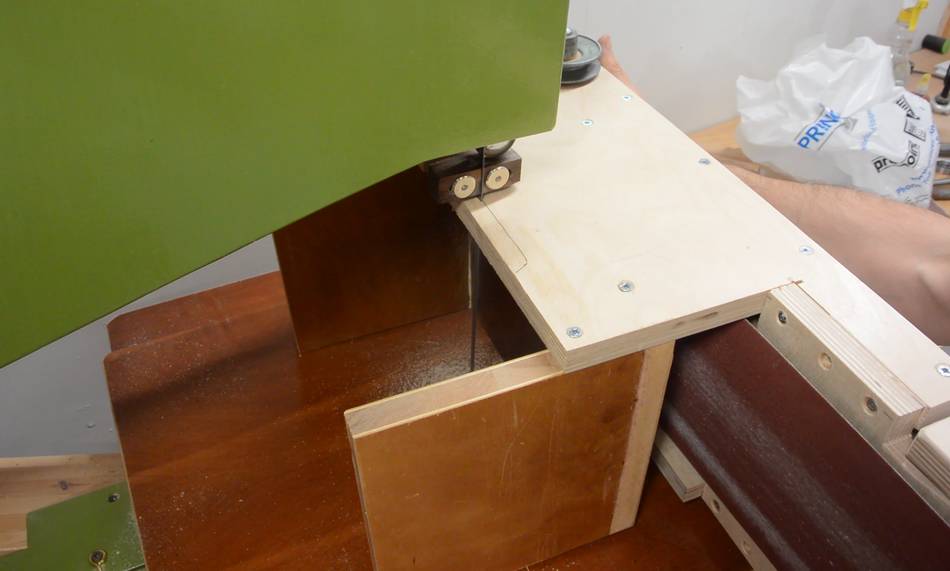
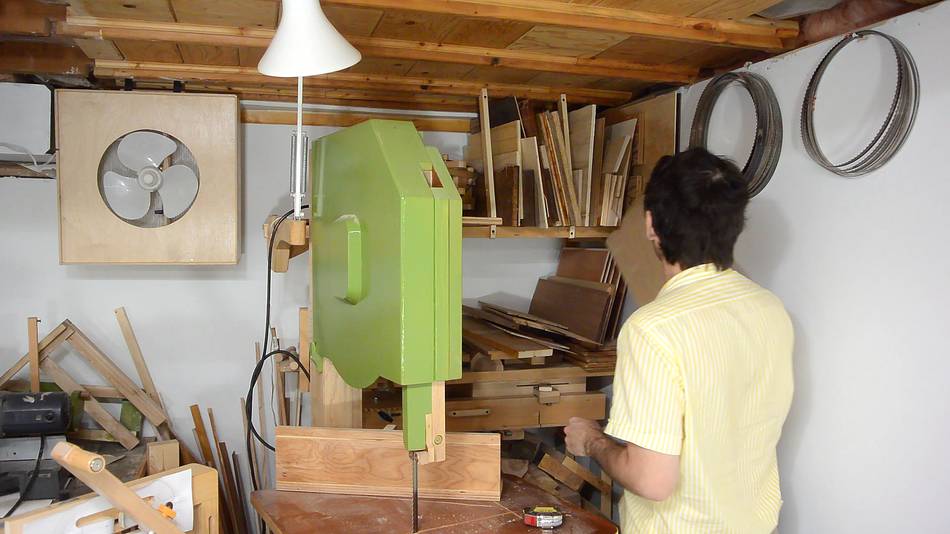
The motor mount ended up interfering with the back panel of the sander
A jigsaw could have worked for cutting that out, but the whole thing just
fit on my bandsaw, so I used that instead.
Making the motor pulley
I had one 2.5" (63 mm) pulley but needed a second one for the motor
(not the step pulley I first tested with). I bought a pulley, but it cost
$10, which seems too much for a small piece of aluminium. Two pulleys
would cost more than what I'll charge for the plans, so if I can show
you how to save one pulley, that's already making up for more than
half the cost of the plans!
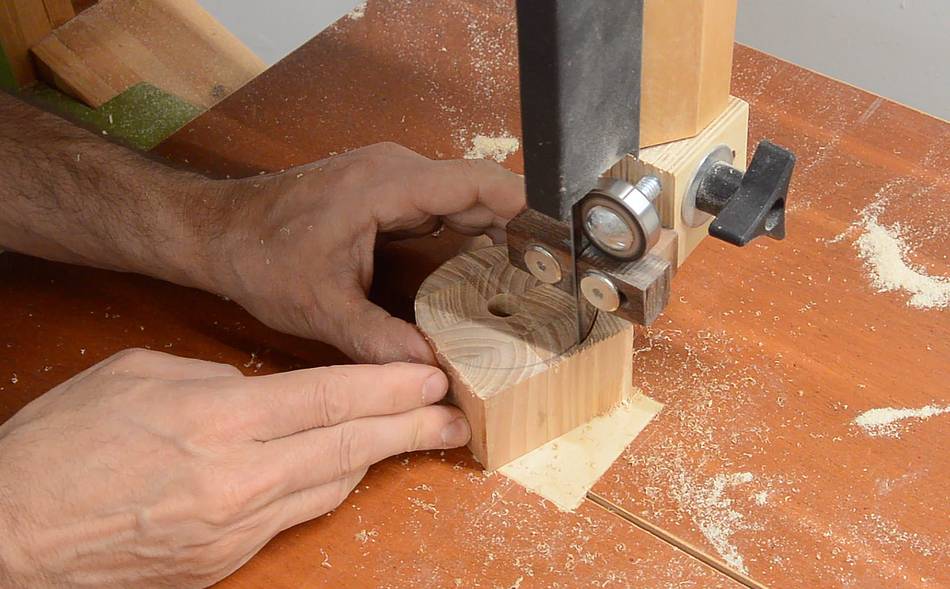
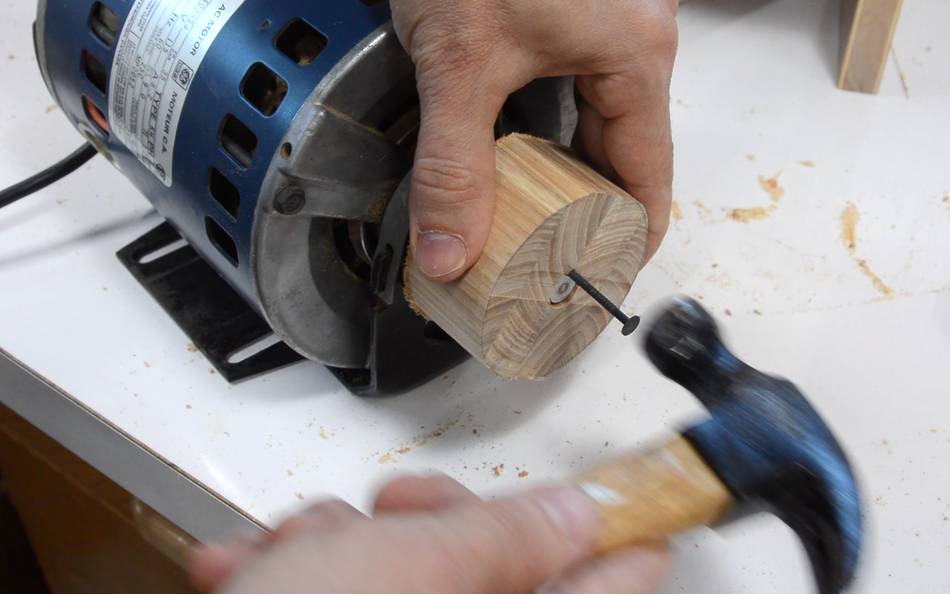
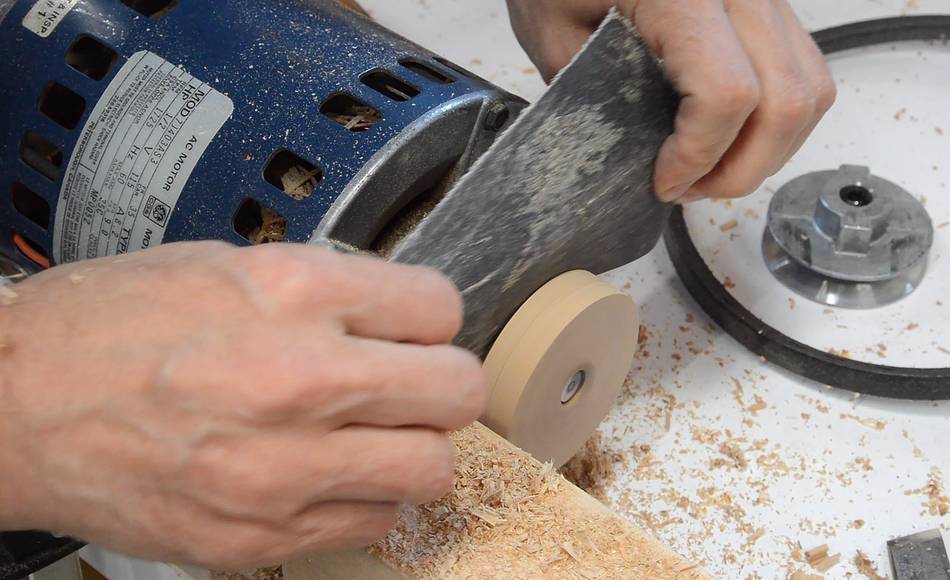
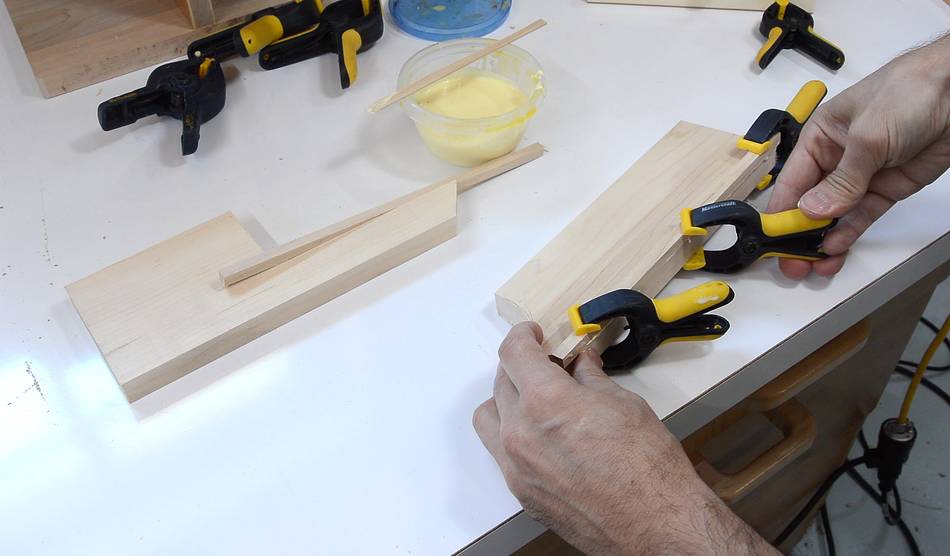
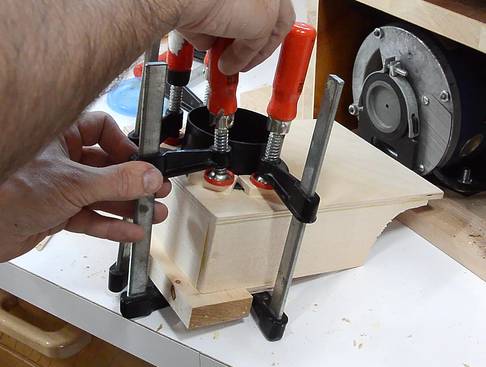
I made a blank by gluing several layers of really hard wood together.
This wood, ironically, came from a shipping palette.
I drilled the hole 31/64" in diameter, a bit smaller than the
motor's 1/2" shaft. I then drove a nail in where the motor's flat
spot is to act as a key to keep the pulley from spinning loose.
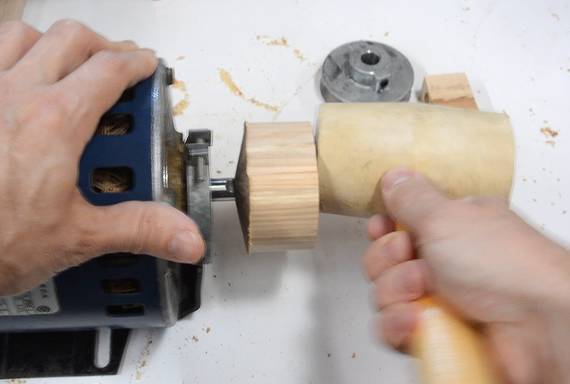
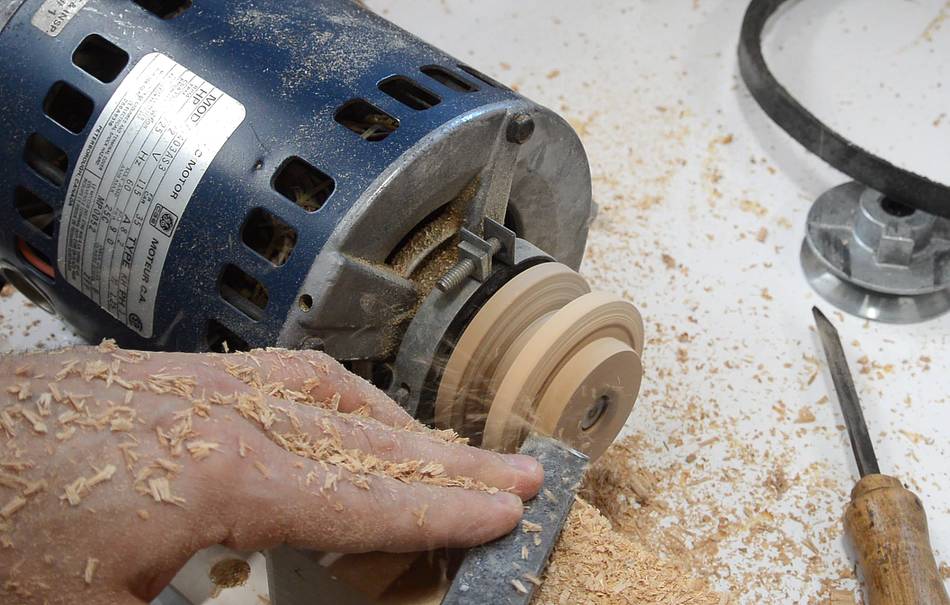
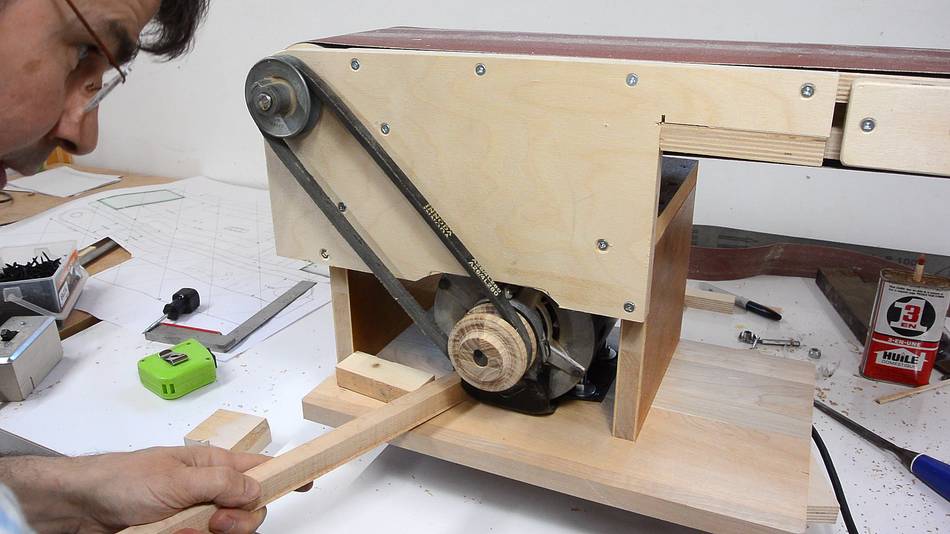
With the motor running I used turning chisels to shape the pulley.
I didn't have the motor clamped down firmly enough, and the motor's mount
is also a bit "springy", so there were some vibration issues. I ended up
shaping much of it with a parting tool, mostly to take smaller cuts
to cut down on vibration.
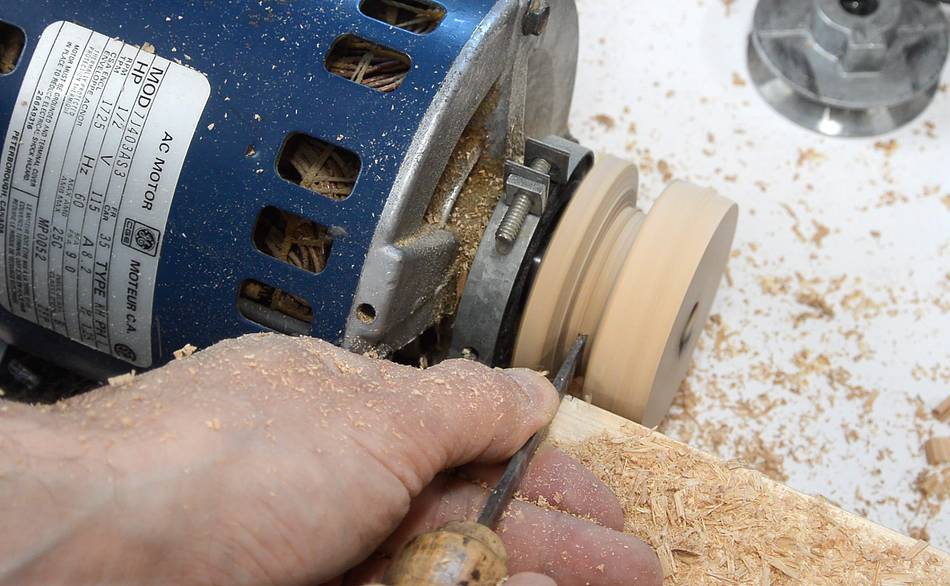
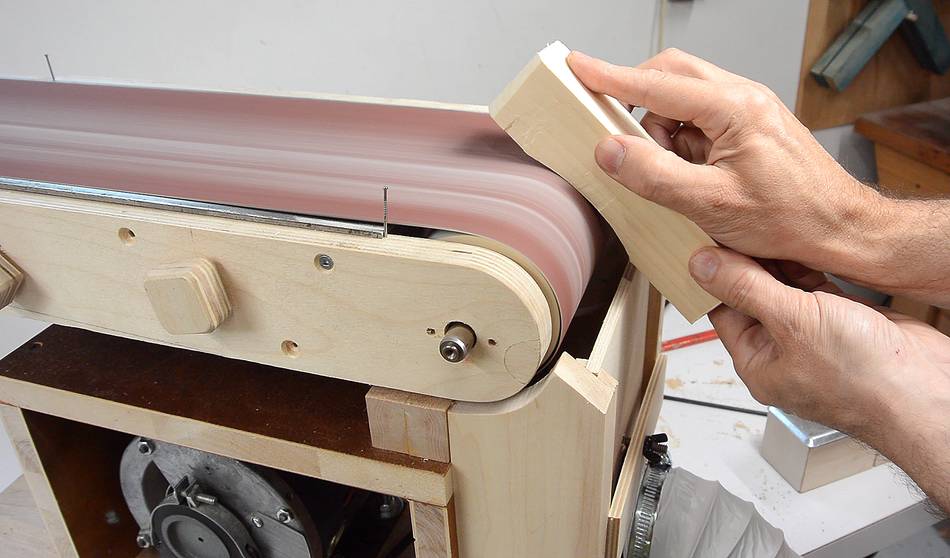
Sanding the inside edges of the V-groove. I wanted this to be nice and
smooth to avoid unnecessary wear on the belt.
Then shaping the end of the pulley a bit more.
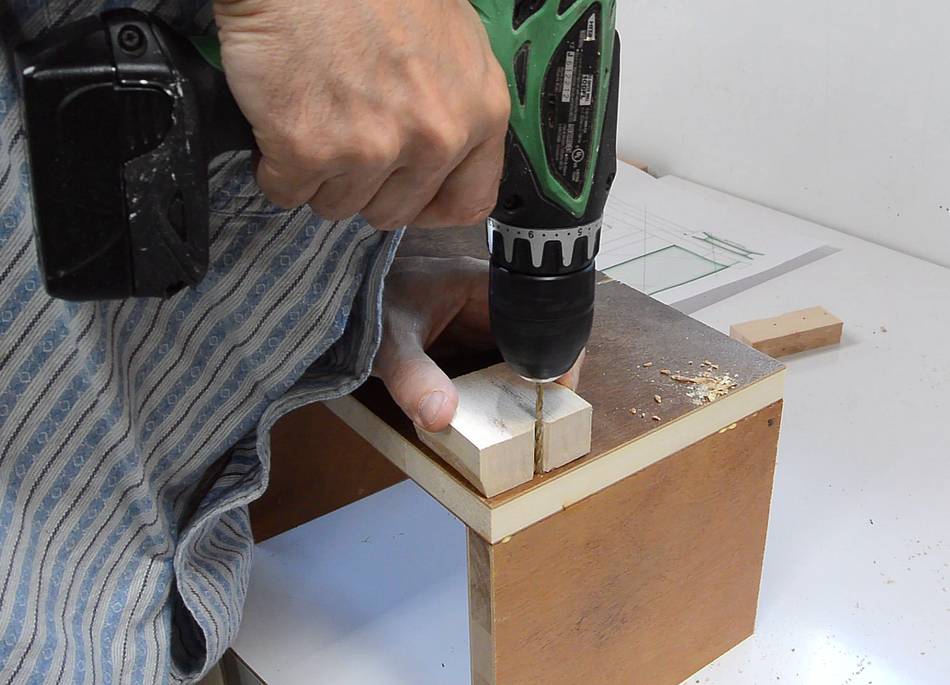
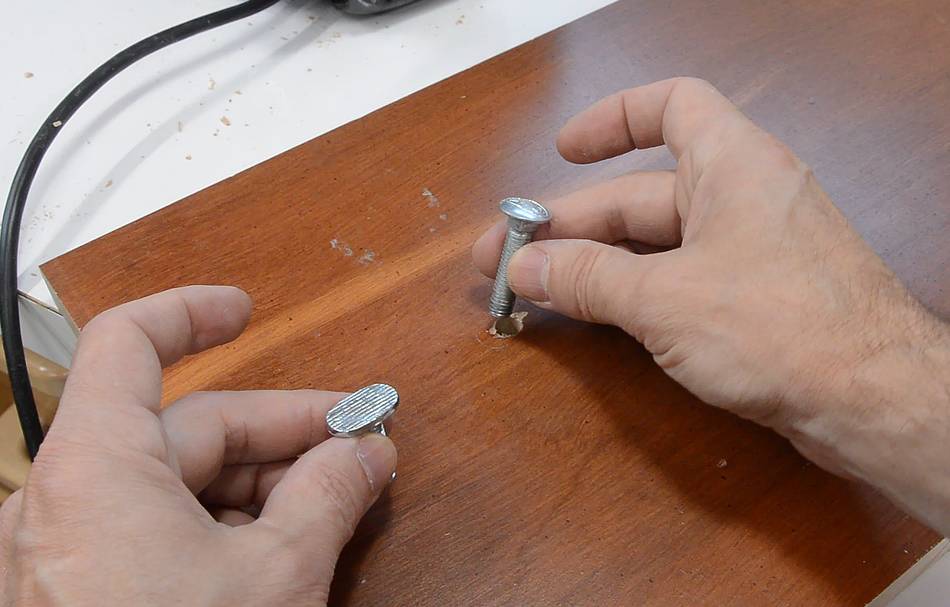
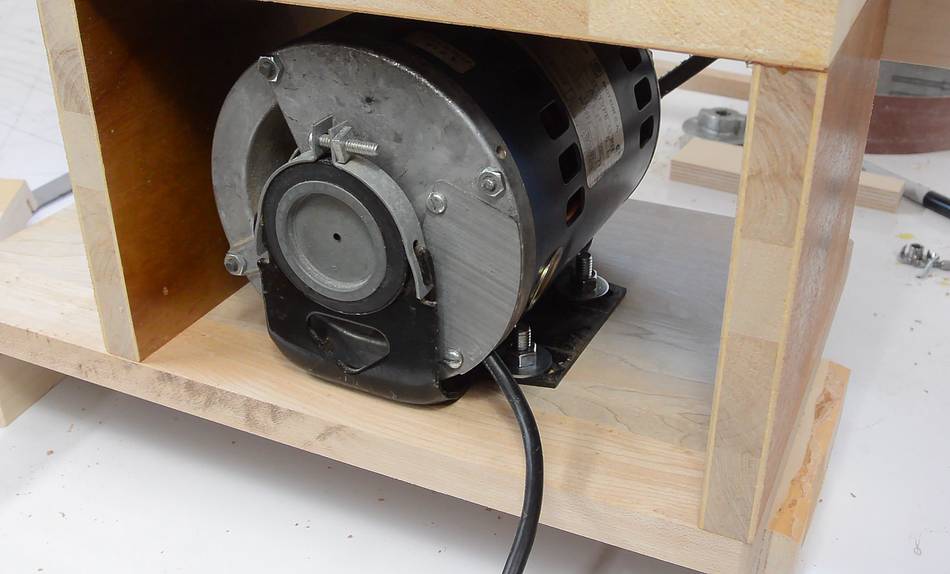
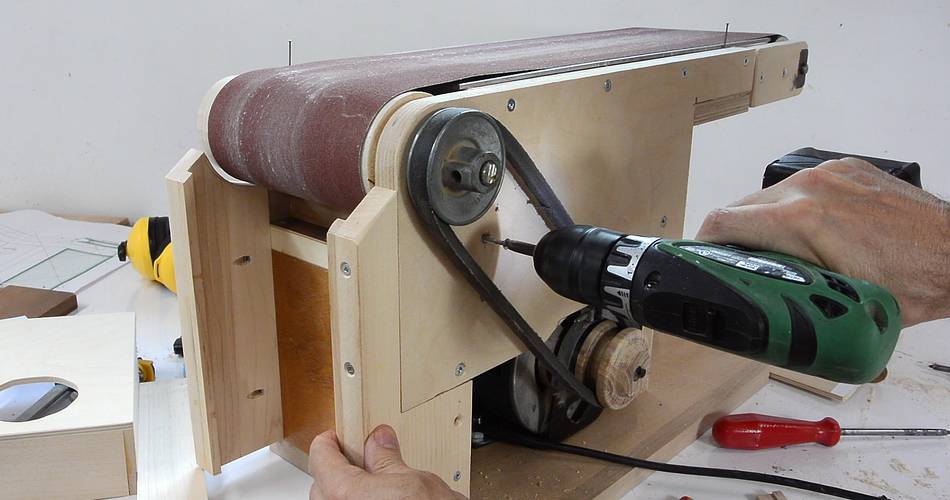
The motor needs to be bolted down to the base. The logical choice
would be to use carriage bolts, but I have a whole bunch of these
T-slot jig bolts left over from a
149 part jig and fixture kit I bought from Lee Valley Tools
a few years ago, so I'll use those.
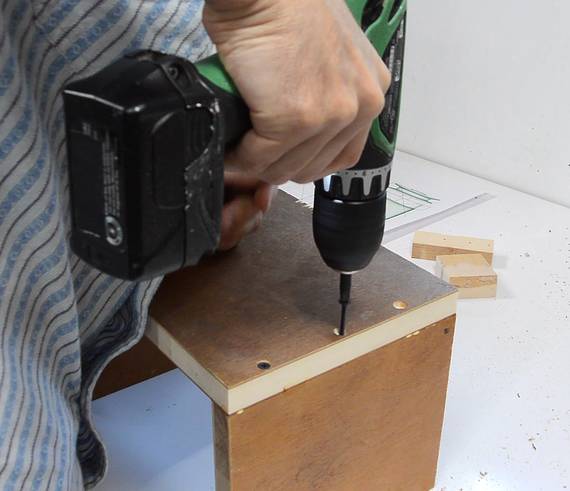
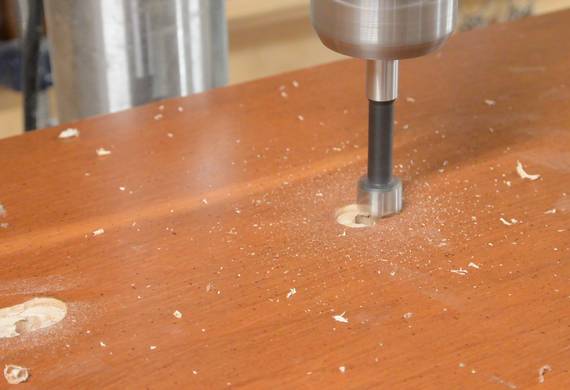
These require an elongated hole on the back, which I'm making by drilling
overlapping holes with a Forstner bit.
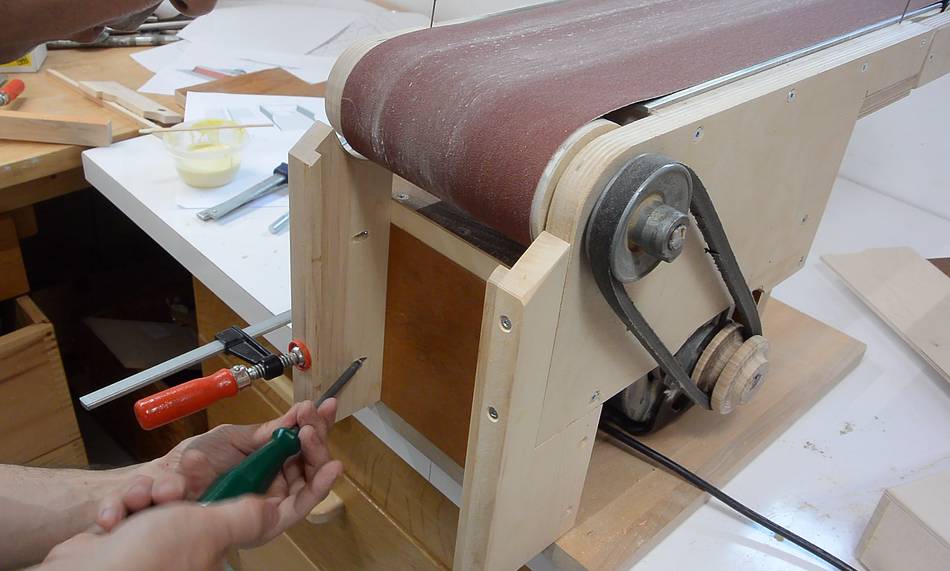
Then screwing the bottom onto the sander.
Motor bolted on.
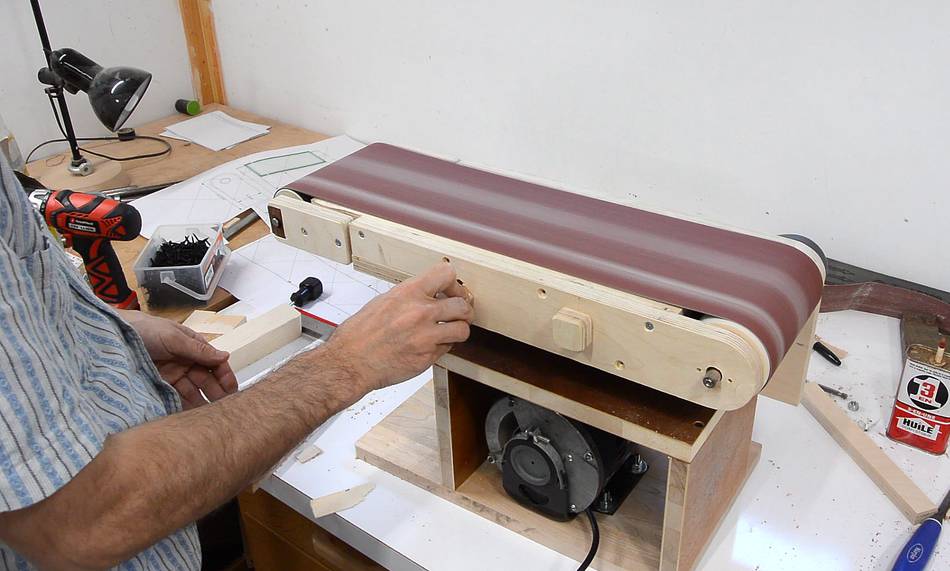
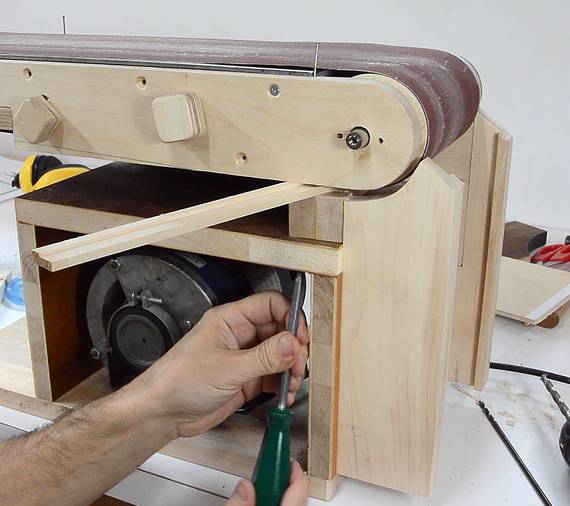
Using some pieces of wood to lever the motor to the side
to add belt tension, then tightening the nuts to lock the motor
in place.
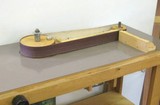
And running the belt sander. I could just add the metal platen
now and call it done!
The sander could also be tipped on its side, so it can be used as an
edge belt sander.
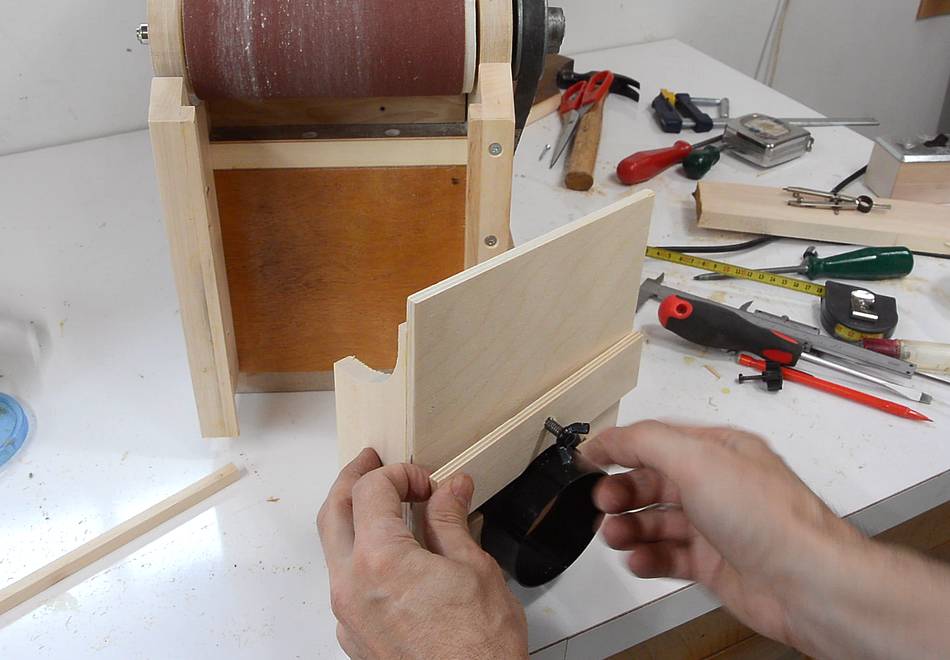
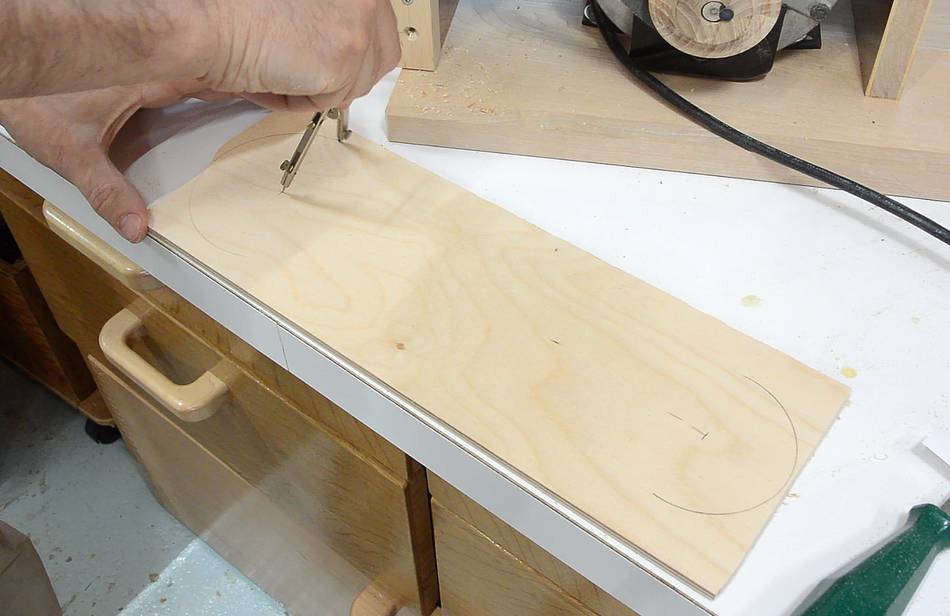
Adding dust collection
I wanted a good way of collecting the dust coming off this belt
sander without getting in the way too much. I had an idea for an
adjustable dust collection shroud for this.
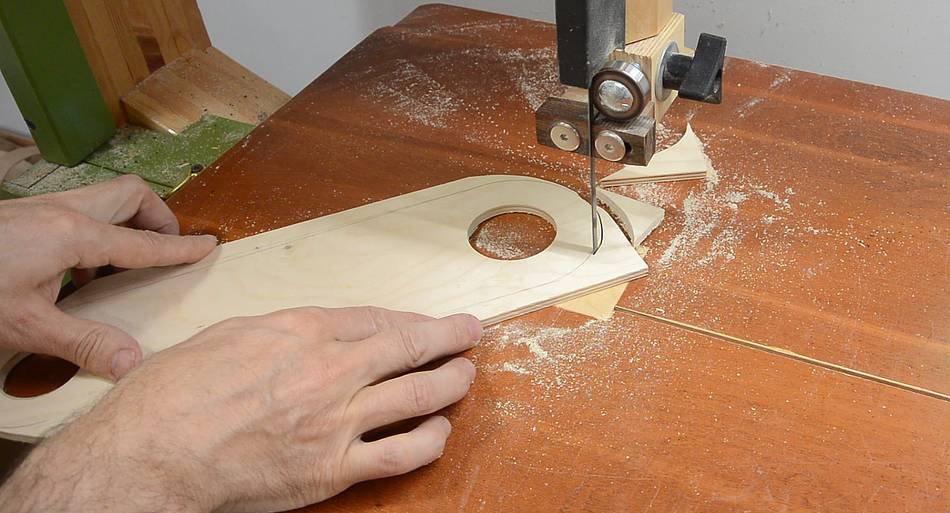
Here, tracing the shape for one of the parts,
then cutting the shape on the bandsaw.
Adding a ledge to the pieces to hold the sliding shroud.
Then attaching the far side to the sander.
Checking the shape for the side pieces of the sliding part of
the shroud.
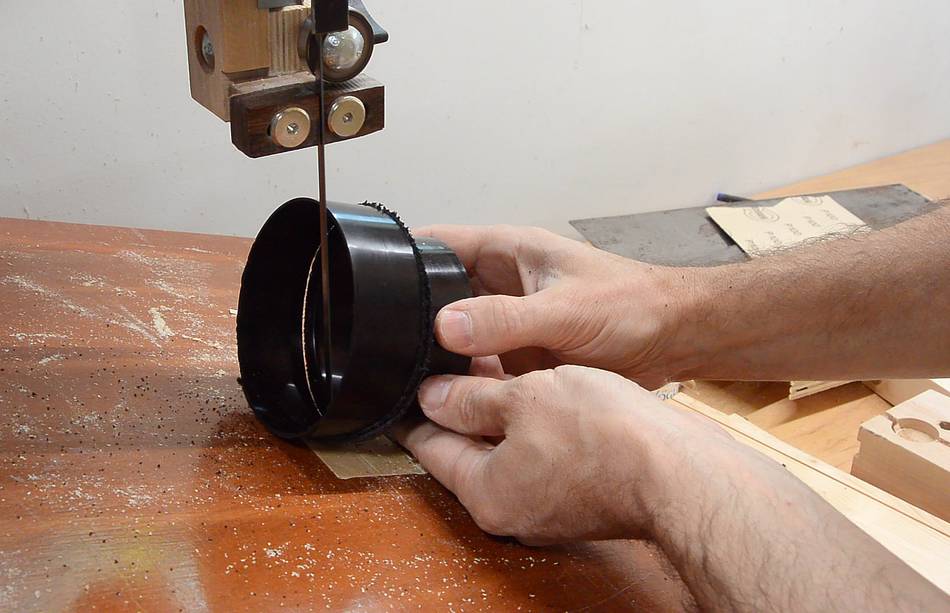
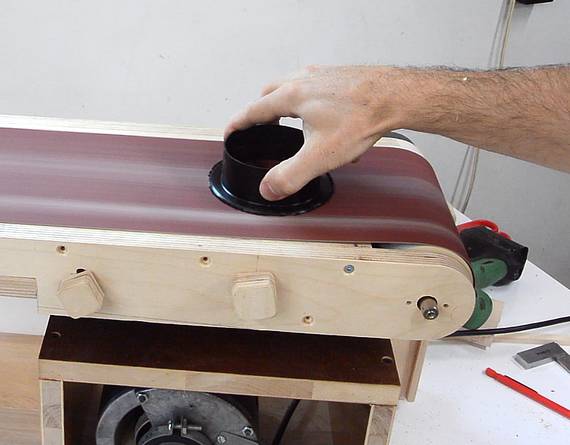
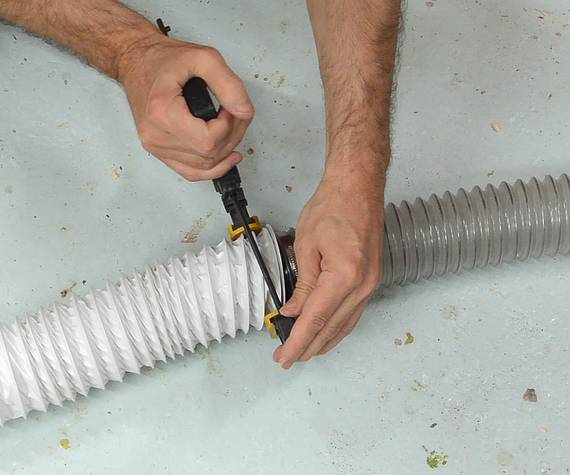
I bought a piece of 4" to 3" clothes dryer vent hose adapter to use
for the dust collection hose. For light duty applications,
dryer hose works quite well for dust collection.
I sanded the burred edges on my belt sander.
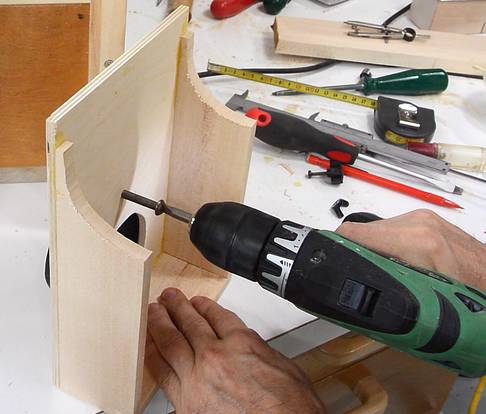
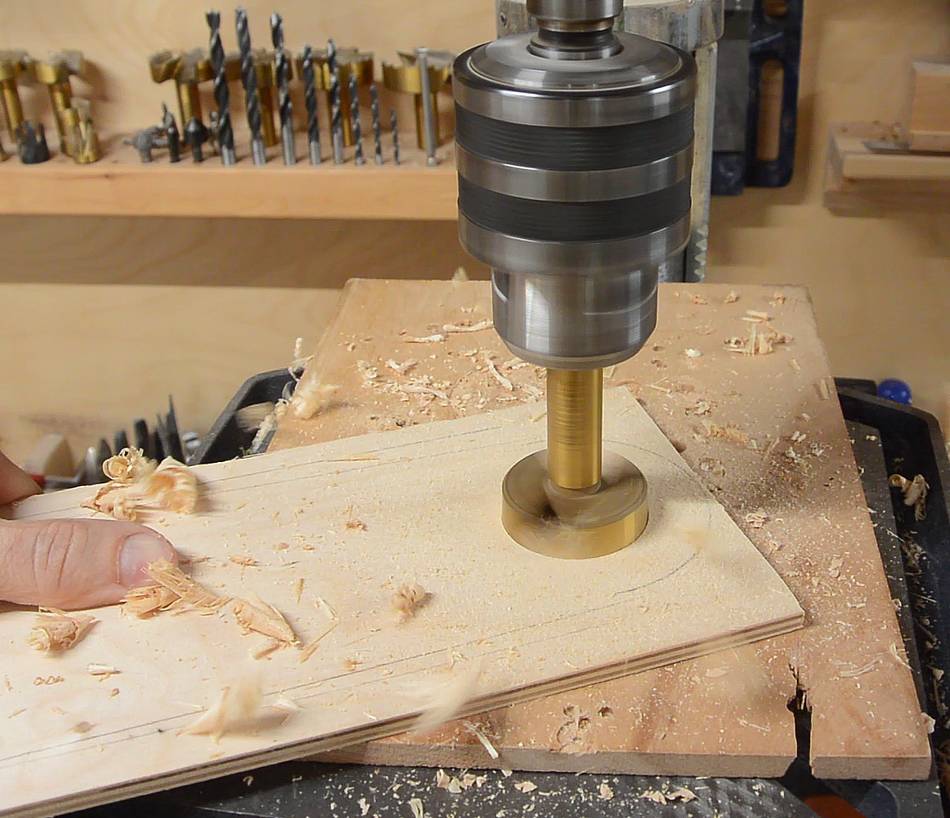
Looking through my plywood offcuts stash for a suitable piece of plywood
for the back of the shroud.
Then tracing the size of the hole on a piece of plywood and cutting
it out on a scrollsaw.
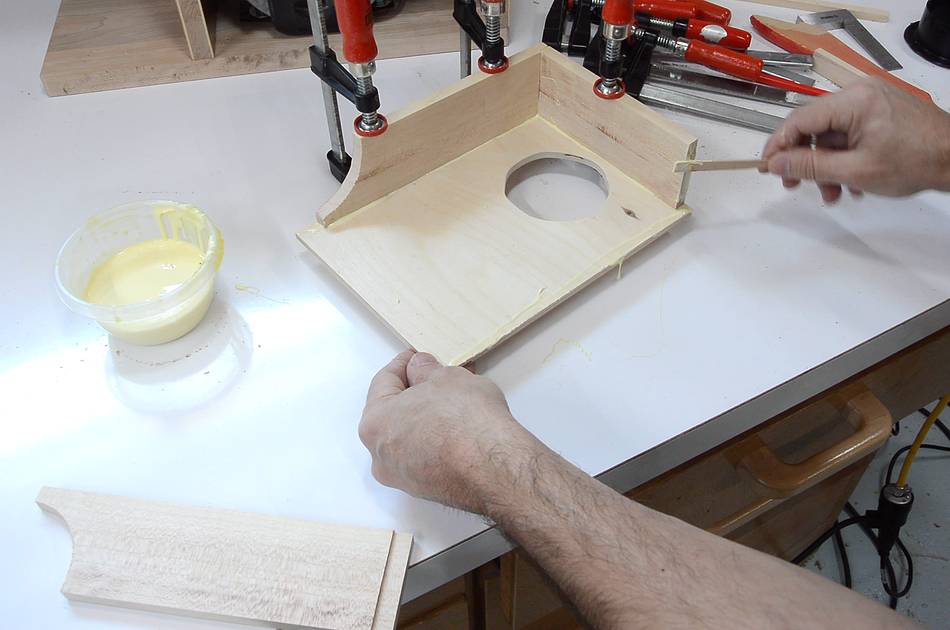
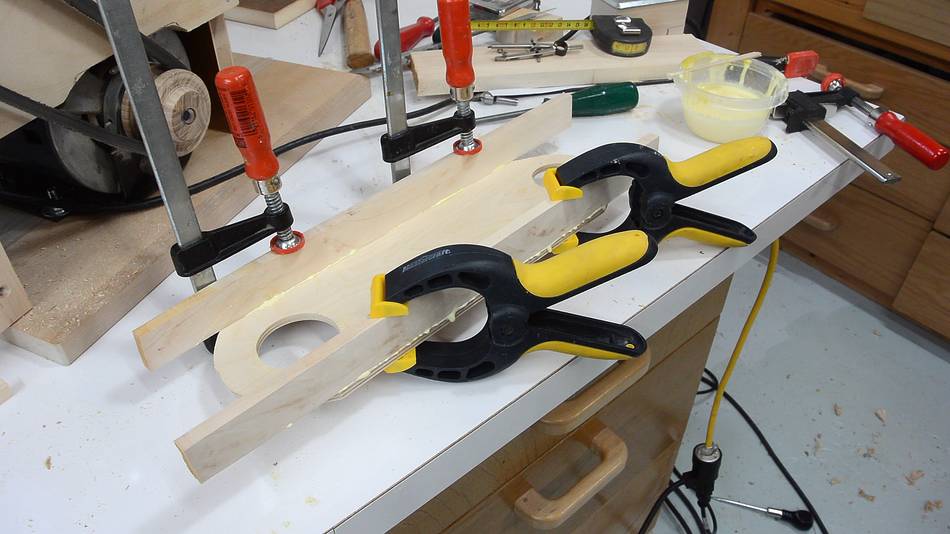
Gluing it together.
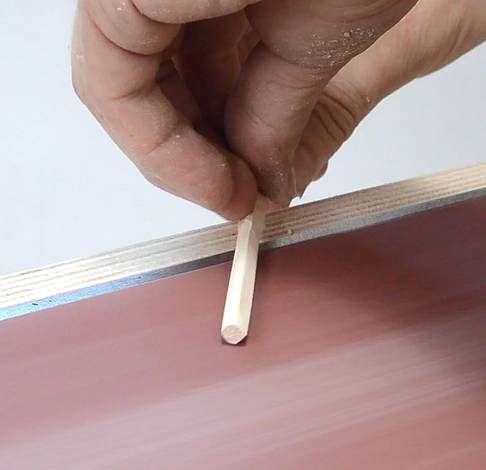
I sanded some sticks of wood round to use as small dowel pins
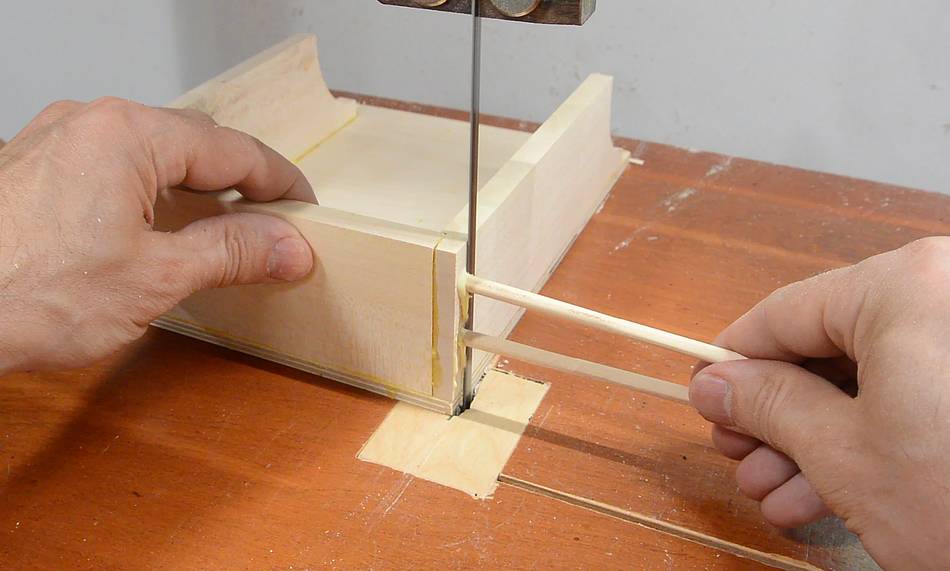
to reinforce the corners of the part that I just made.
After gluing the pins in, I cut them flush on the bandsaw.
Then sanding them fully flush on the sander. I also rounded
the corners while I was at it.
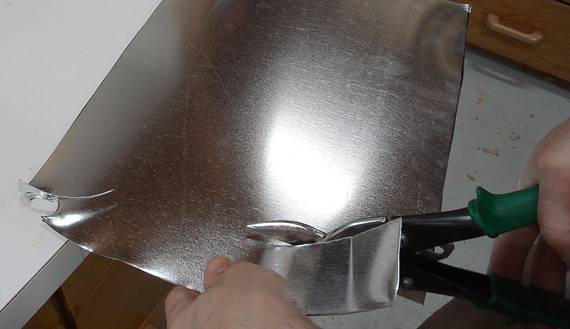
I used some small finishing nails to temporarily hold the sheet
metal platen in place.
Checking the fit.
The piece of wood that holds the other side of this shroud could
have been attached with long screws through the whole part,
or with screws from the back (but the motor would be in the
way of the screwdriver). I figured the most elegant way
to attach it was with pocket holes from the inside.
Yes, pocket holes. I couldn't use my pocket hole jig because
the ledge I already glued on was in the way, so I clamped
another piece of wood to the side of where I needed to drill
to help guide the drill in at an angle.
I want air to get sucked in from the top. To avoid having too much
air coming from the side, I added a piece of wood between the
box and the sanding belt to block that air flow.
I attached that with a screw at an angle from below...
... and another screw from the back.
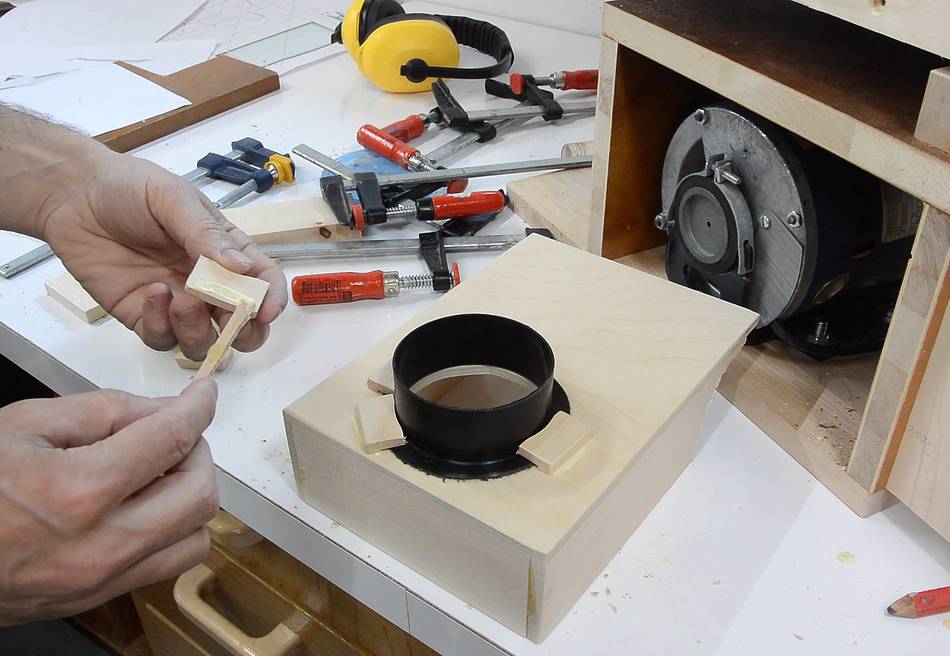
I thought about screwing the hose flange to the piece of wood,
but then decided to use small blocks of wood to hold it in place.
The pieces of wood have a rabbet cut in the side to accommodate
the thickness of the plastic flange.
Naturally, I sanded these smooth on my belt sander.
Then clamping them while the glue dries.
I also needed a way to lock the vertical position of the shroud.
I used a 1/4" machine screw, screwed
into a slightly undersized hole from the back, then a wing nut
on the outside, which presses a piece of wood against the ledges
that hold the dust collection shroud. Tightening the wing nut
locks it in place.
A hose clamp holds the dryer hose.
I'm using a clamp to temporarily hold the 3" dryer hose to
my 2.5" dust collector hose, which leads to my
small dust collector
Trying it out. It's hard to see the moving dust in the photo,
but the majority of the dust went into the shroud.
And when sanding curves, the shroud can be lowered to make room.
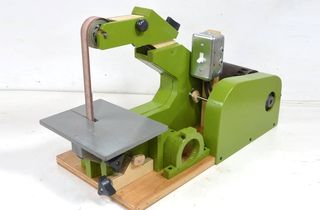
Belt guard
A belt guard isn't strictly necessary for a machine like this, but
I figured I might as well build one.
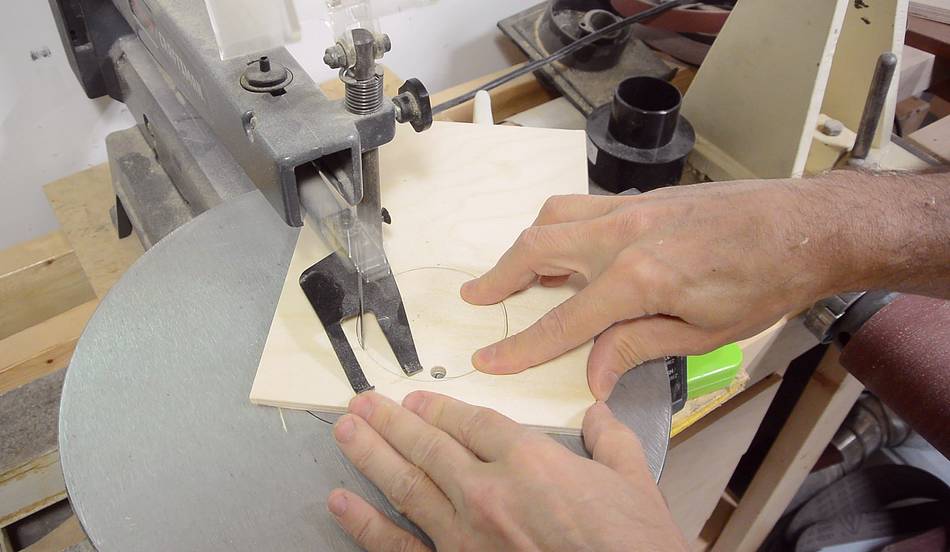
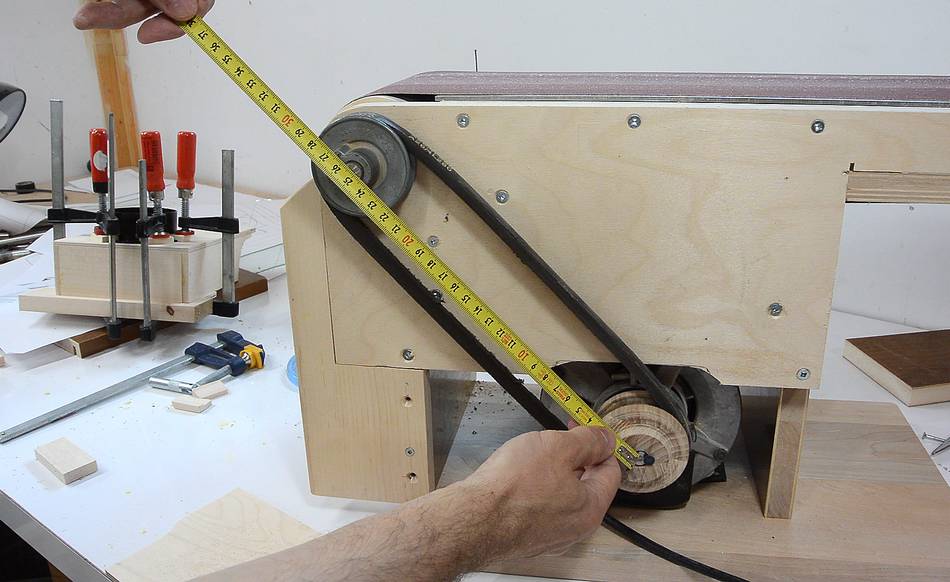
I started by measuring the distance between the pulleys.
Then drawing semicircles on a piece of plywood of the right length.
I had to drill some holes to accommodate parts of the pulleys on either
end.
Then cutting the ends round.
Gluing on the sides of the belt guard.
I used some thin sheet metal (about 0.5 mm thick) for the top
end of the belt guard. That way, the guard fits around the pulley
without protruding beyond the sanding belt.
The sheet metal screws to the wooden guard with two screws on
each end, plus another screw in the middle. I added an extra layer
to the plywood for where the screw goes in the end (not shown)
Placing the belt guard against the belt, lining it up so that the
pulleys are centered in the holes. Then using a mallet to tap the screws
so they leave a divot in the part that it's screwed against.
After drilling pilot holes, I was able to screw the belt guard in place.
At this point I could call it done. But because I also want to be able to
lie the sander on its side to use as an edge belt sander, an adjustable table
is also necessary for this. I will get into that in my next article.
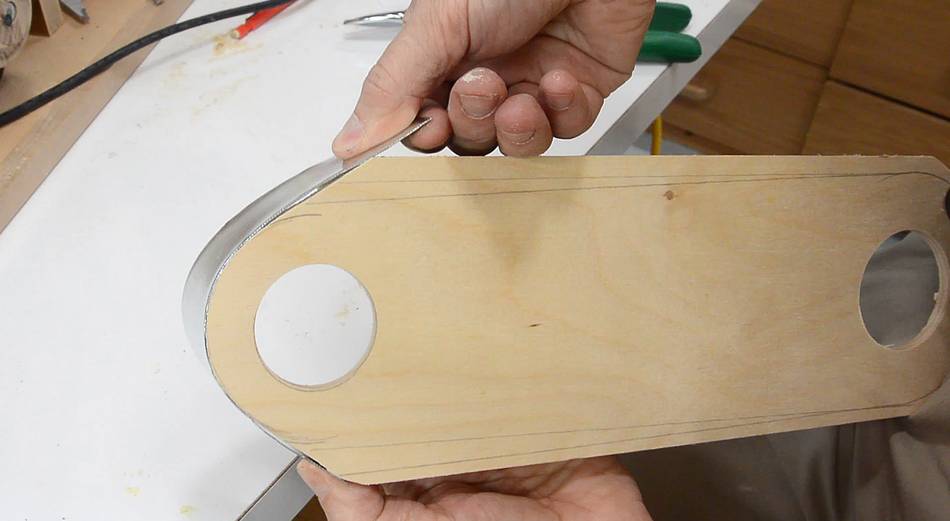
 Once the belt sander was in this state I was confident that it would work.
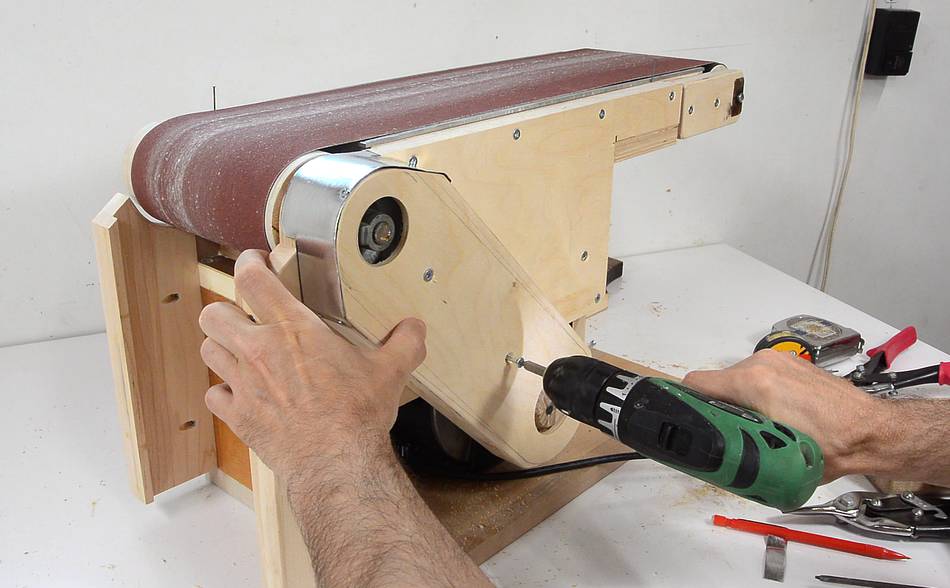
I ordered a piece of 3 mm thick sheet metal from the
Metal Supermarket to
use as a platen.
This adds 3 mm of thickness, which is how much the rollers are above
the plywood. But I realized, I should ideally raise it slightly
higher to make sure the belt pushes against the platen a little.
Once the belt sander was in this state I was confident that it would work.
I ordered a piece of 3 mm thick sheet metal from the
Metal Supermarket to
use as a platen.
This adds 3 mm of thickness, which is how much the rollers are above
the plywood. But I realized, I should ideally raise it slightly
higher to make sure the belt pushes against the platen a little.


 Belt sander build part 1
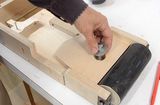 Changing how belt tension/tracking works
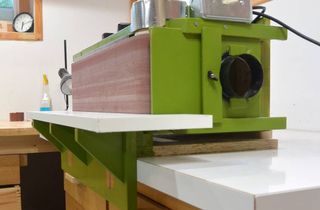 Edge belt sander mode
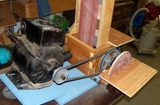
 Strip sander
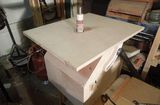
 More sanding machines