Leo Levitt's bandsaw
Leo Levitt writes:Hi Im Leo, 15 from the UK and I wanted to show you the bandsaw I built from your plans. It took me about 2 months to complete because I did little bits during the day but mostly on evenings. I decided to buy the plans for the 14" saw because it was the right size for my woodshop and needs. All the parts I had to buy cost me £177 altogether. I hope you like the saw and thank you for the really well made plans.
wood for frame - free
mdf for wheels - £20
bearings - £20
shaft - £7
inner tubes - £6
1hp motor - £50
blade - £16
hardware - £16
varnish - £44
paint - £14
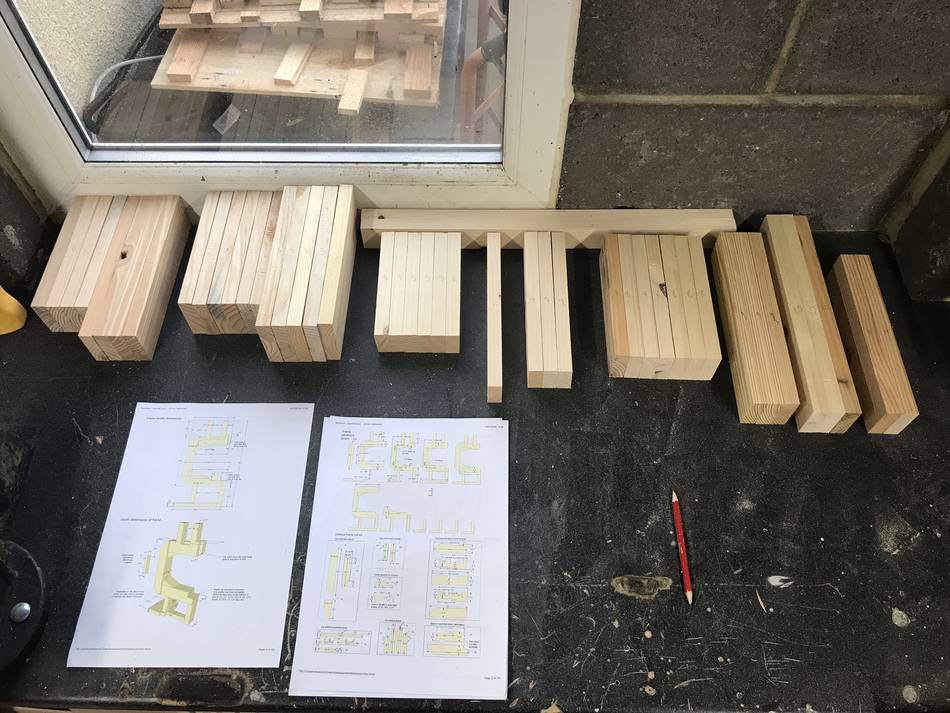 Some of the parts cut and numbered out using the plans.
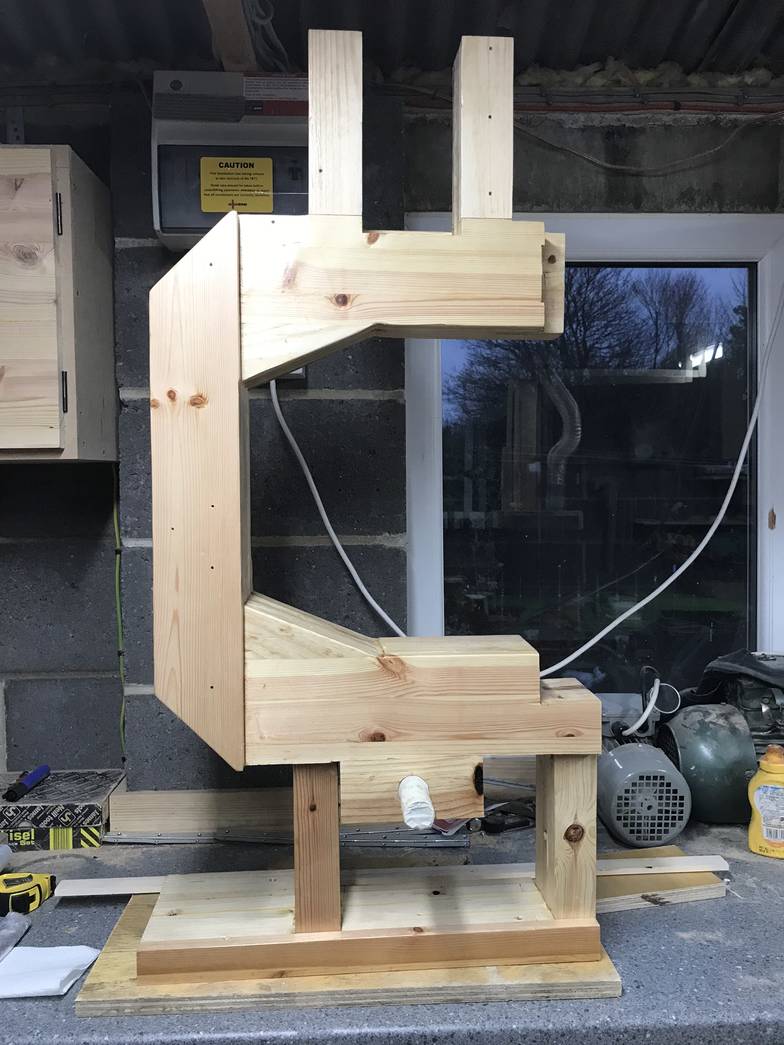
 The frame all glued up. The bottom wheel mount fitted but I change this
later on in the build. I used 17mm thick pine boards because I had
enough of it to build it without buying any more boards.
The frame all glued up. The bottom wheel mount fitted but I change this
later on in the build. I used 17mm thick pine boards because I had
enough of it to build it without buying any more boards.
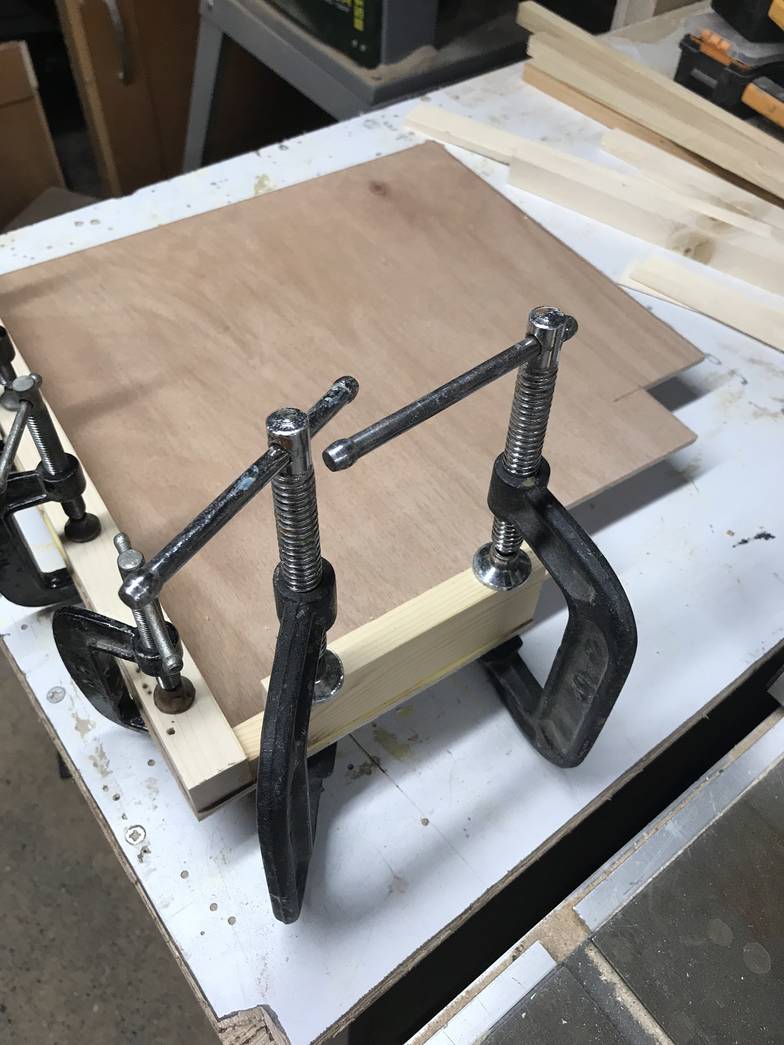
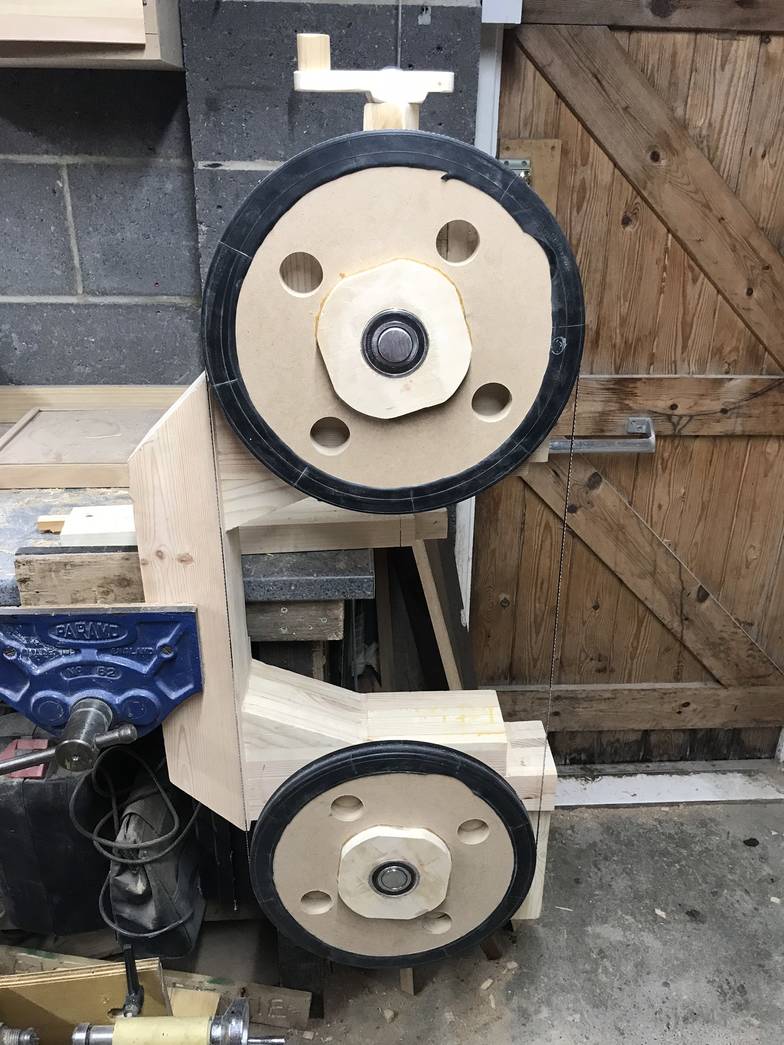 I turned the wheels and mounted them to the frame and held it in a vise
to check that the blade can run on the wheels. The blade ran on the
wheels really well the first time. I used 30mm bearings and shaft.
I turned the wheels and mounted them to the frame and held it in a vise
to check that the blade can run on the wheels. The blade ran on the
wheels really well the first time. I used 30mm bearings and shaft.
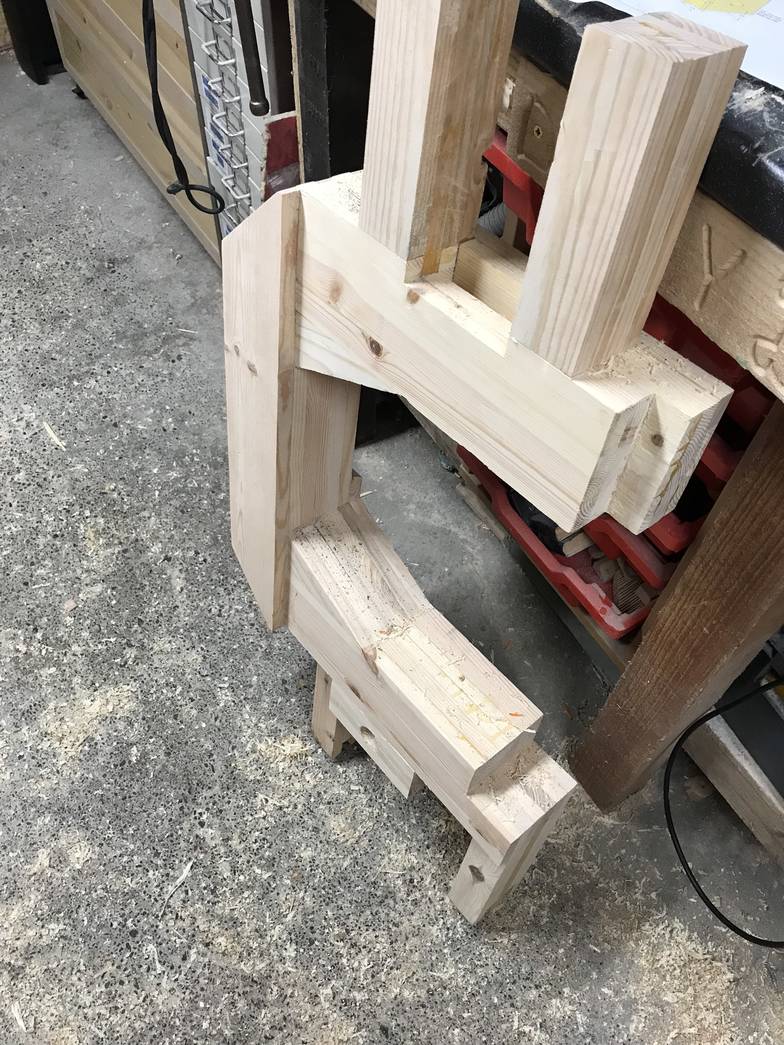
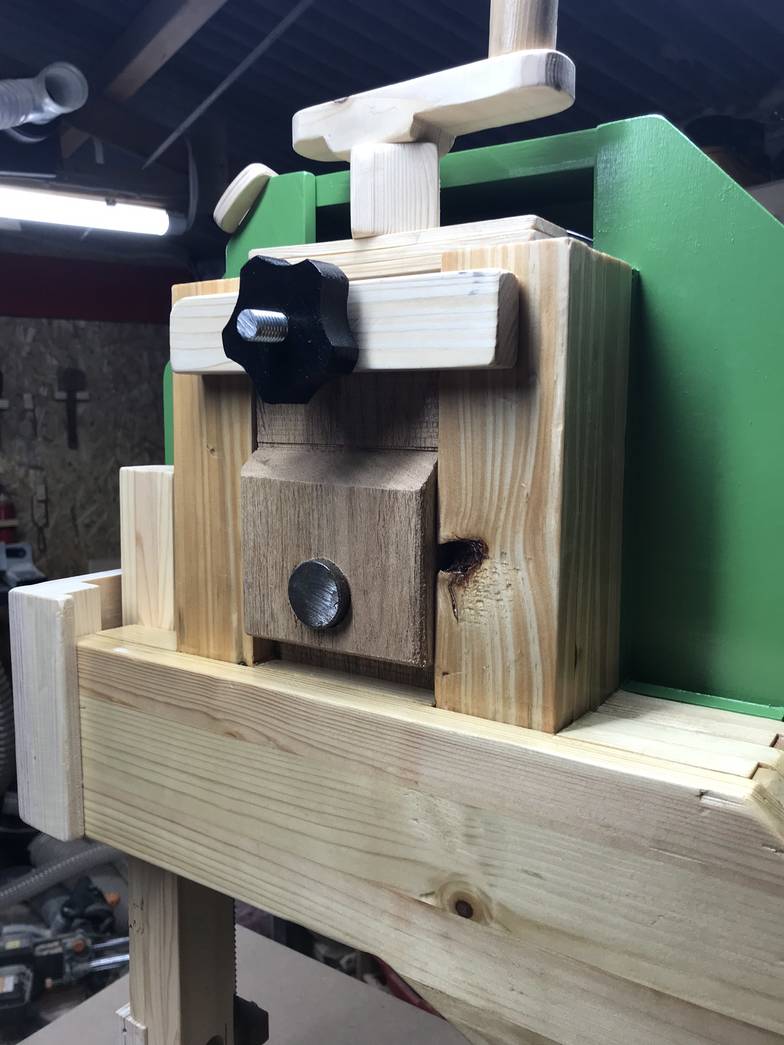
 The new bottom wheel mount. I decided to use the same design mount
from your 20" bandsaw because I thought it was a better design. This
also shows the bottom blade guides cut out.
The new bottom wheel mount. I decided to use the same design mount
from your 20" bandsaw because I thought it was a better design. This
also shows the bottom blade guides cut out.
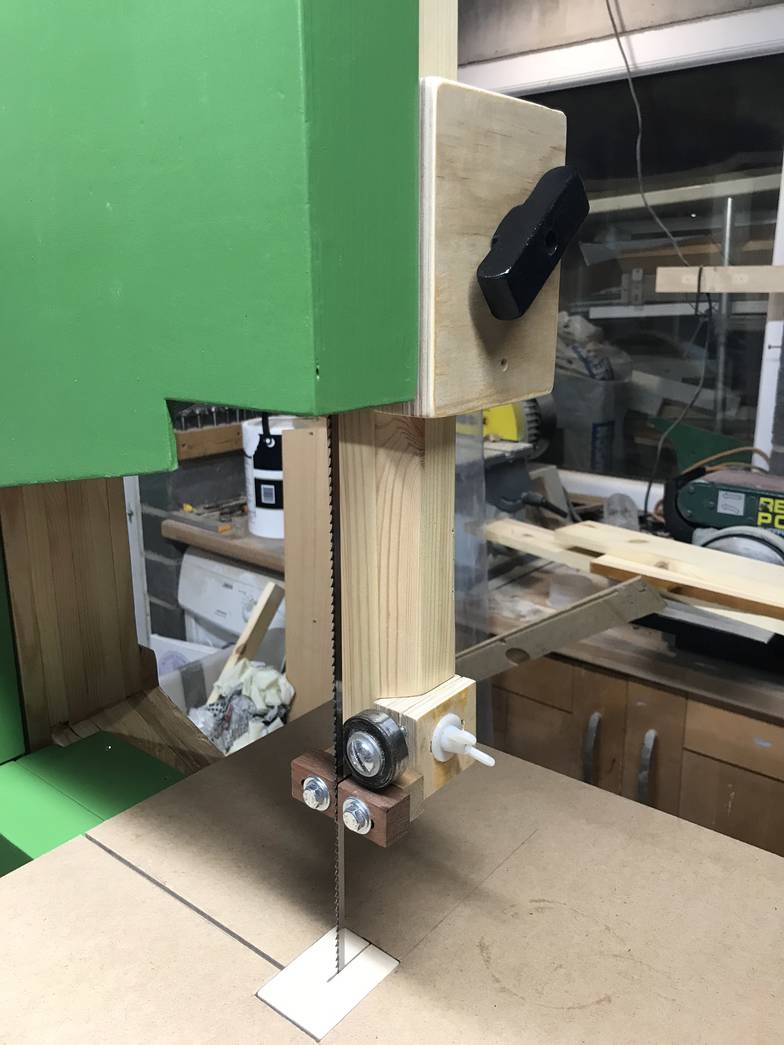
 Here is the top blade guides made and ready to be fitted to the frame.
I used a slightly bigger bearing on the guides because thats all I had
on hand at the time but it works ok.
Here is the top blade guides made and ready to be fitted to the frame.
I used a slightly bigger bearing on the guides because thats all I had
on hand at the time but it works ok.
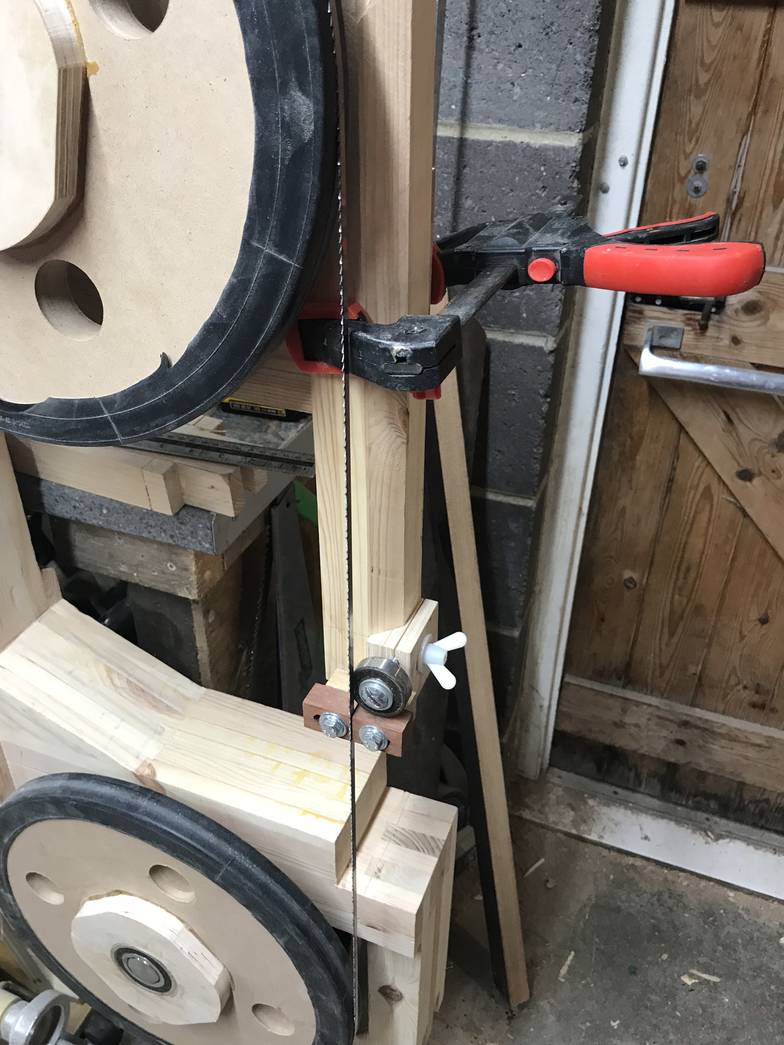 The top guides clamped on temporary.
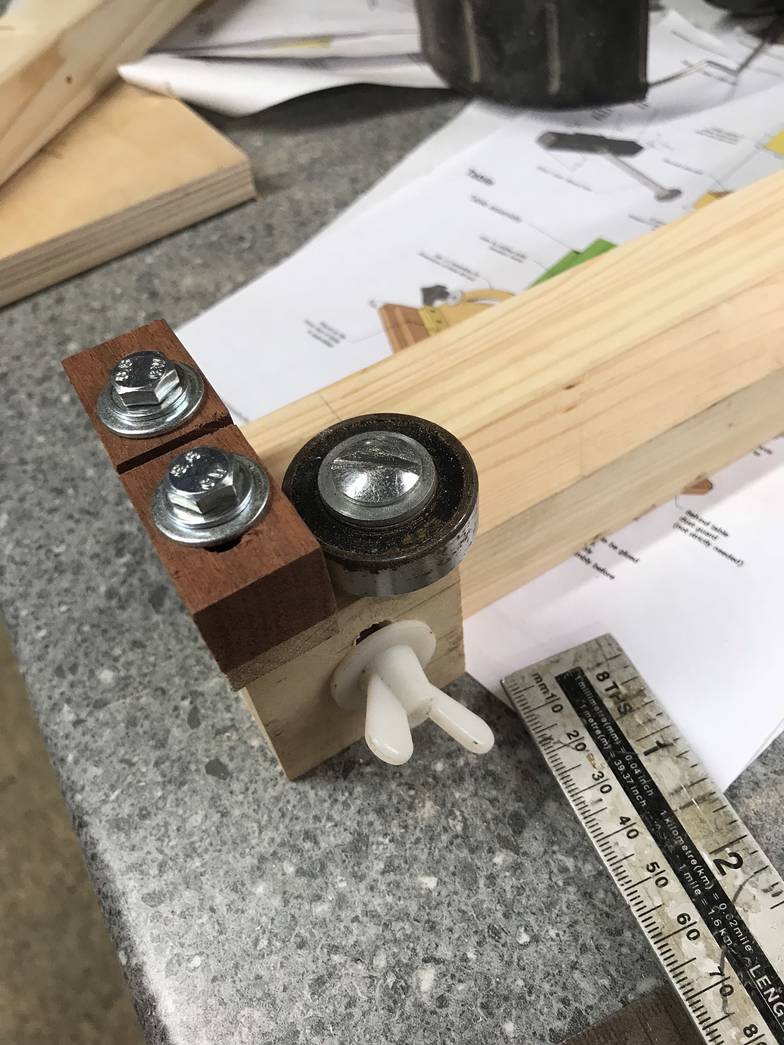
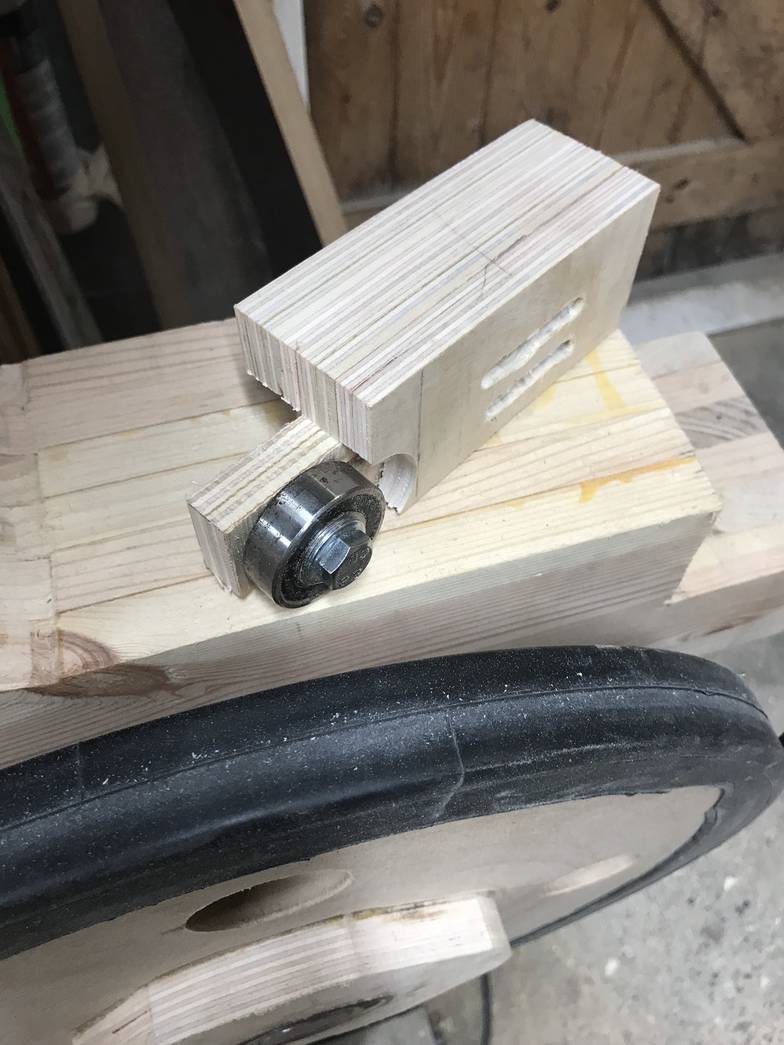 Here is the bottom blade guide block almost finished. I also the same slightly
bigger bearing on the bottom guide as well and it worked fine too.
Here is the bottom blade guide block almost finished. I also the same slightly
bigger bearing on the bottom guide as well and it worked fine too.
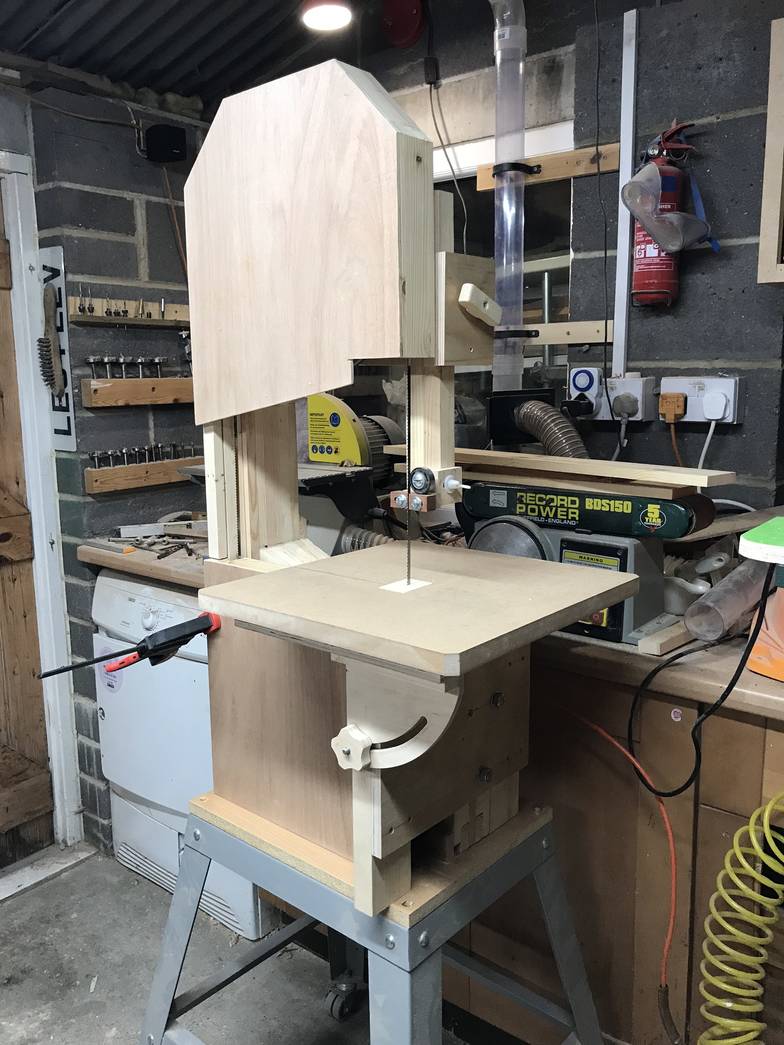
 The table made and fitted I used 22mm MDF left over from the sheet used for
the wheels for the table top and 18mm plywood for the sub table. You can
see that I have a small bench grinder motor connected to the saw it wasn't
powerful at all but its just until I get the saw one a stand.
The table made and fitted I used 22mm MDF left over from the sheet used for
the wheels for the table top and 18mm plywood for the sub table. You can
see that I have a small bench grinder motor connected to the saw it wasn't
powerful at all but its just until I get the saw one a stand.
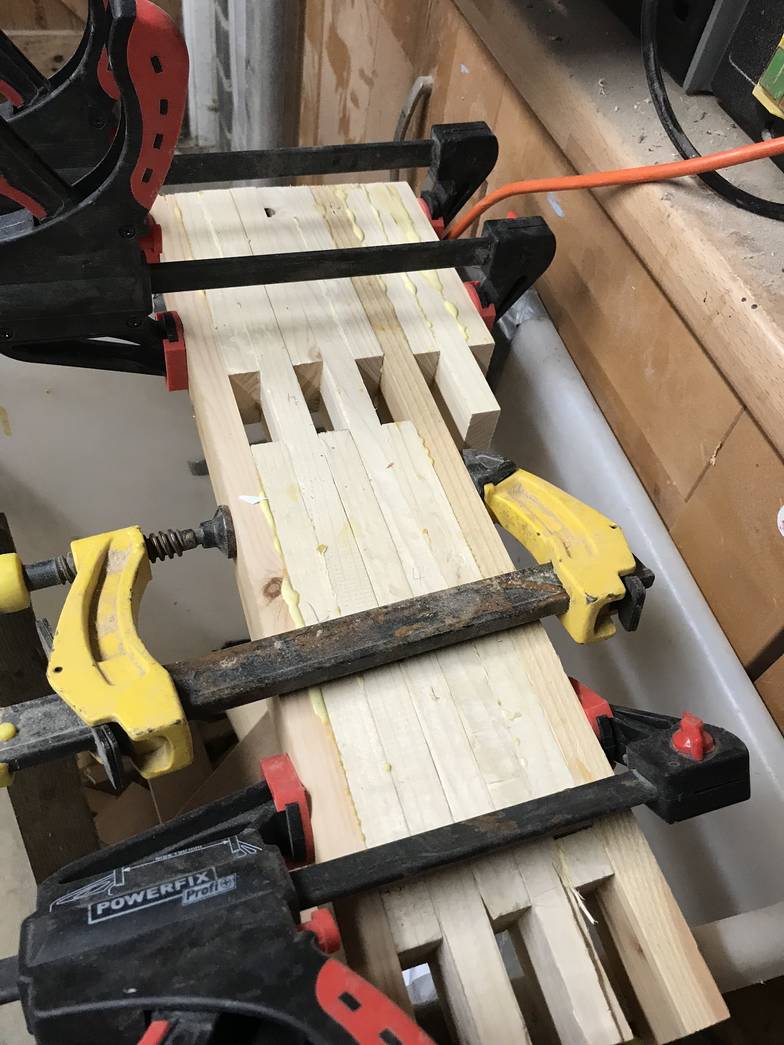 This is the rest of the Frame at the bottom gluing up.
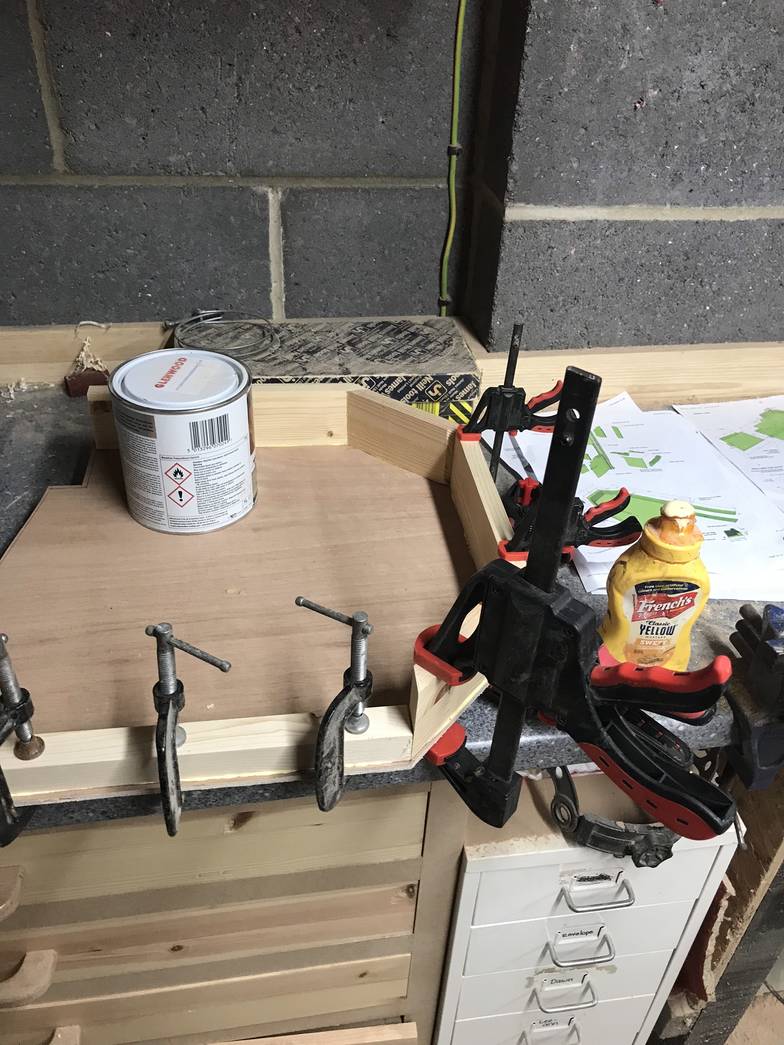 Finally starting to make the cover for the saw. Gluing the top cover here.
 The bottom saw cover gluing up.
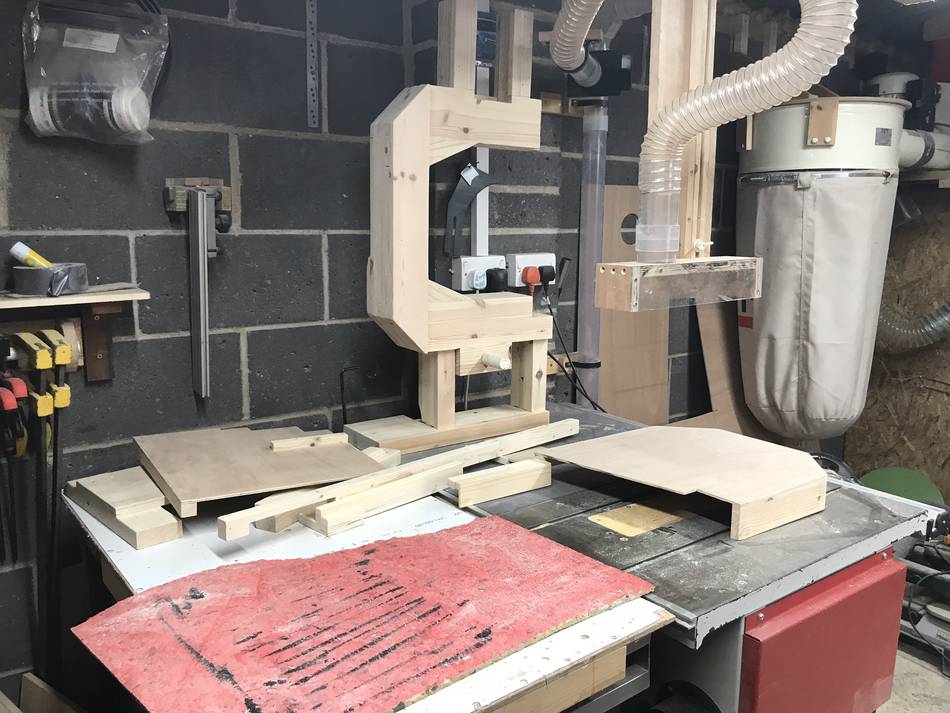
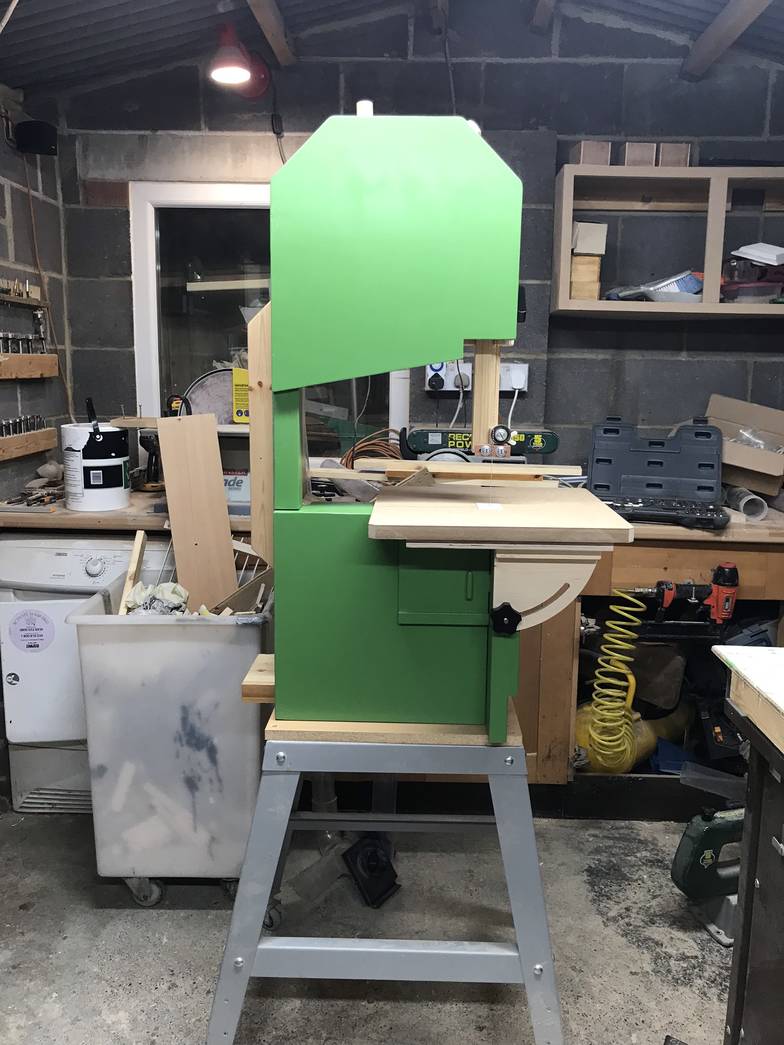
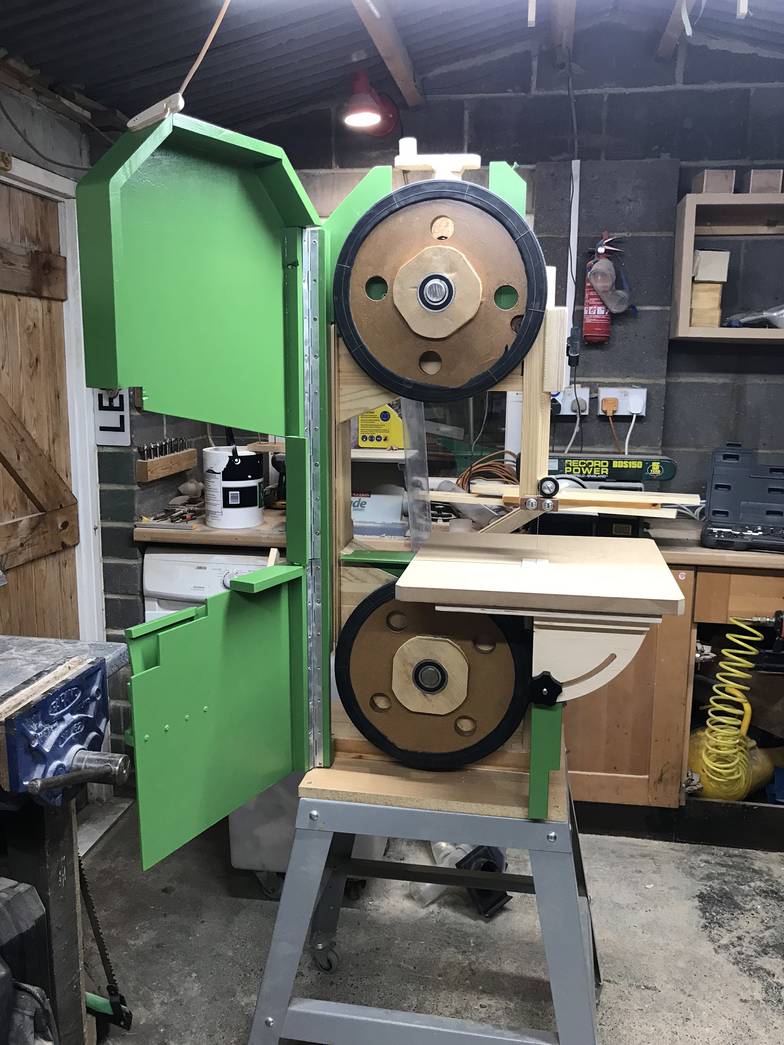
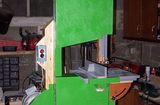
 The saw on a stand from my store bought bandsaw until I build one to put
it on. the cover put on the hinges and clamped on the frame.
The saw on a stand from my store bought bandsaw until I build one to put
it on. the cover put on the hinges and clamped on the frame.
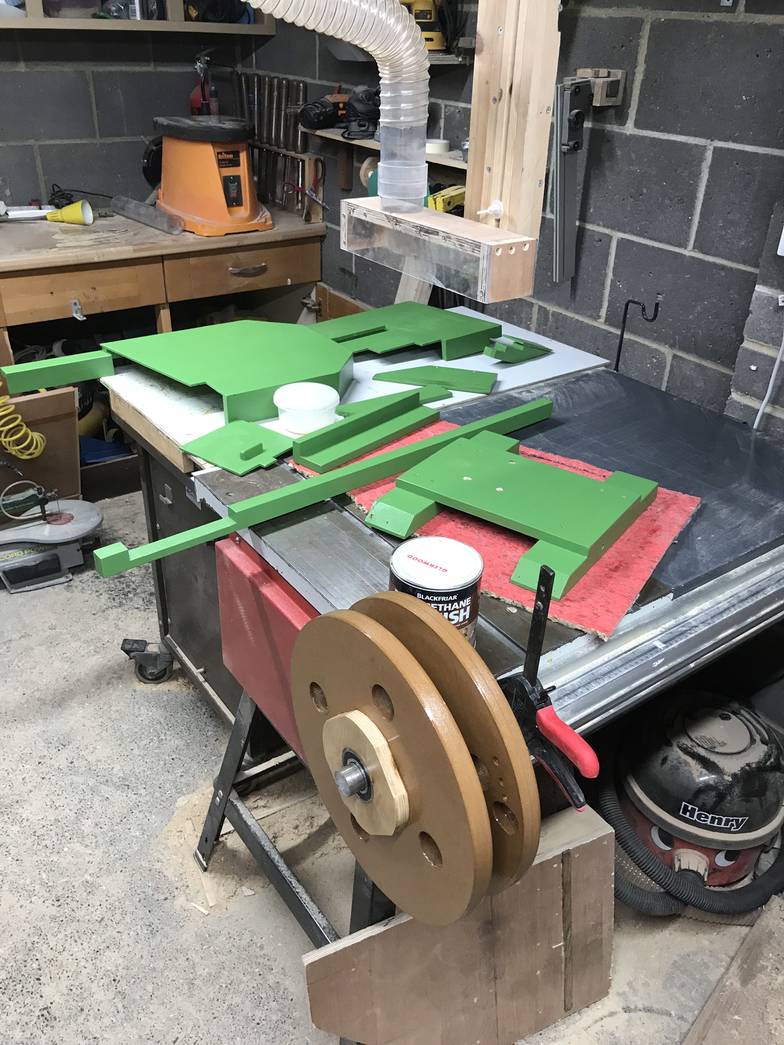
The saw taken apart and sanded ready for painting and varnishing.
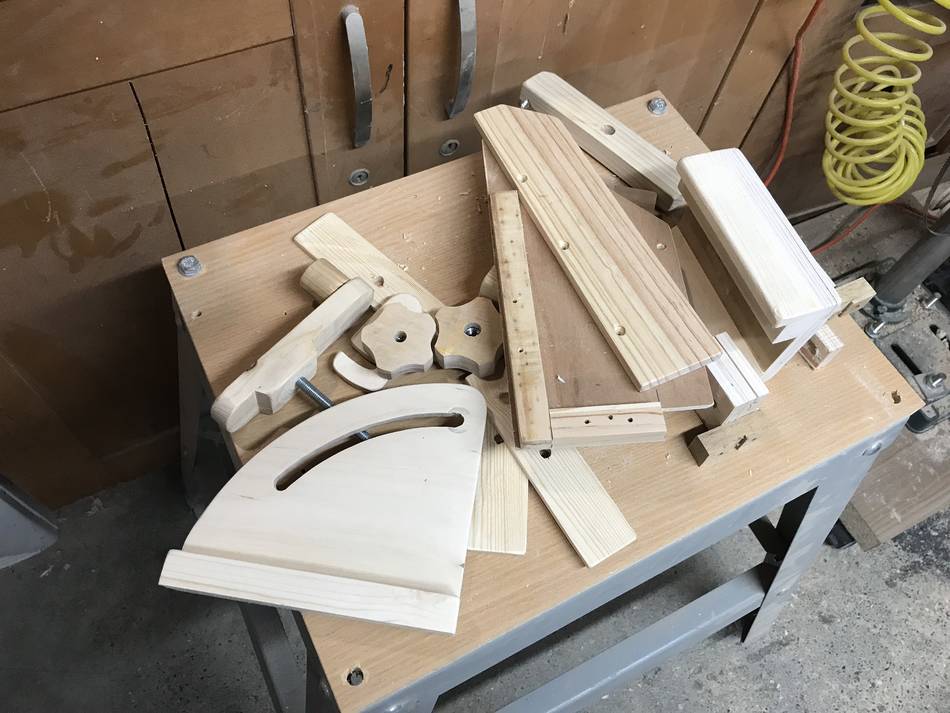
I used satin oil based varnish for the wheels and frame applying
2 coats. I used a green paint for the frame and other parts also
applying 2 coats and after 2 coats of water based satin varnish.
The knobs where painted black and had a coat of varnish. Other
small parts had 2 coats of the water based satin varnish. You
can see the grey motor in the background, this is the motor I am using.
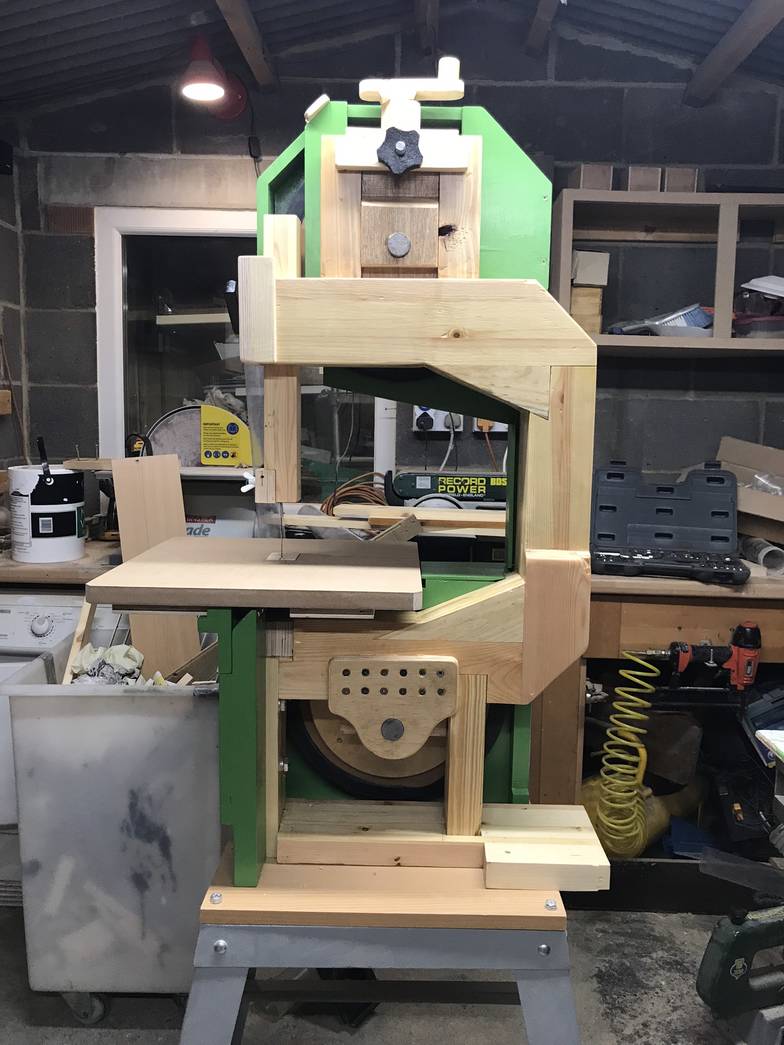
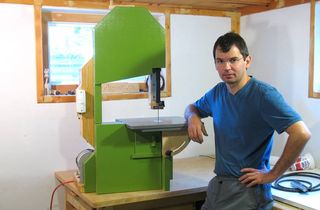
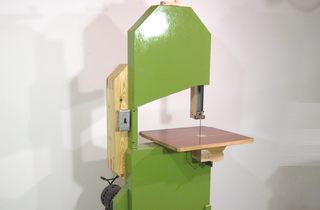
The saw finished but without the motor fitted. It looks great and I
am really happy with how it turned out.
See also:
 14" bandsaw/sawmill
 Mitch's 14" bandsaw / sawmill
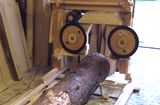
 16" bandsaw
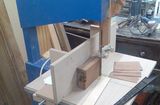 More reader built
More about bandsaws on my woodworking website.